1958 · Paint, body & final assembly
IN PROGRESS58 Napco
“Big Iron”
SHOP NICKNAME — BIG IRON
Nobody restores a truck like this because it's easy. You do it because they don't make 'em like they used to. Big Iron — a 1958 Chevrolet Napco 4x4 too tough to let go of.
§ 01
THE BRIEF
This Napco first rolled into the shop in 2019, when we handled all of the rust repair on the cab — cutting out the bad metal, fabricating patches, and getting the structure honest again. Years later, in April 2026, the truck came back to Hammer Fab to be finished. This round covers the full paint and body work, the wiring, the interior, and the final assembly that turns a pile of good parts into a truck you can drive. The look we're chasing: a clean, understated 4x4 with body-color steel wheels, black trim, and no unnecessary shine.
§ 02 — Note from the shop
"Straight metal first, then paint that earns it. A '58 Napco coming home to finish what we started."
§ 03 — Build journal
The updates.
A living log of every meaningful moment on this build — new photos, short notes, and the milestones worth marking.
6 UPDATES · 0 MILESTONES
UPDATE 01 / 06LATEST
Jul 1, 2026
INTERIORCustom leather bench — stitched by Jay Schluter
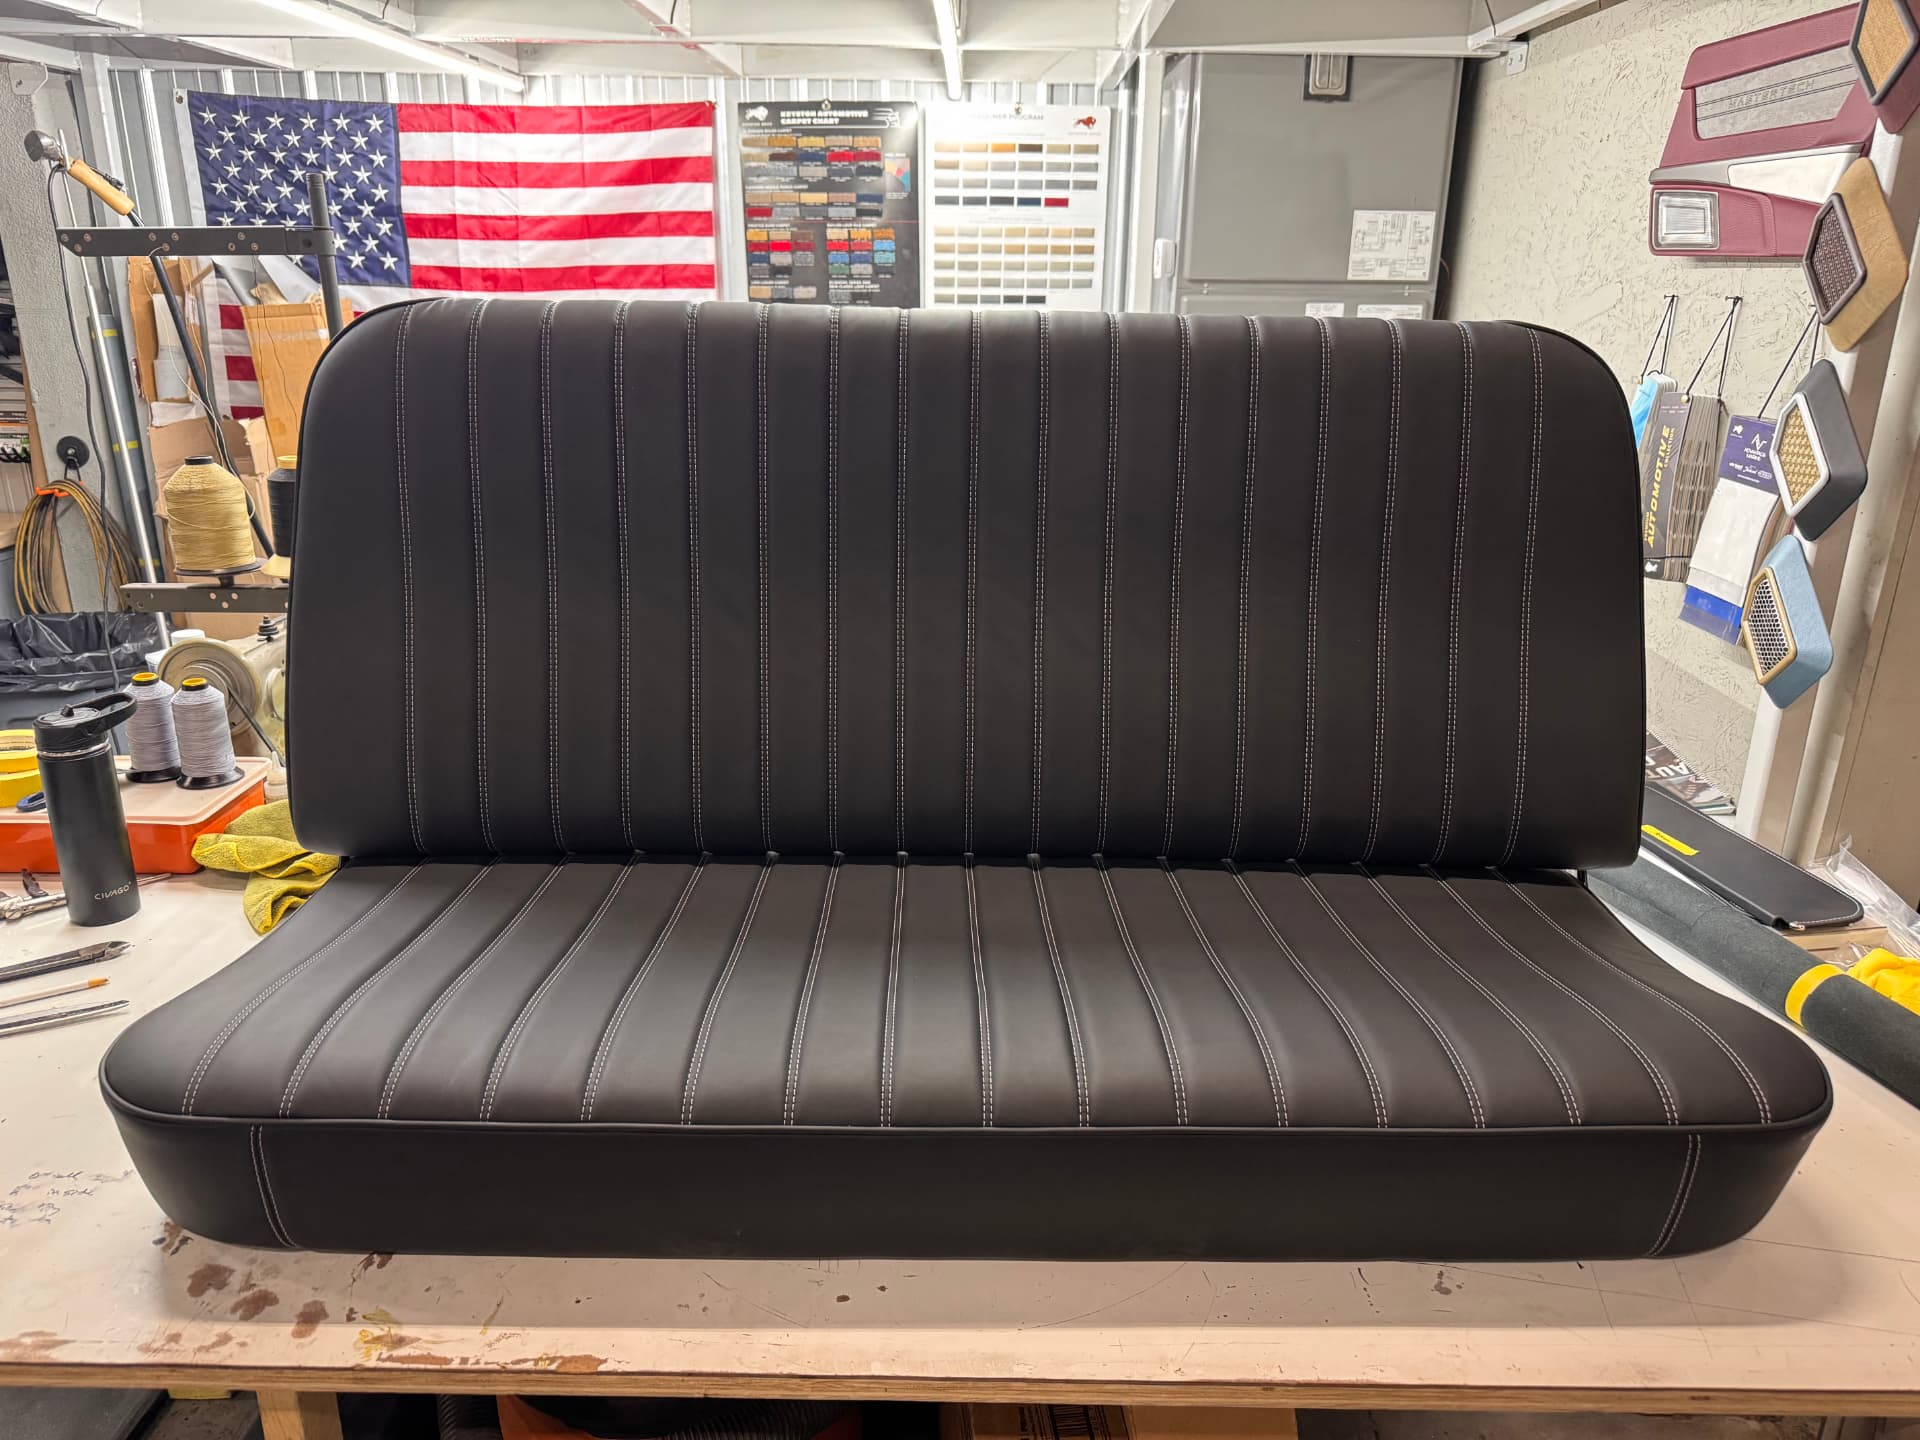
July 2026: Jay Schluter stitched up the custom leather bench starting with the original seat frame, freshly powder coated. We cut out all of the old springs and Jay replaced them with modern memory foam. Beyond the comfort, that swap let us thin out the back of the seat and give the driver more leg room — these Apaches are notorious for coming up short in that department.
 J001
J001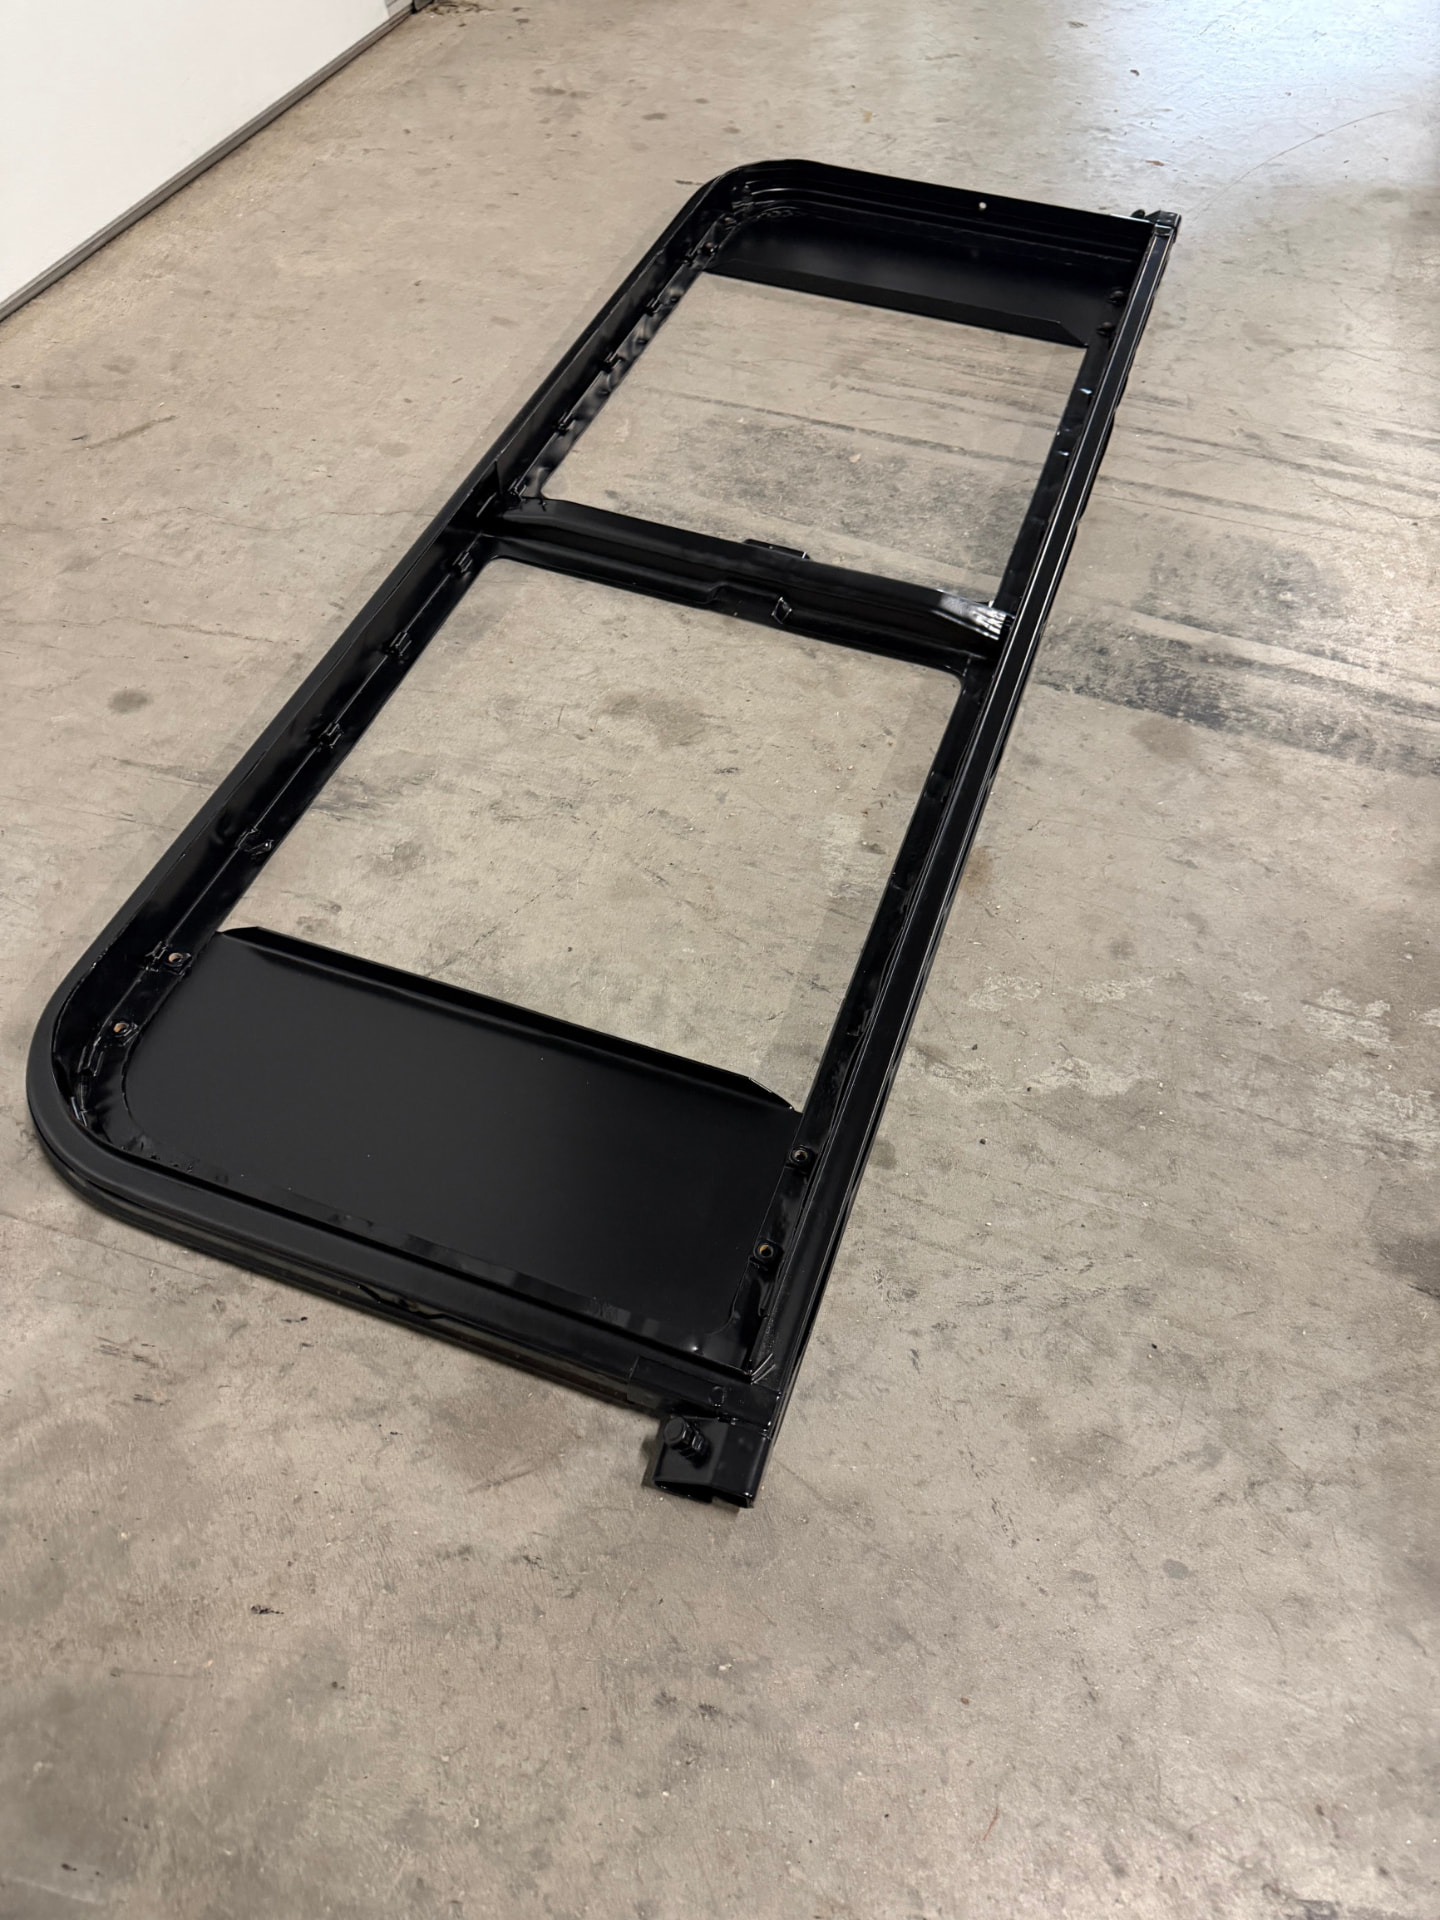 J002
J002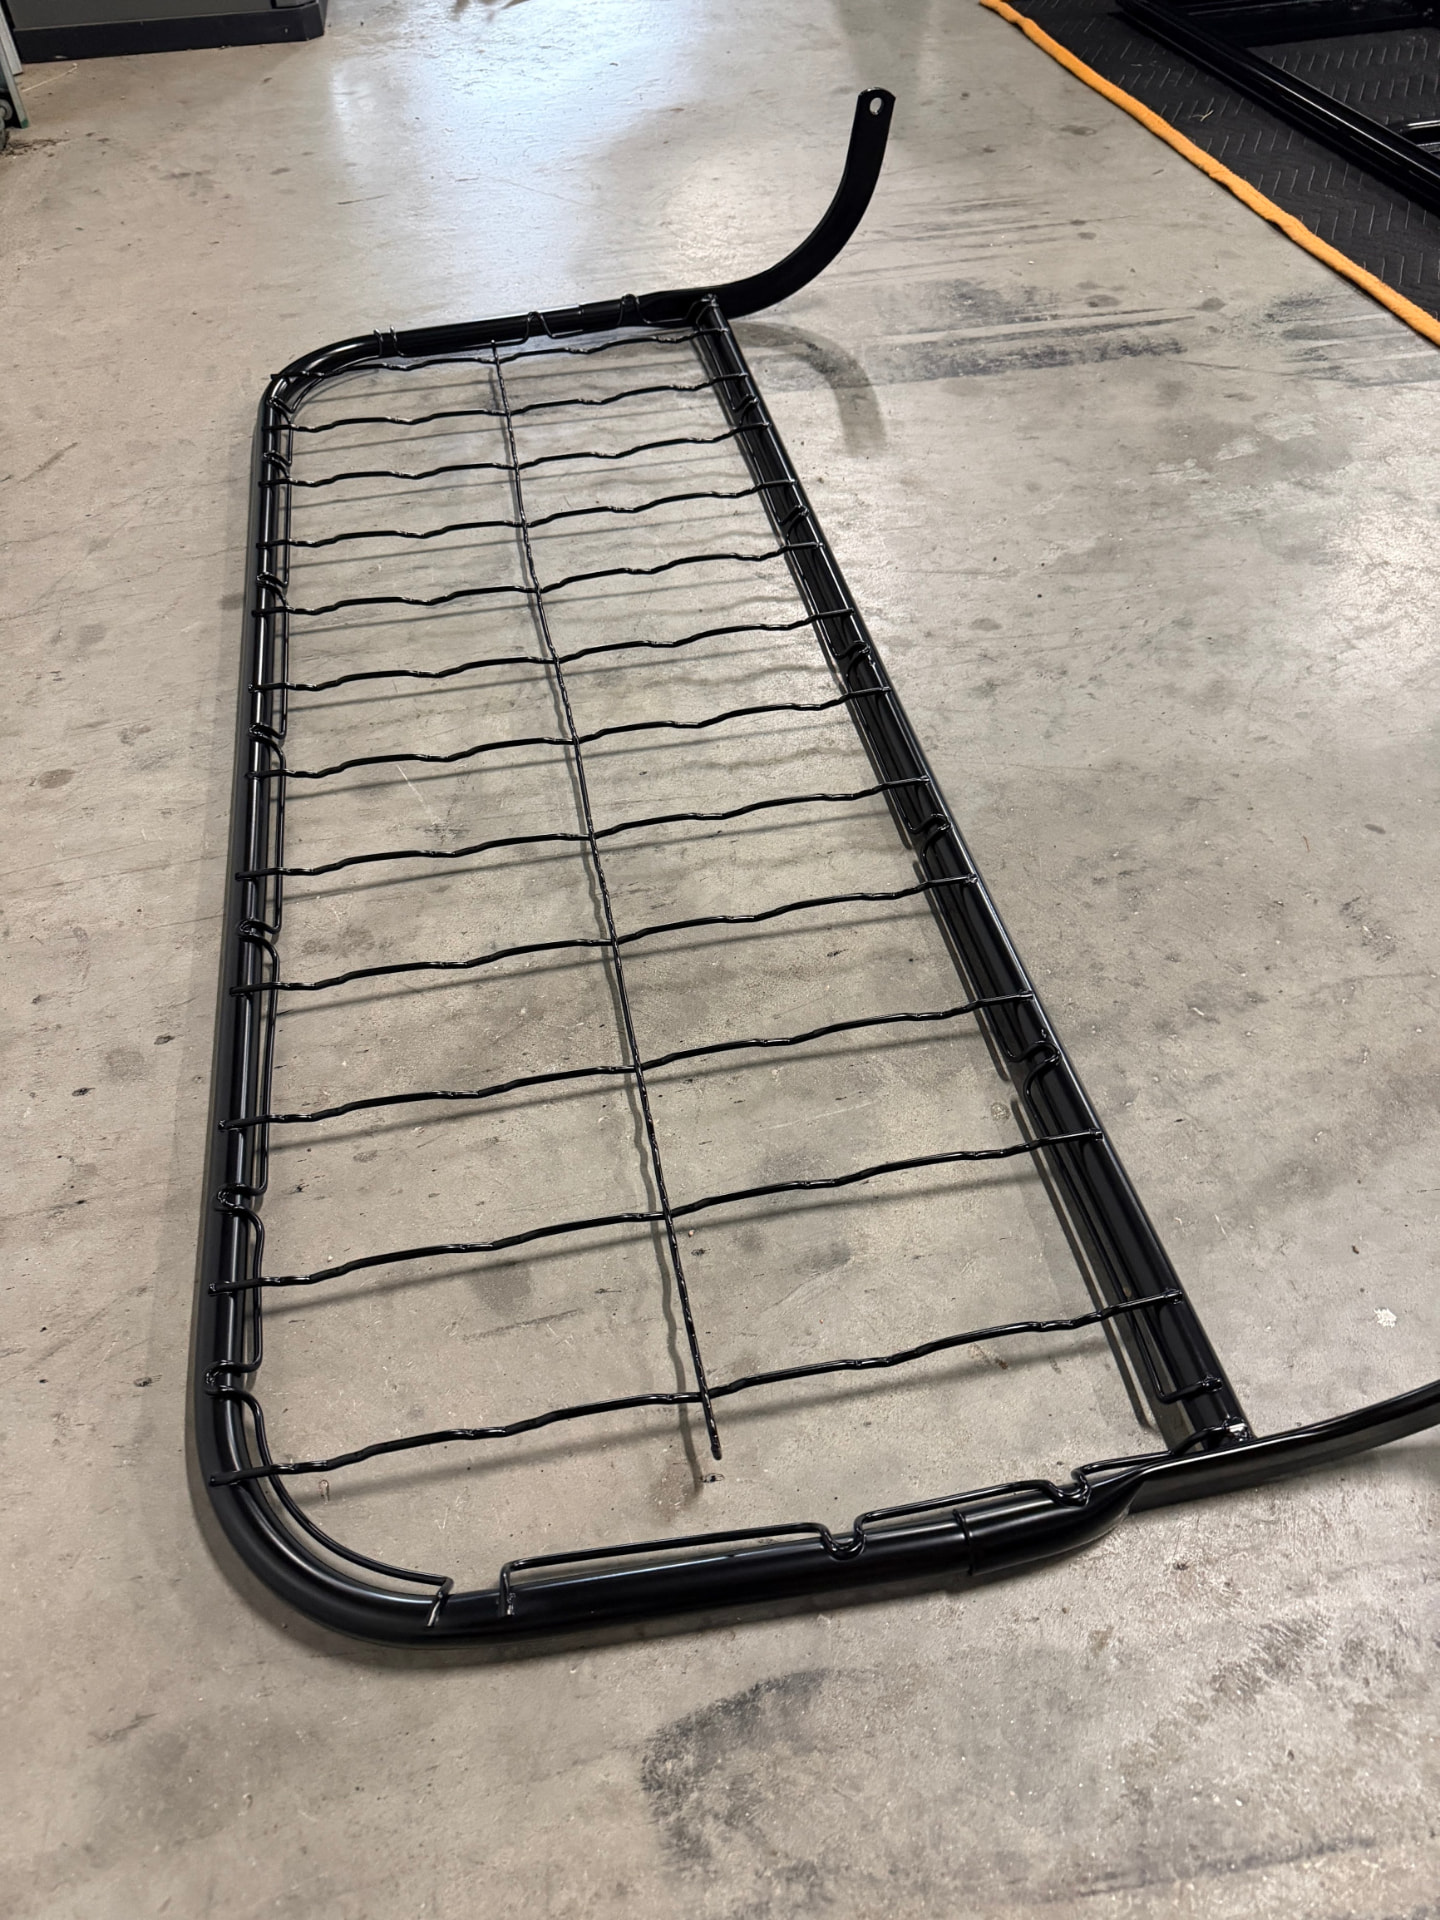 J003
J003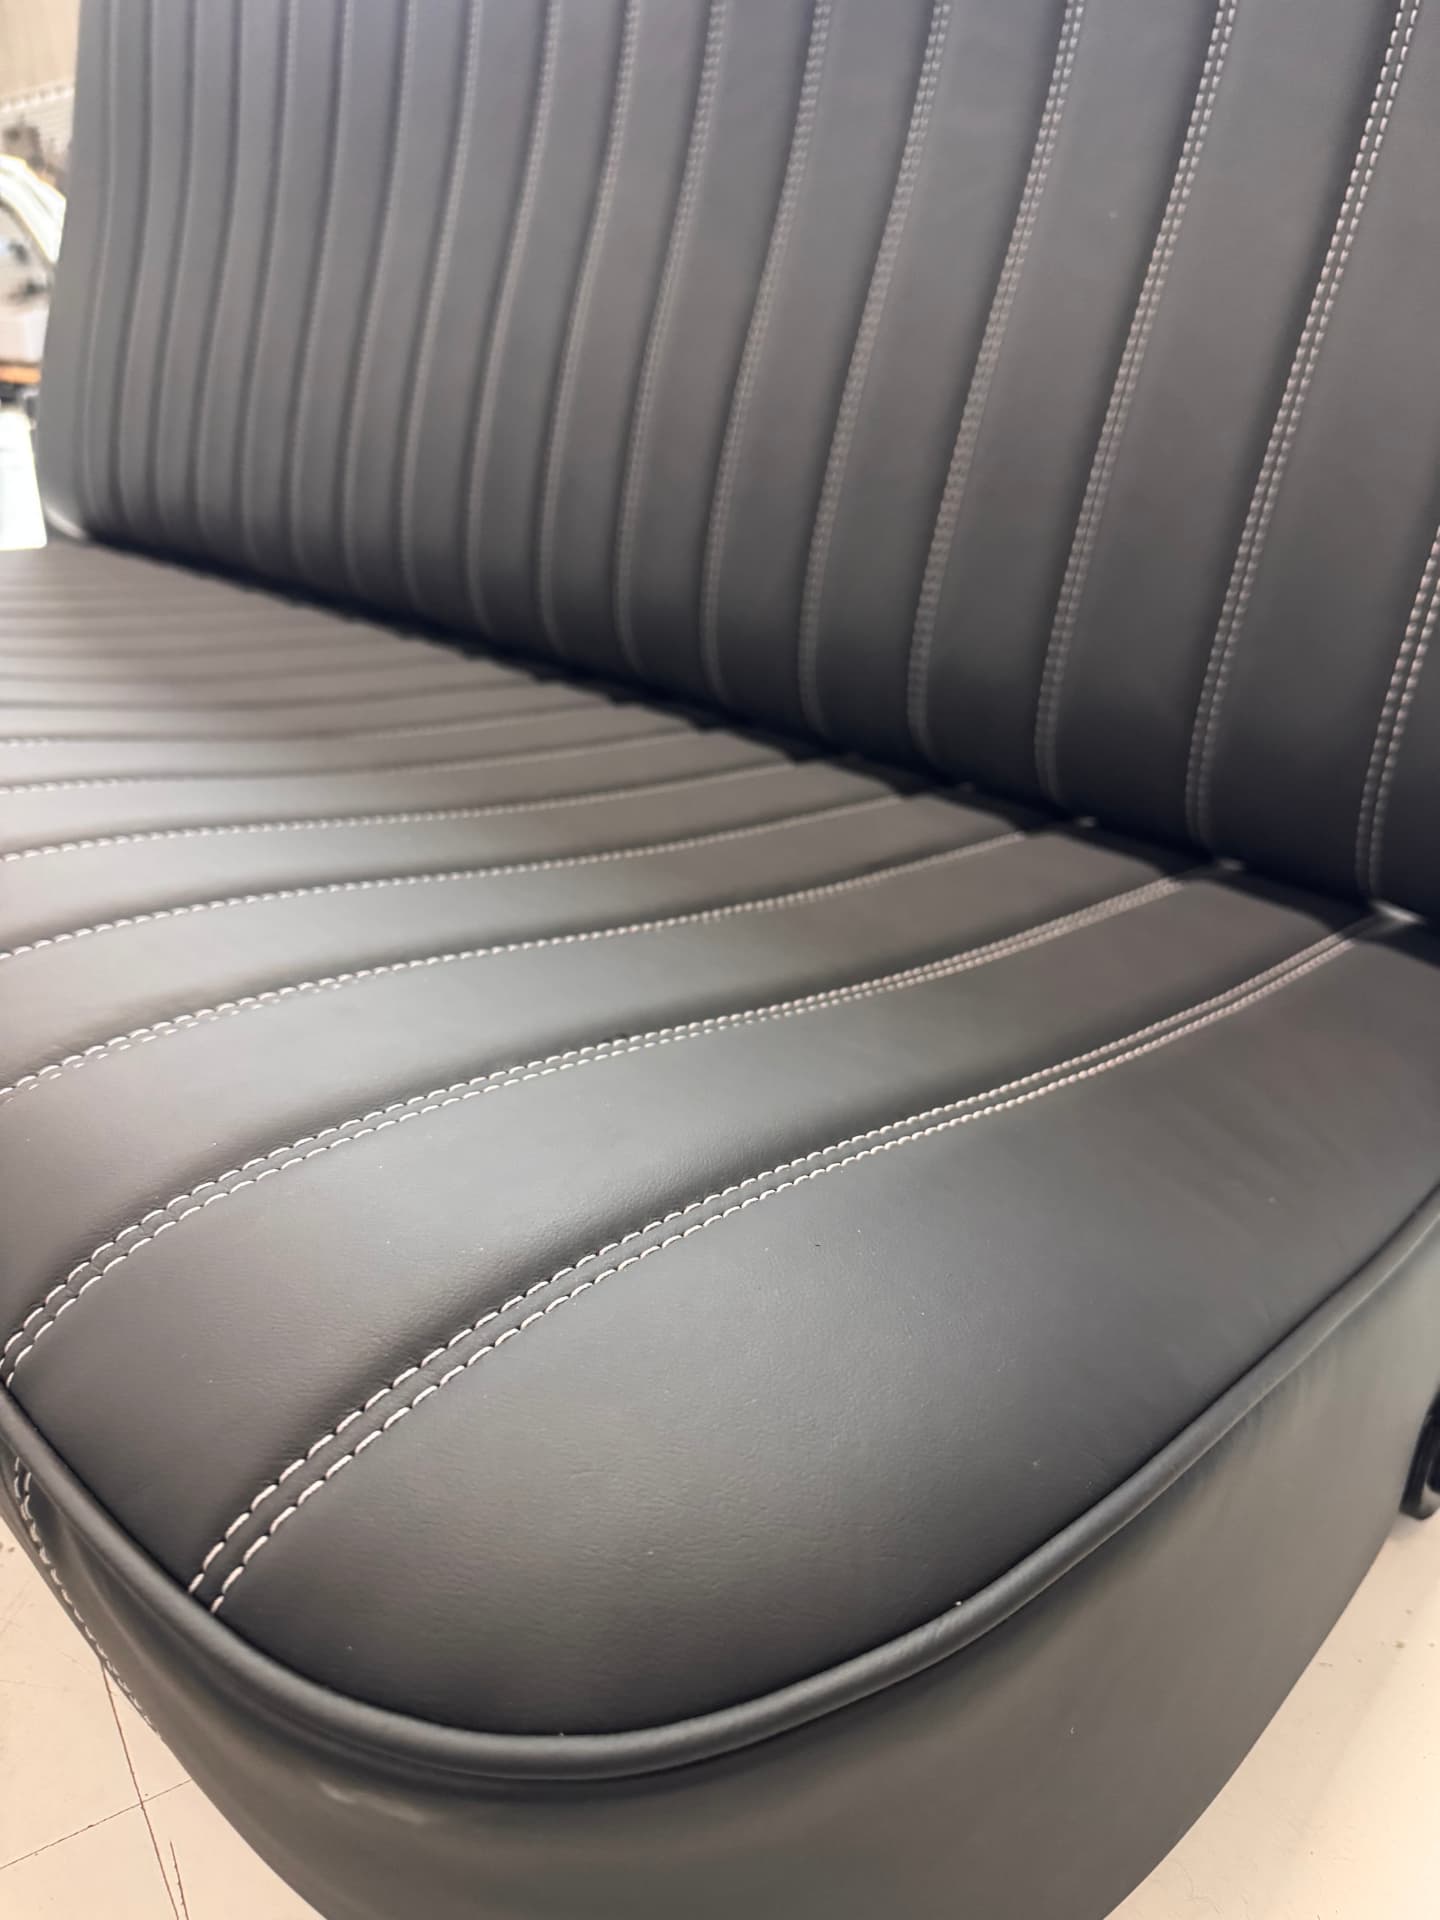 J004
J004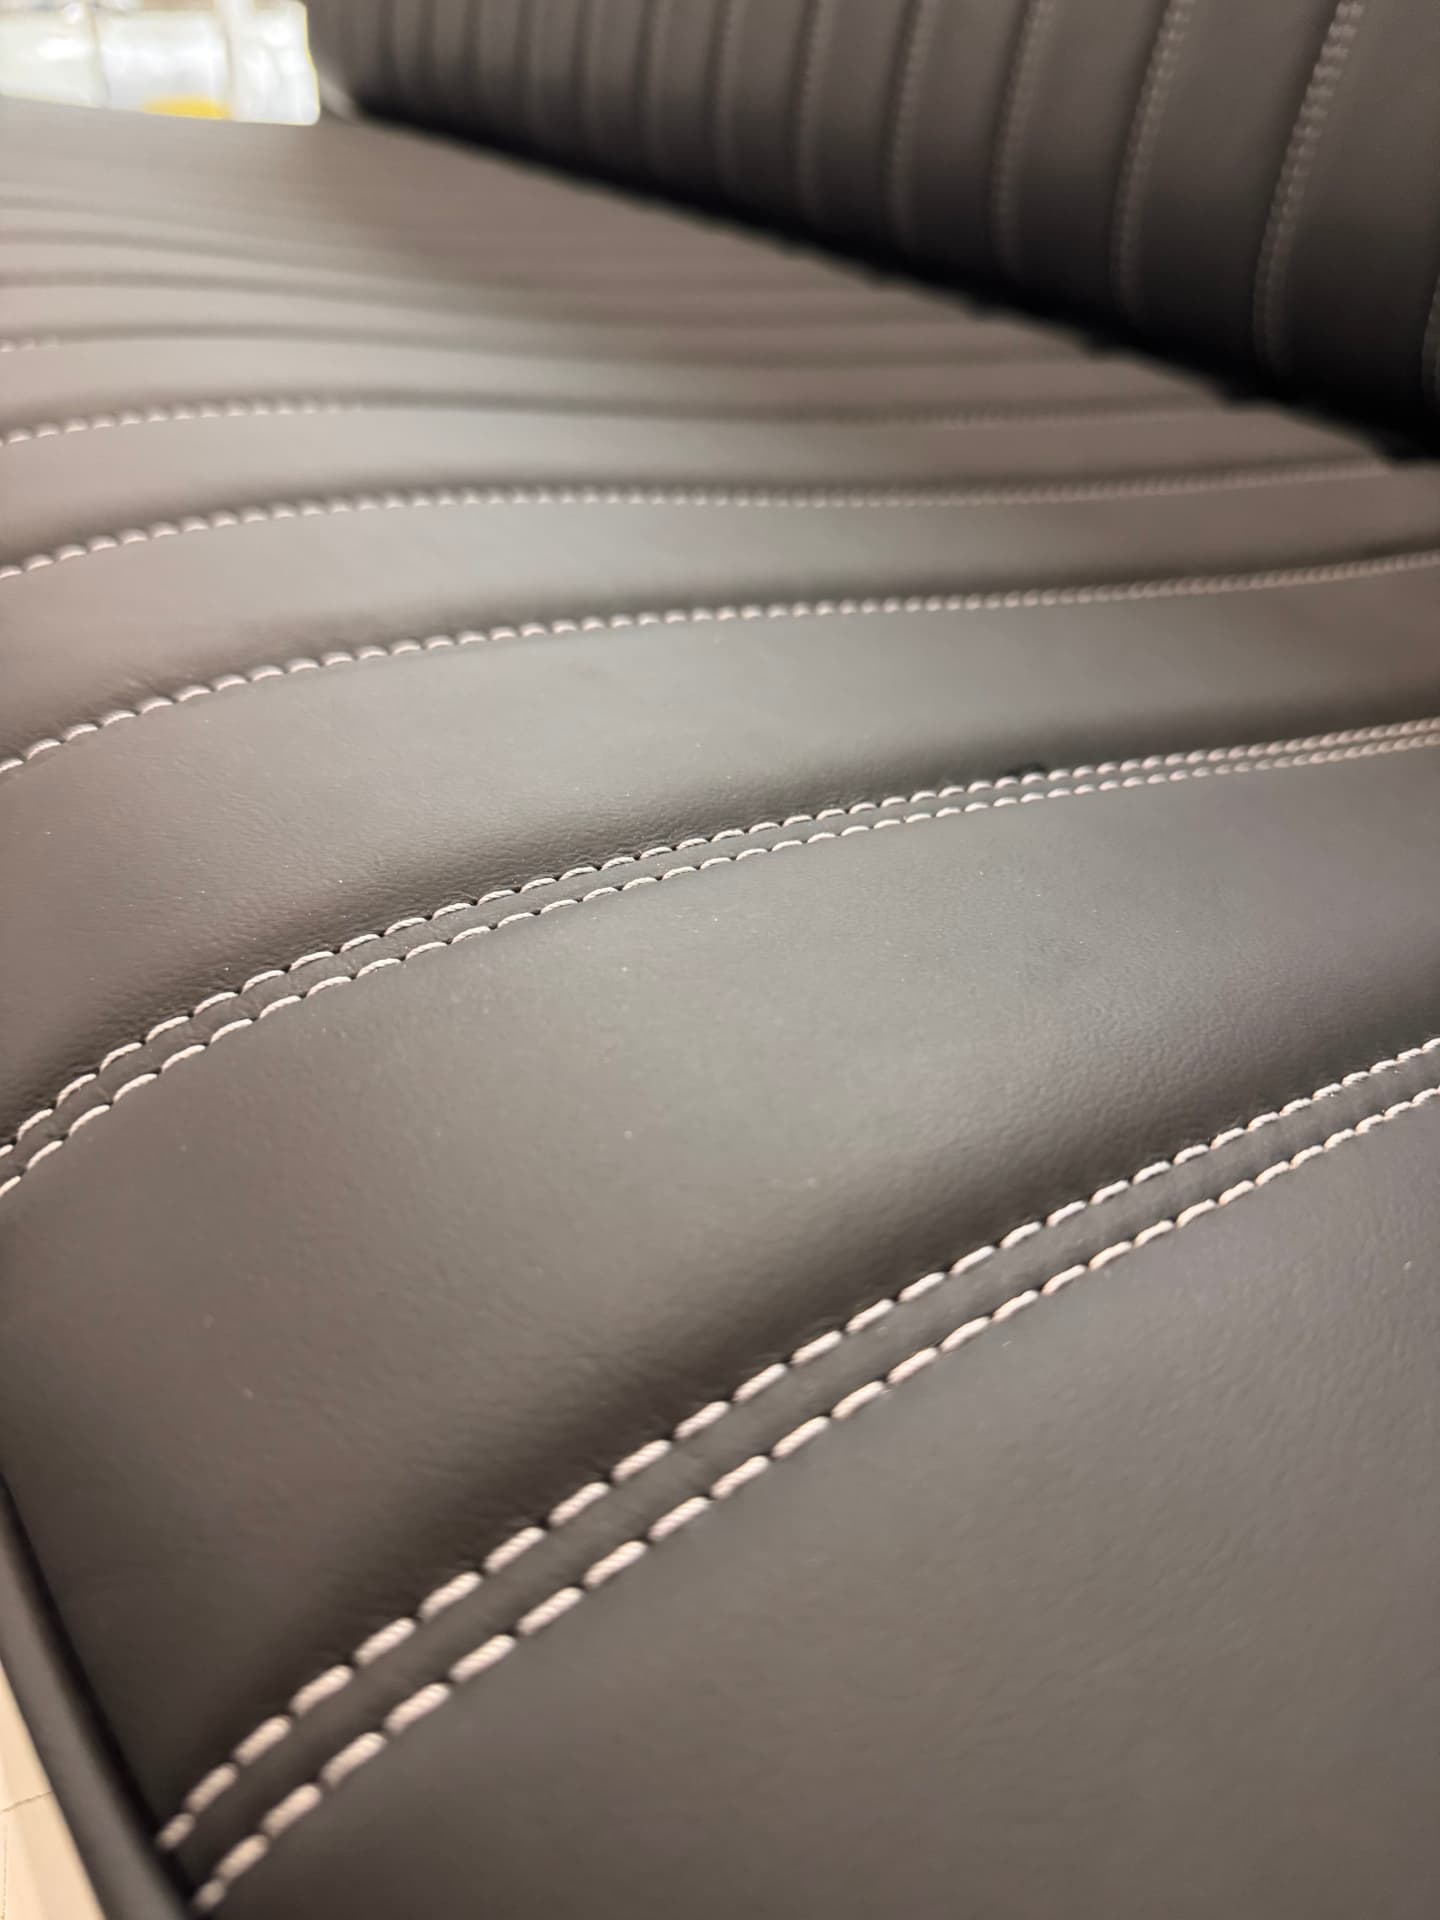 J005
J005UPDATE 02 / 06
Jun 1, 2026
PAINT & BODYPanel fit, body work, and high build primer
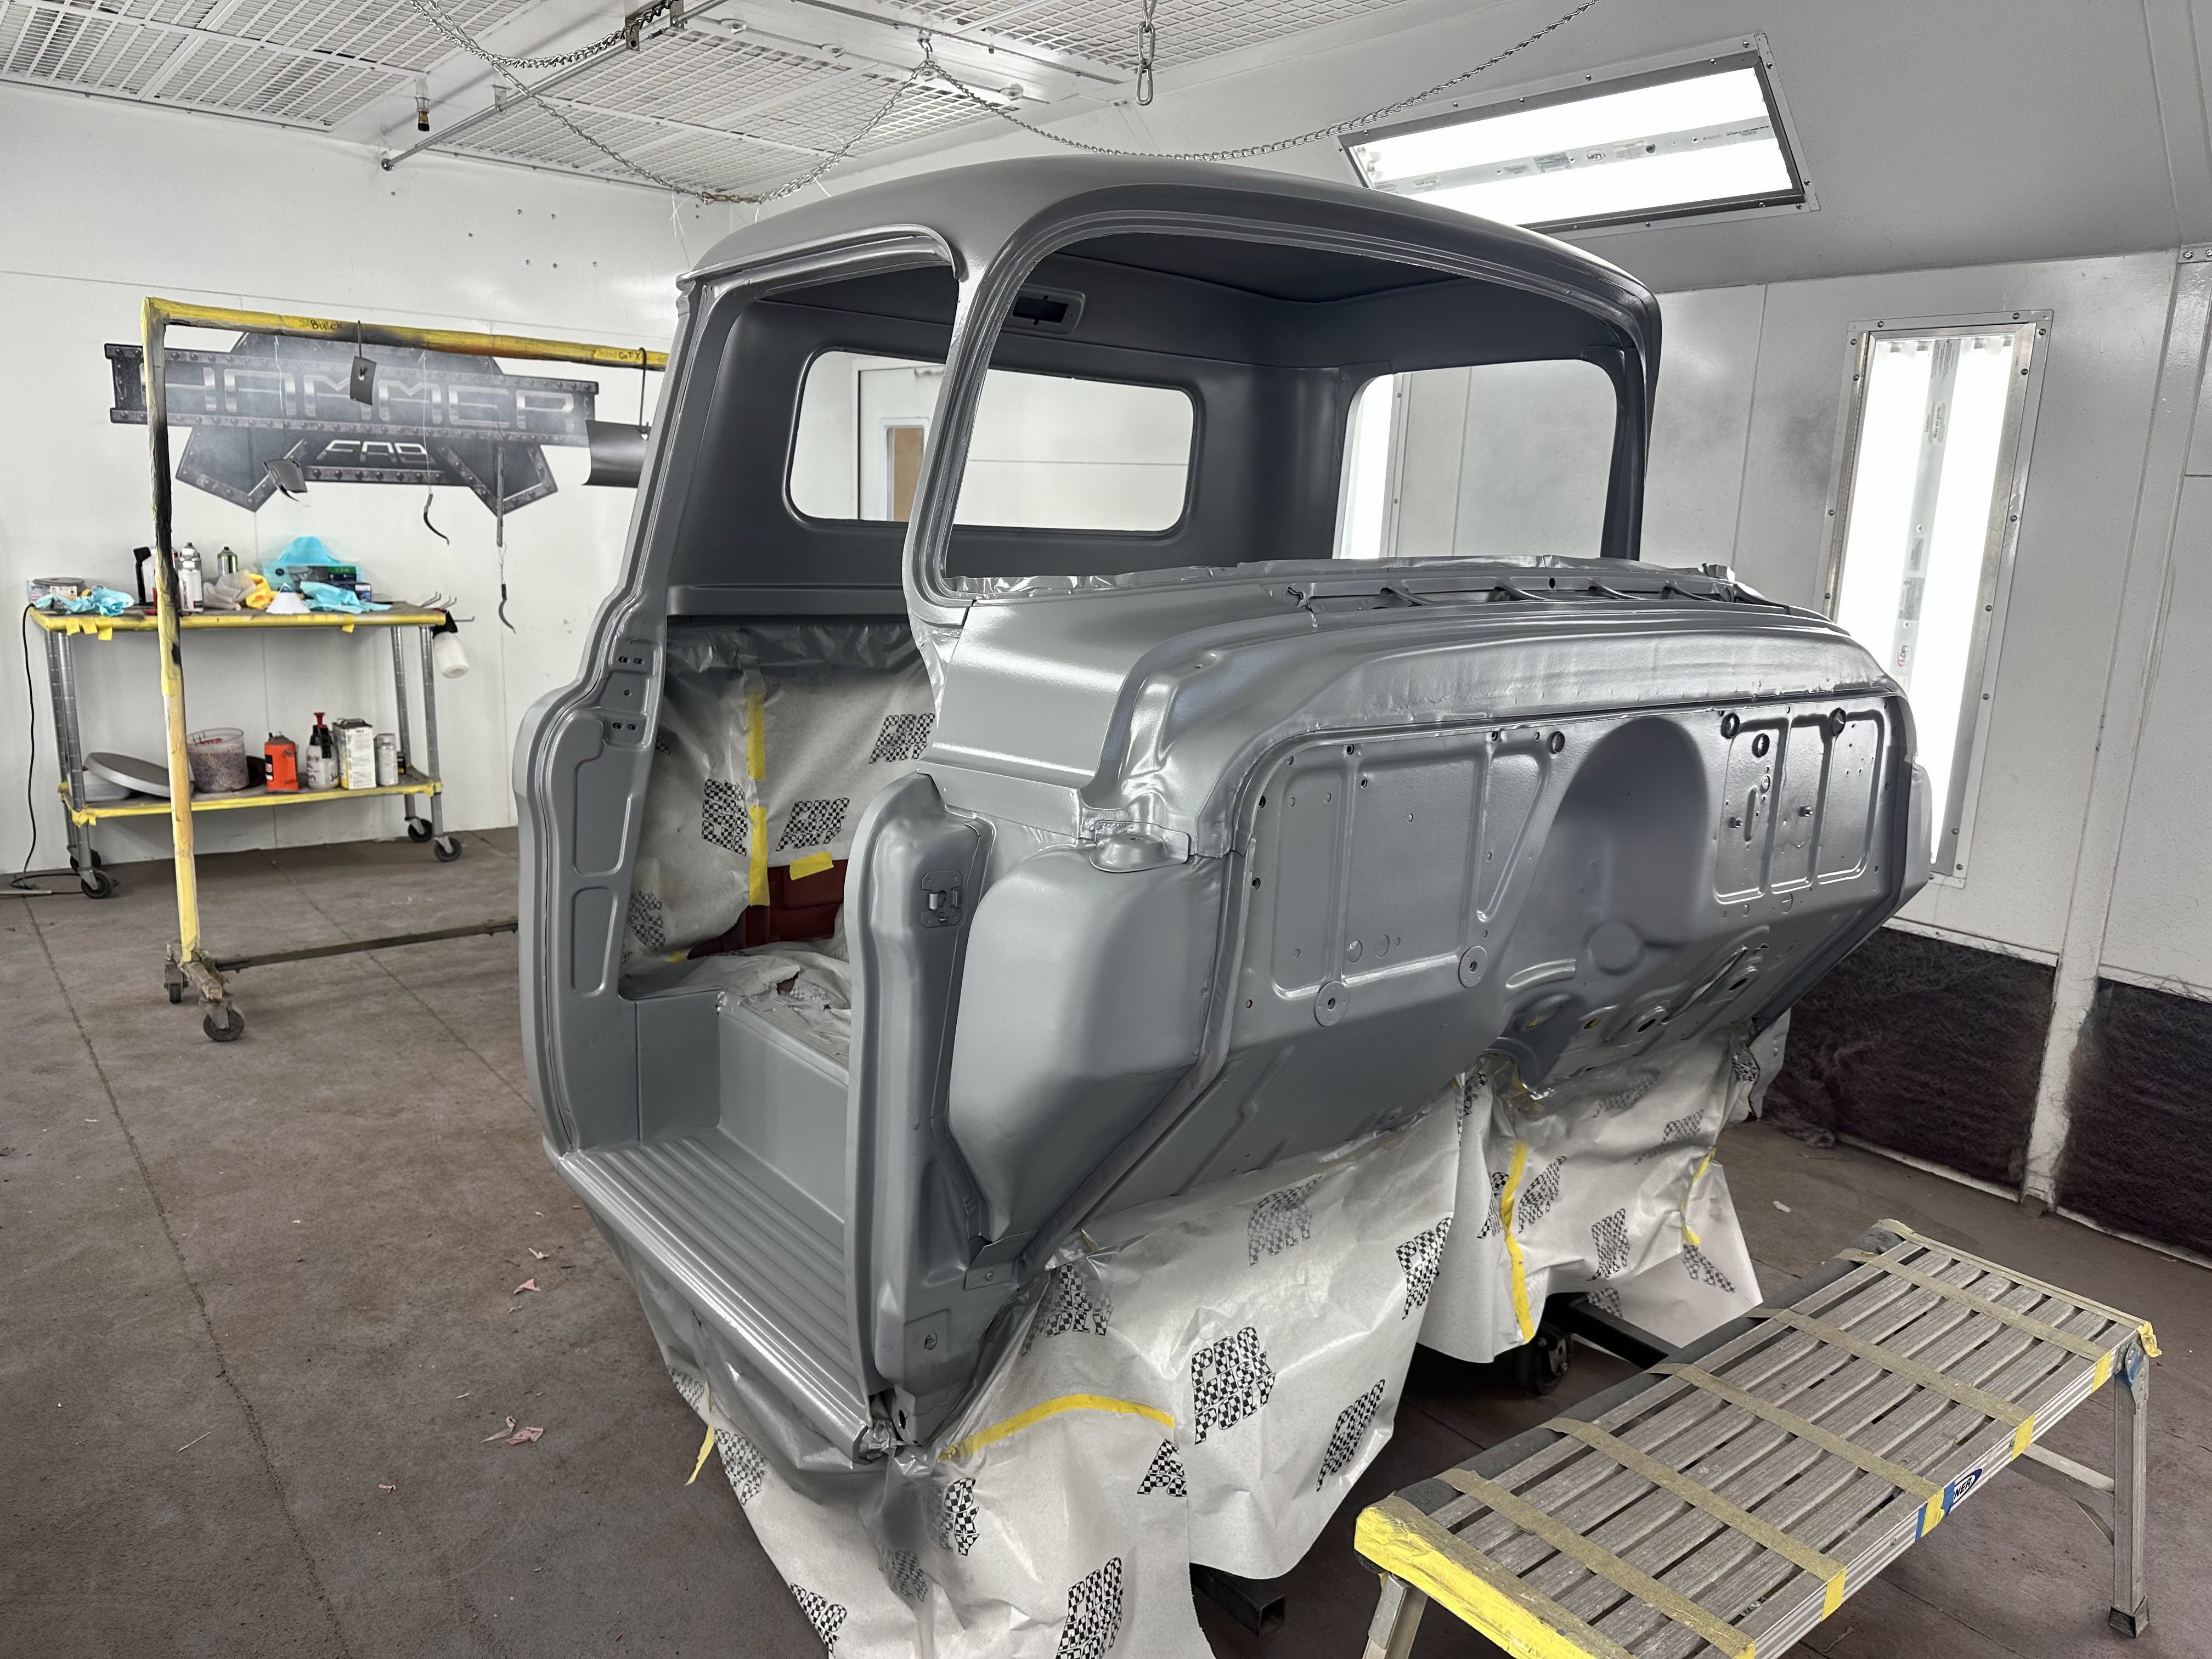
With the body panels fit, tightened, and adjusted, we body worked the sides of the truck together so the whole flank flows as one piece instead of a stack of separate panels. We didn't chase perfection here on purpose — the customer wants it to still read like an old truck. Once we were happy with the shape, we blew the truck back apart, put the chassis into dust-free storage, and laid high build primer directly over the epoxy. That gives us a solid, sandable base to do the final body work over.
 J006
J006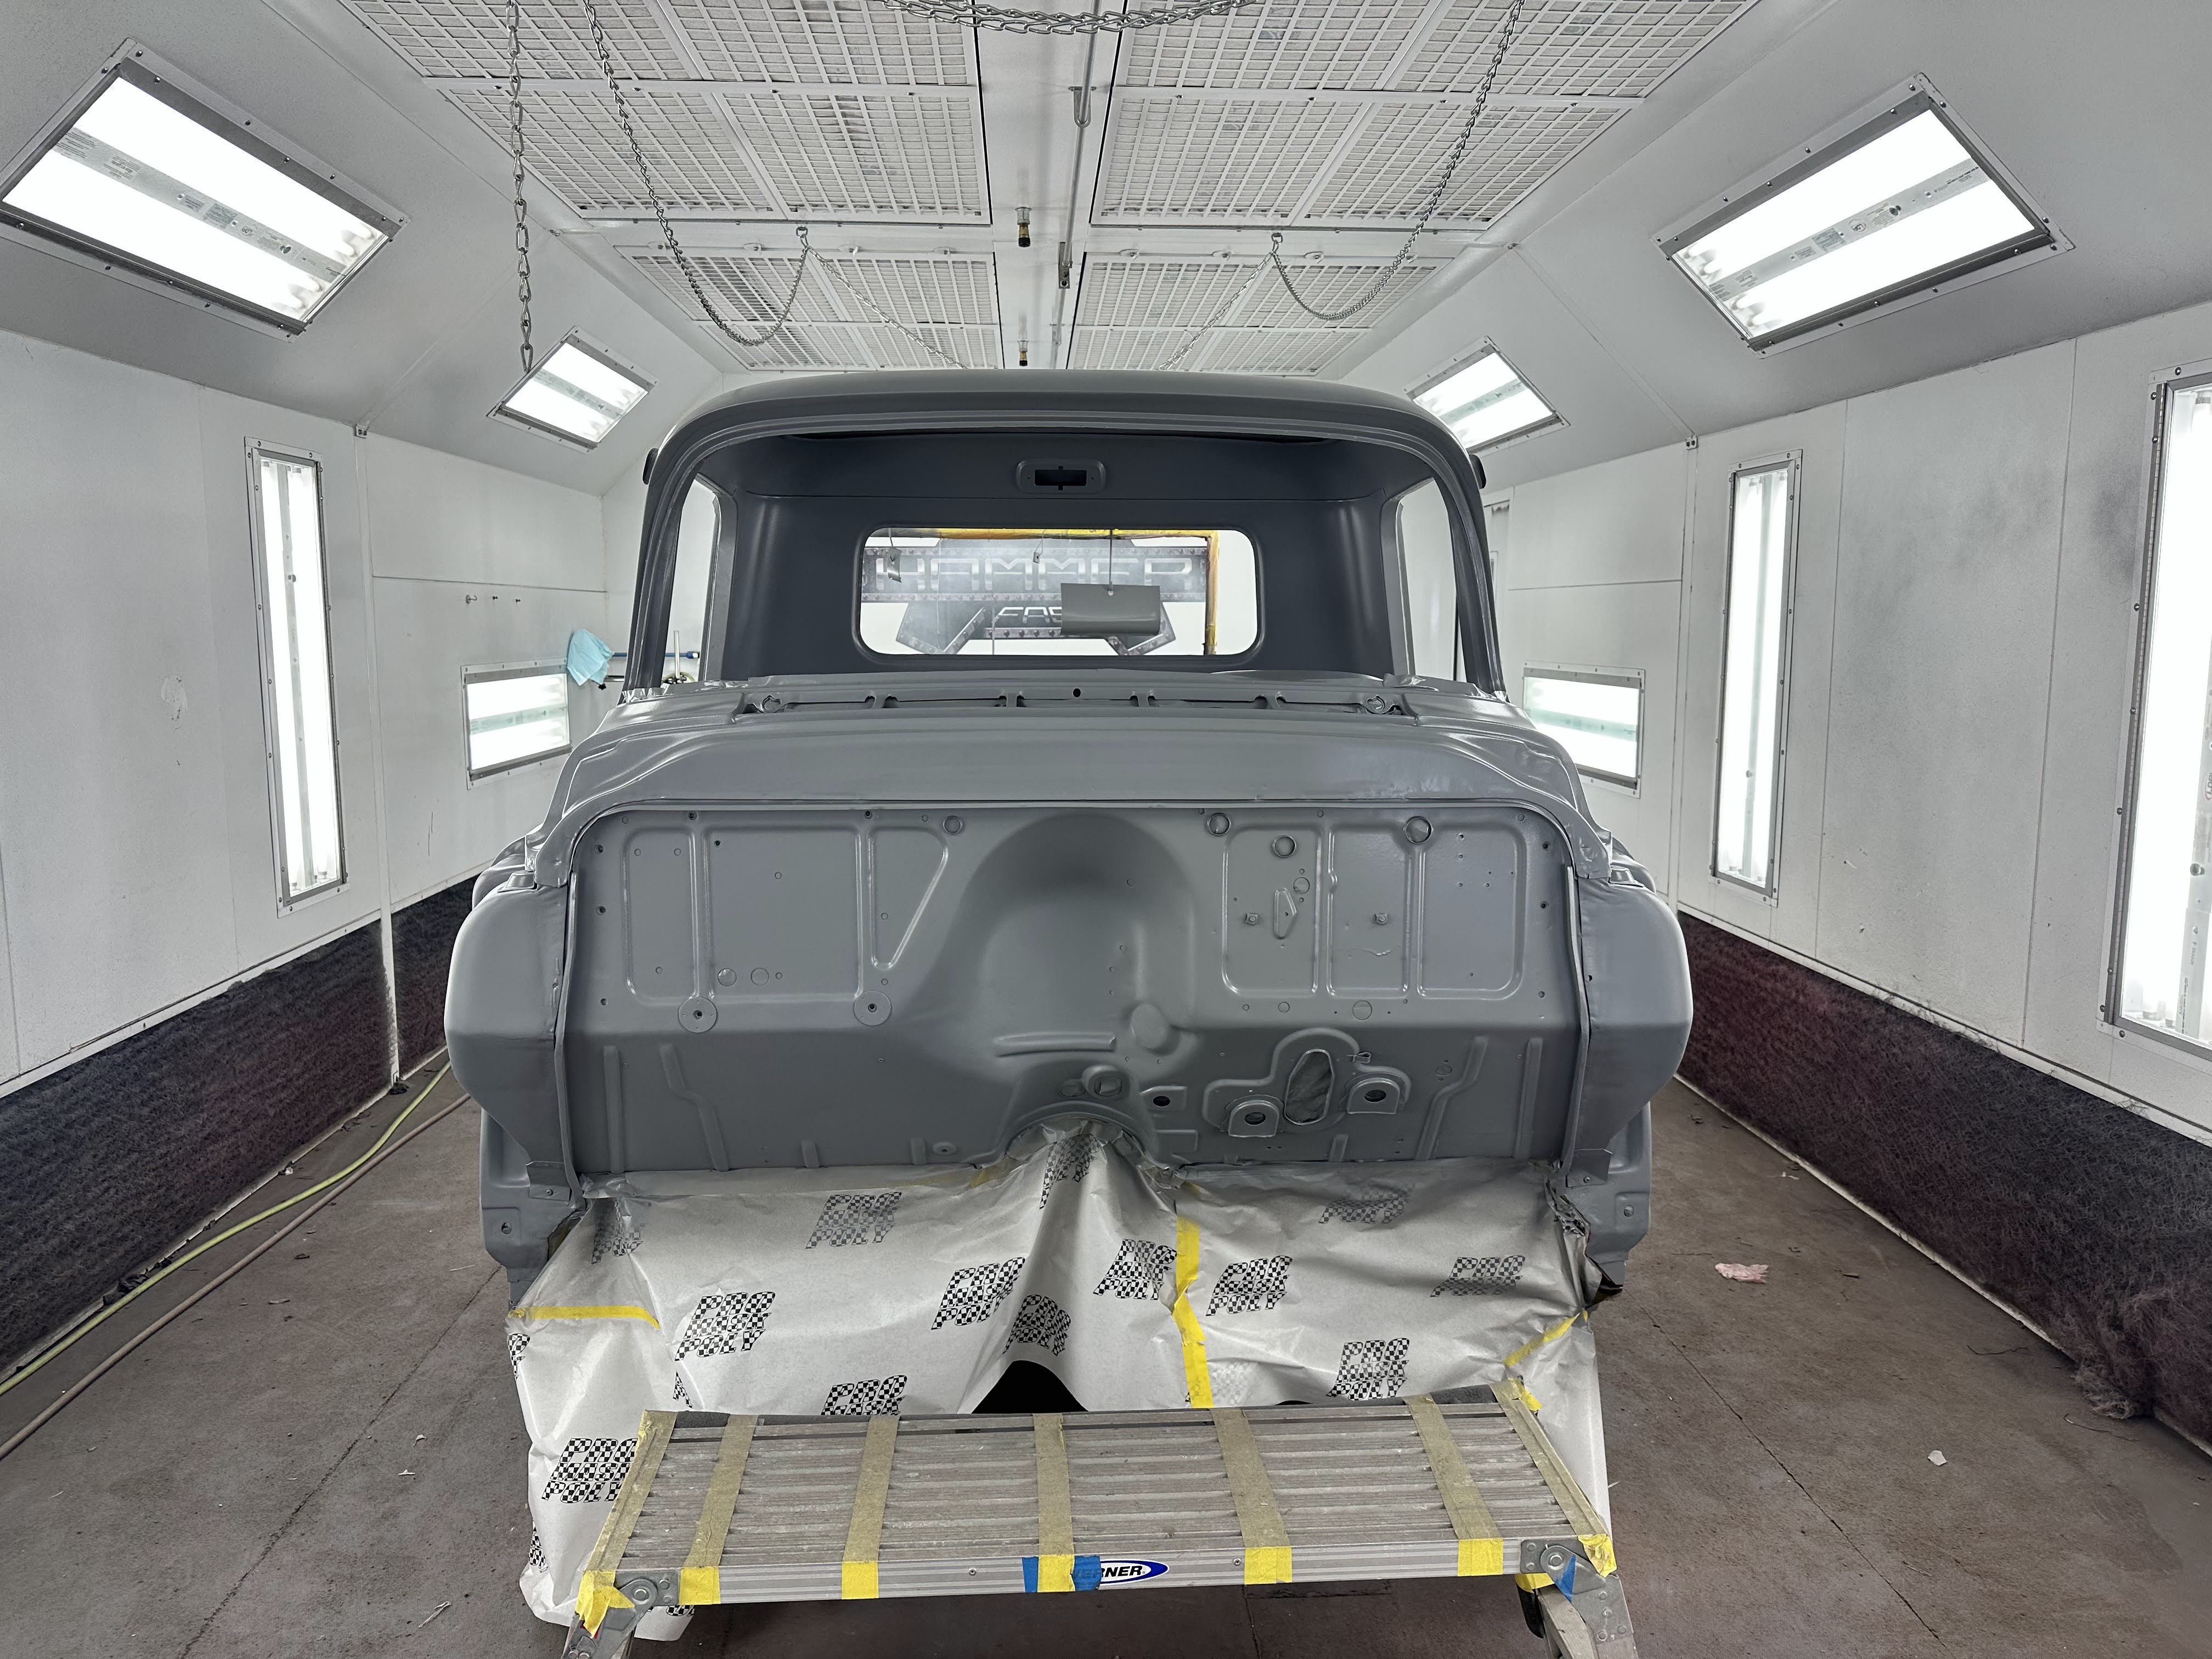 J007
J007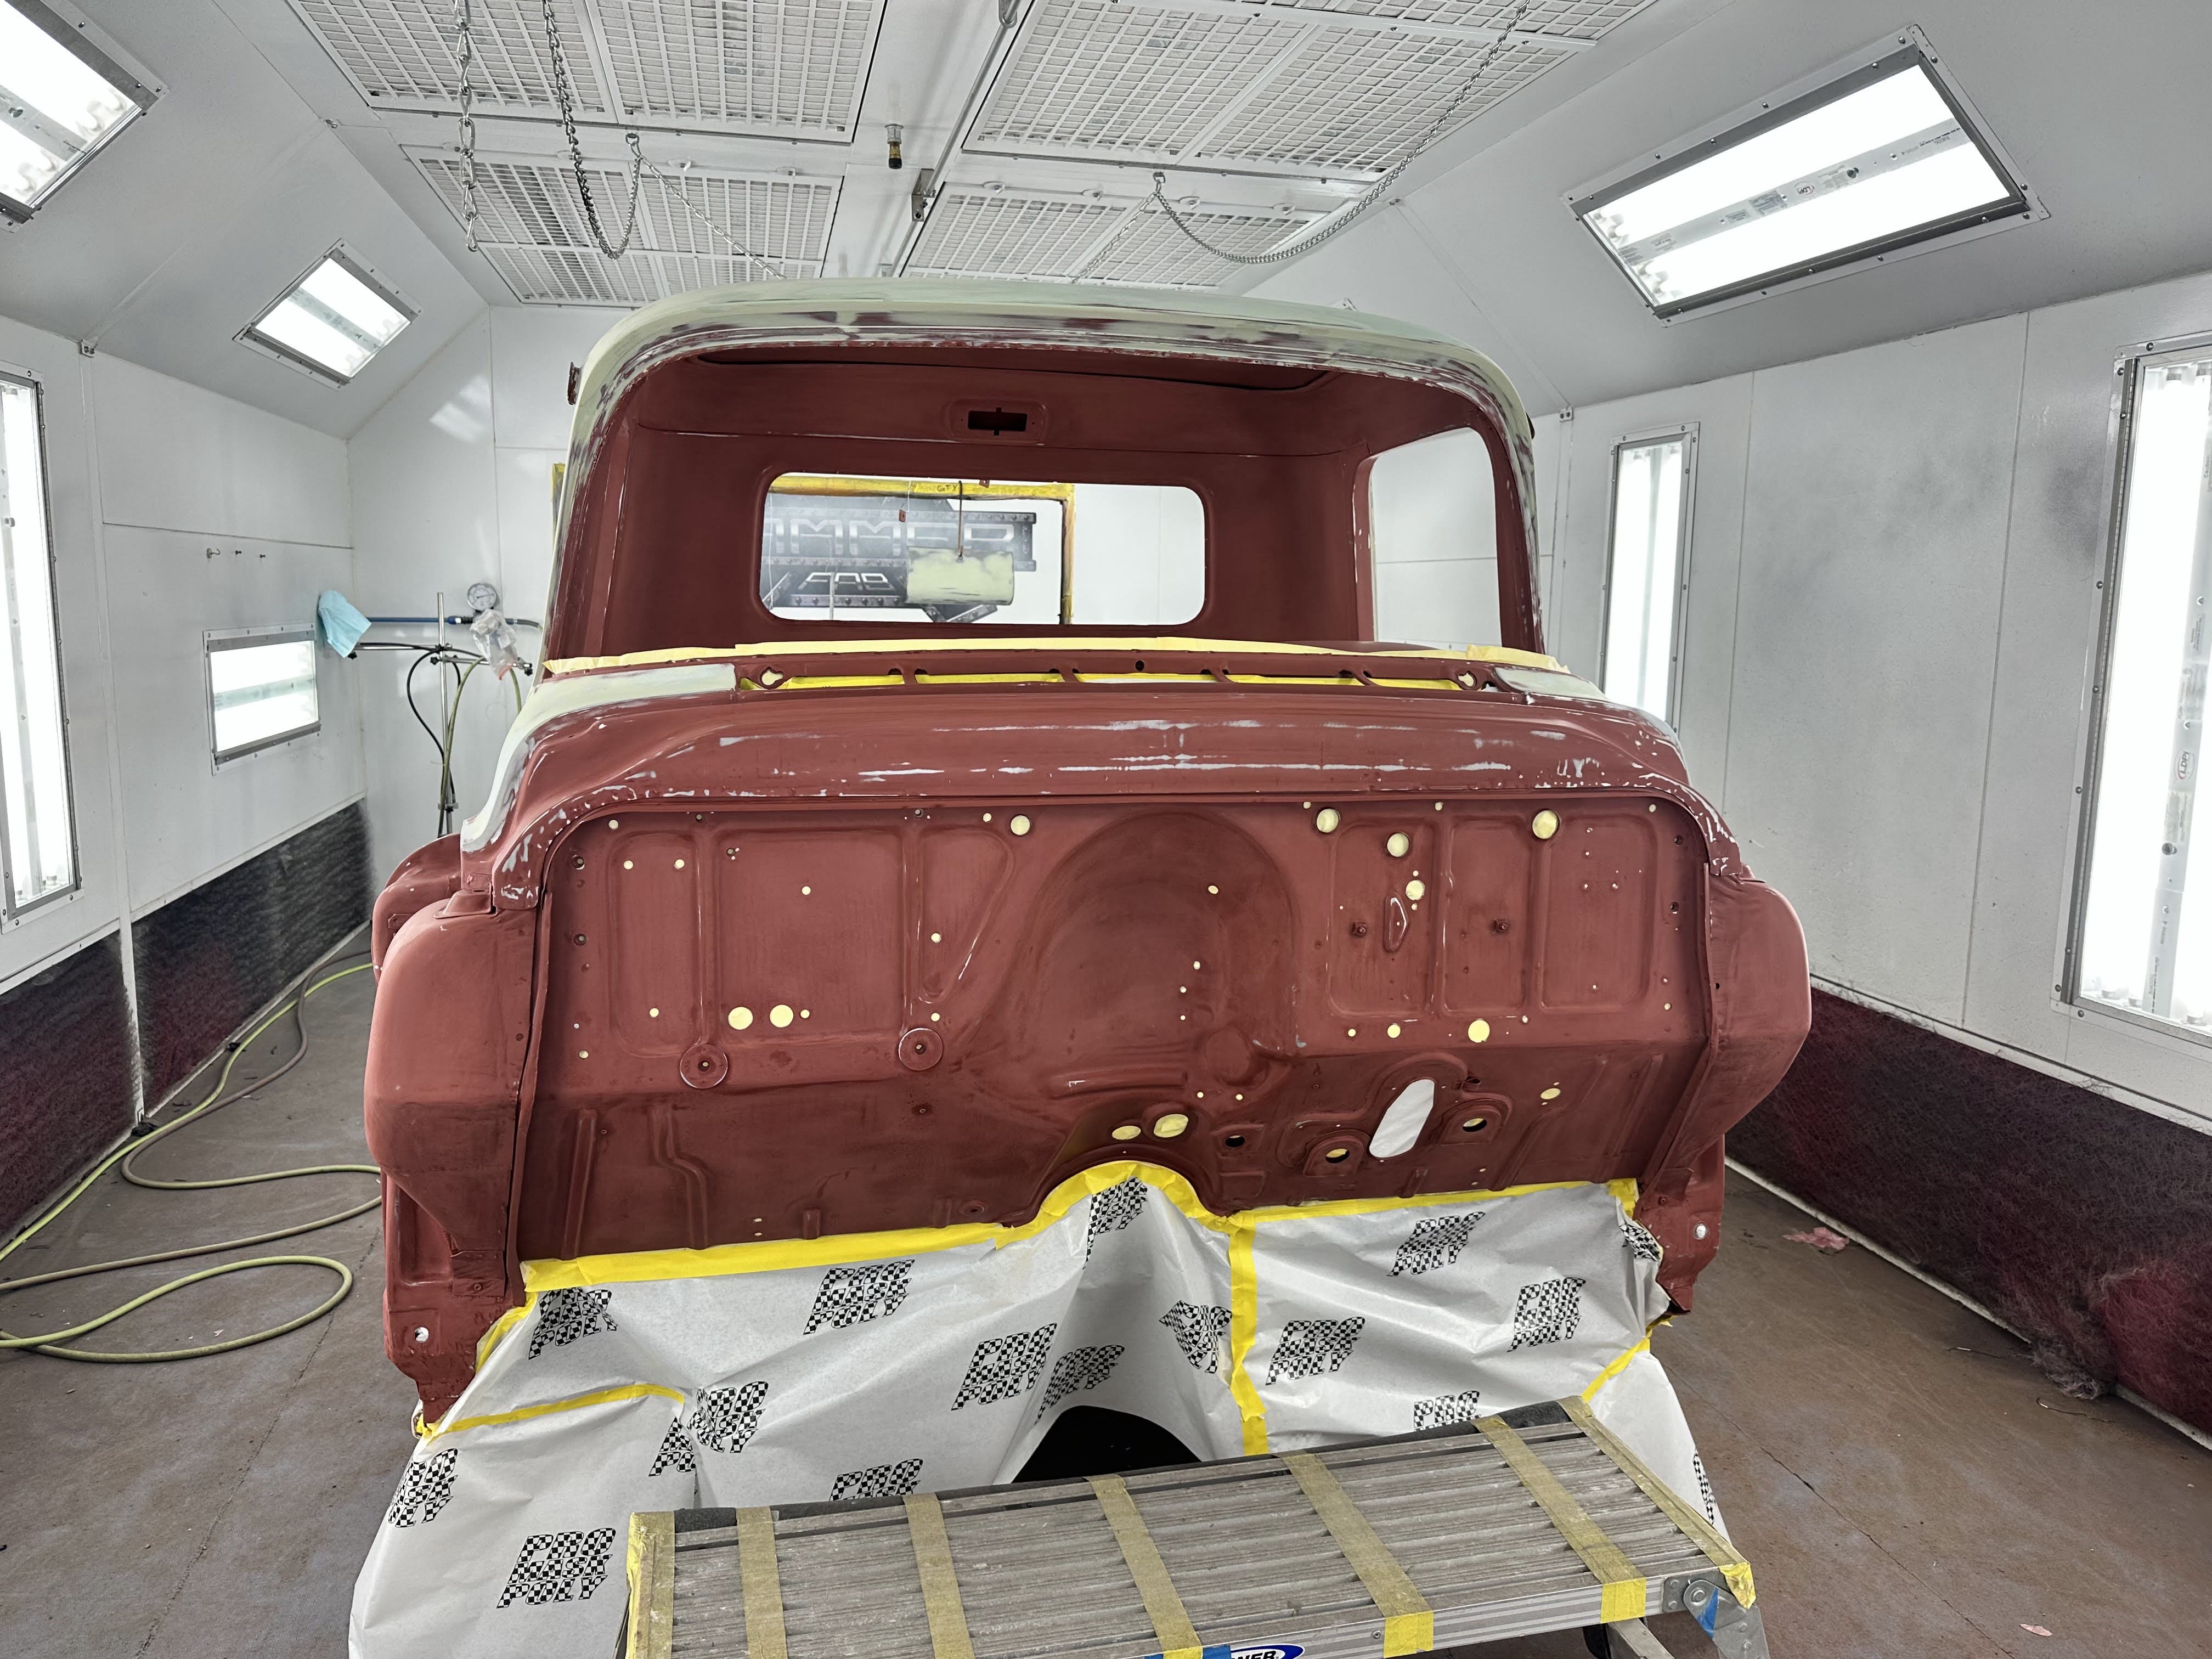 J008
J008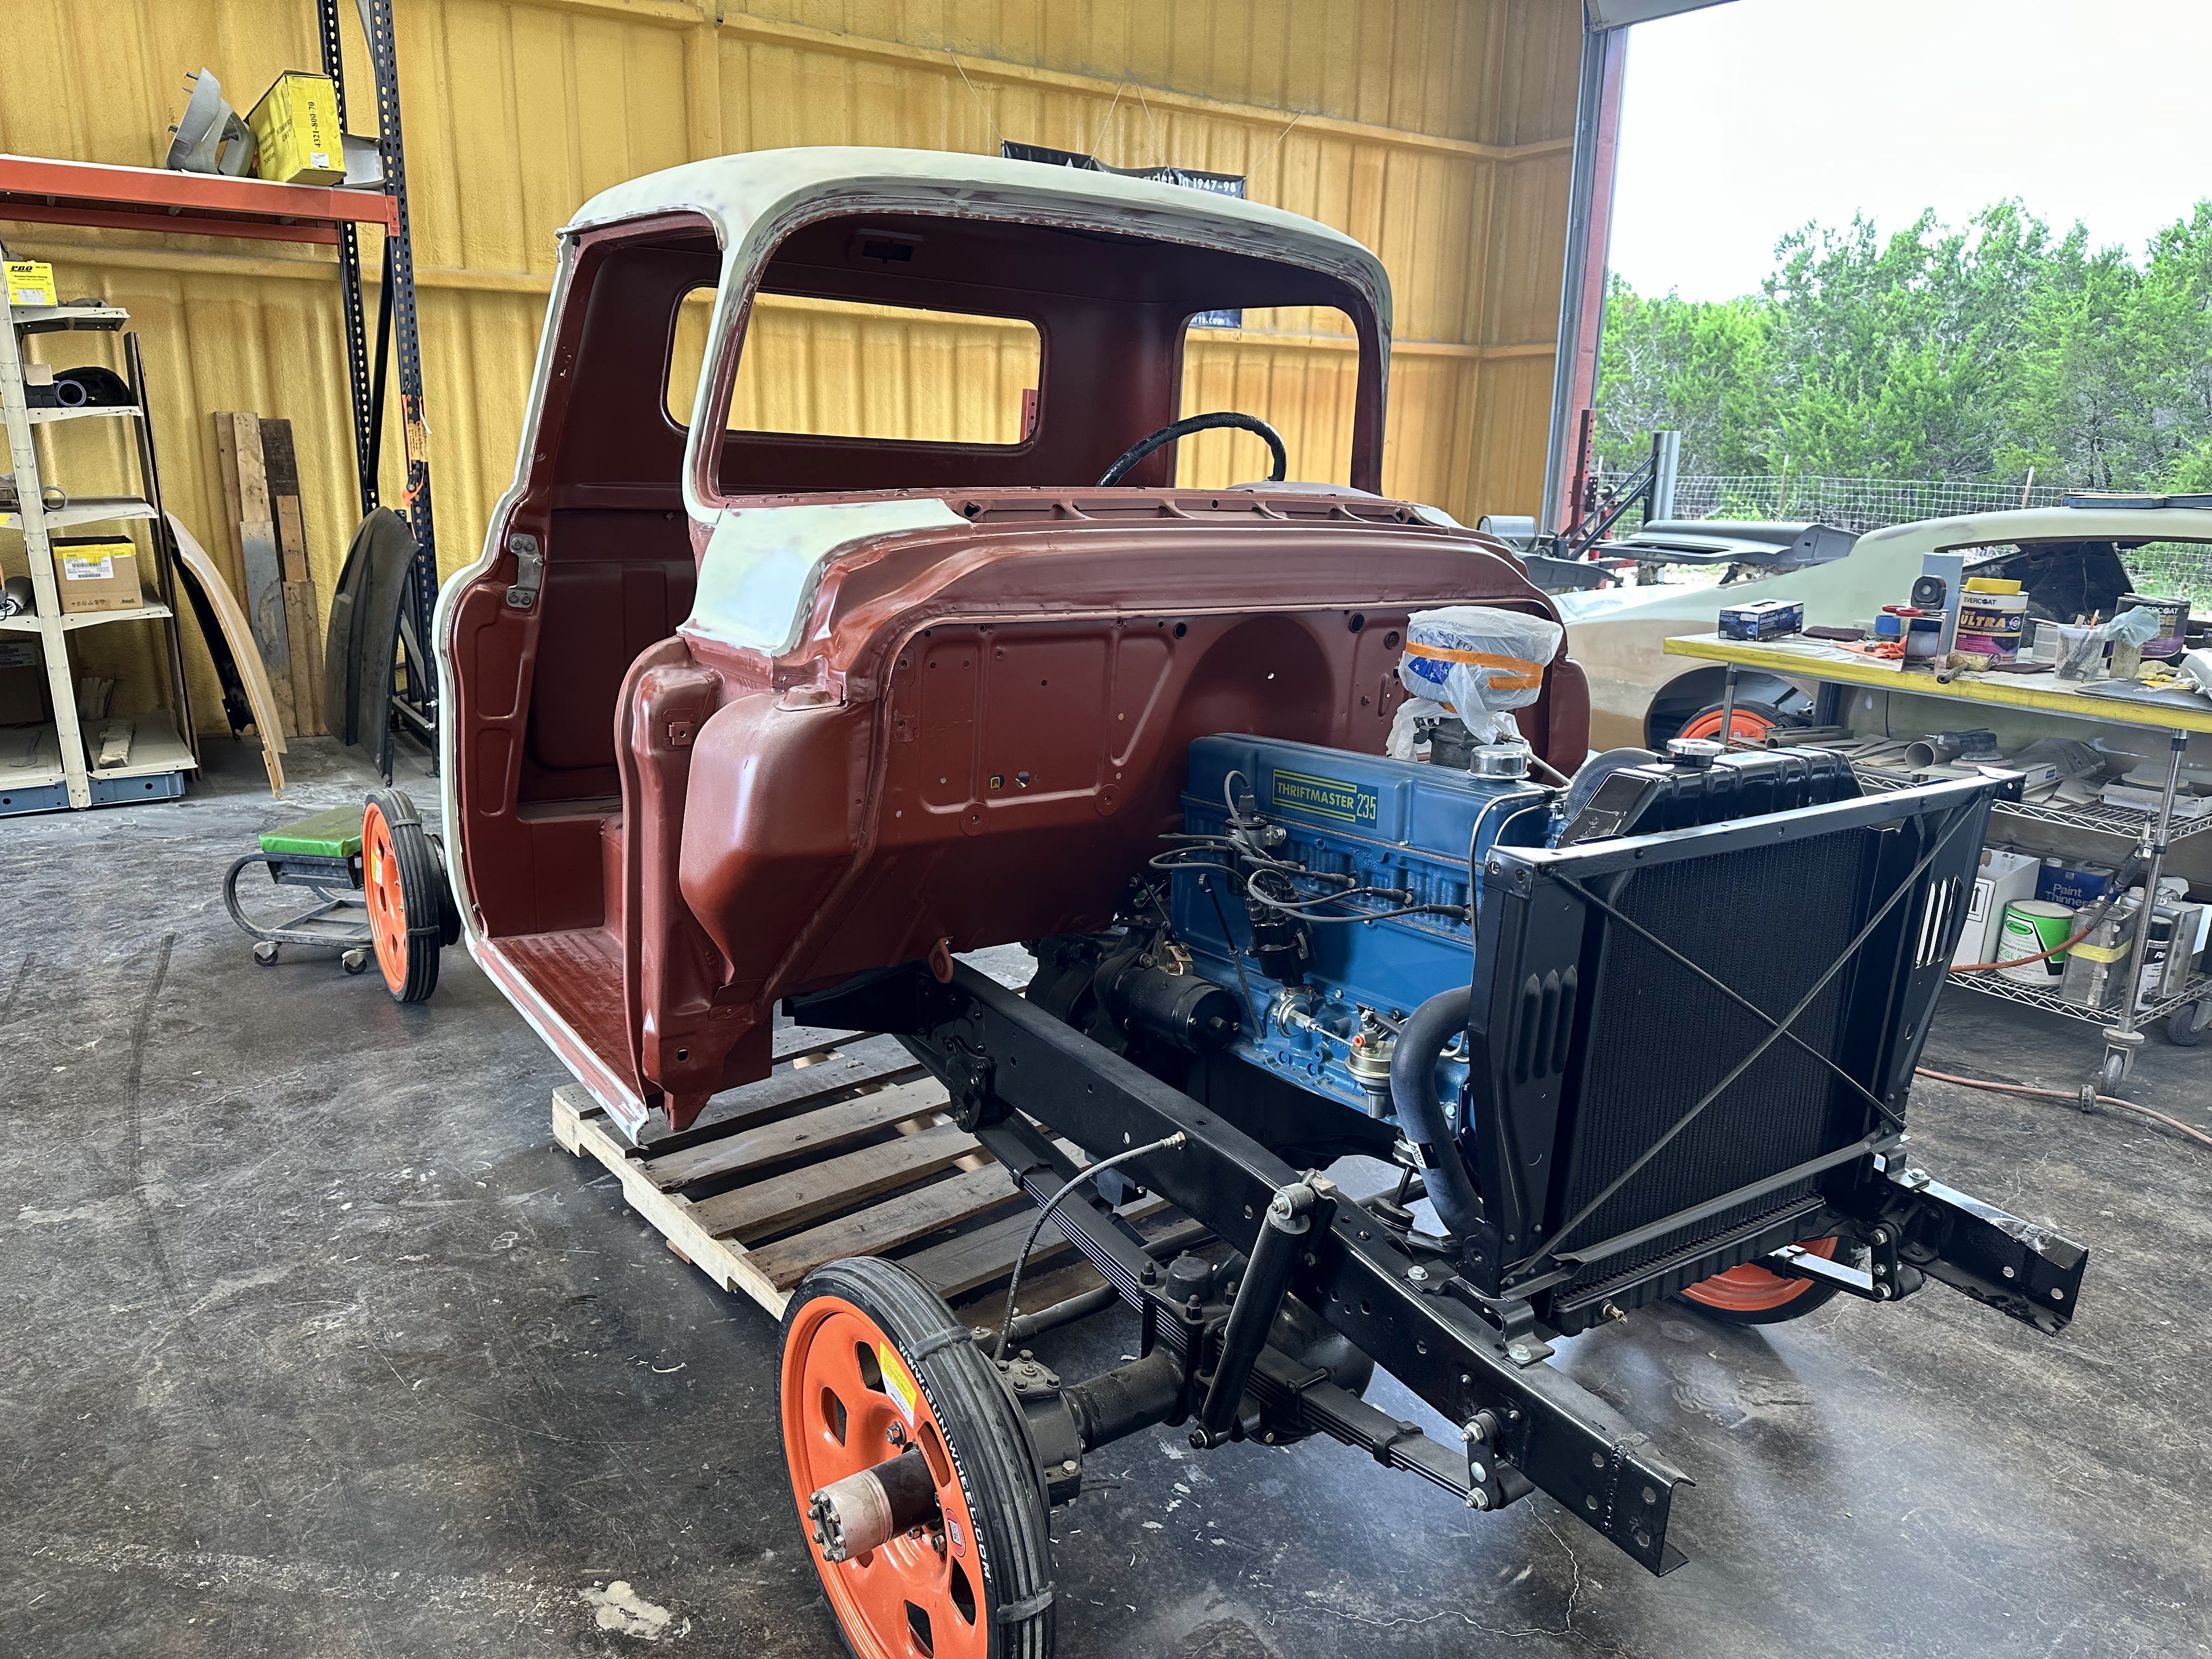 J009
J009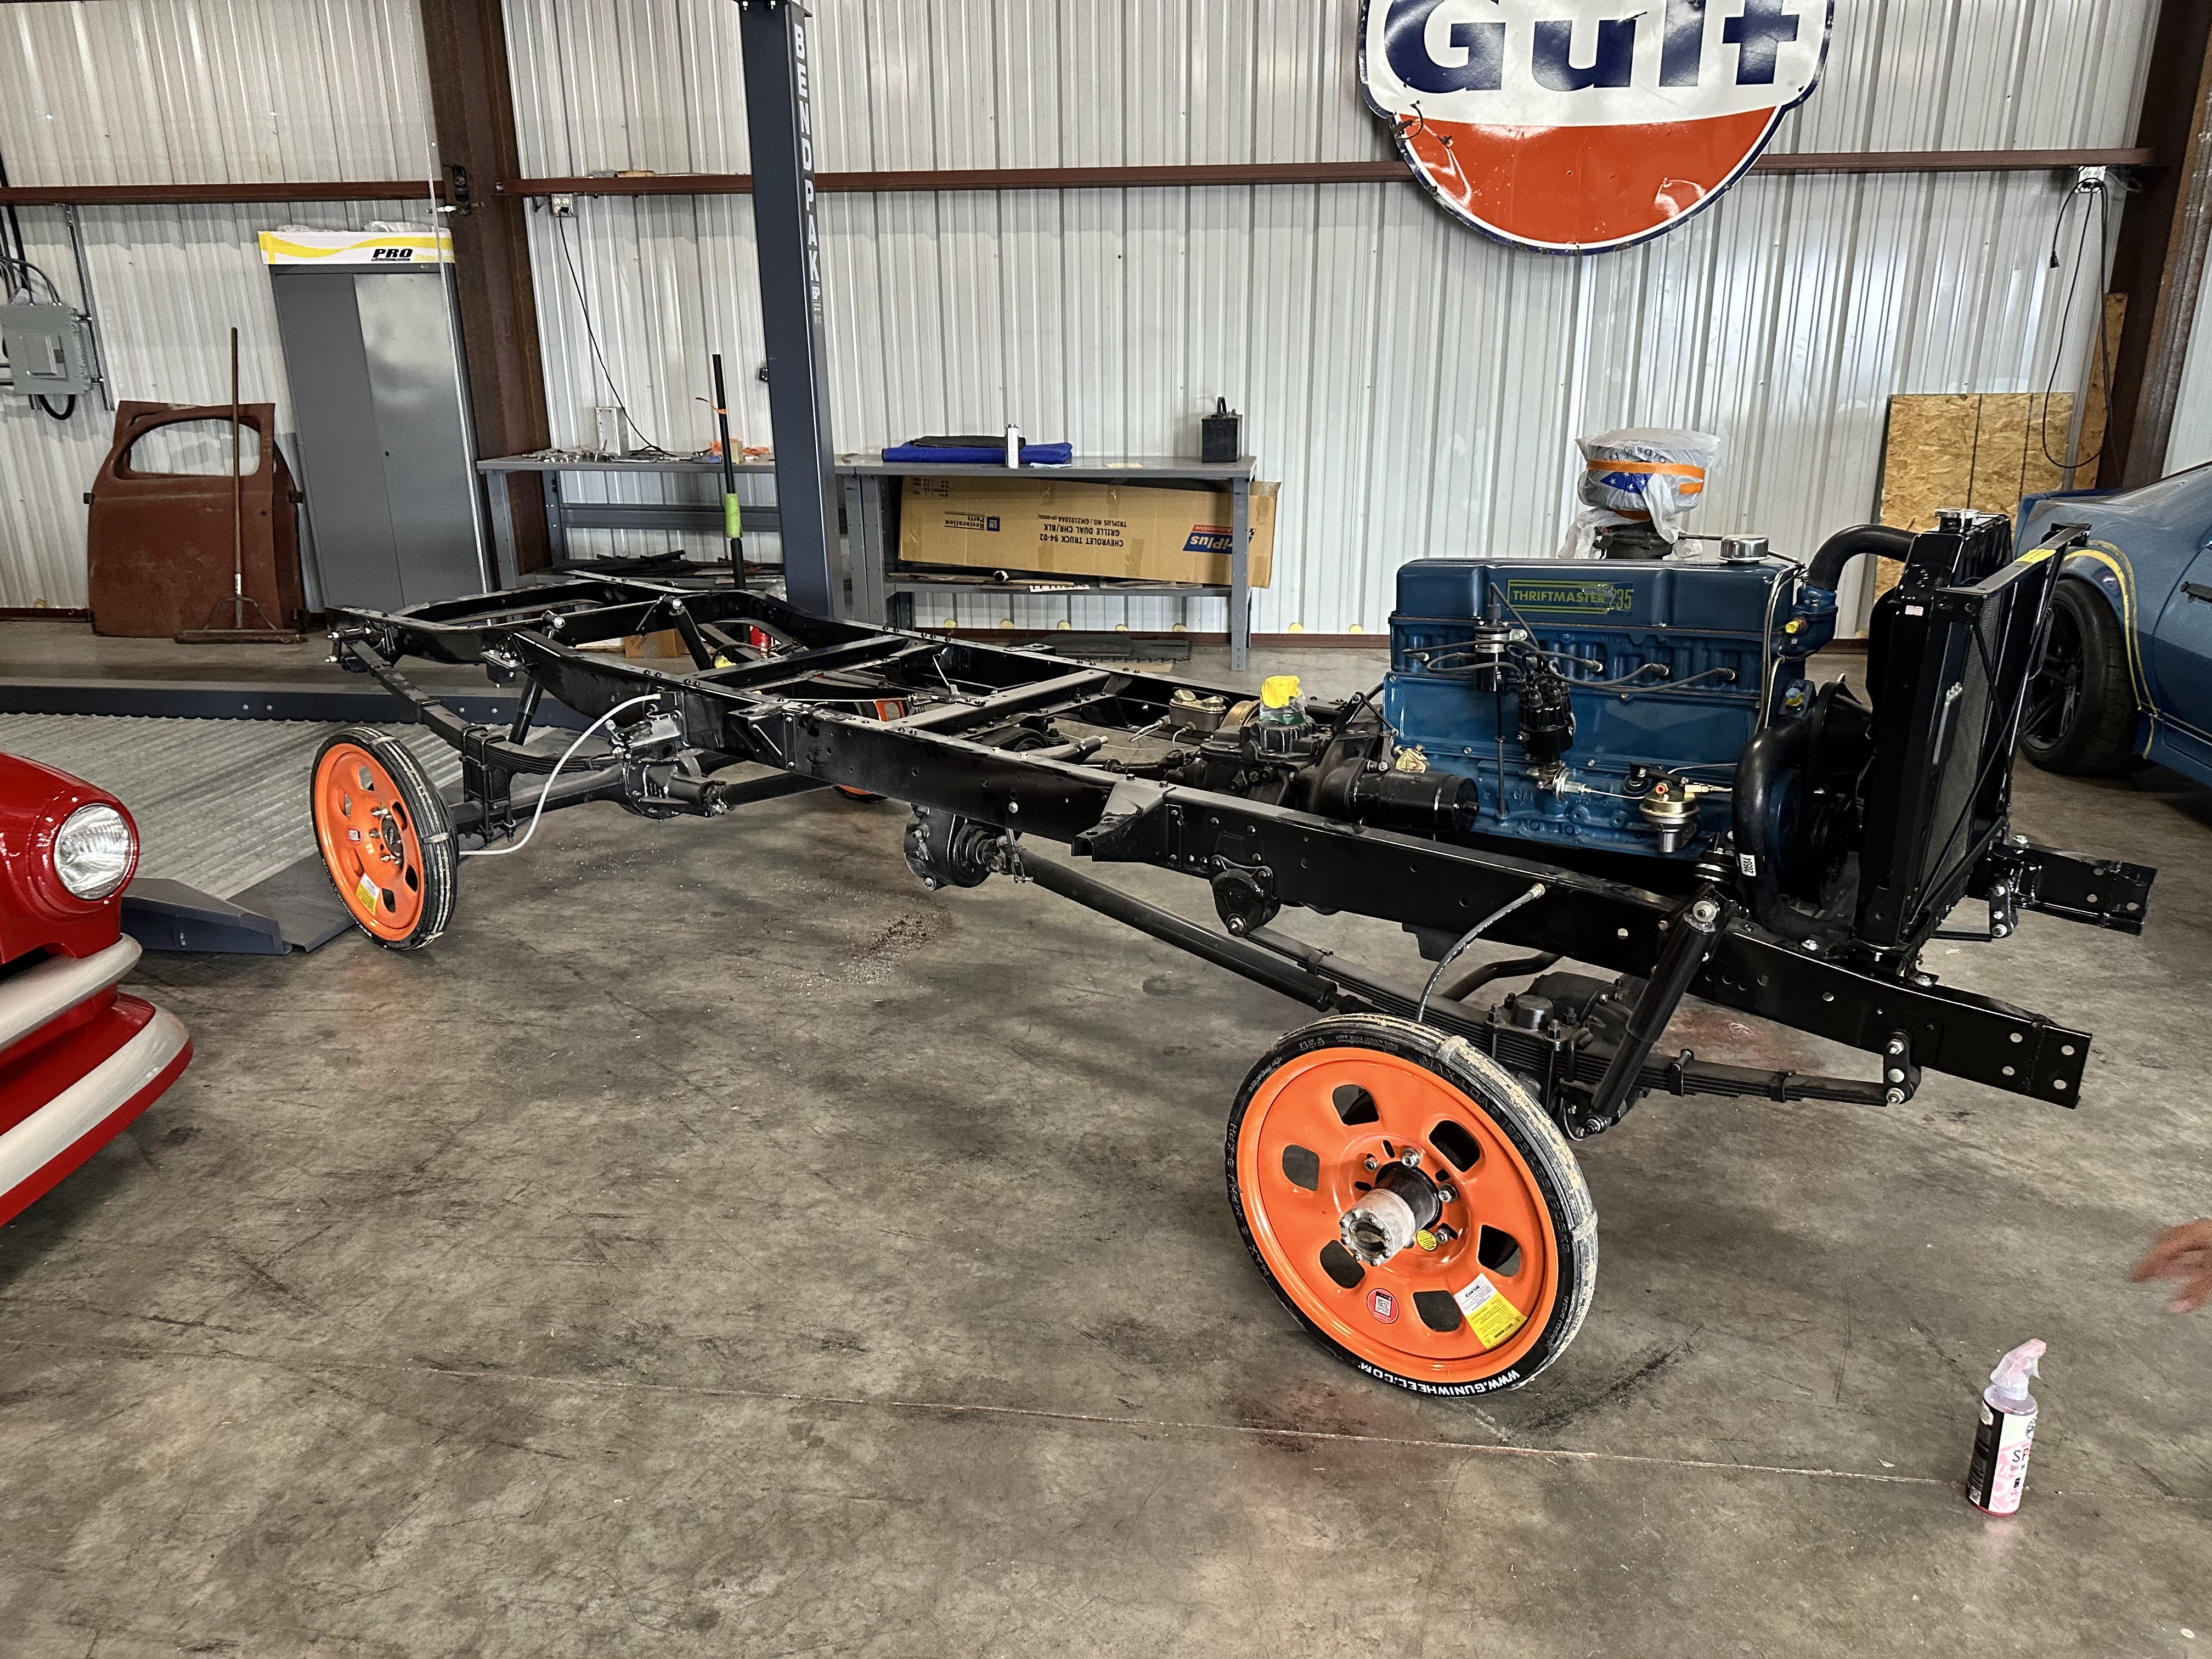 J010
J010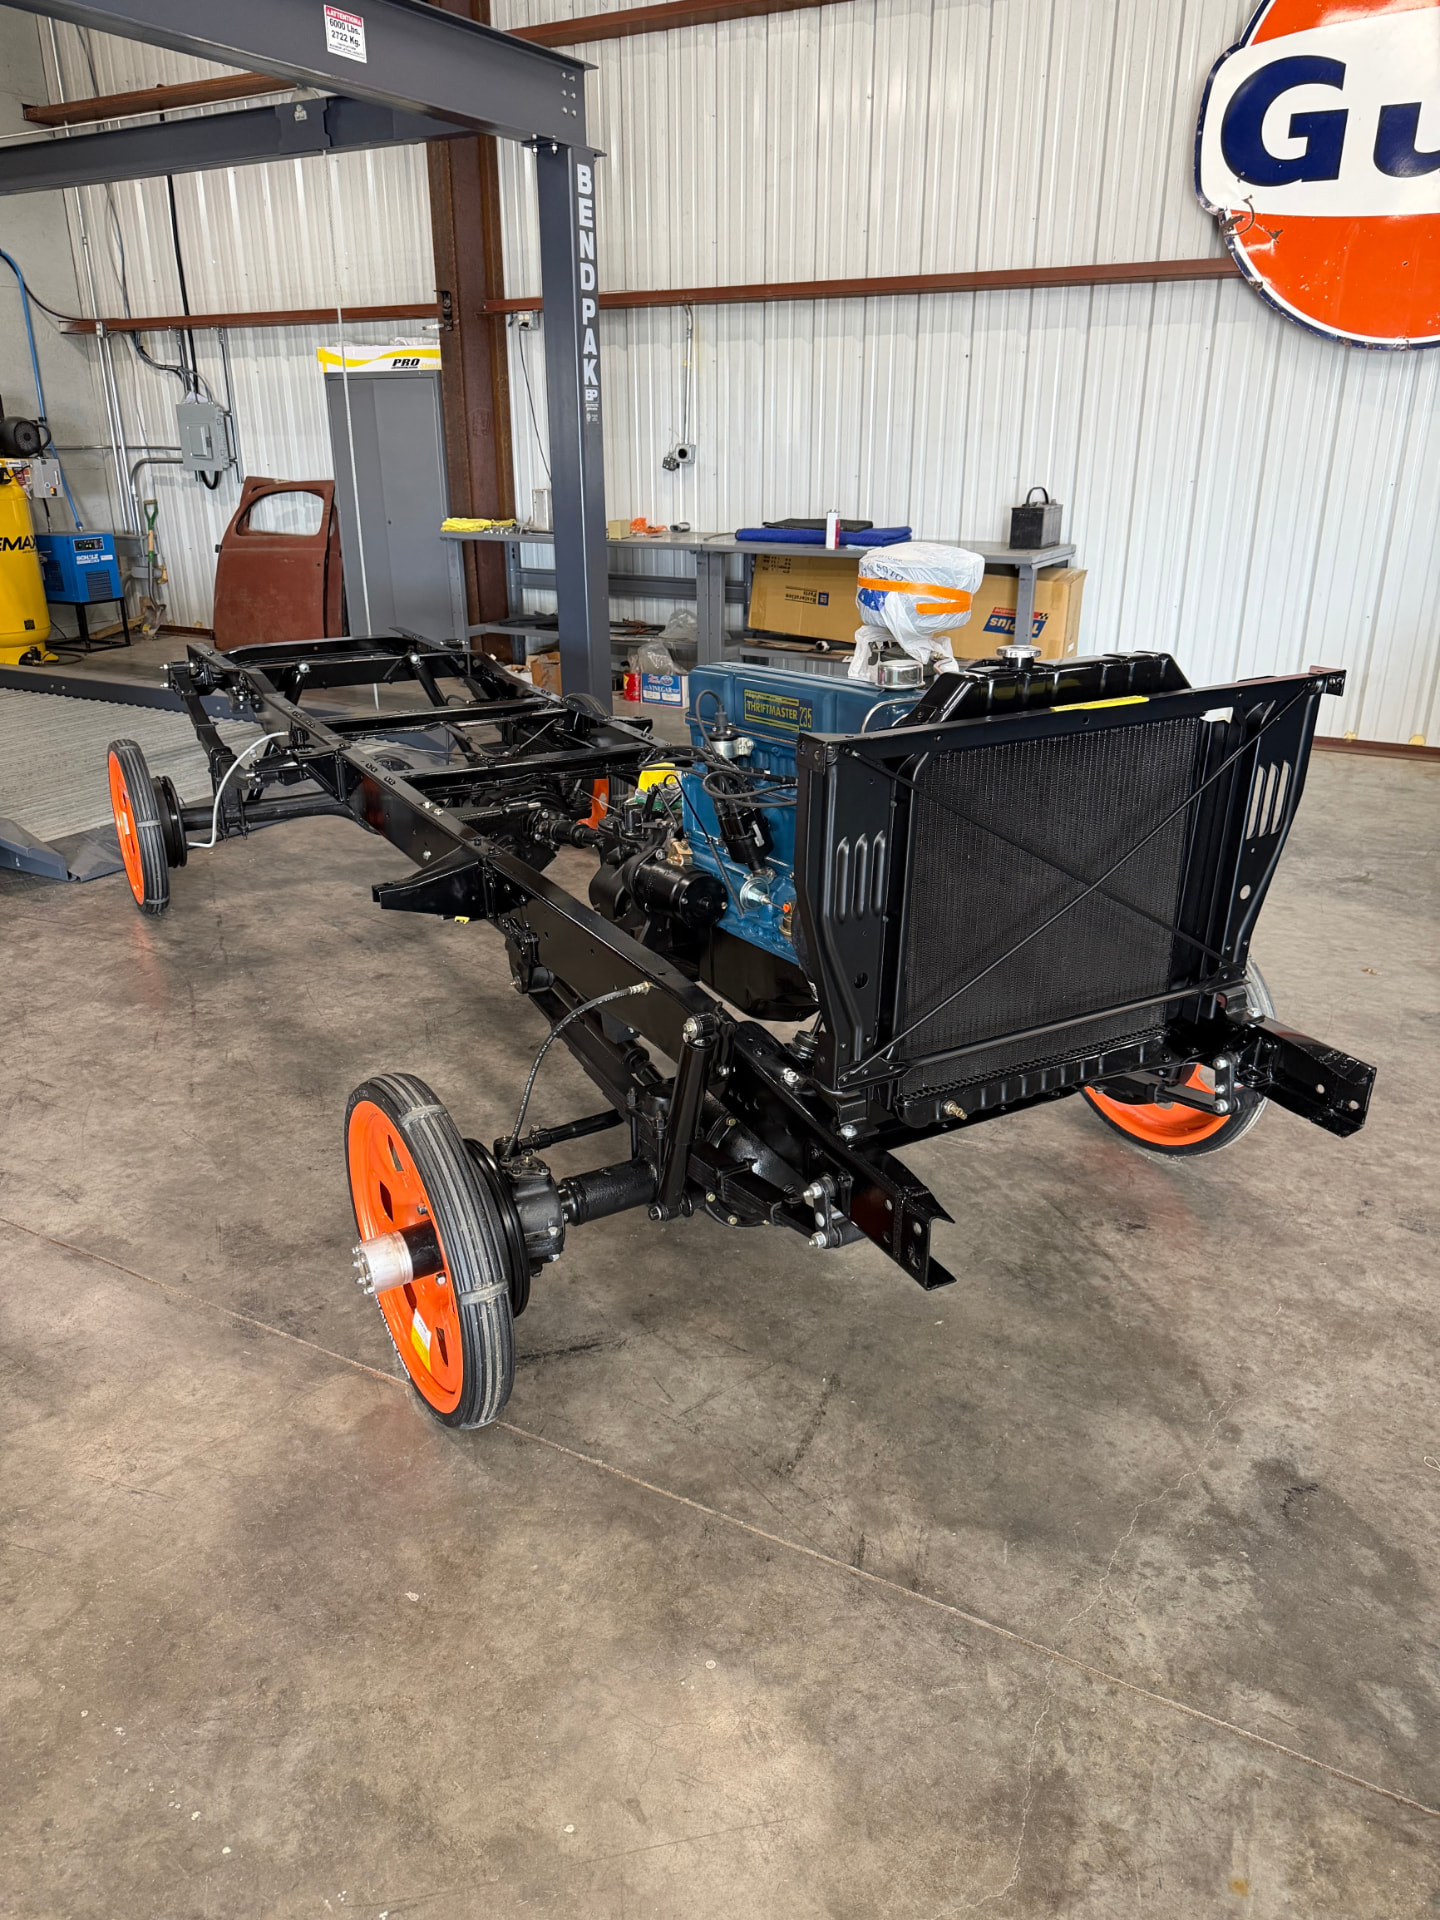 J011
J011UPDATE 03 / 06
May 1, 2026
FABRICATIONBillet tailgate latches and stops
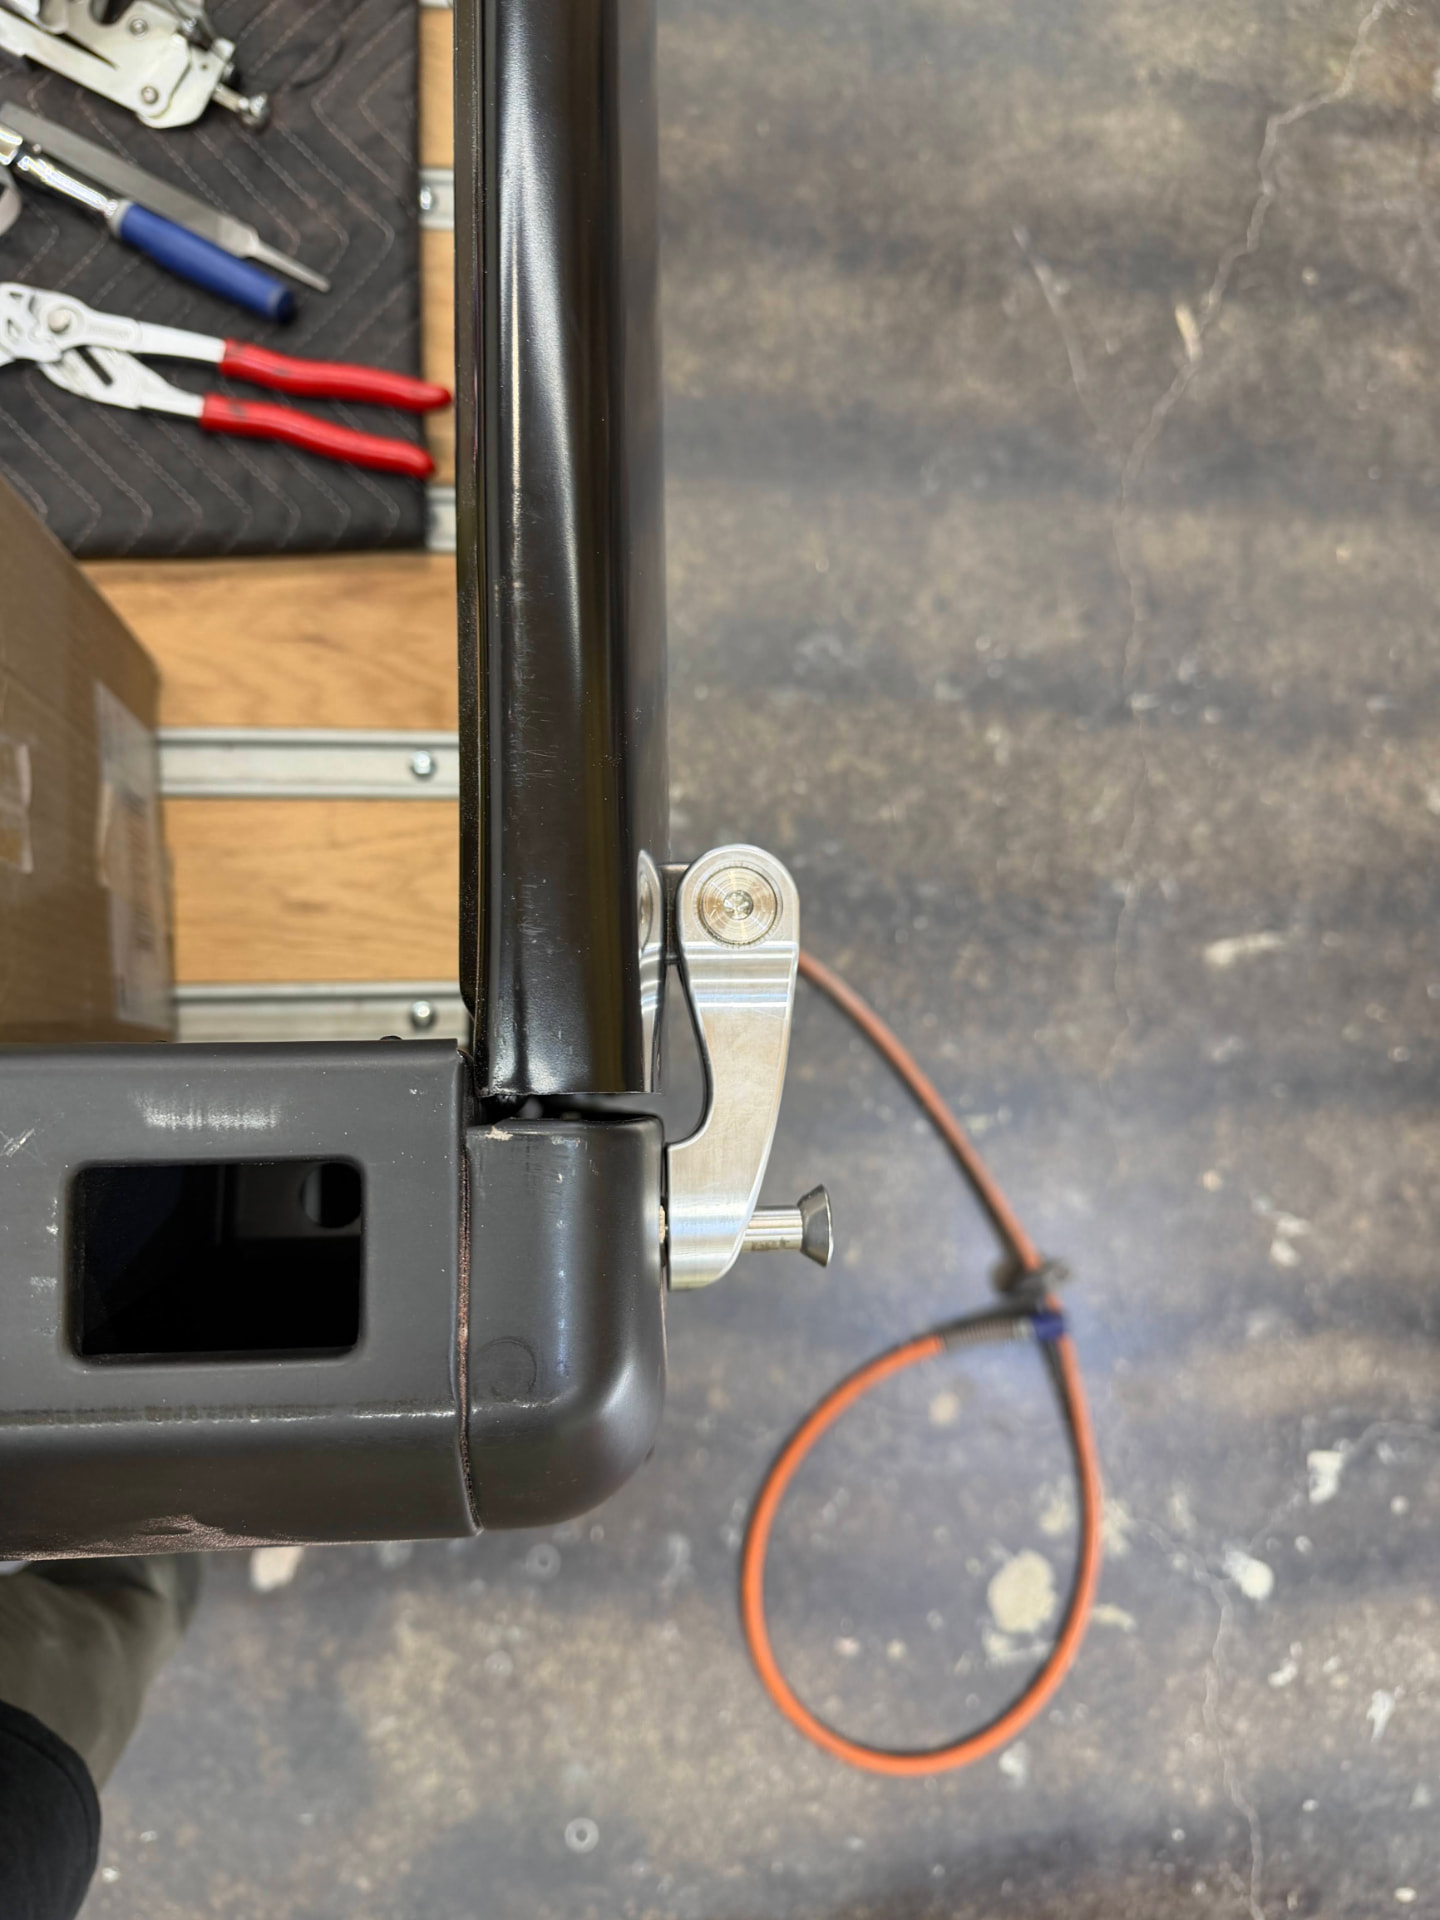
May 2026: the owner saw our billet tailgate latches and stops on another truck and said they were a must. They're one of the few custom touches on this restoration, and they're a real improvement over the clanky old chains — the tailgate drops level, locks solid, and there's nothing swinging around to chip fresh paint. Machined in-house, mocked up and measured against the bed before final fit.
 J012
J012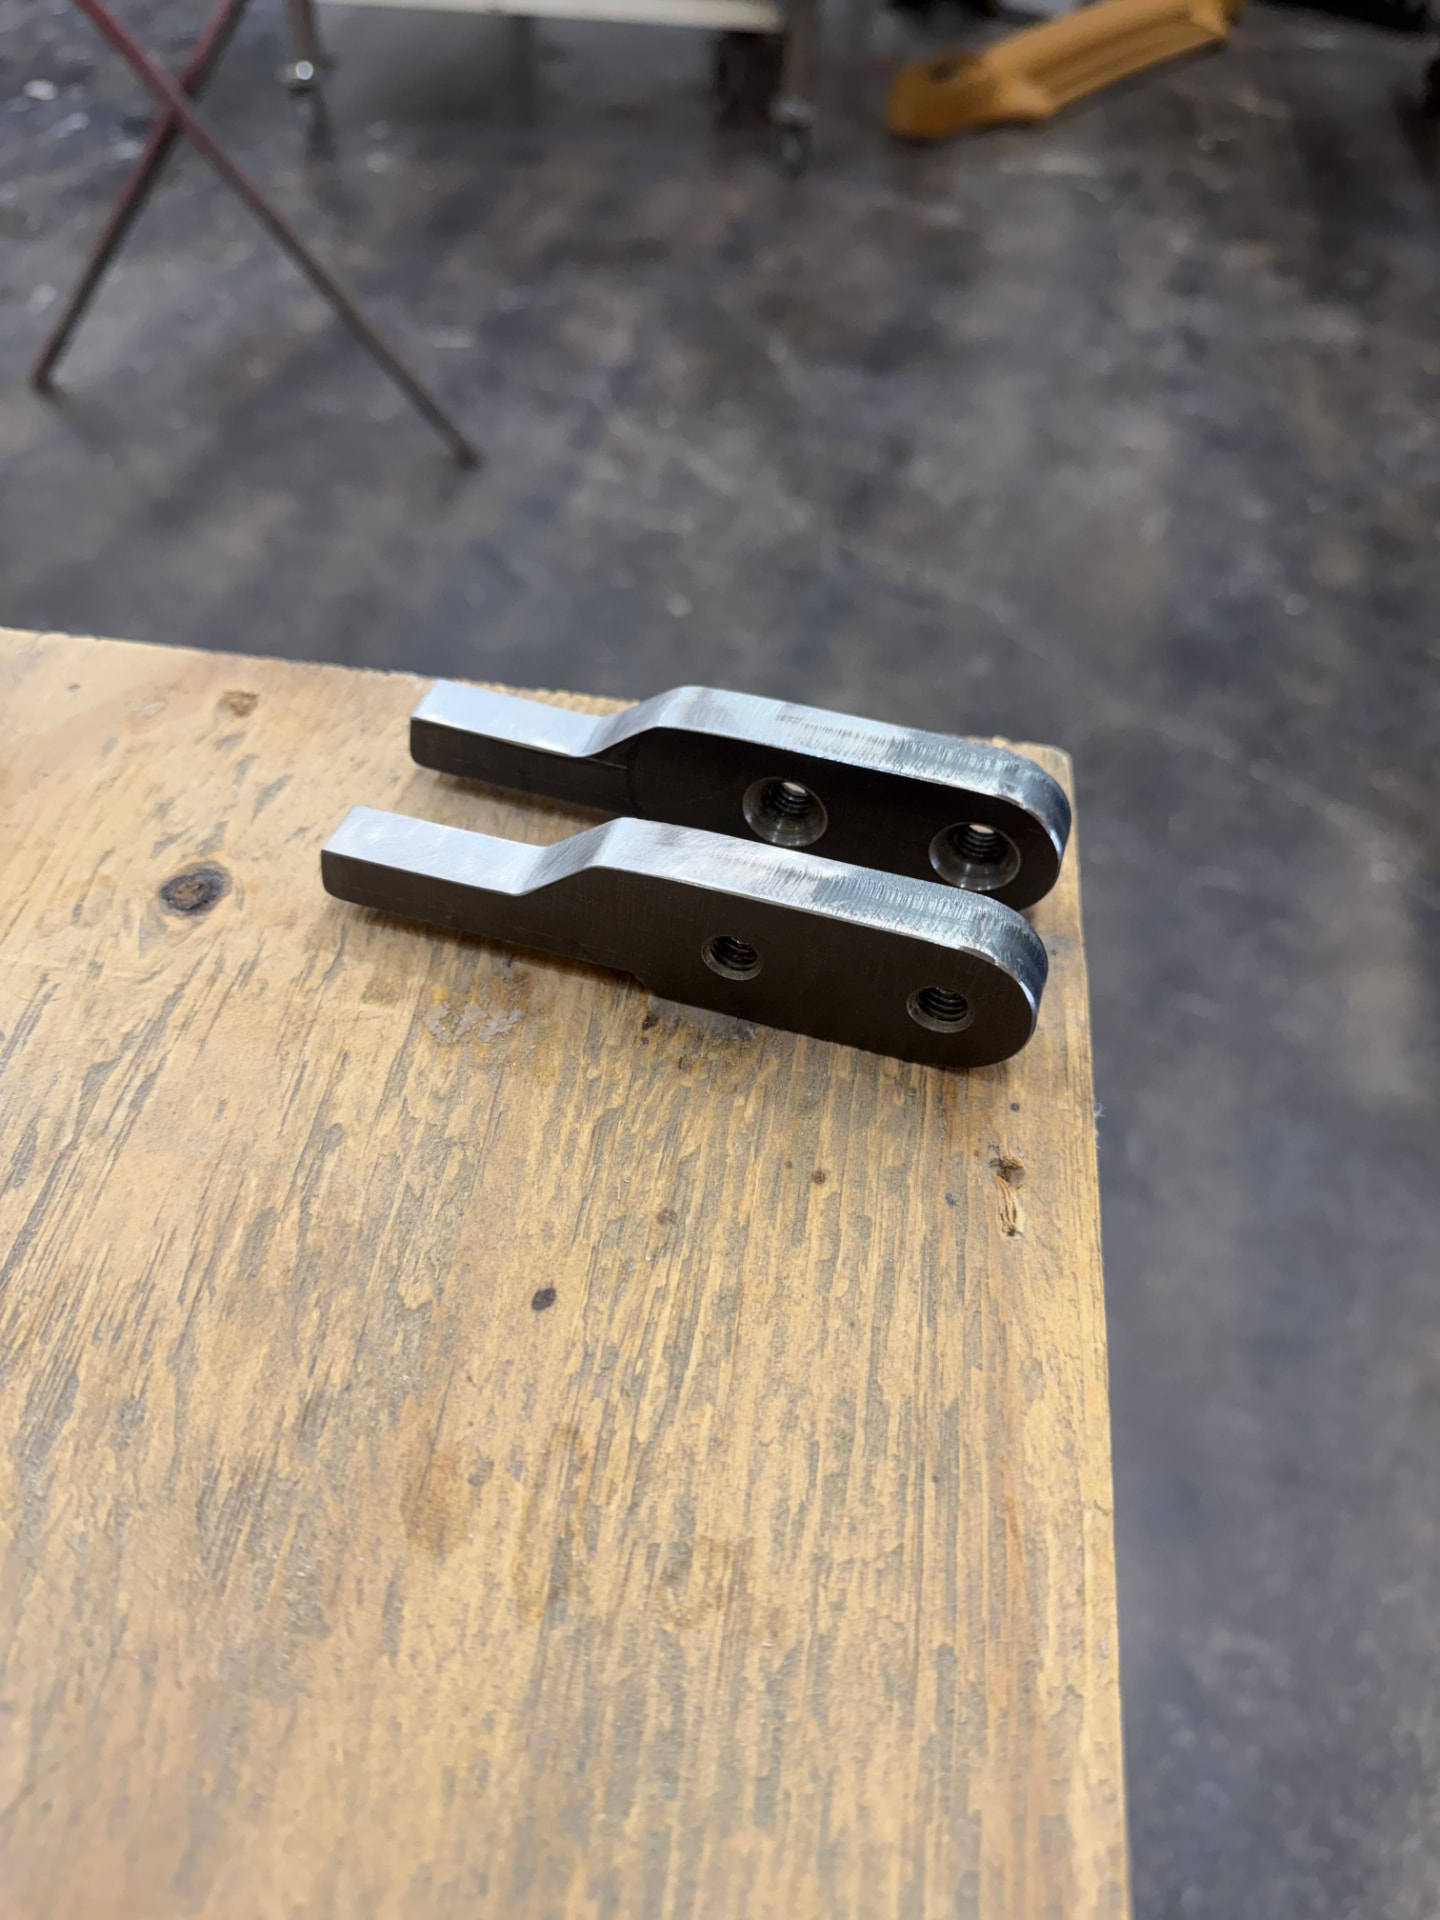 J013
J013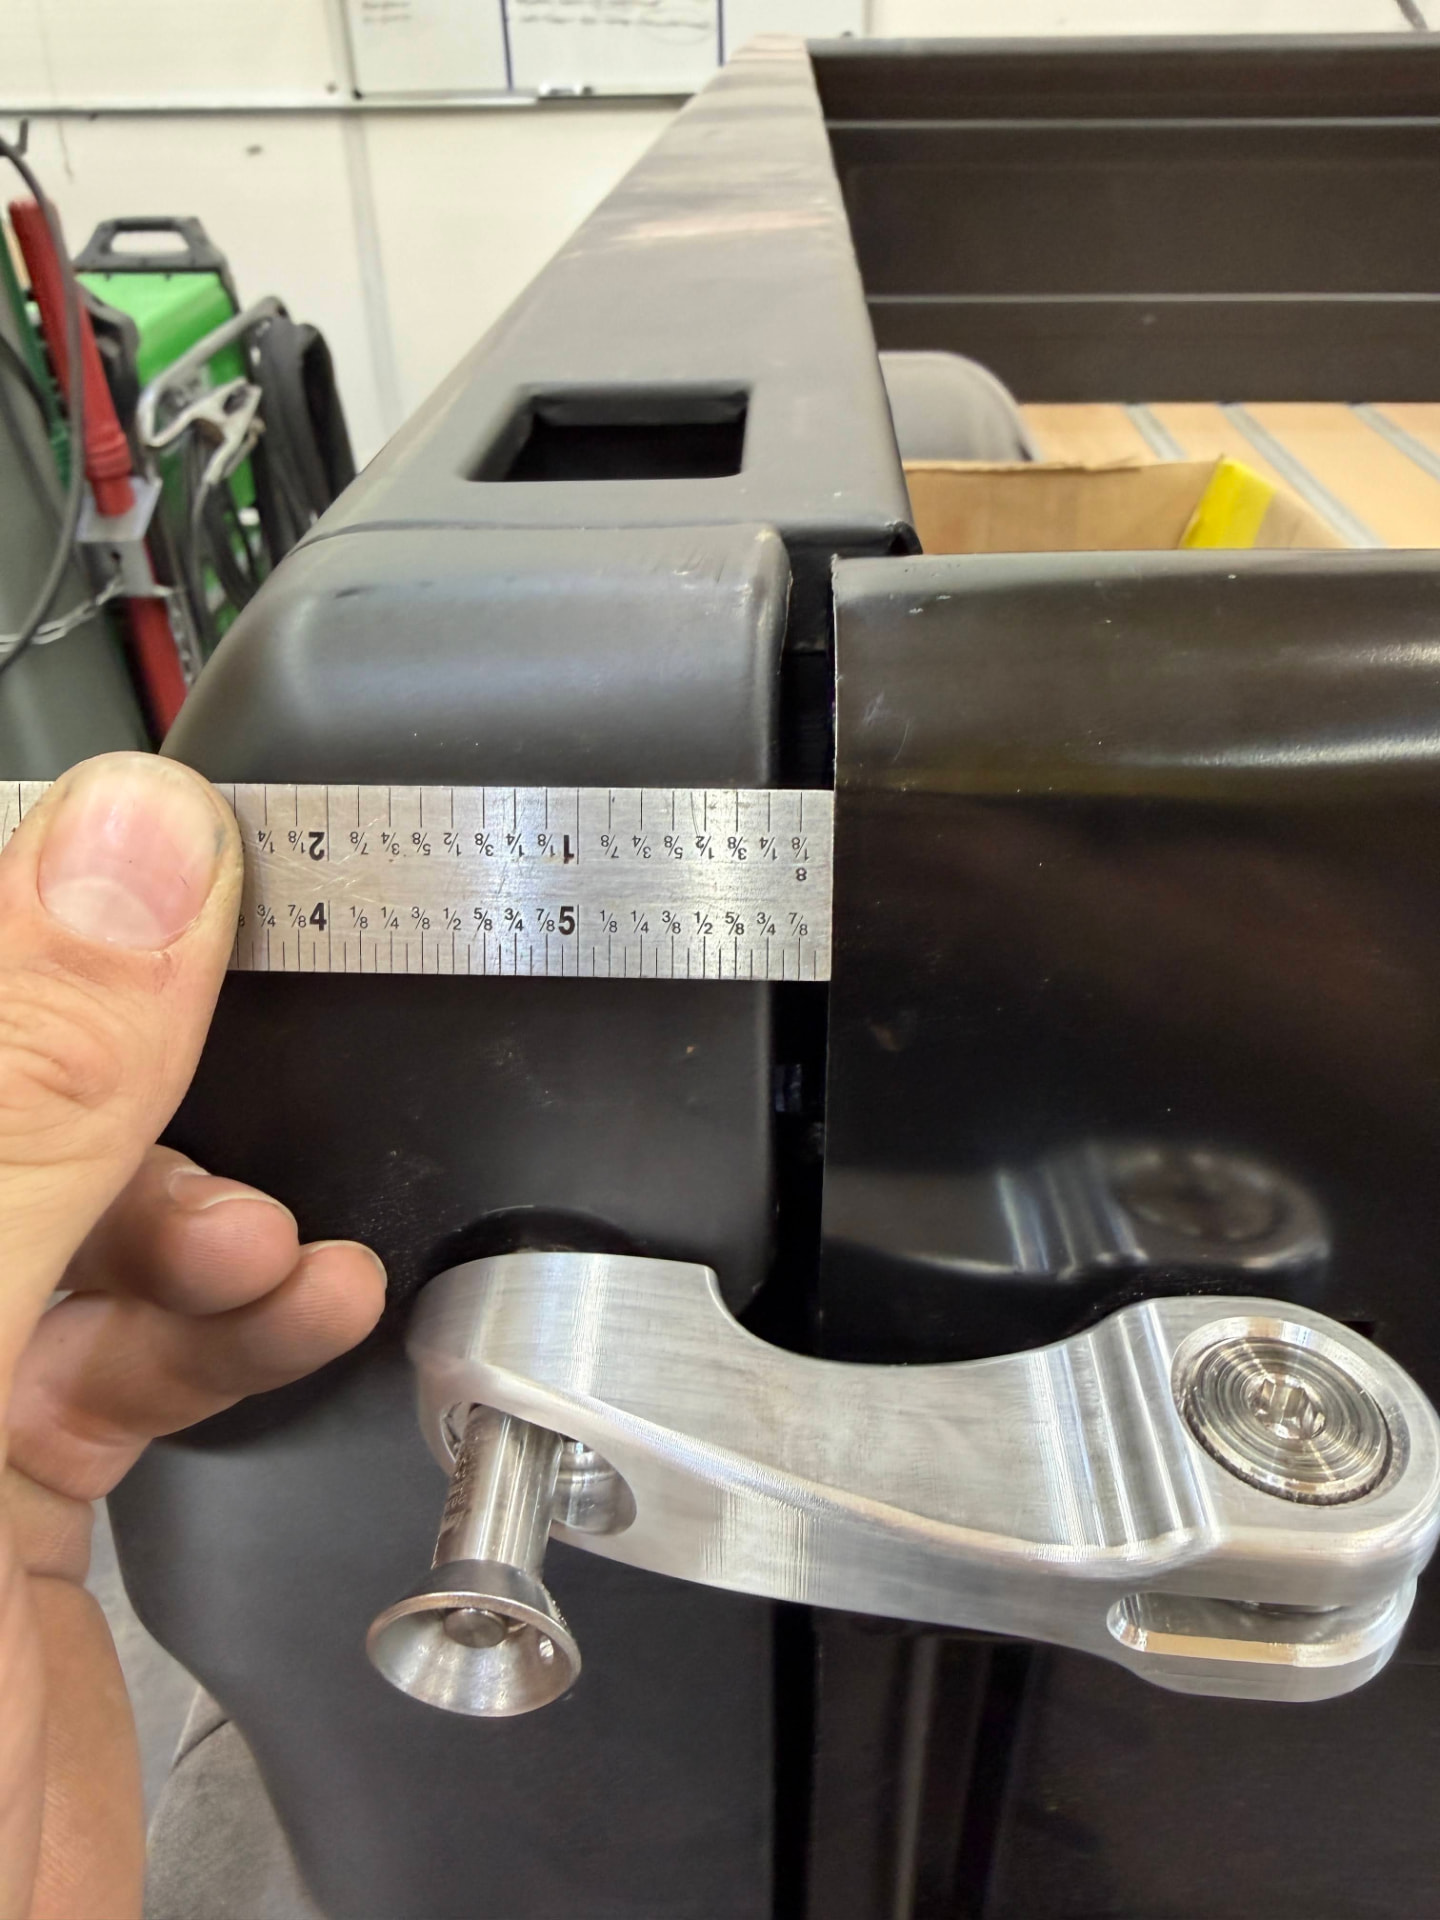 J014
J014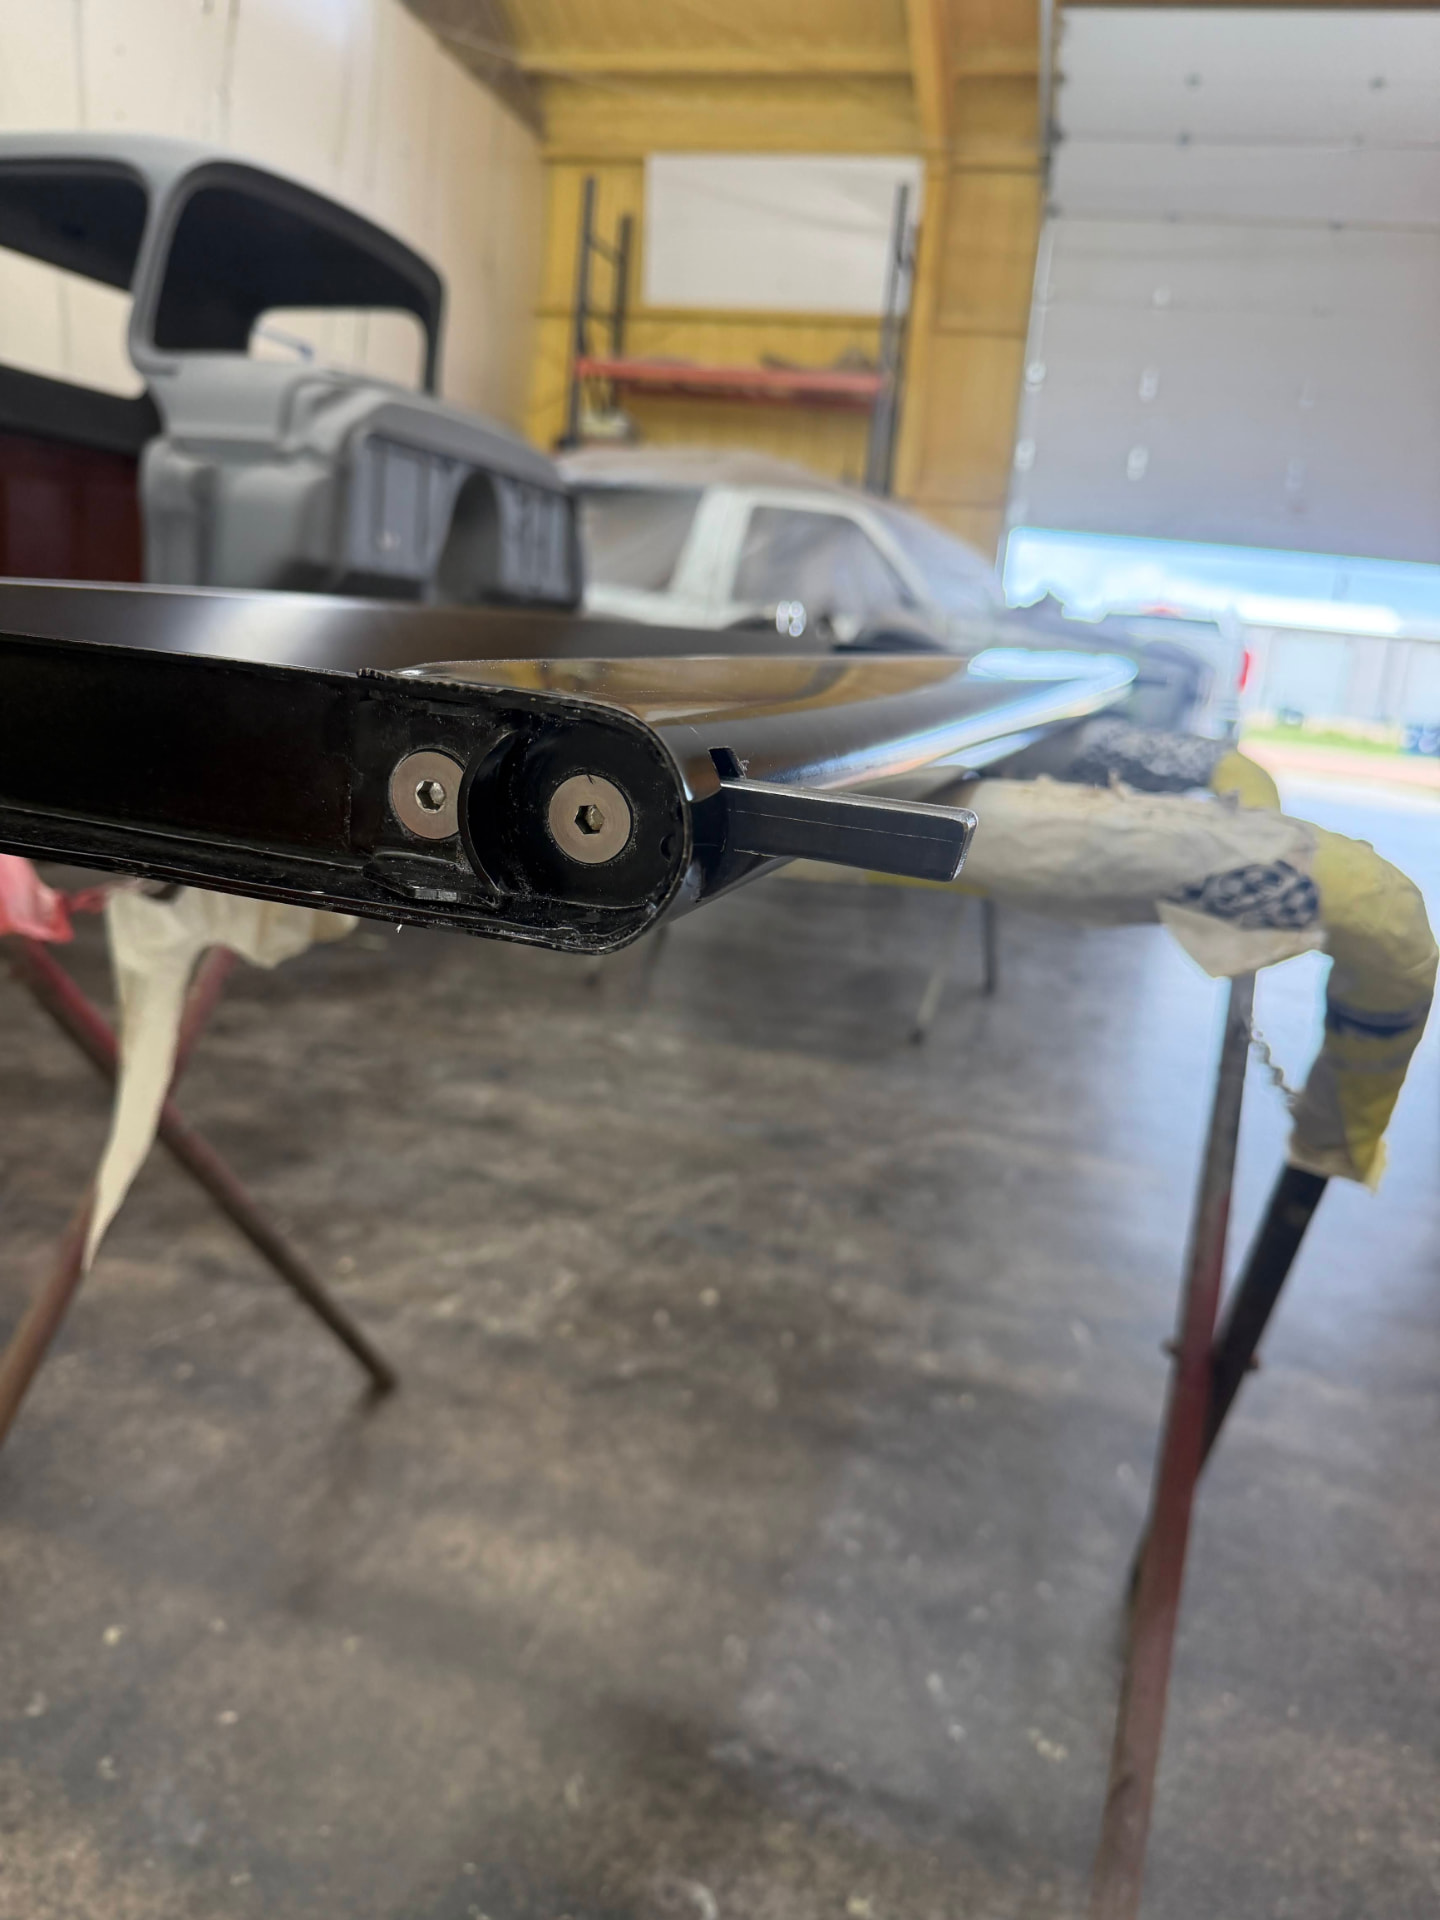 J015
J015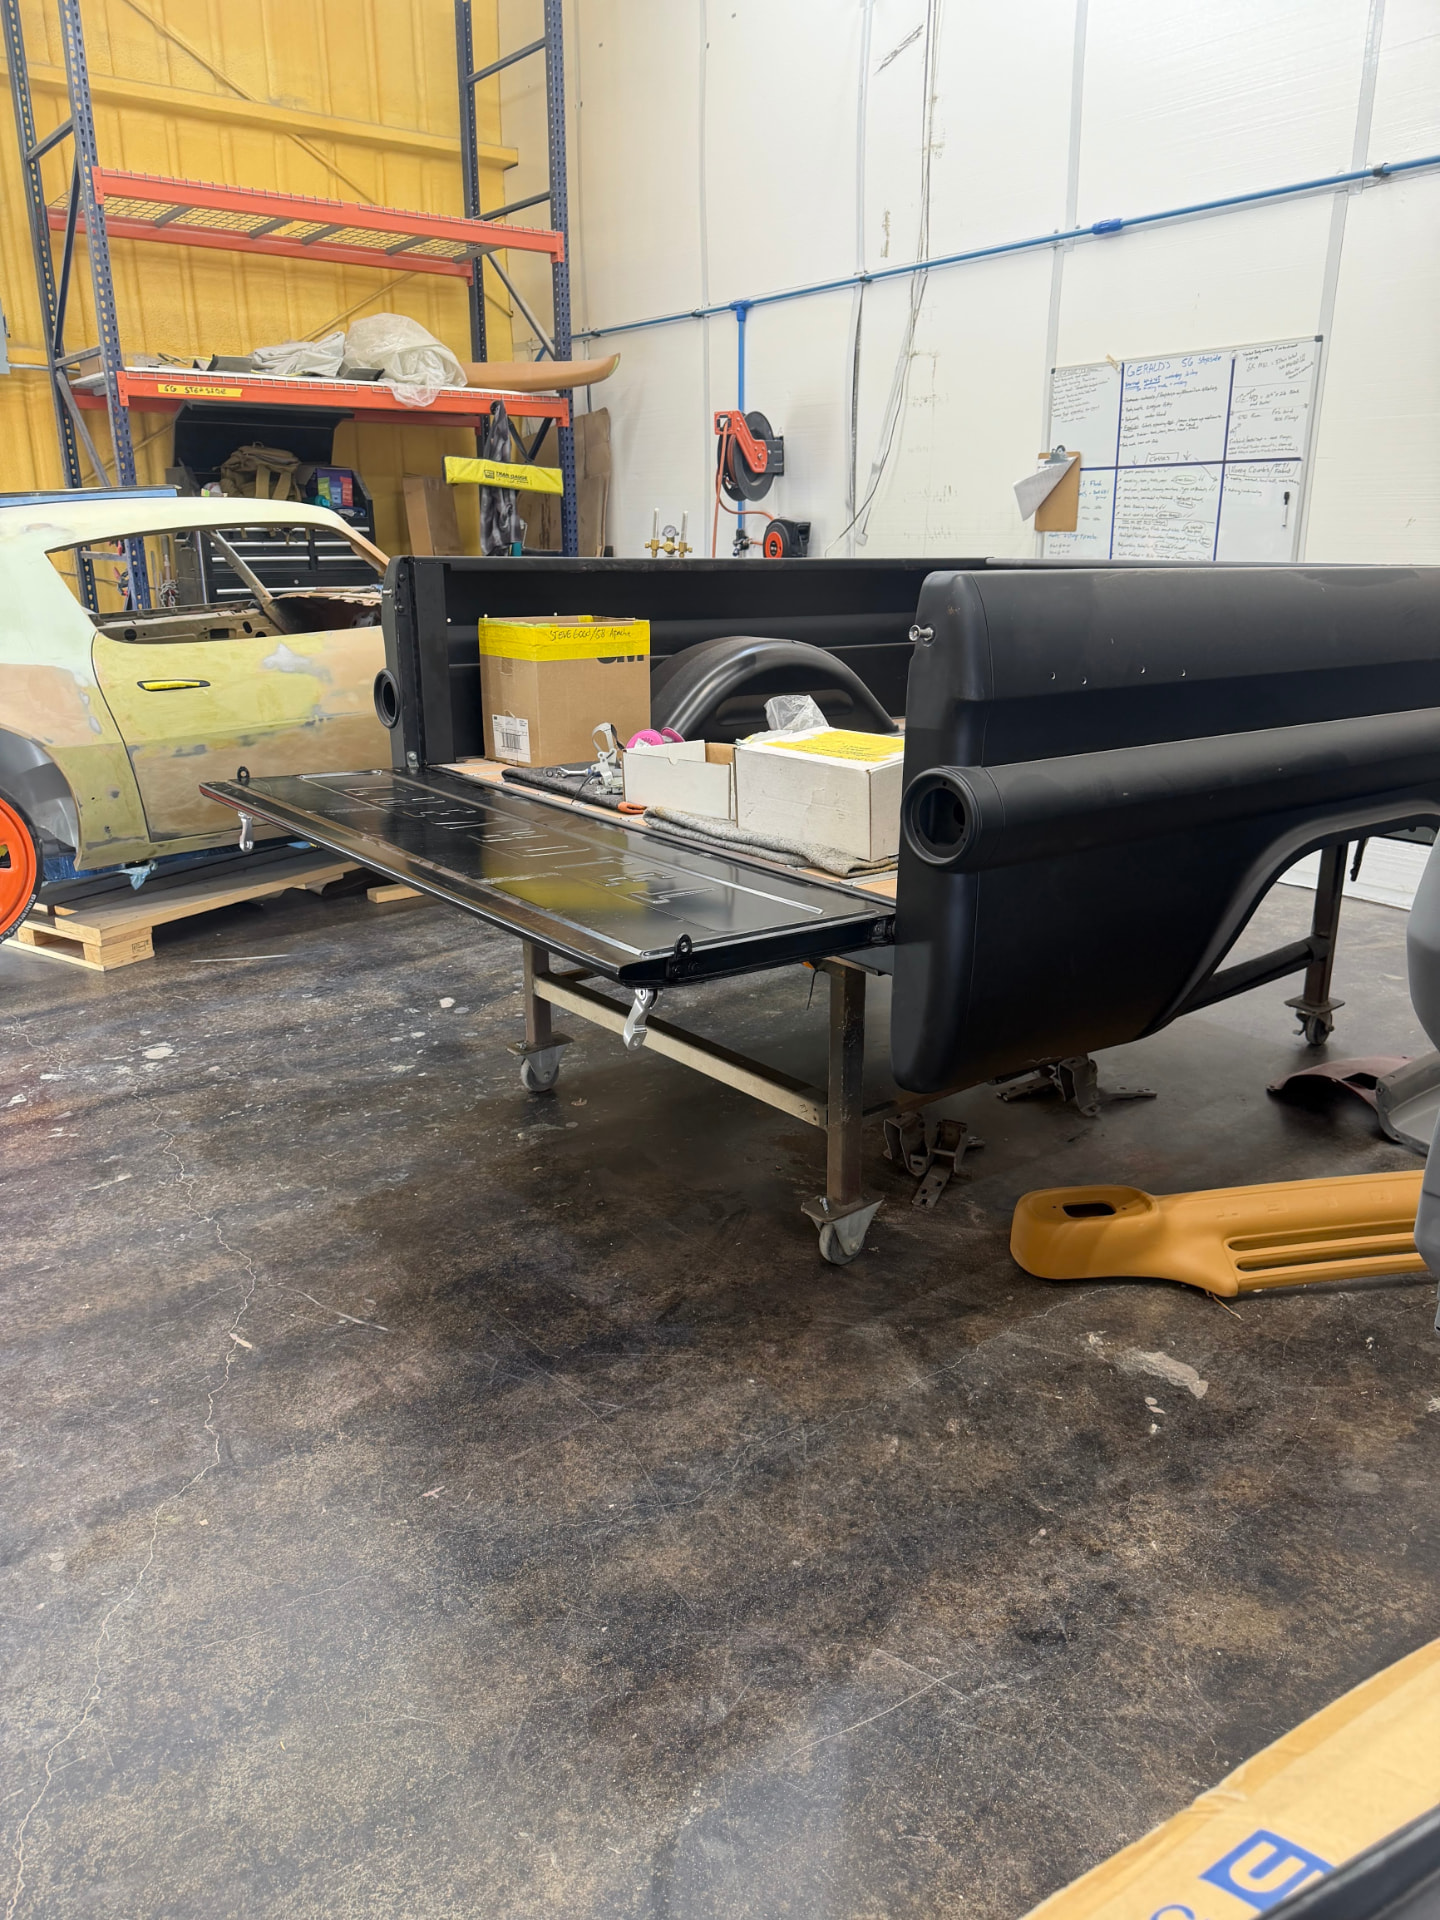 J016
J016UPDATE 04 / 06
Apr 2, 2026
DESIGNConcept for the finish
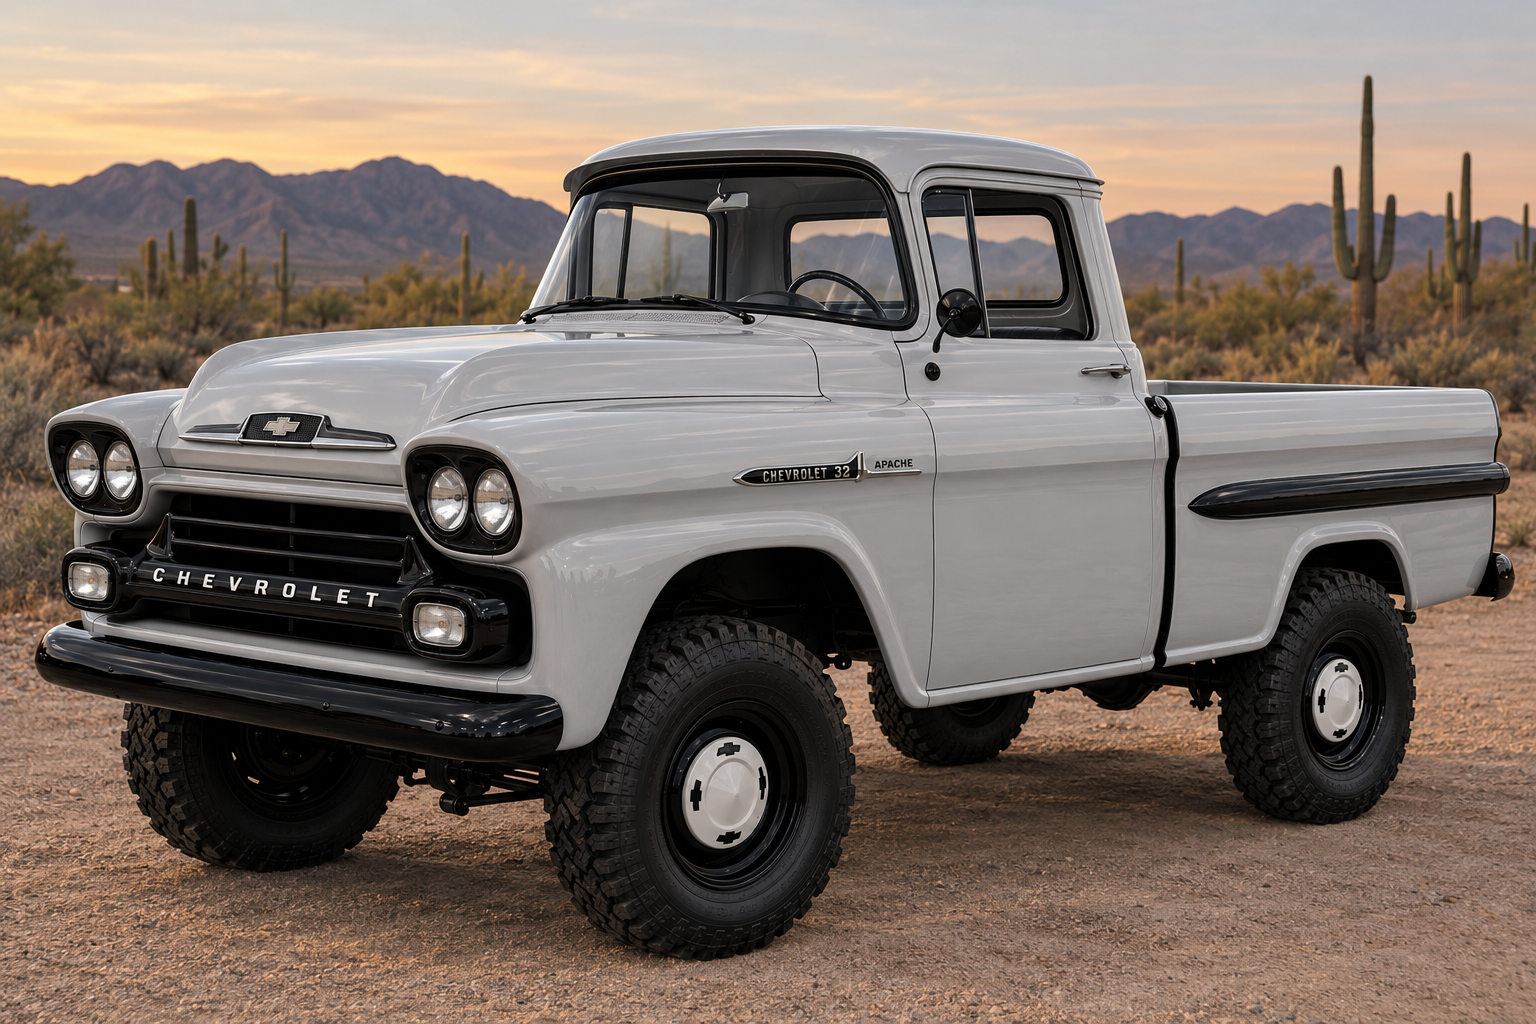
The AI-generated concept we're working toward on the finished truck.
J017UPDATE 05 / 06
Apr 1, 2026
MILESTONEHauled home — Granbury to Bertram
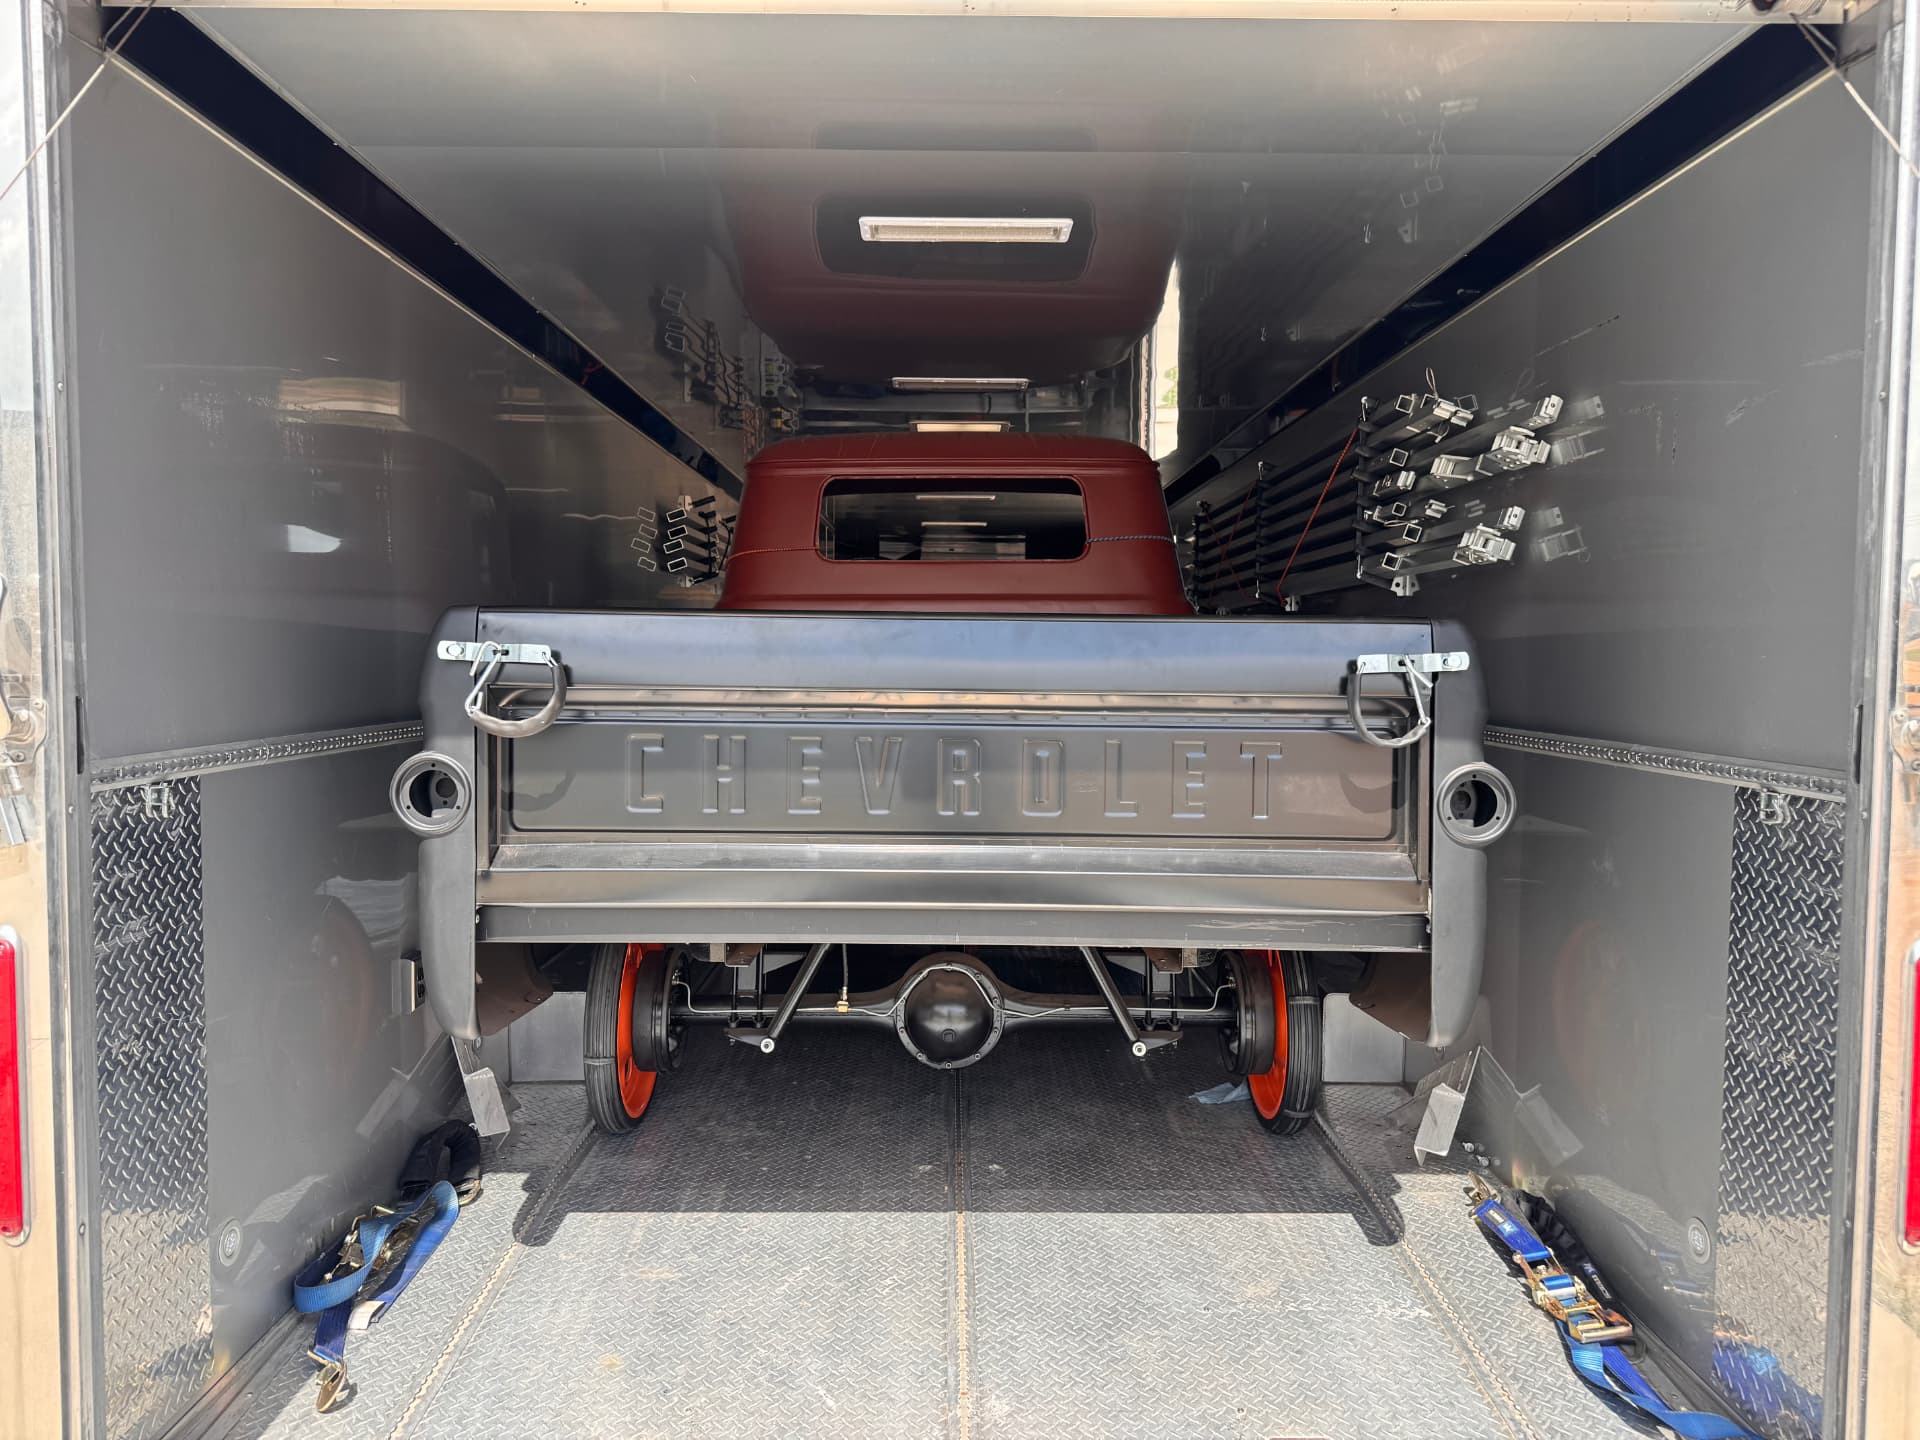
April 2026: we loaded the Napco up in Granbury and brought it home to Bertram. It's a pretty straight-forward restoration with just a few custom touches — clean metal, correct stance, and the Thriftmaster six still in the nose. From here it's paint and body, wiring, interior, and final assembly.
 J018
J018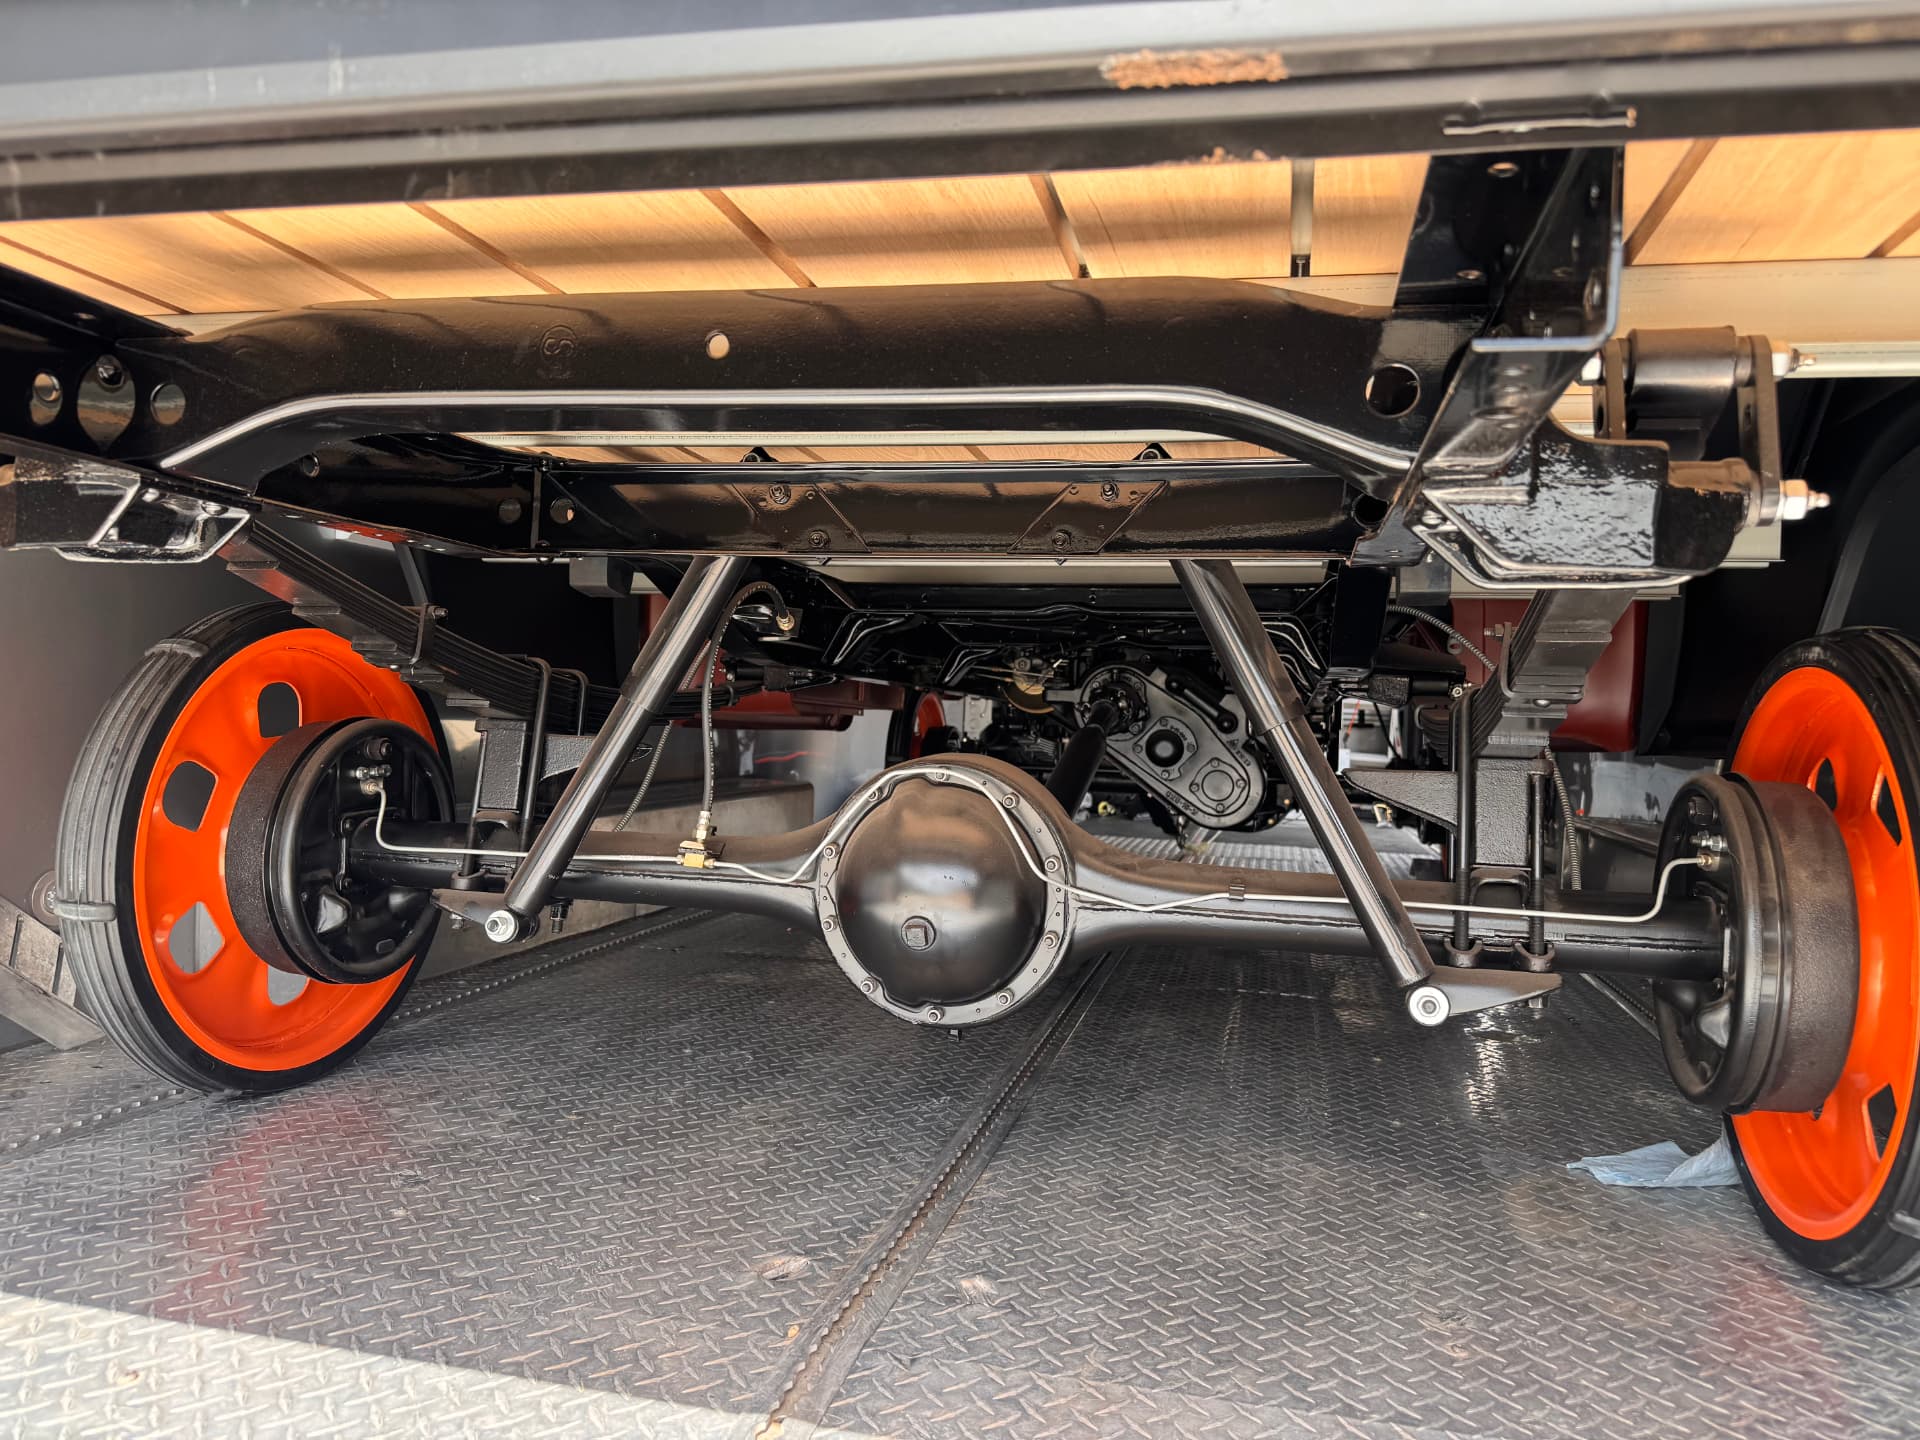 J019
J019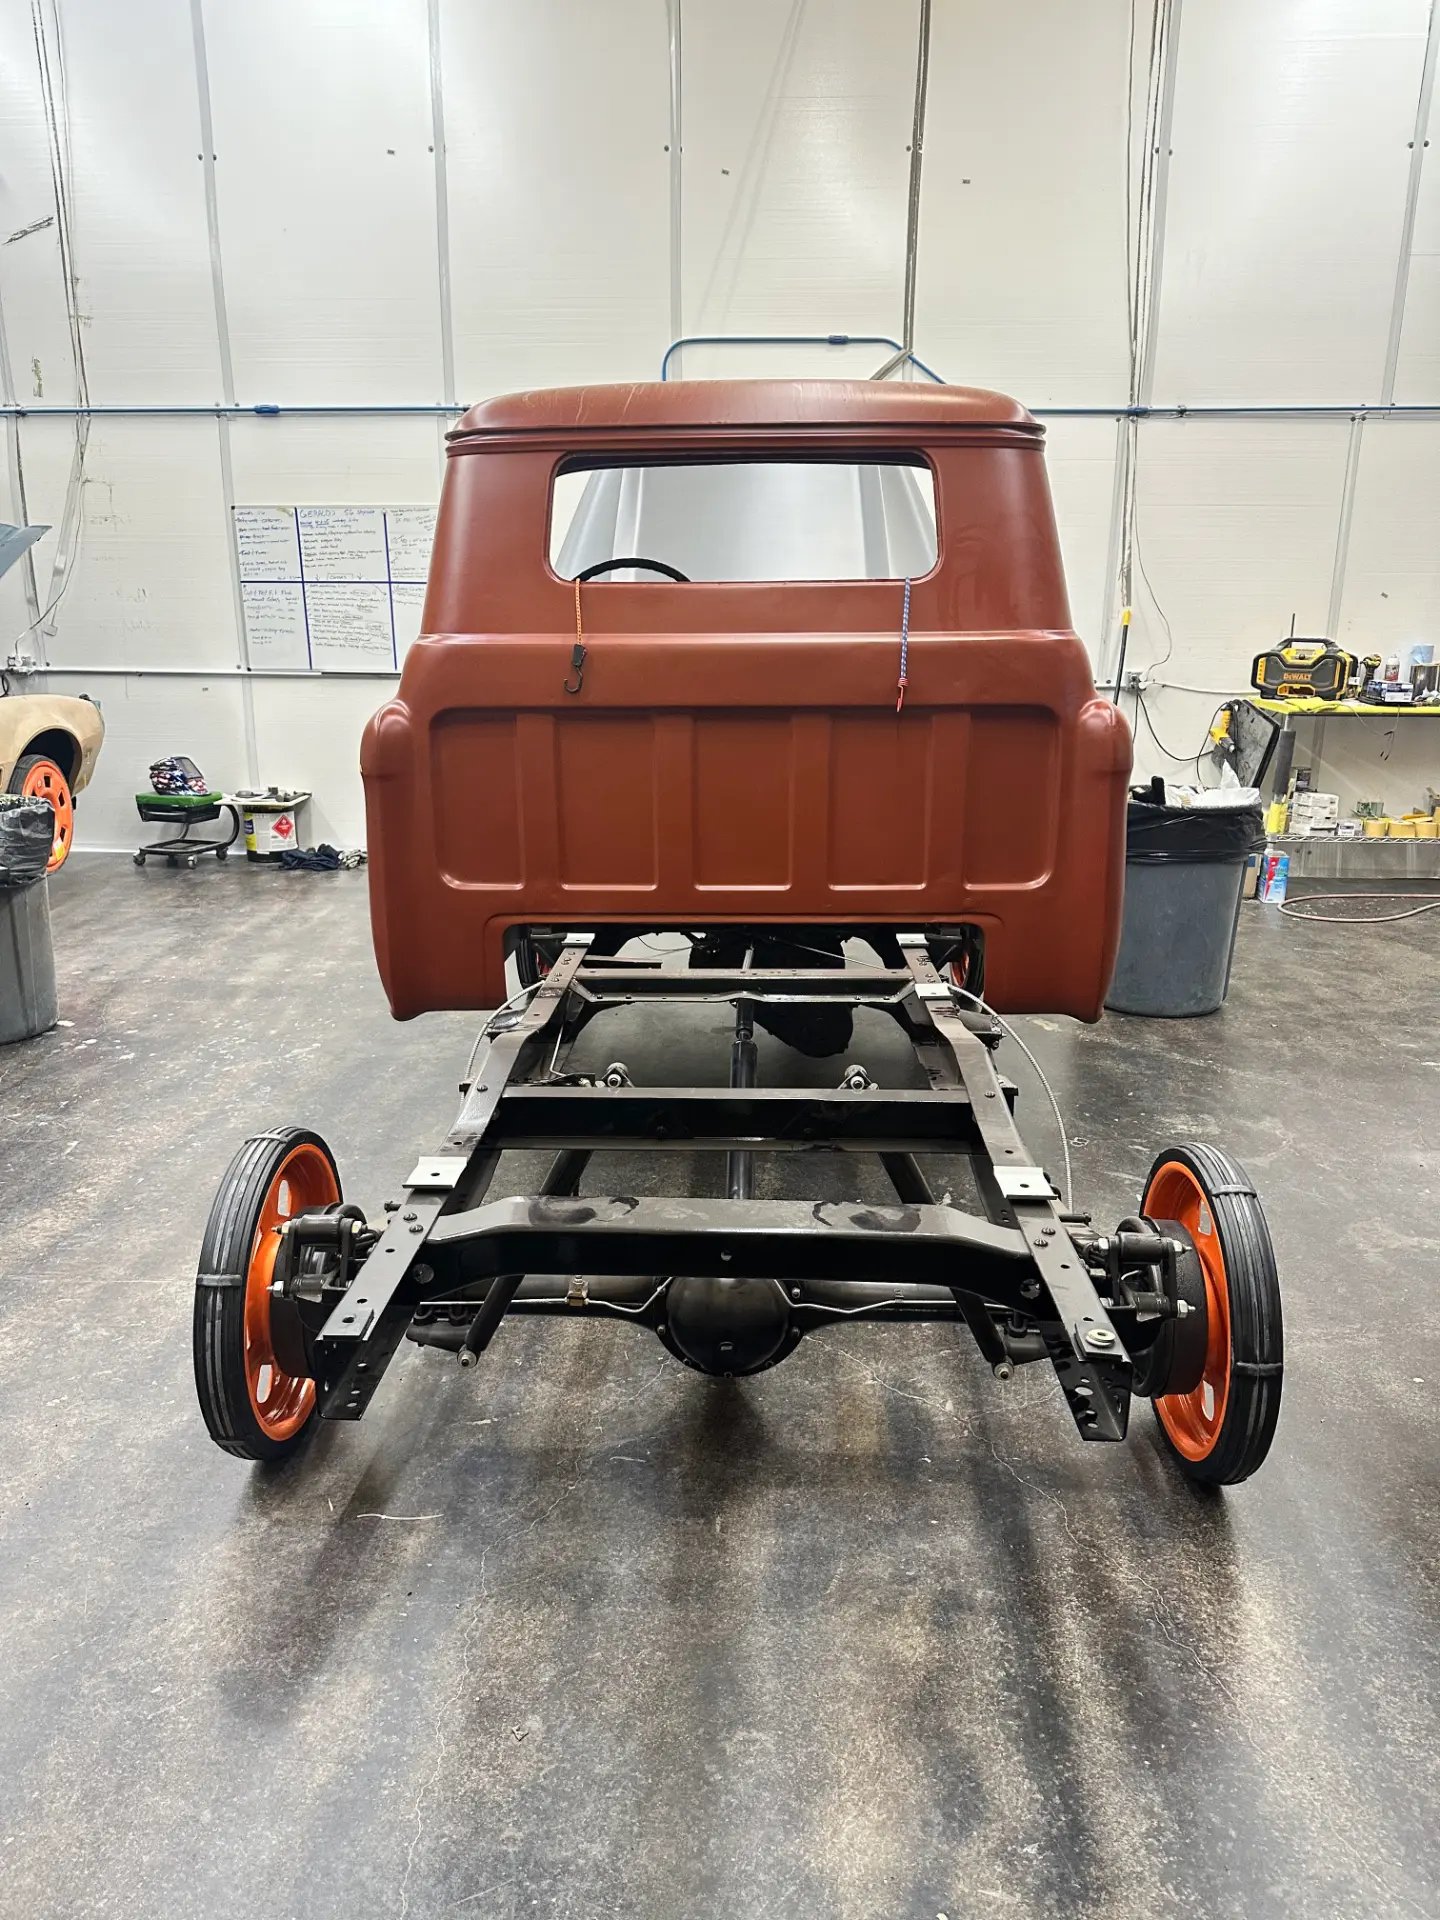 J020
J020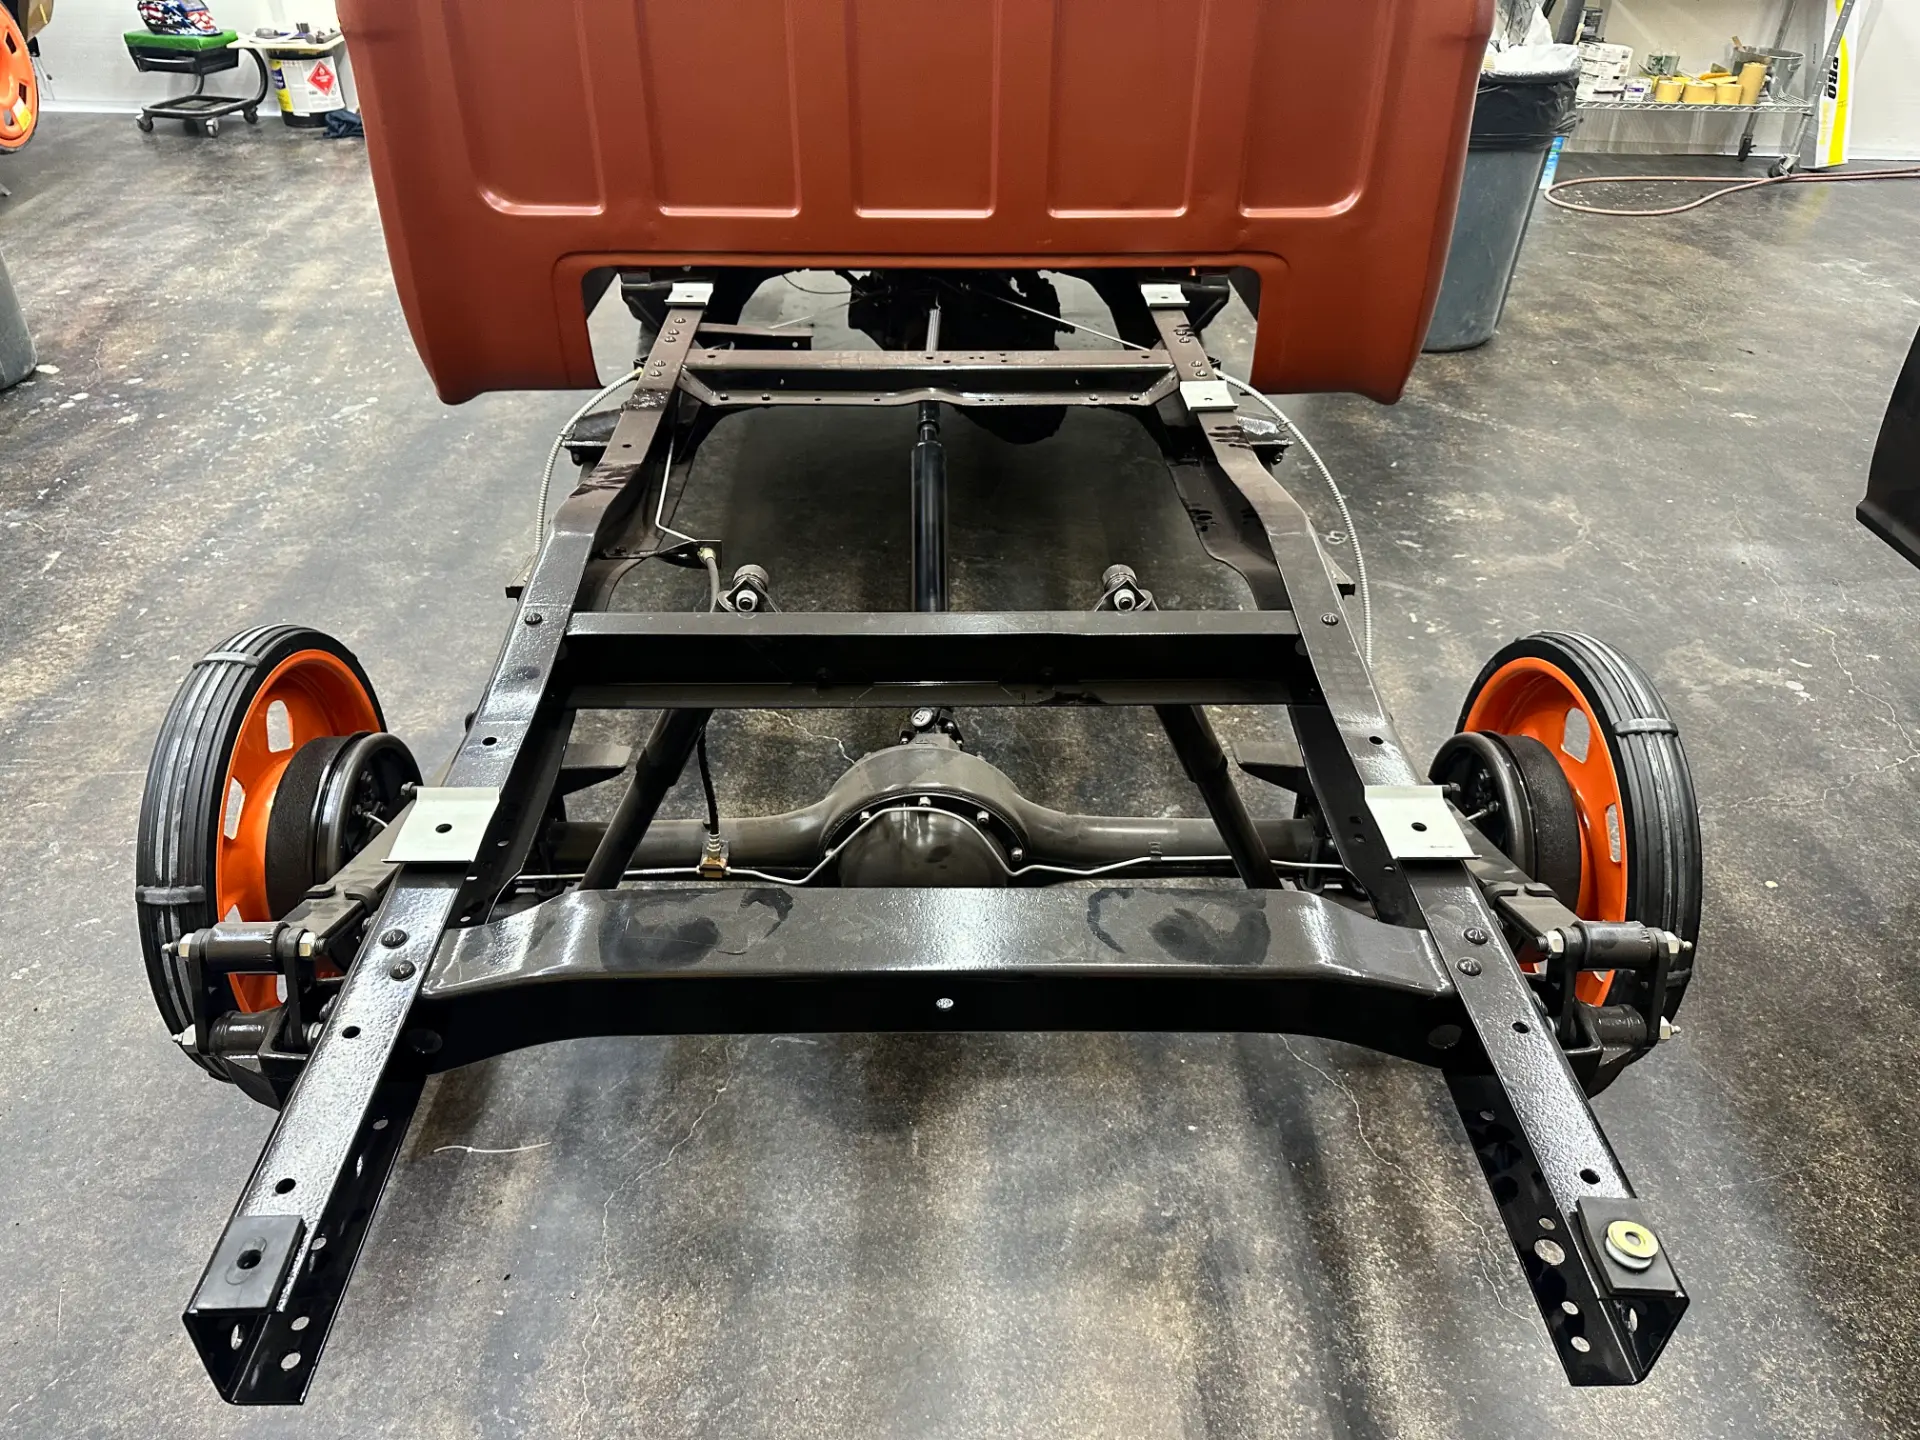 J021
J021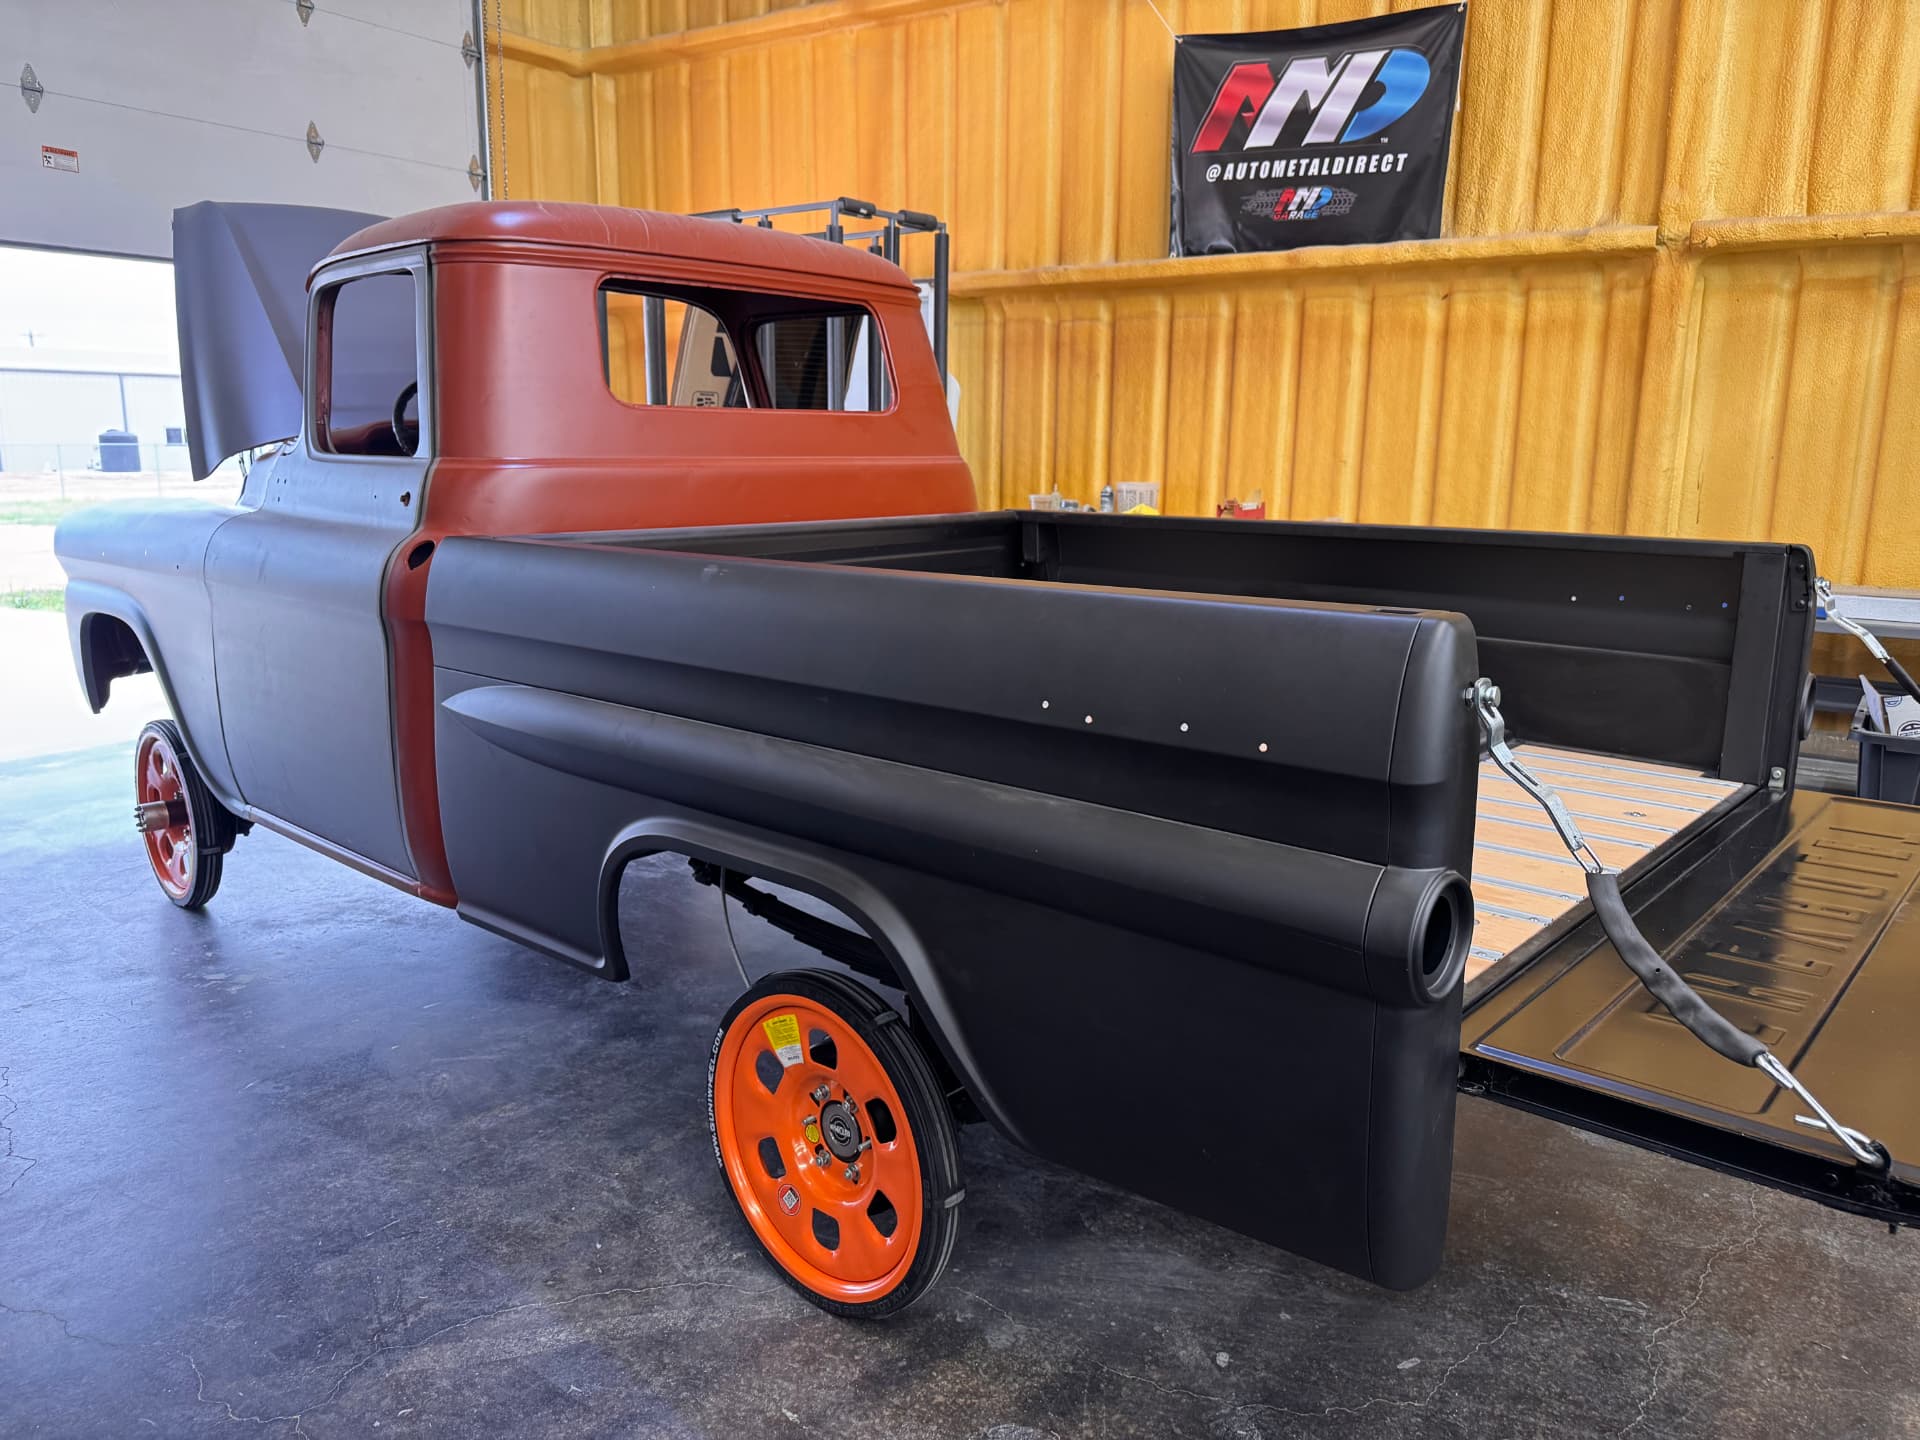 J022
J022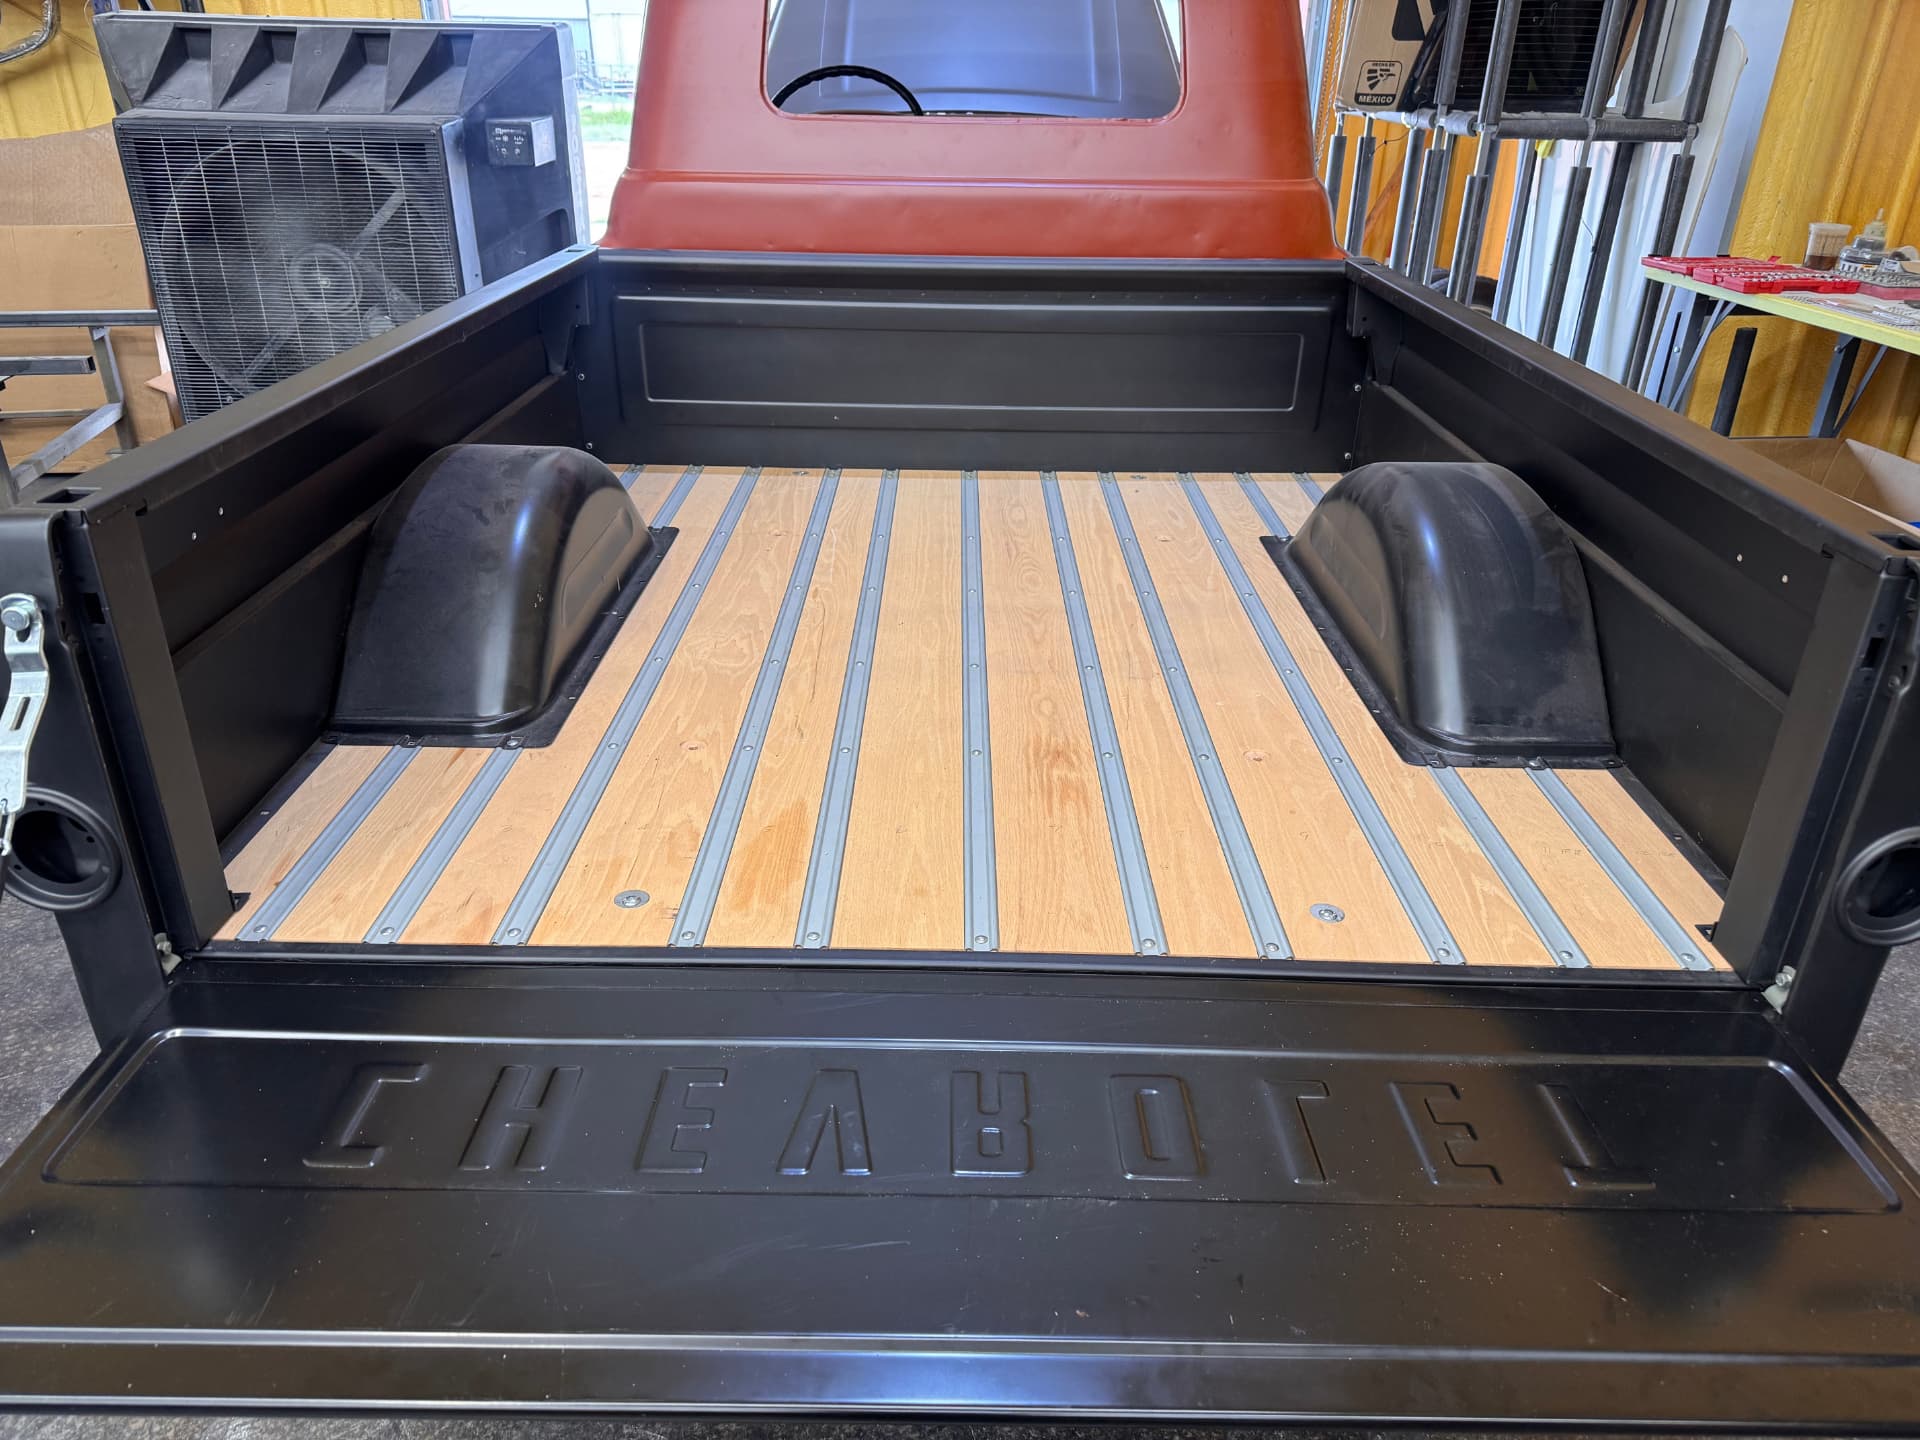 J023
J023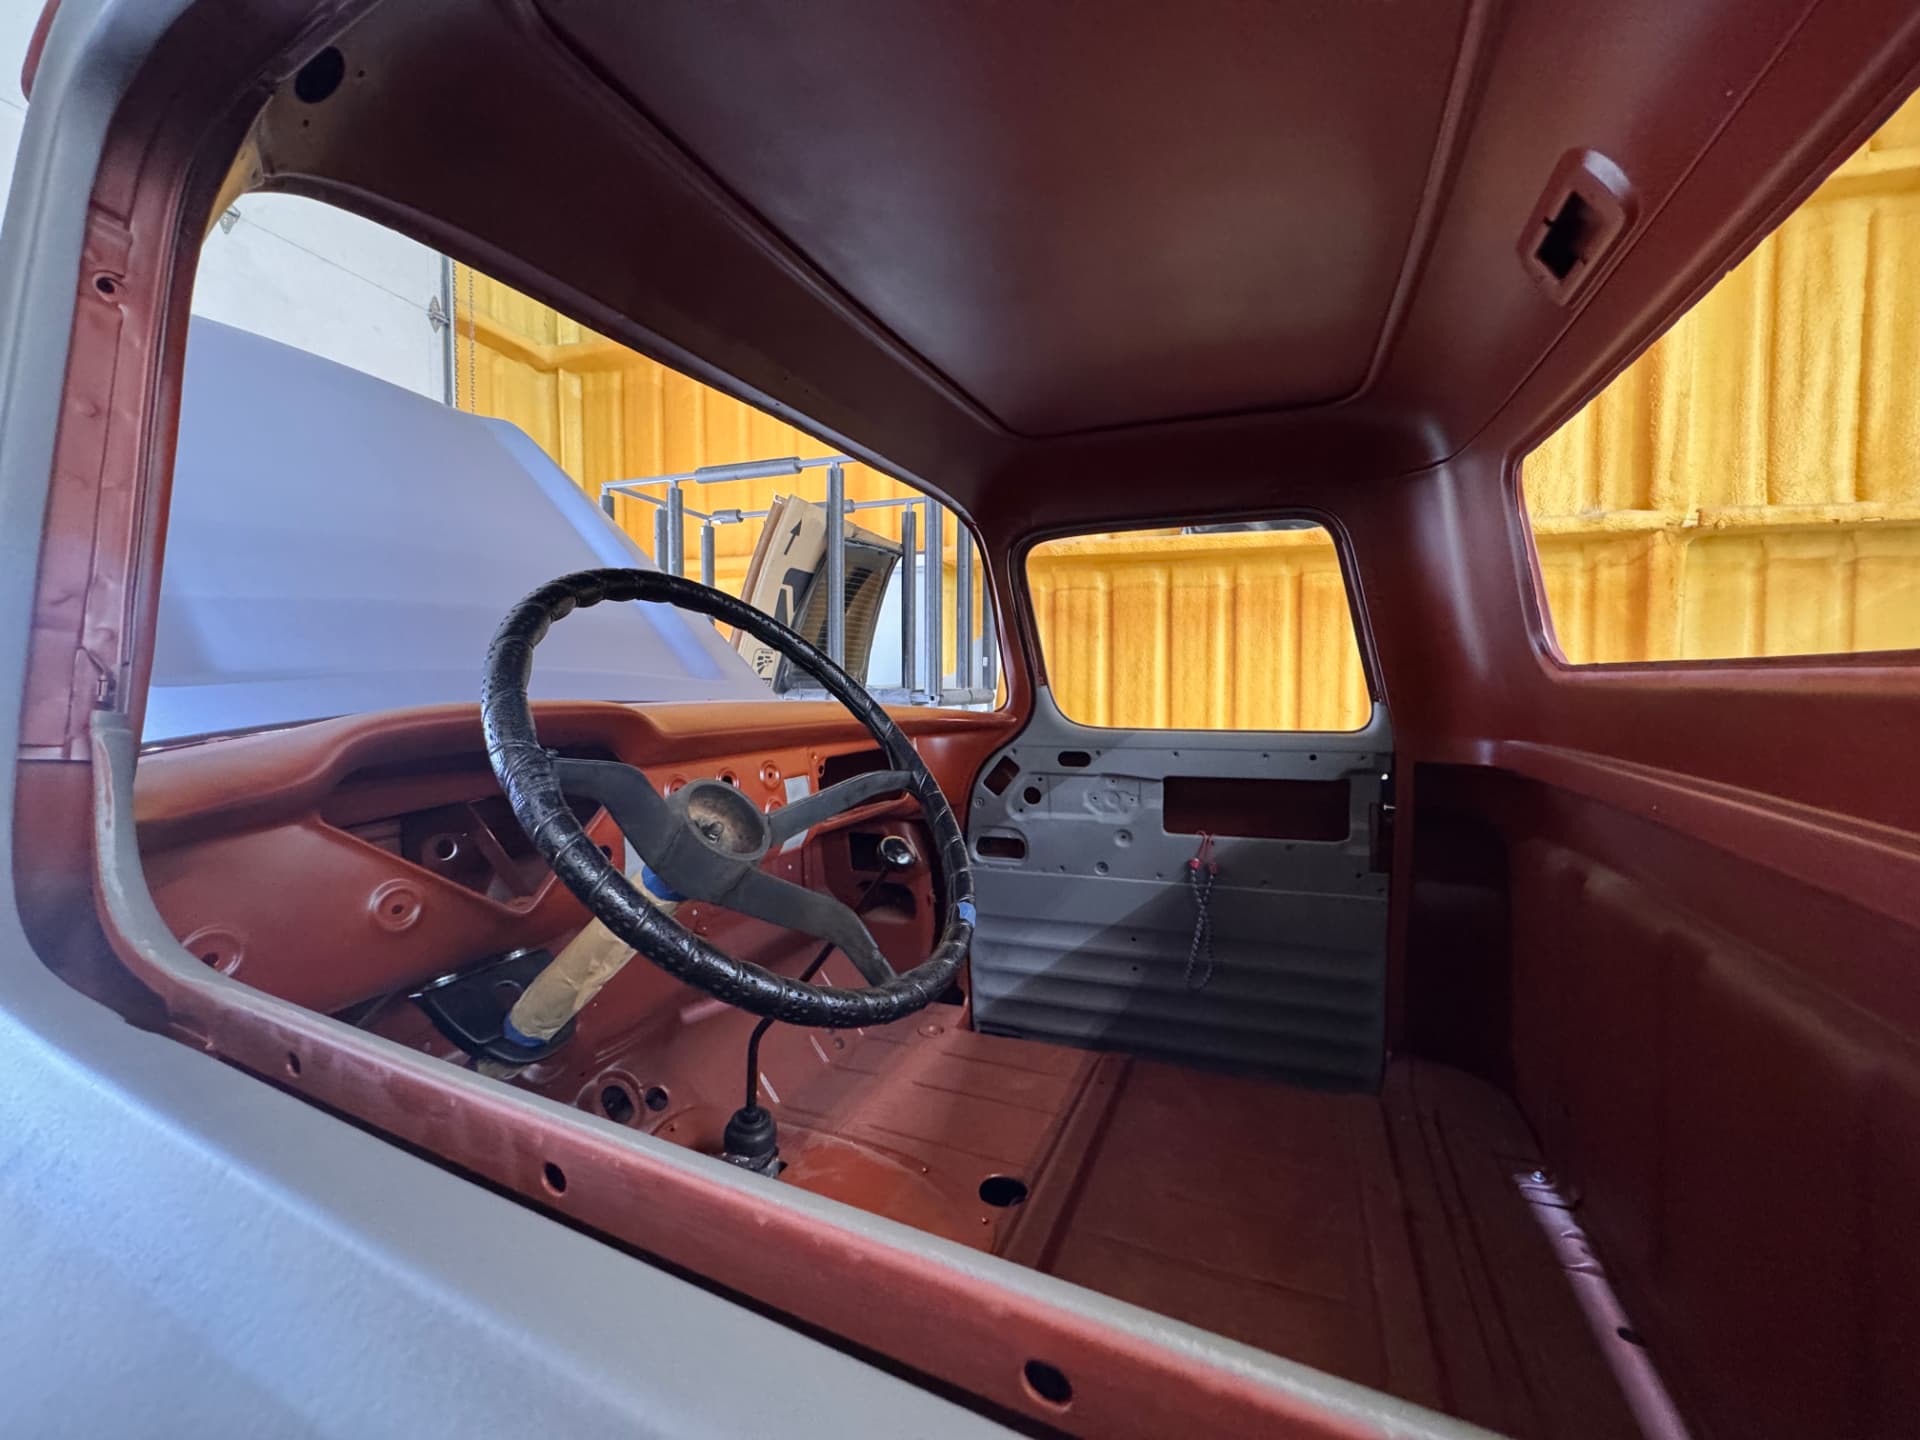 J024
J024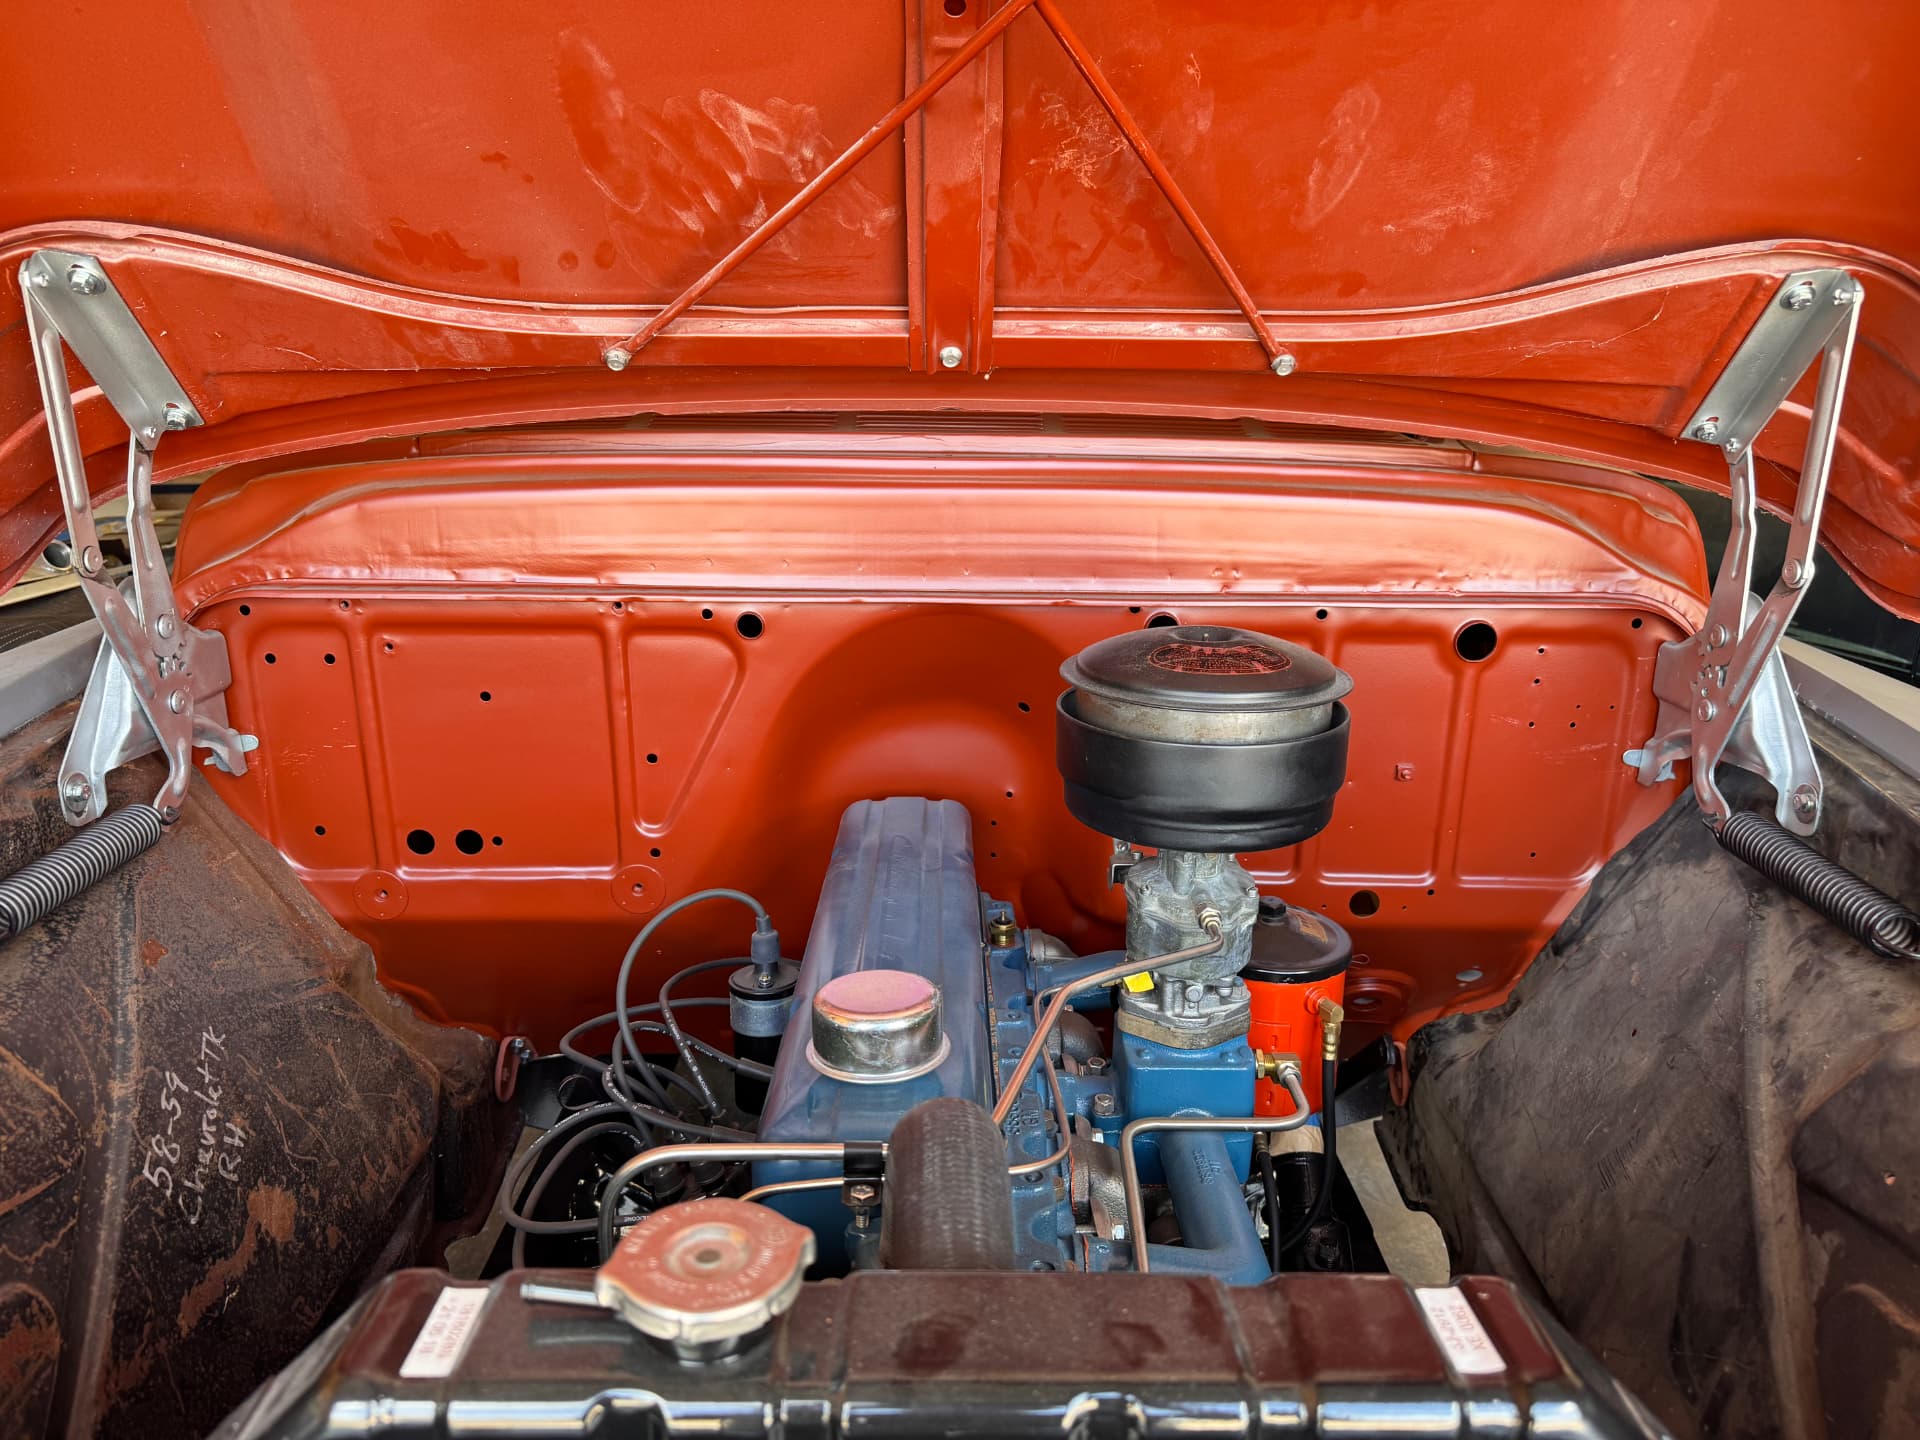 J025
J025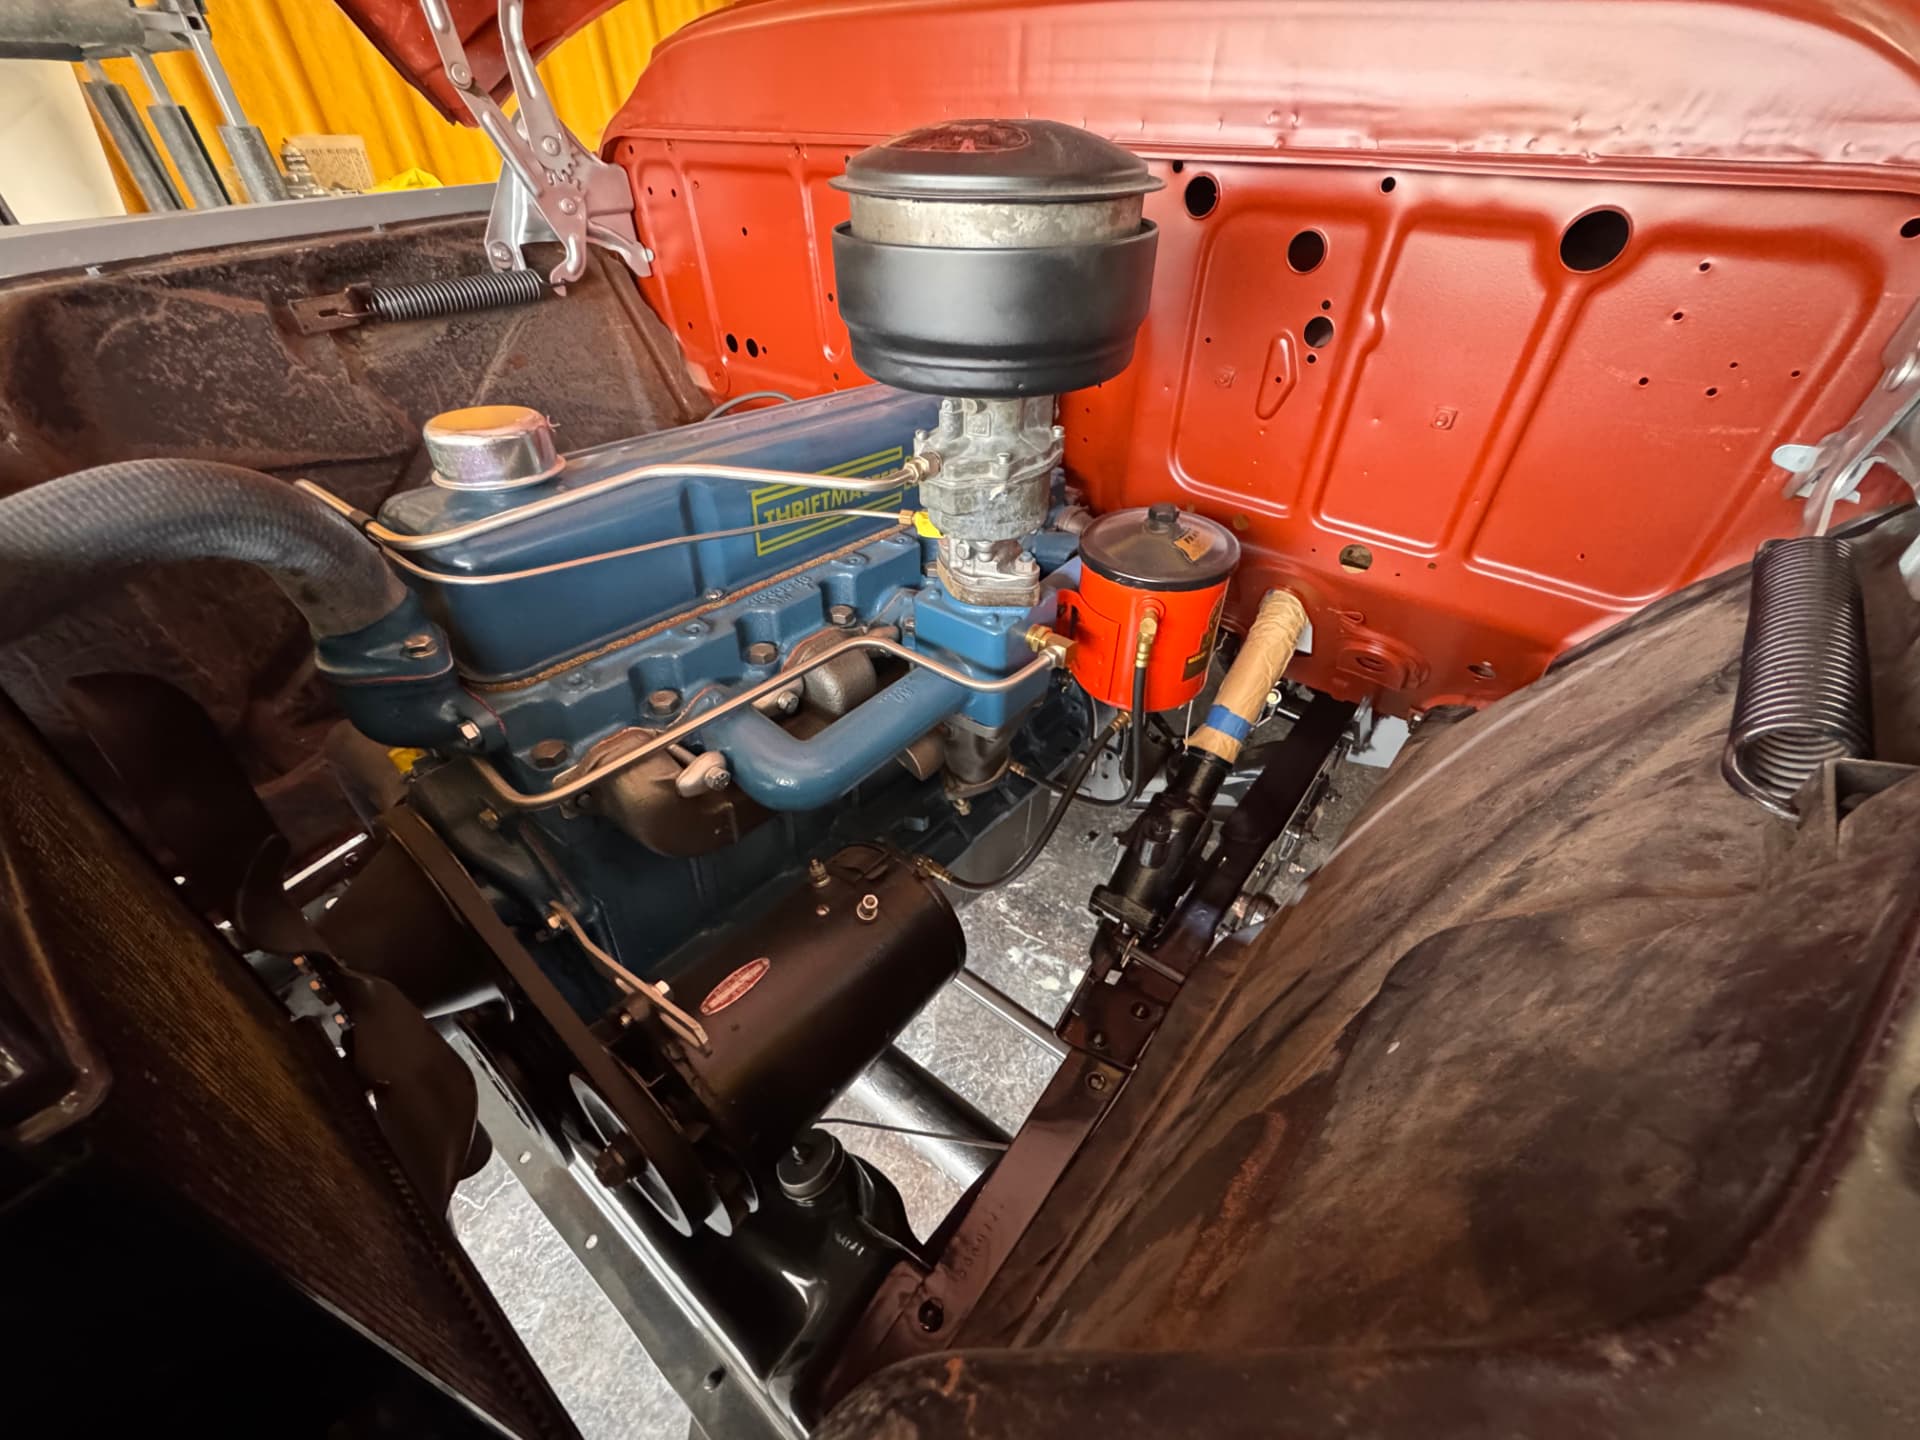 J026
J026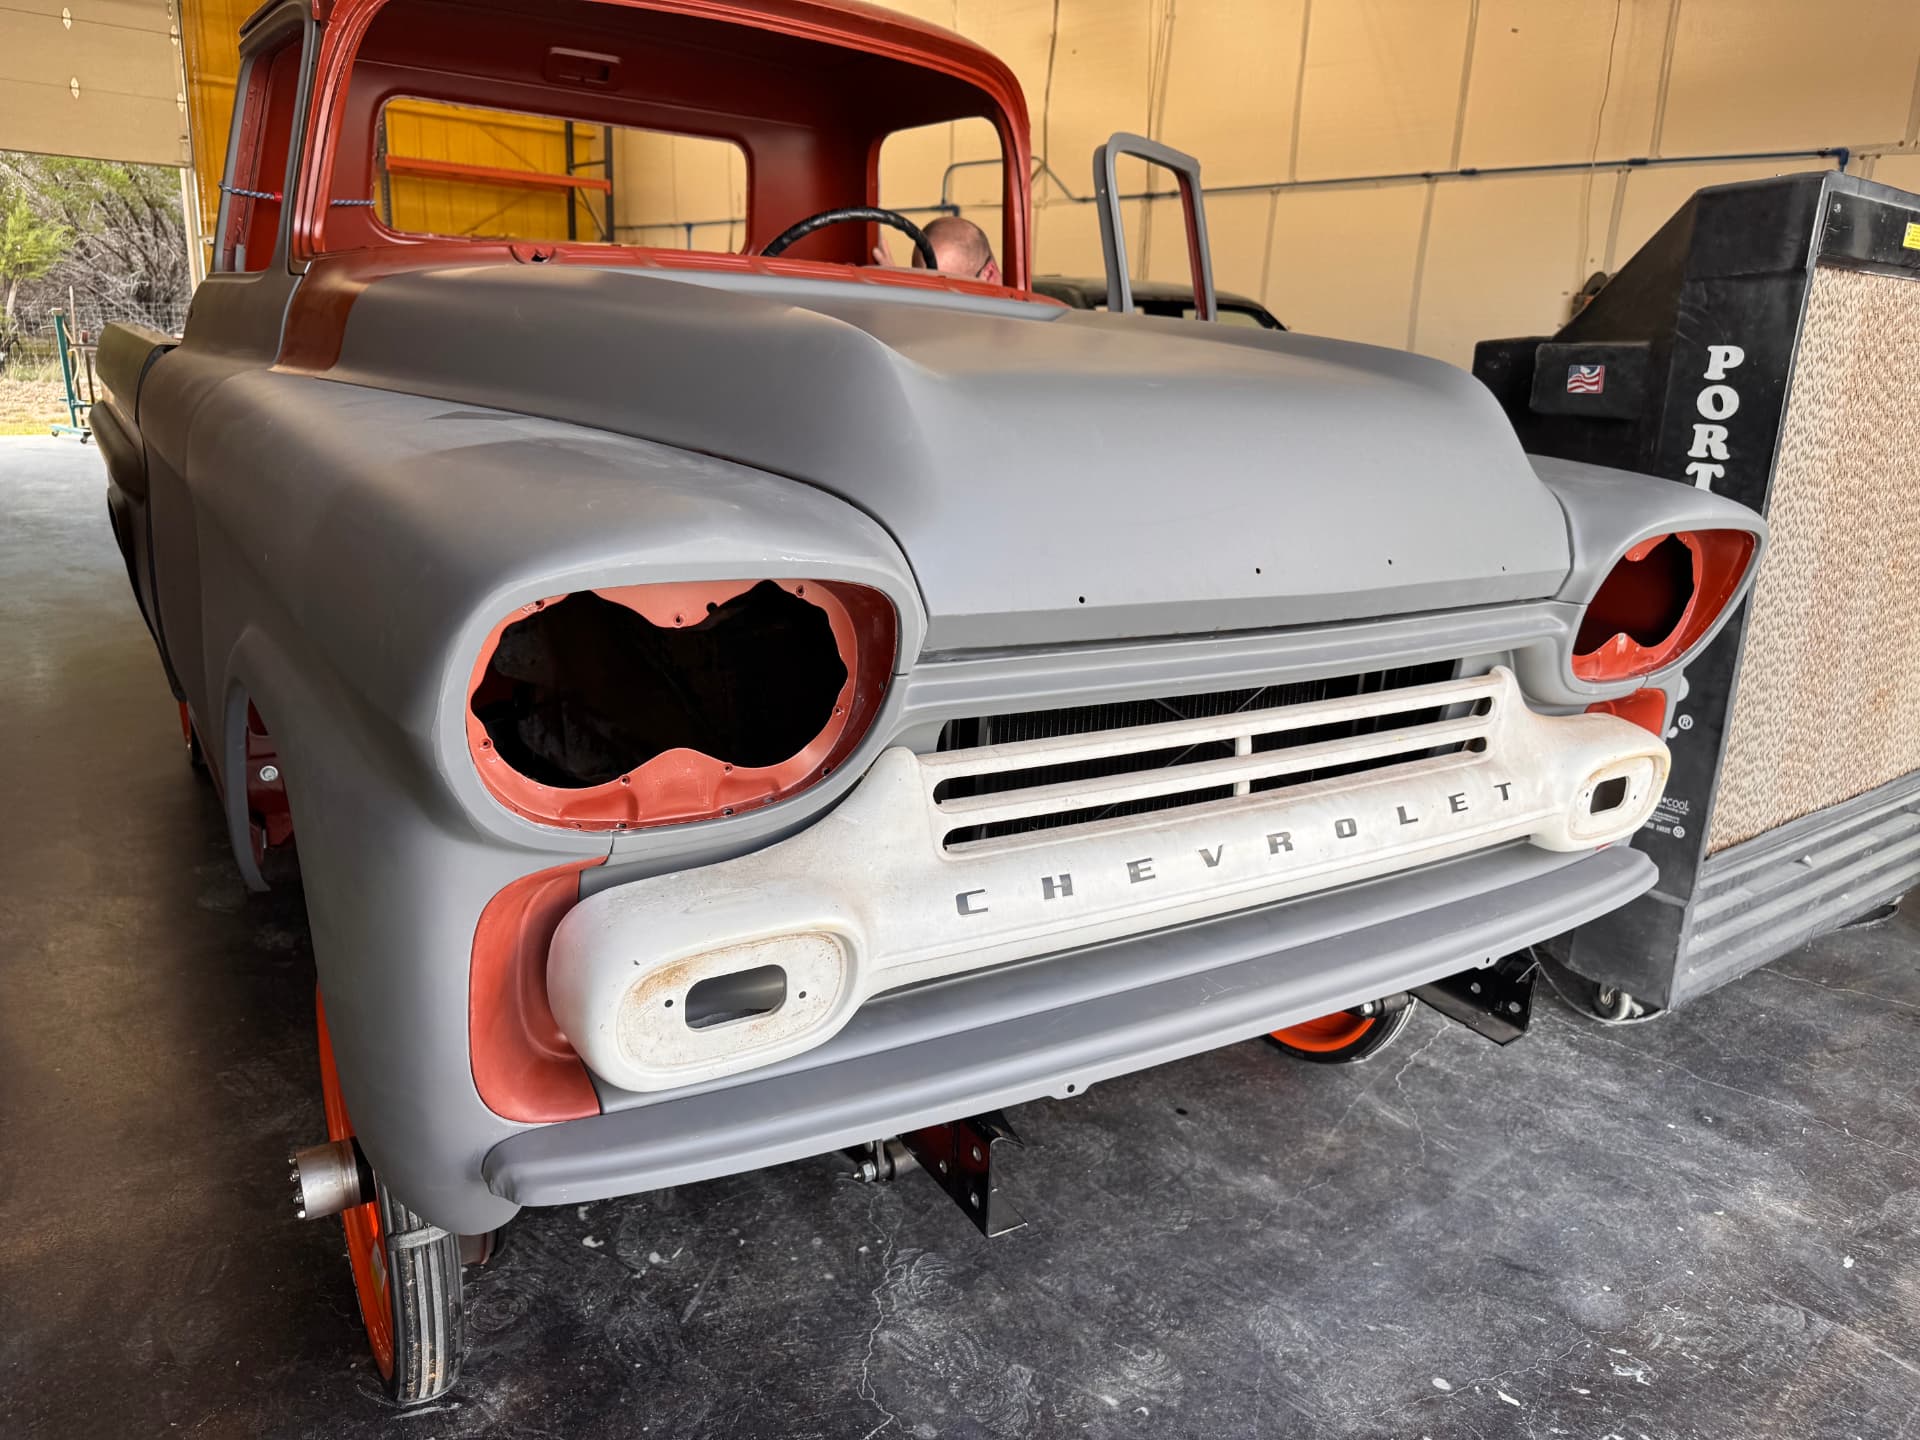 J027
J027UPDATE 06 / 06
Jan 1, 2019
STARTBuild started — cab rust repair
The build kicked off in 2019 with all of the rust repair to the cab done in-house at Hammer Fab. Photos from that stage are being pulled from the archive.
§ 04 — Process
Chapter by chapter.
Every build is documented as it moves through the shop. Here's how this one came together.
C028Rust repair — 2019
The first chapter was all metal. Full rust repair to the cab: corners, floors, and structure fabricated and welded in-house so everything downstream would sit on straight, solid steel.
C029Back in the shop — April 2026
The truck returned in April 2026 for the finish work. Full teardown assessment, panel fit, and a plan for bodywork, paint, wiring, interior, and assembly.
C030Paint & body
Complete body work and paint in-house. Panel gaps, block sanding, and a finish that reads clean and factory-correct rather than flashy.
C031Wiring, interior & assembly
A fresh harness routed and labeled properly, an interior built to be used, and final assembly handled by the same hands that fixed the metal.
§ 05 — Gallery
Frame by frame.
7 FRAMES · SHOT IN-HOUSE
G032G033G034G035G036G037G038§ 06 — Next steps
Have a project
like this?
Send us the story of the car and what you want it to become. We'll get back with a real assessment and a realistic timeline.
Start an inquiry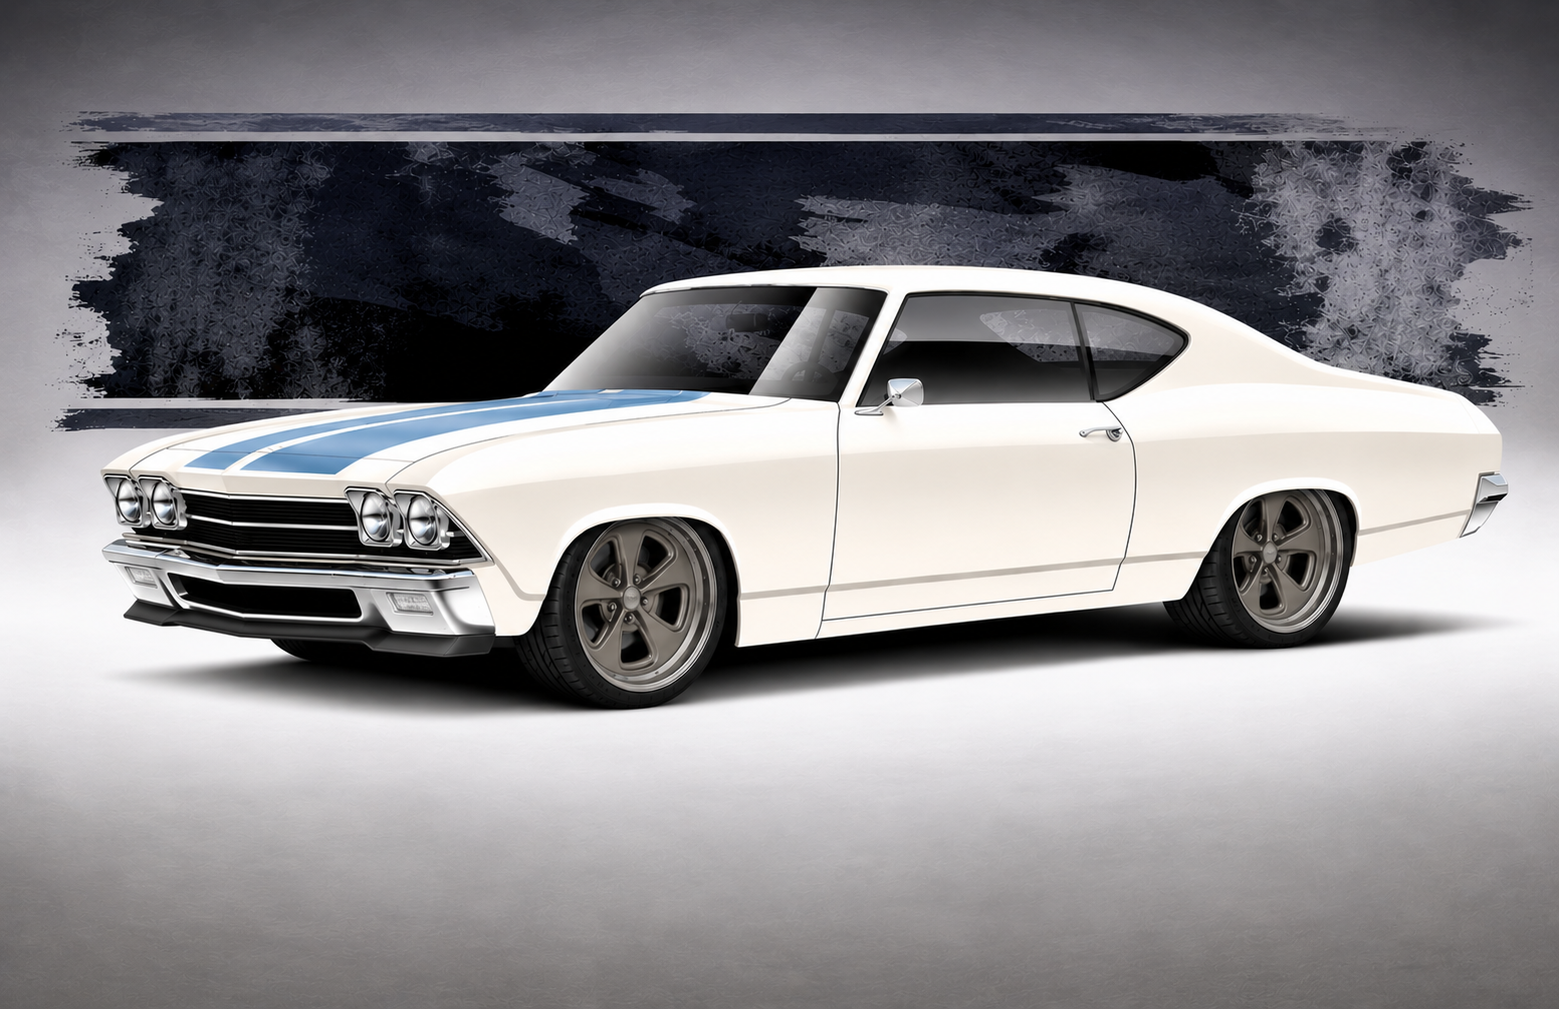
NEXT IN THE LOG →
69 Chevelle SS
HF-69-01