§ 01
THE BRIEF
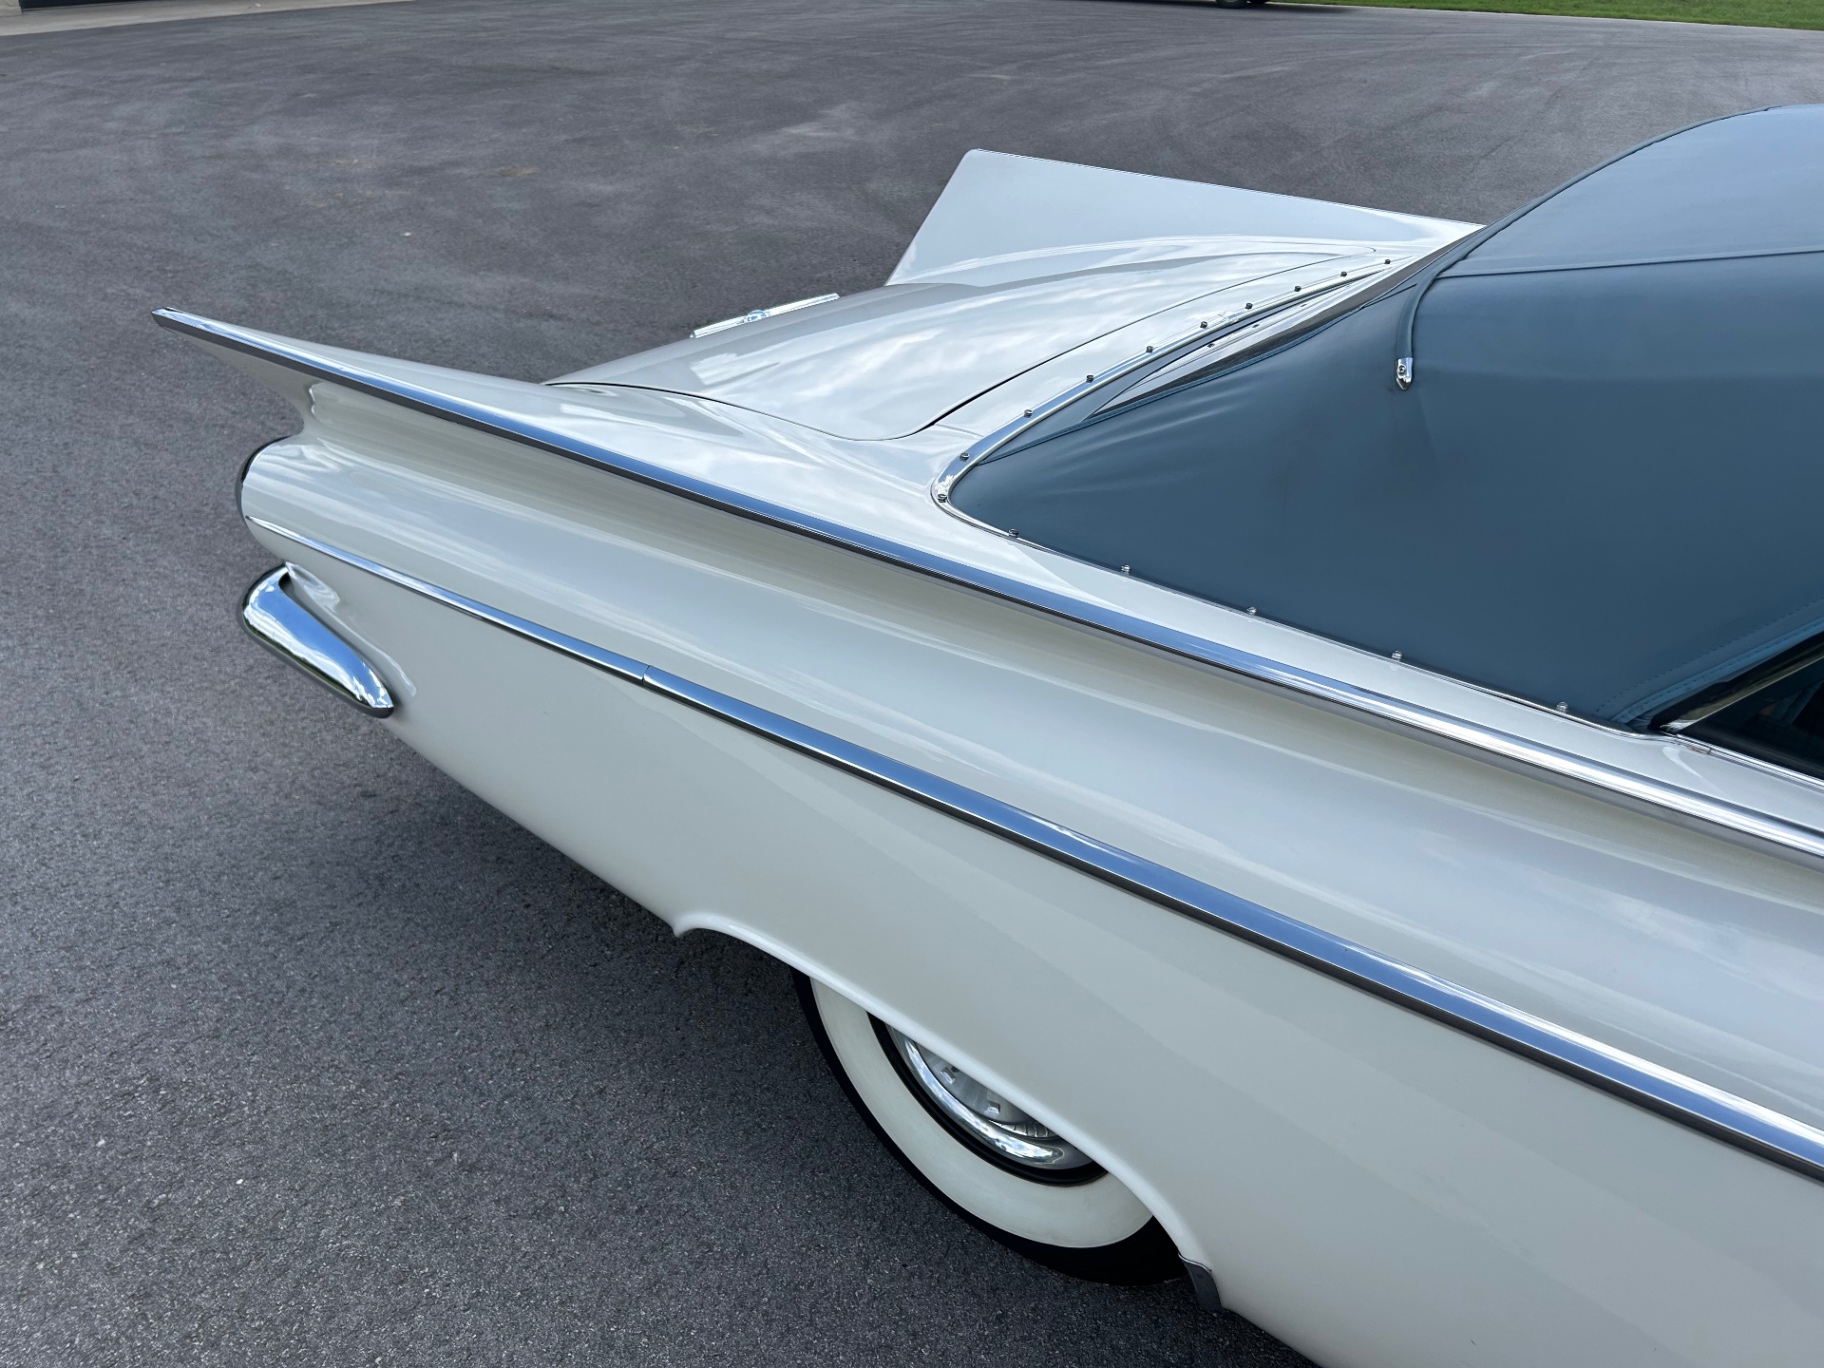
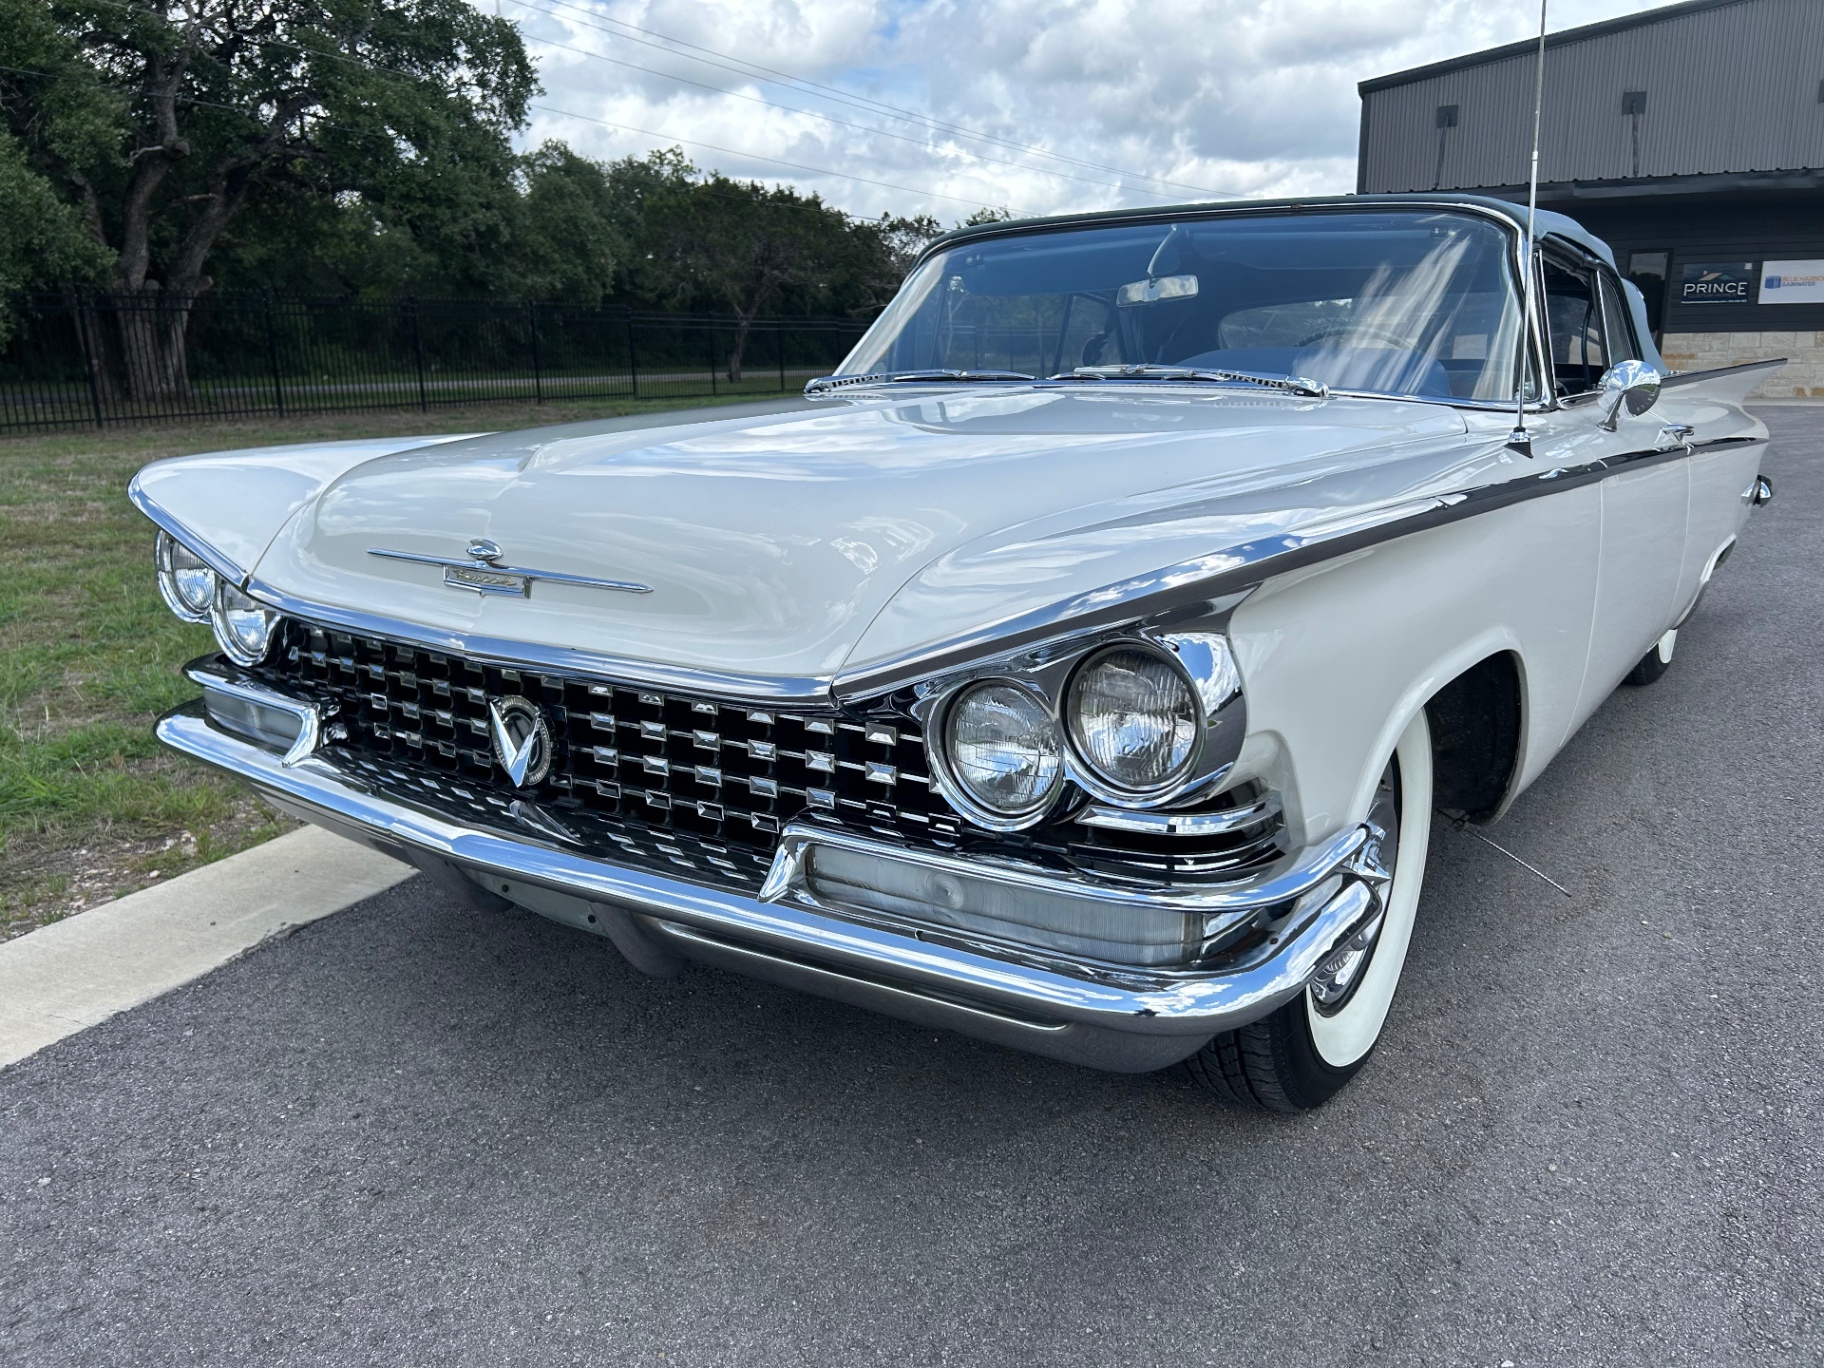
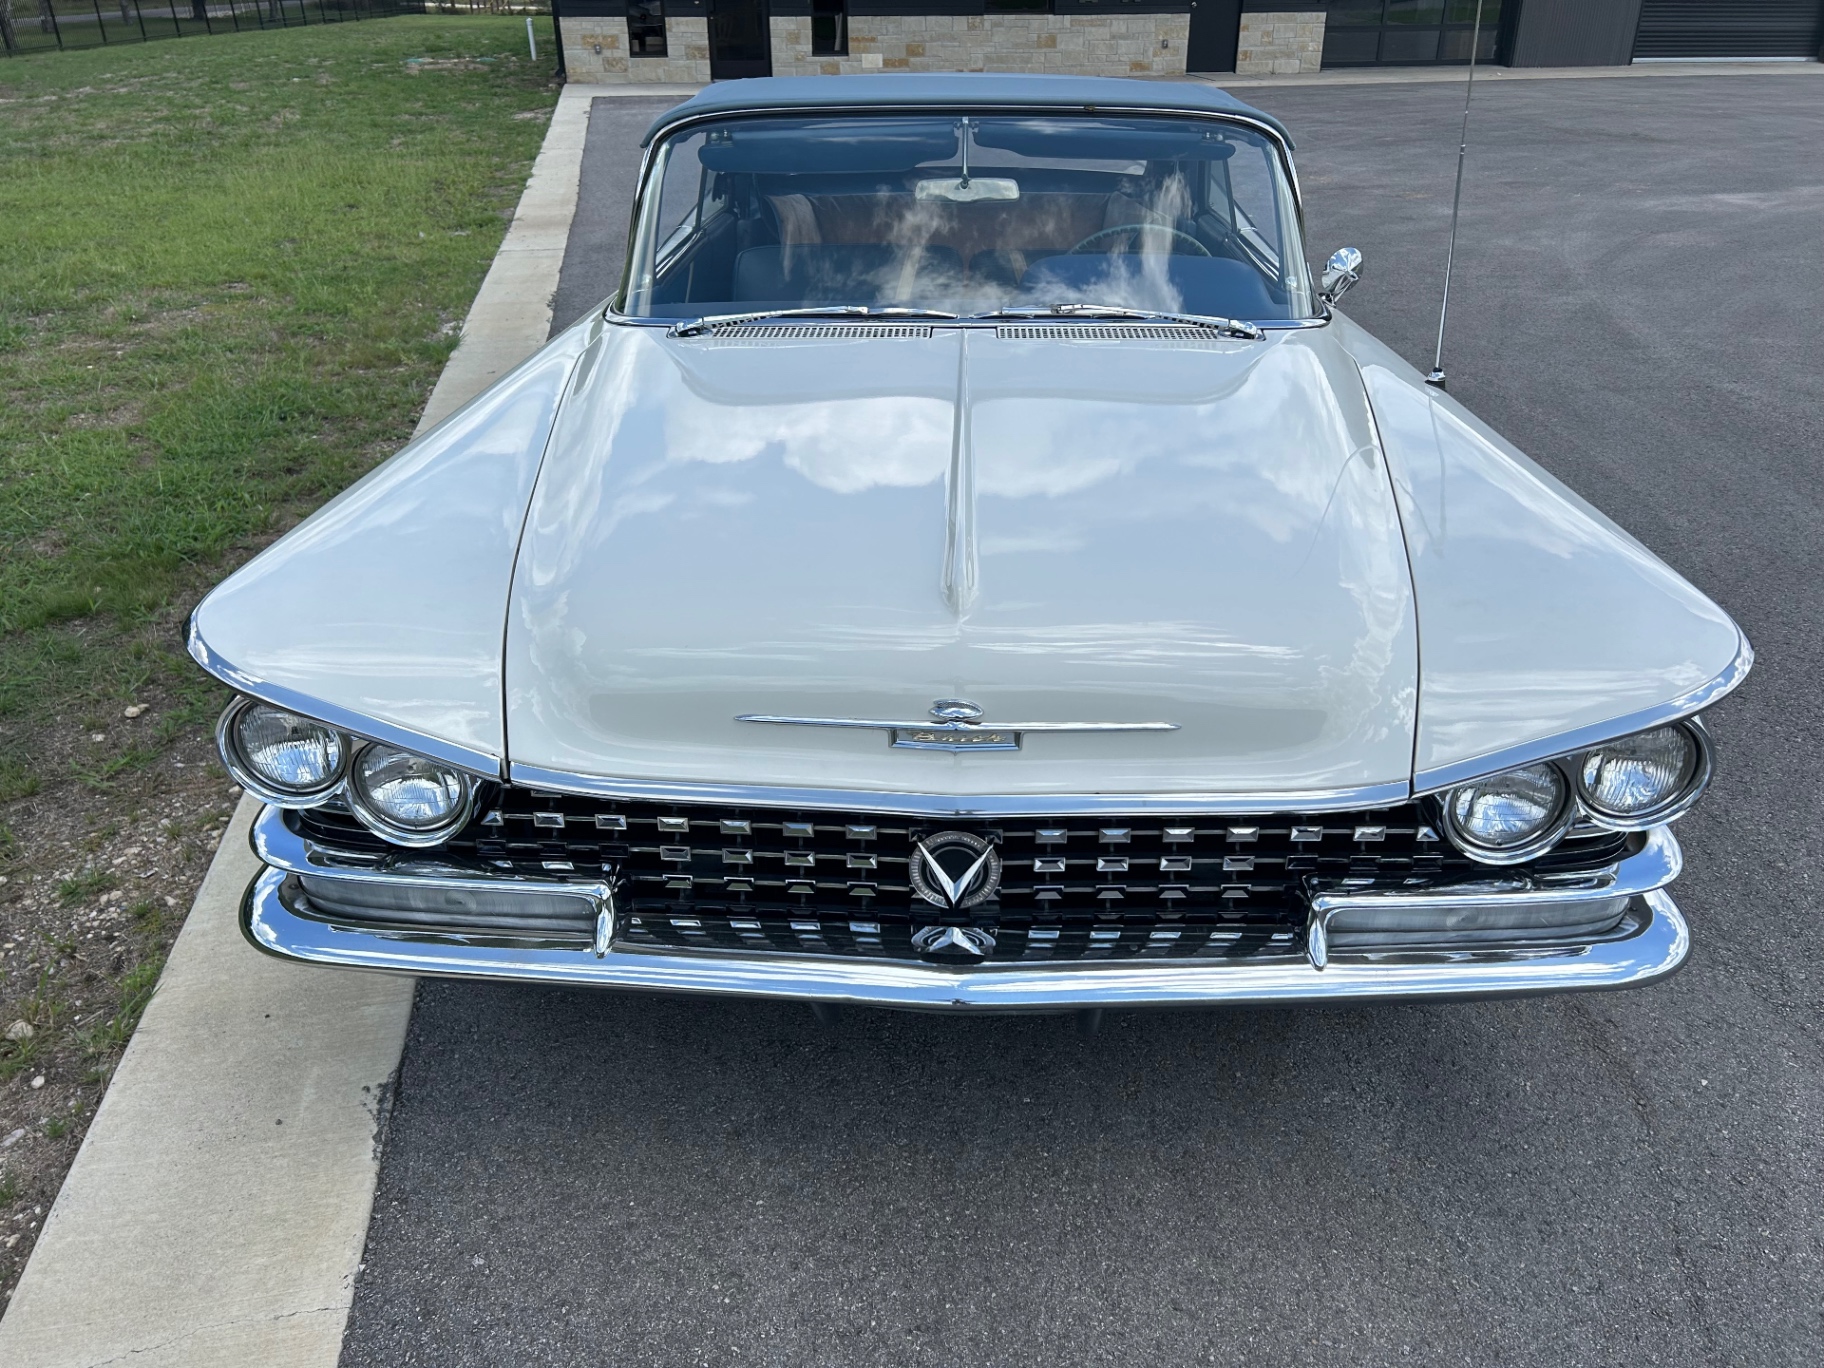
This 1959 Buick LeSabre convertible belongs to Hammer Fab owner Levi Green. It was purchased from the original owner's daughter in Maryland in July of 2024 and brought back to the shop in Bertram, Texas. Overall the car was solid and in good working order, but during chassis modifications and underside cleaning we uncovered hidden rust in the rockers and wheel tubs, plus some bad prior repairs on the outer rockers. What started as a simple update has snowballed into a full rebuild: the rockers are being replaced with hand-fabricated 14 gauge panels that extend one inch lower than stock to hide the frame rail and add rigidity to the convertible body, the door gaps are being tightened, the panels are being straightened, and the car will likely receive a full paint job. The stainless trim is being metal-finished and block-sanded in-house, the chrome is being refreshed, the interior is being rebuilt to look stock but last longer, and a custom air-ride chassis with 20 and 22 inch billet wheels is being built from 3D scans and CAD data. The end goal is a slammed, factory-looking '59 Buick with modern underpinnings and a 660 hp Don Hardy LS3 under the hood.
§ 02 — Note from the shop
"Chrome fins, factory '59 attitude, and a ground-up chassis overhaul — a personal build getting the full Hammer Fab treatment."
§ 03 — Build journal
The updates.
A living log of every meaningful moment on this build — new photos, short notes, and the milestones worth marking.
9 UPDATES · 7 MILESTONES
Milestones
- JUL 31, 2026— Coated manifolds and an intake rethink
- JUL 30, 2026— Convertible top installation complete
- JUL 27, 2026— New canvas convertible top
- JUL 18, 2026— Chassis painted, LS3 and 4L80E in the frame
- JUL 13, 2026— Hammer Fab chassis components going in
- JUL 11, 2026— LS3 built, underside cleaned, chassis on the fixture table
- JUL 11, 2026— Chassis welded and rockers almost done
UPDATE 01 / 09LATEST
Jul 31, 2026
ENGINE MILESTONECoated manifolds and an intake rethink
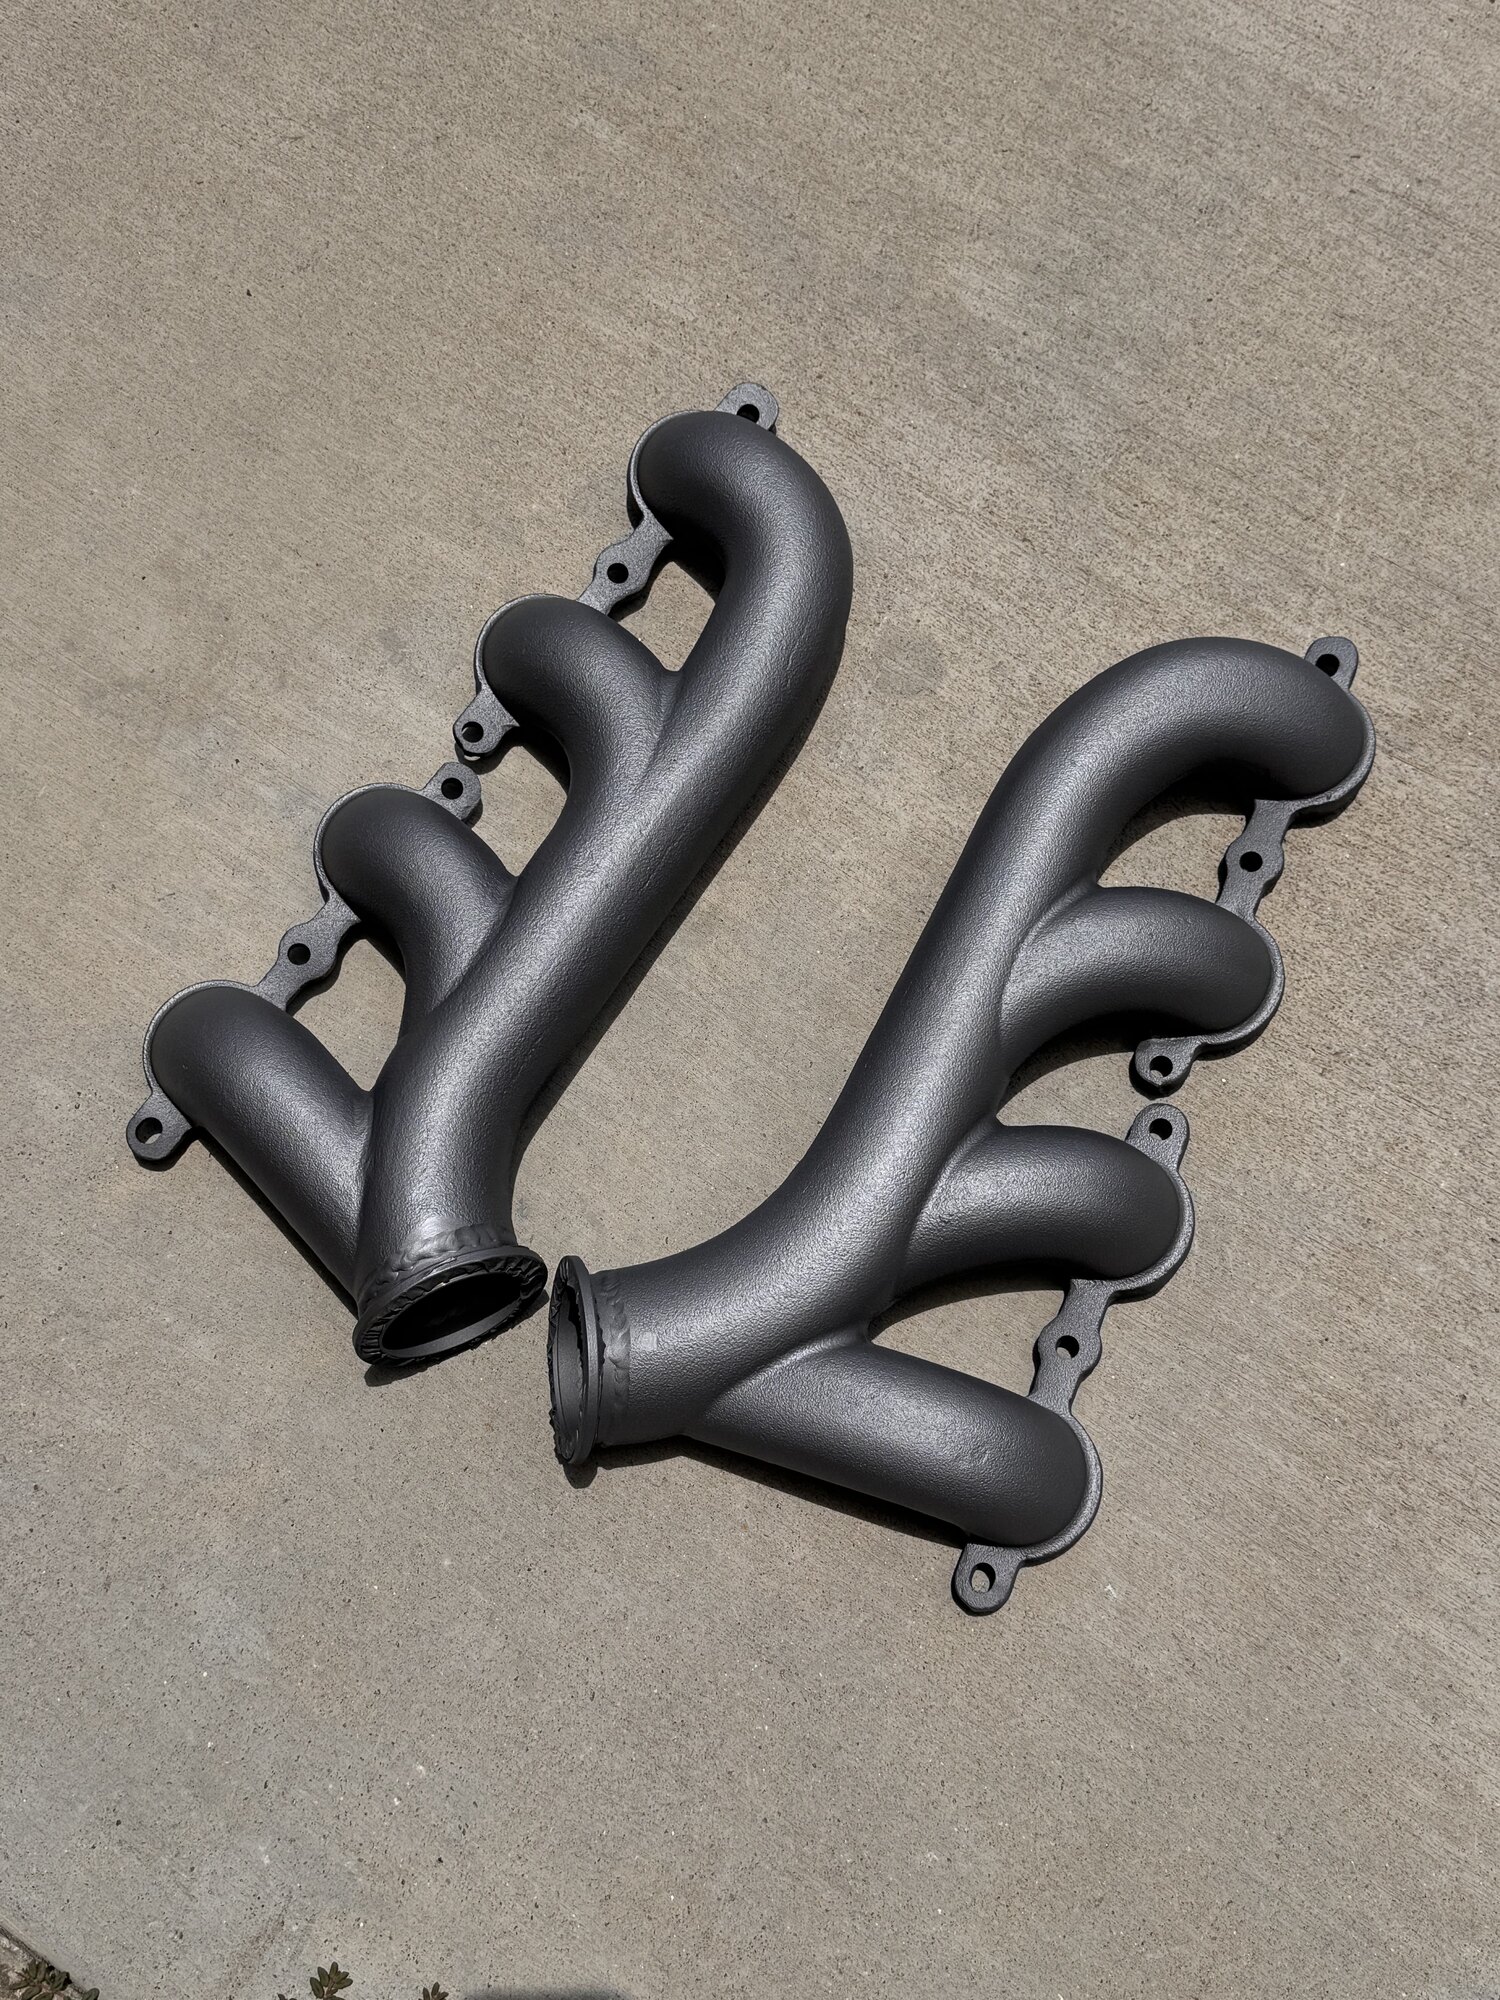
We TIG welded V-band flanges to each of the cast iron exhaust manifolds, then baked them and prepped them by sand blasting before spraying the Zybar high temp coating inside and out. Zybar is a product we've been using for years — it looks great and holds its color after thousands of miles of engine run time. We also learned that the old school air cleaner with the large throttle body isn't going to clear the hood. So we purchased a generic sheet metal intake that we'll design a billet lid for, matched to the chrome valve covers already on the engine. Once everything is modified and final fit, the intake will get powder coated the engine color. Sometimes unexpected things slow down progress — that's typical with a custom build.
 J001
J001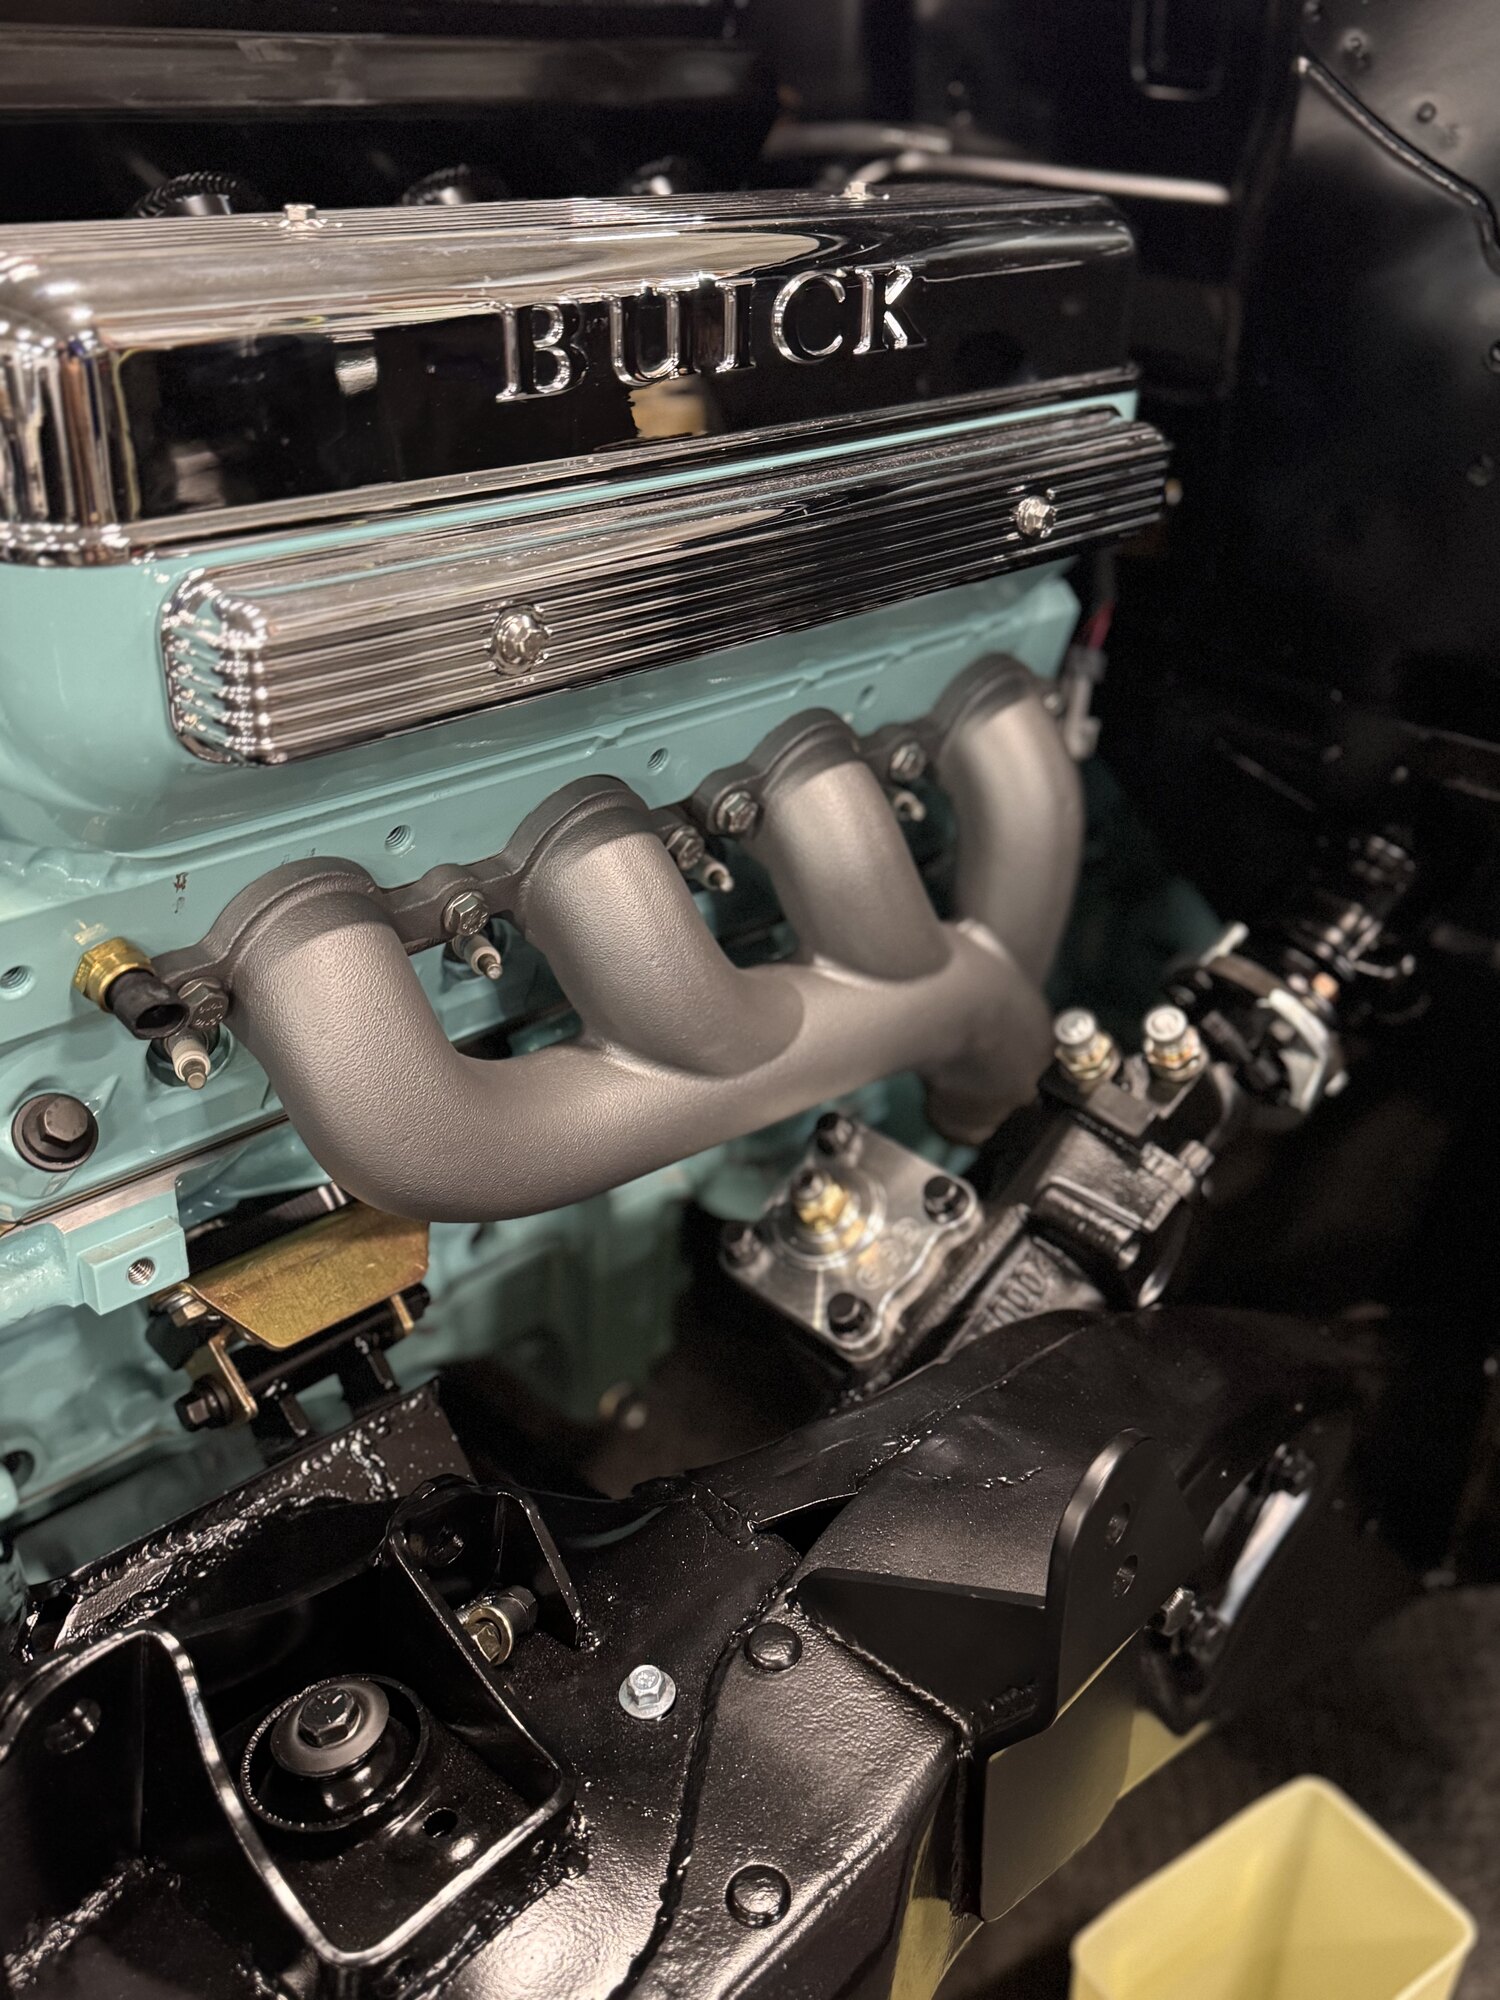 J002
J002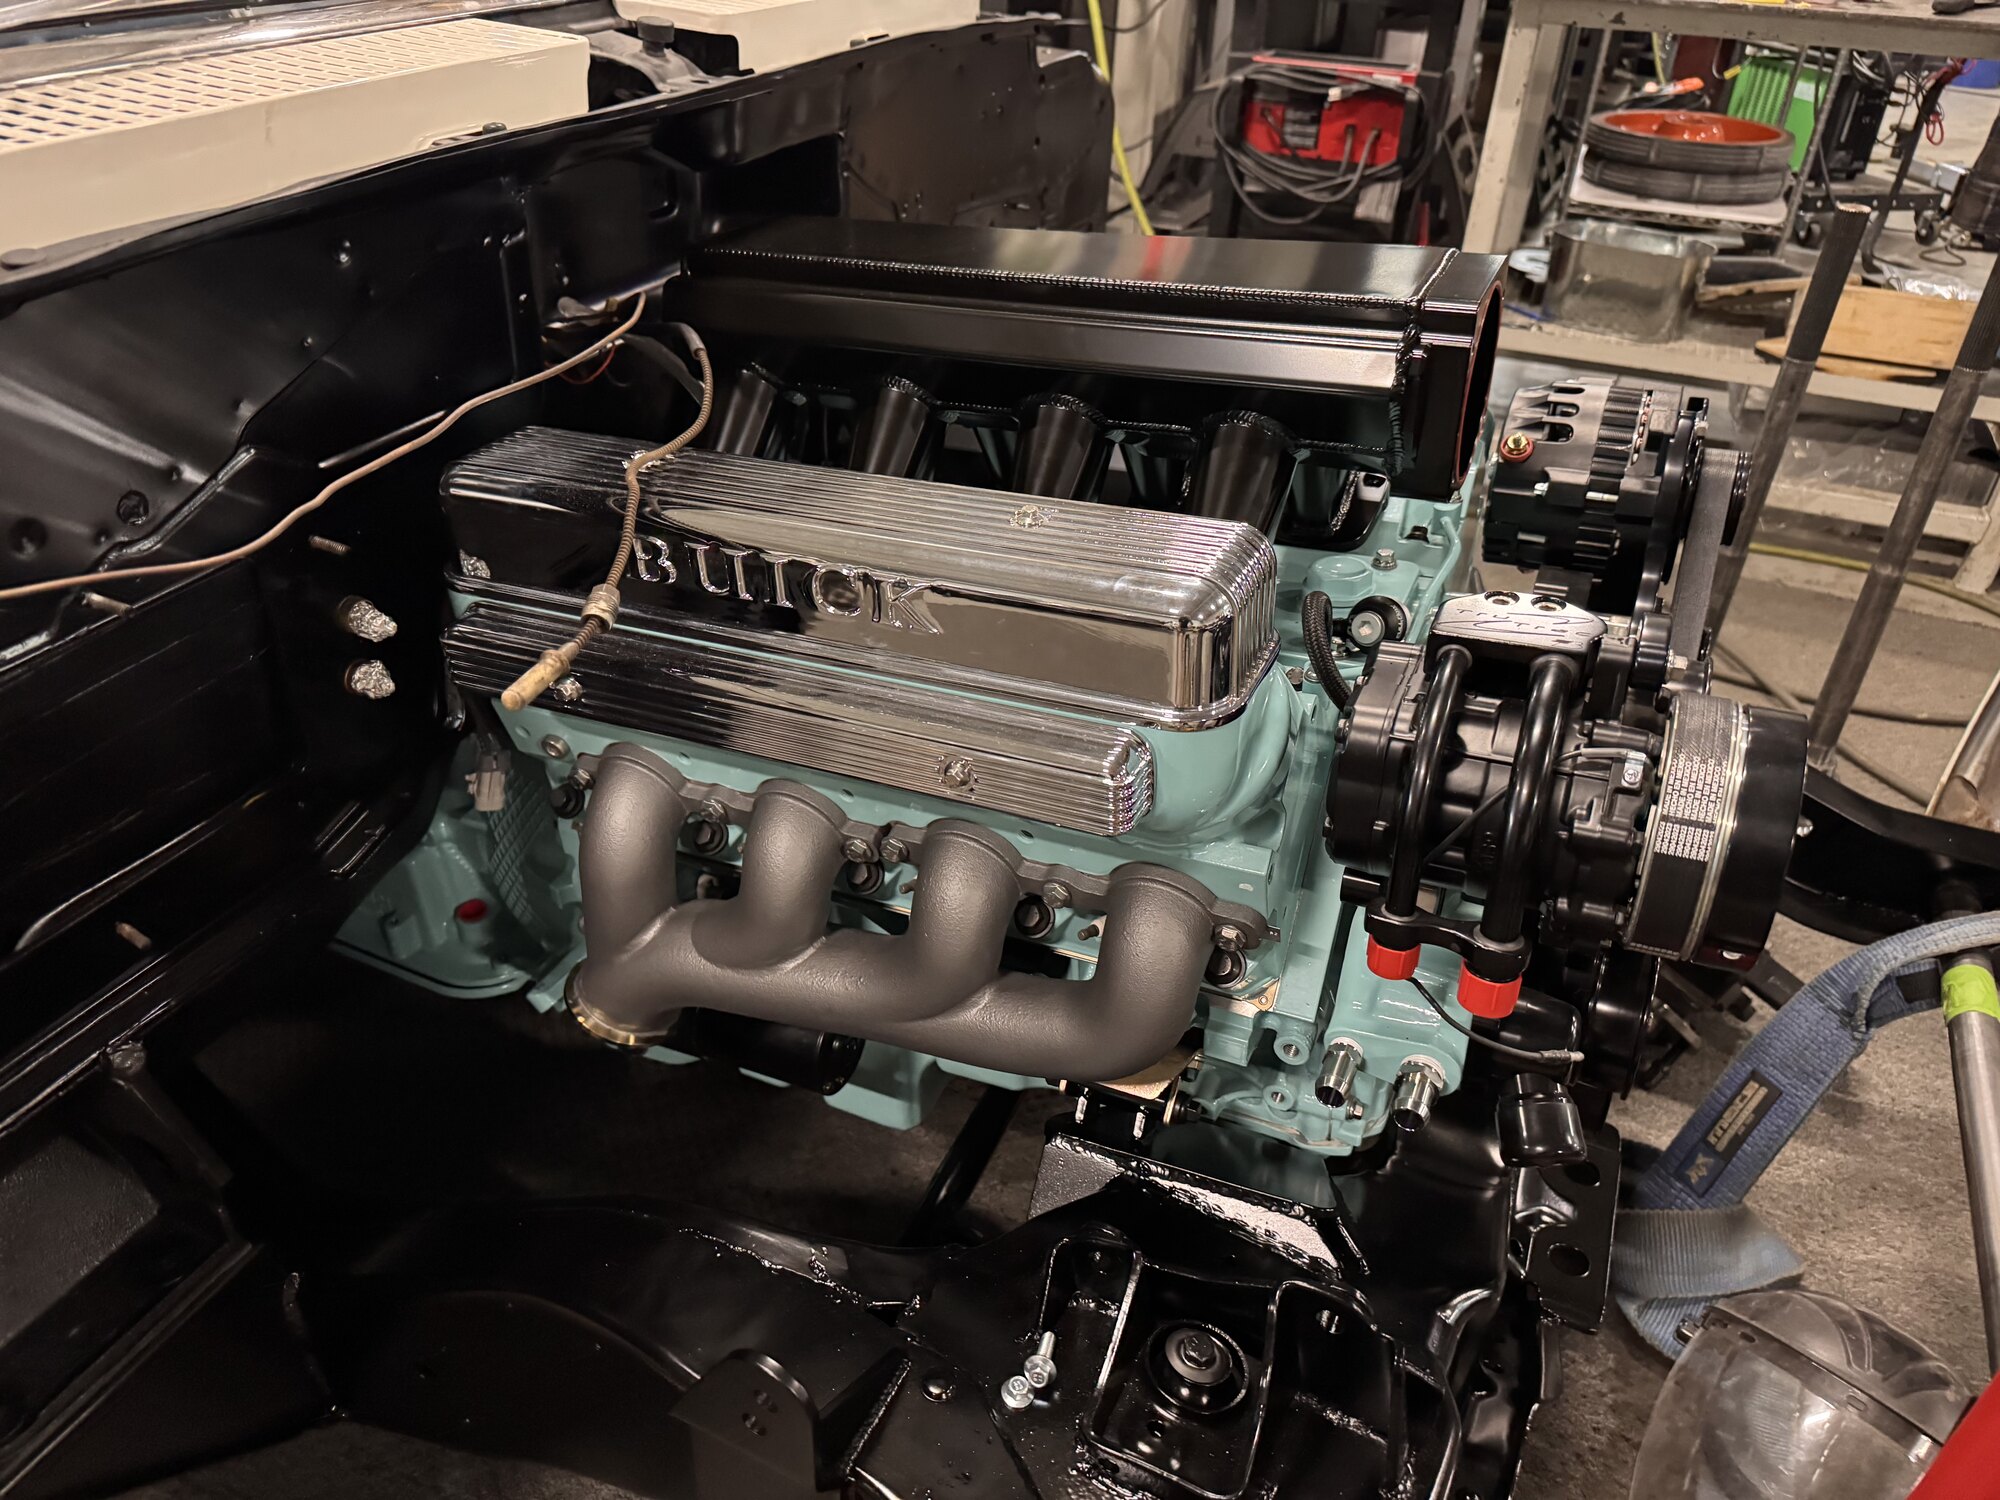 J003
J003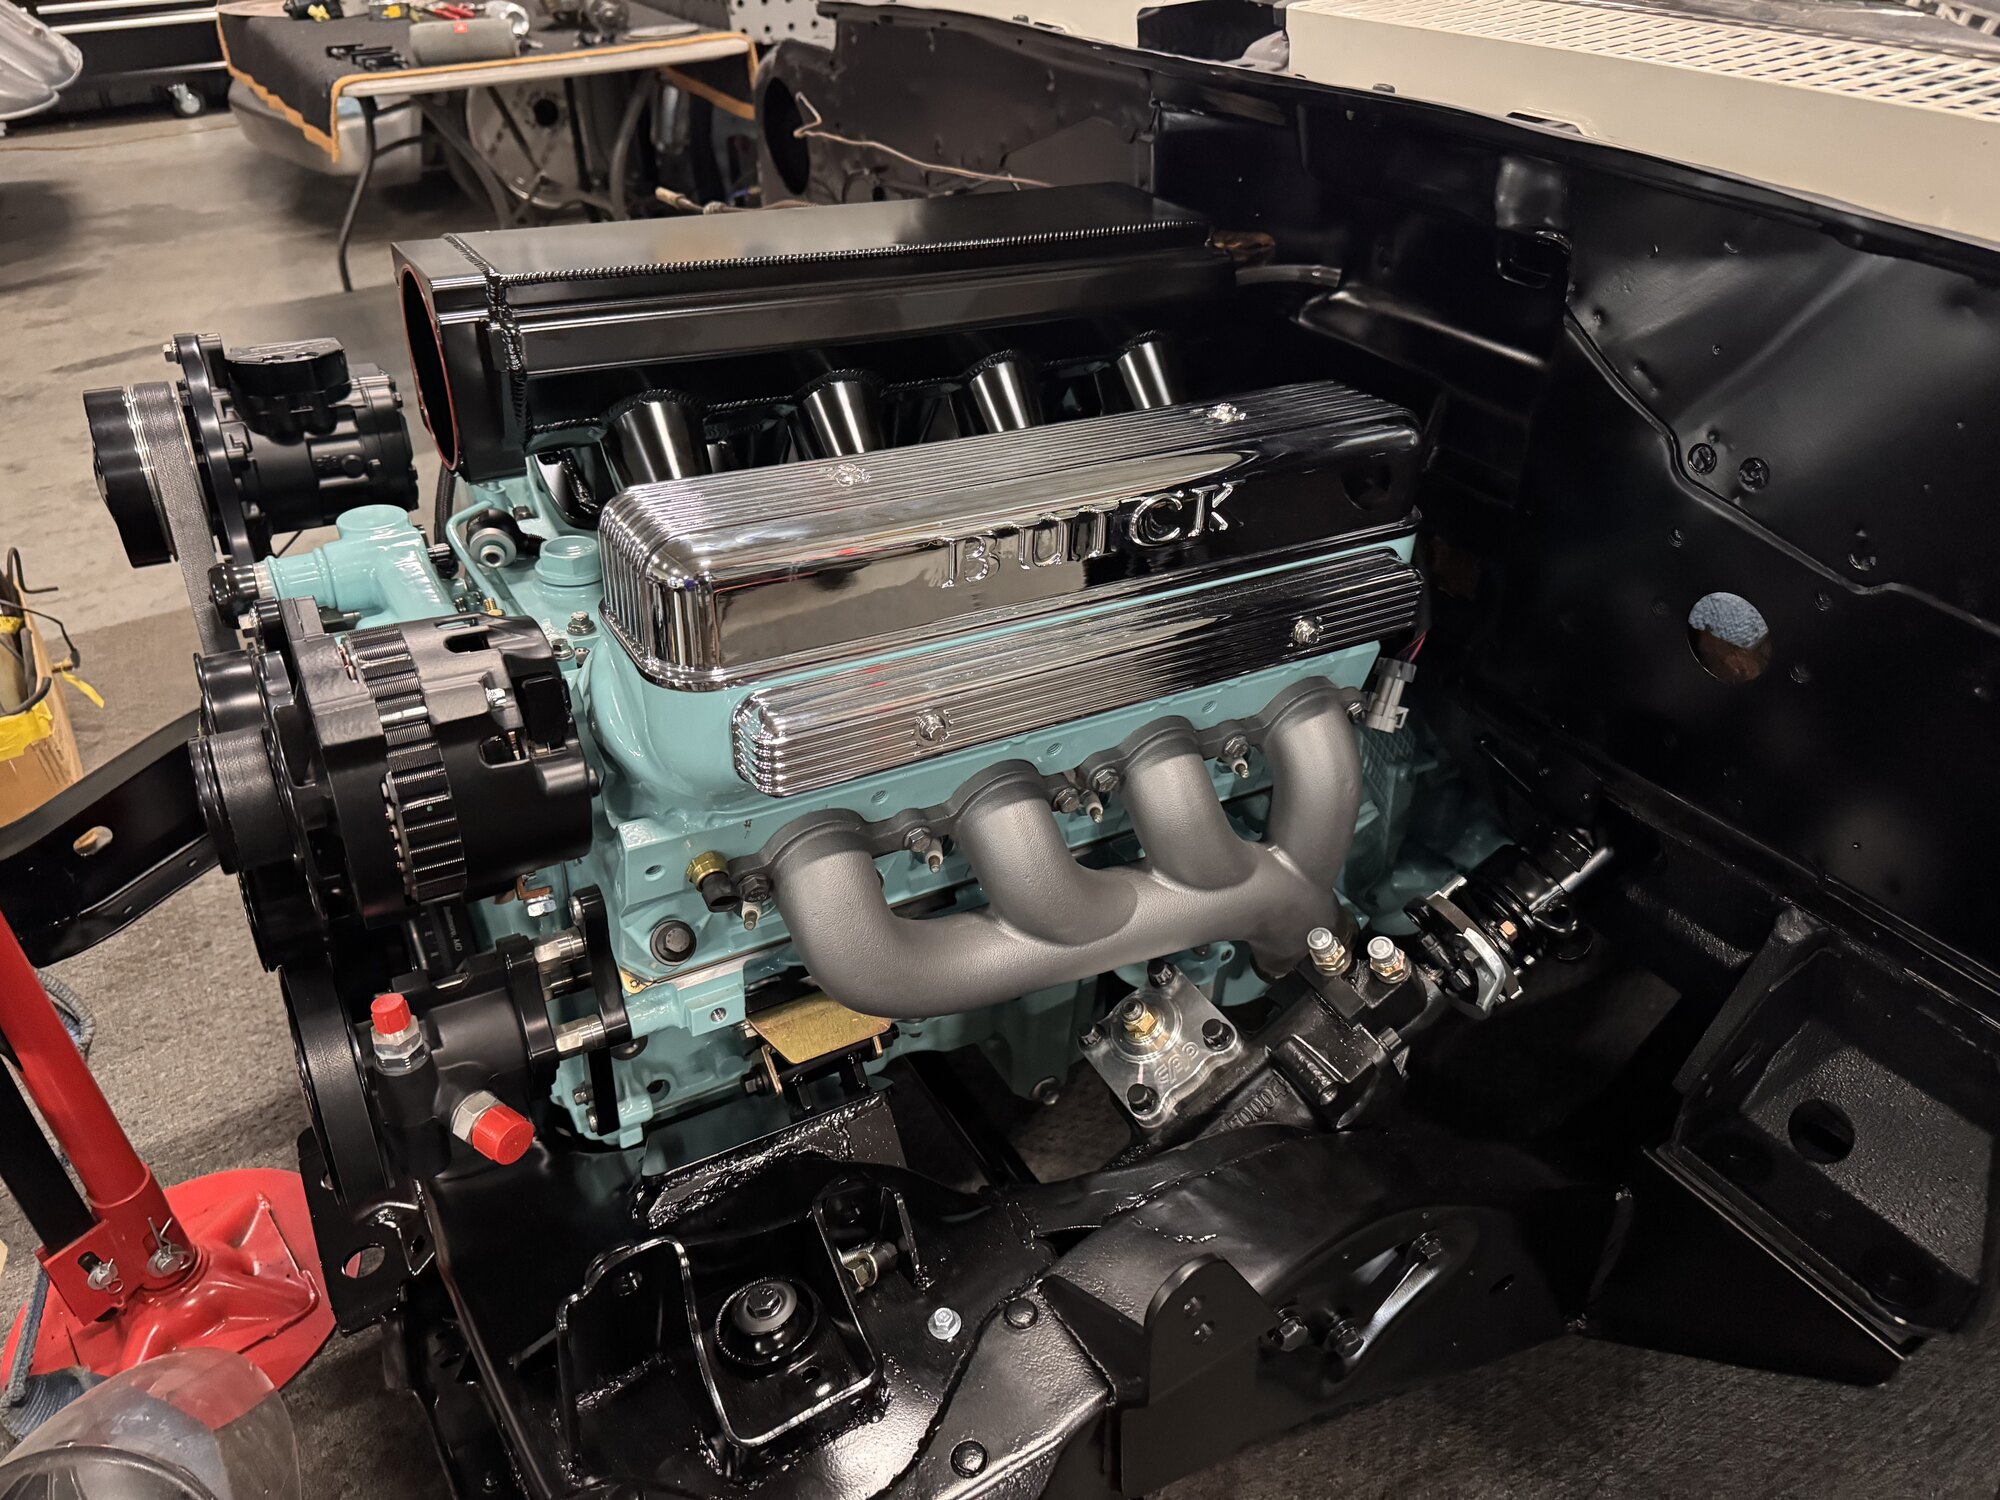 J004
J004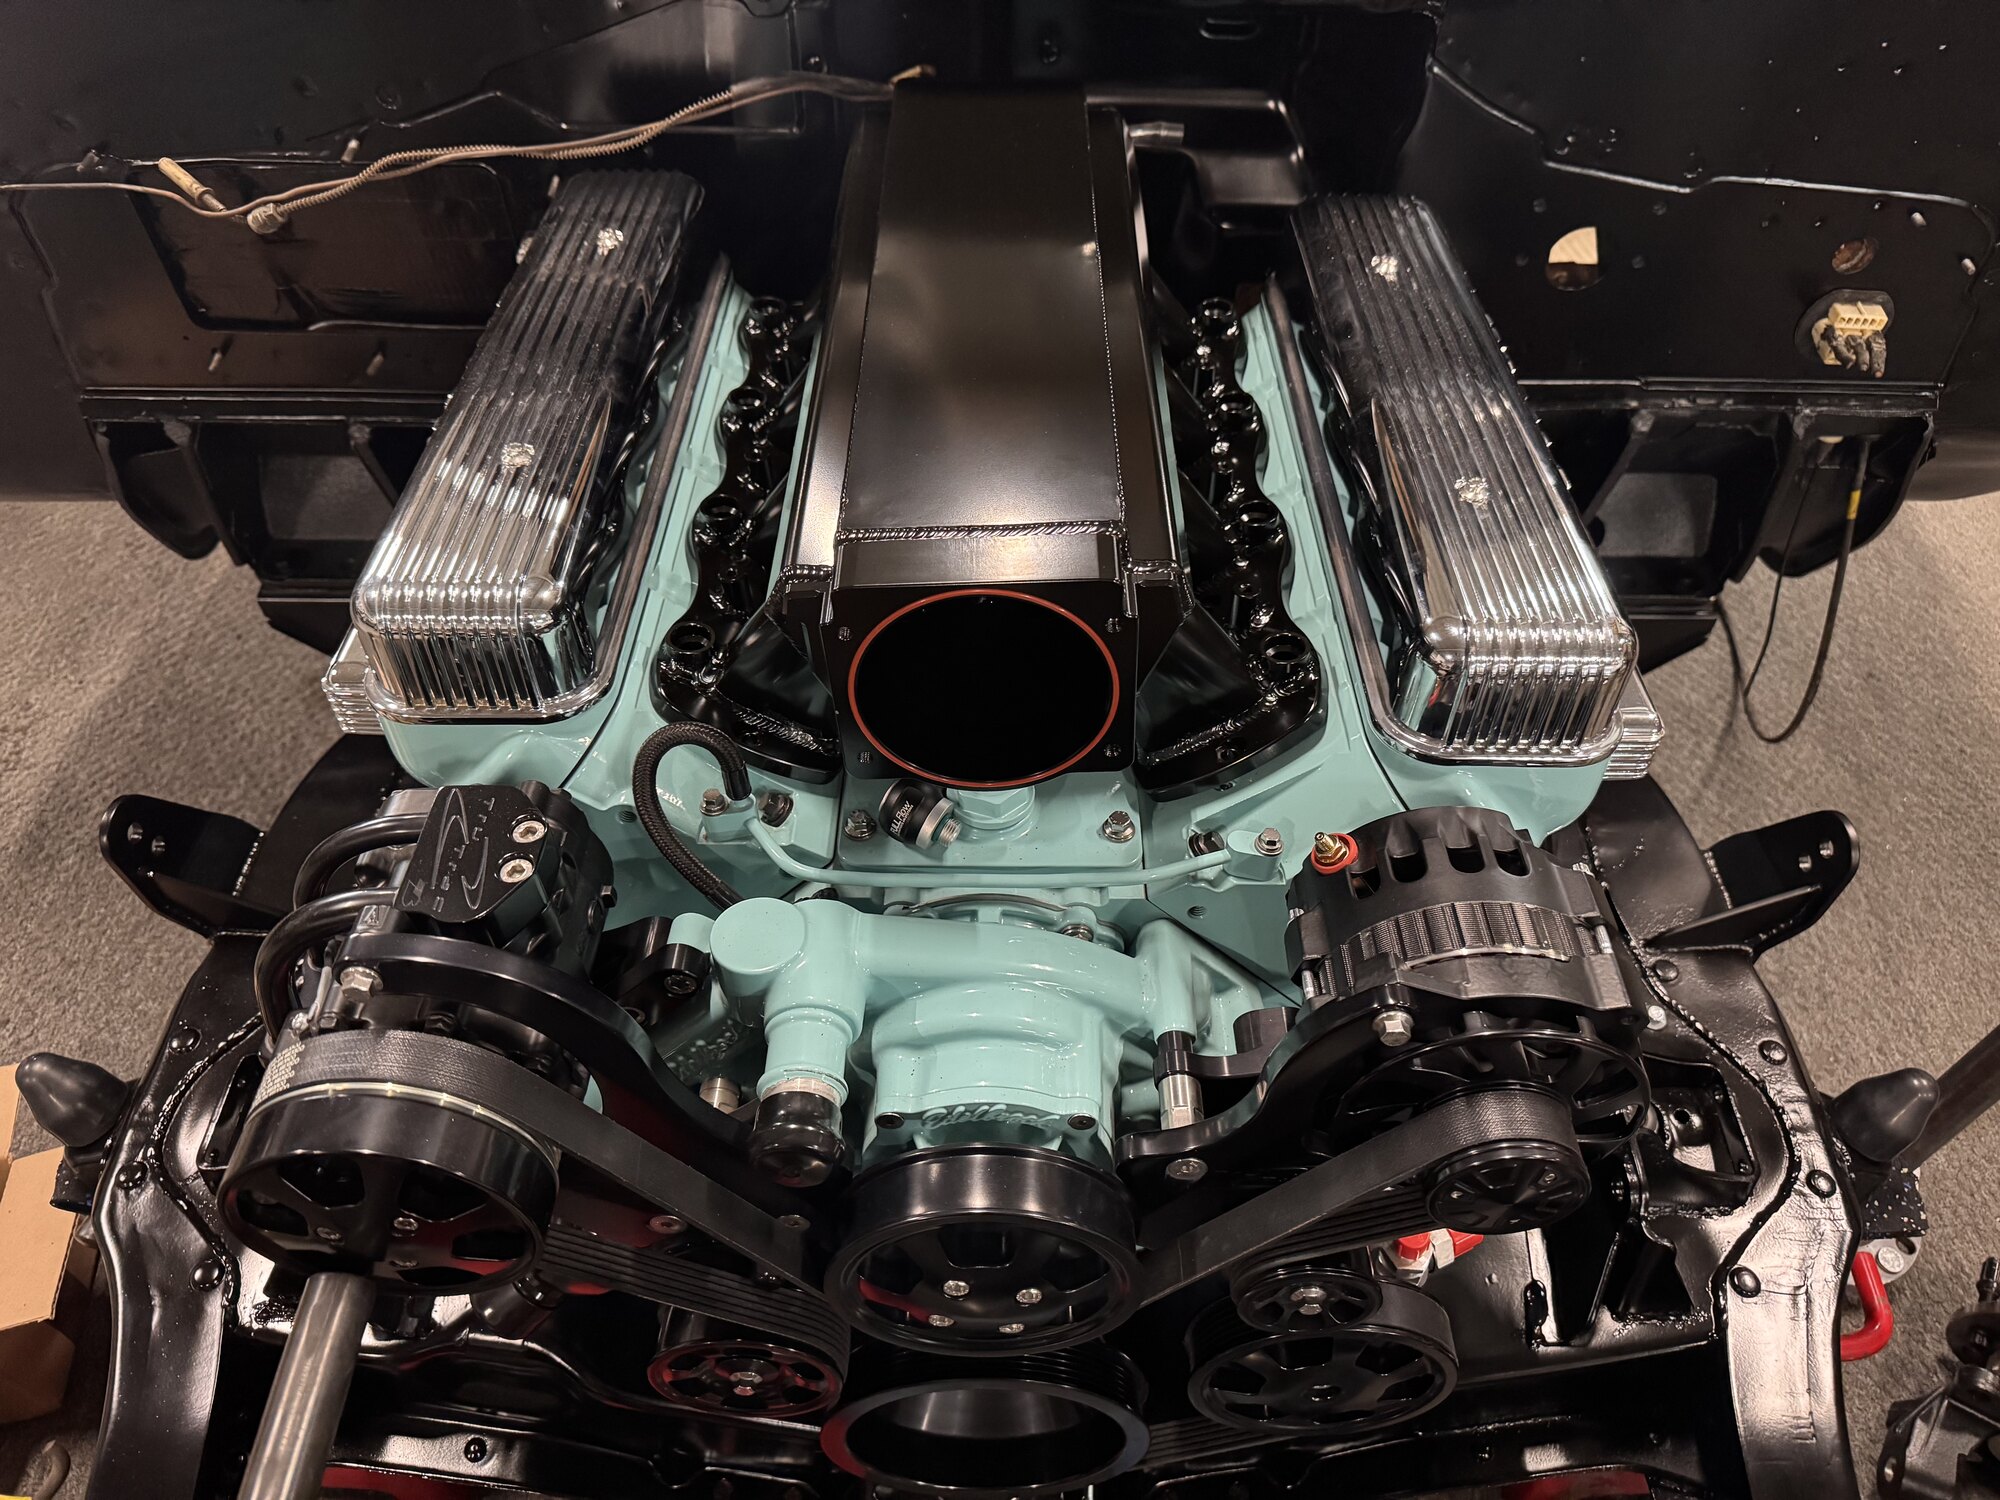 J005
J005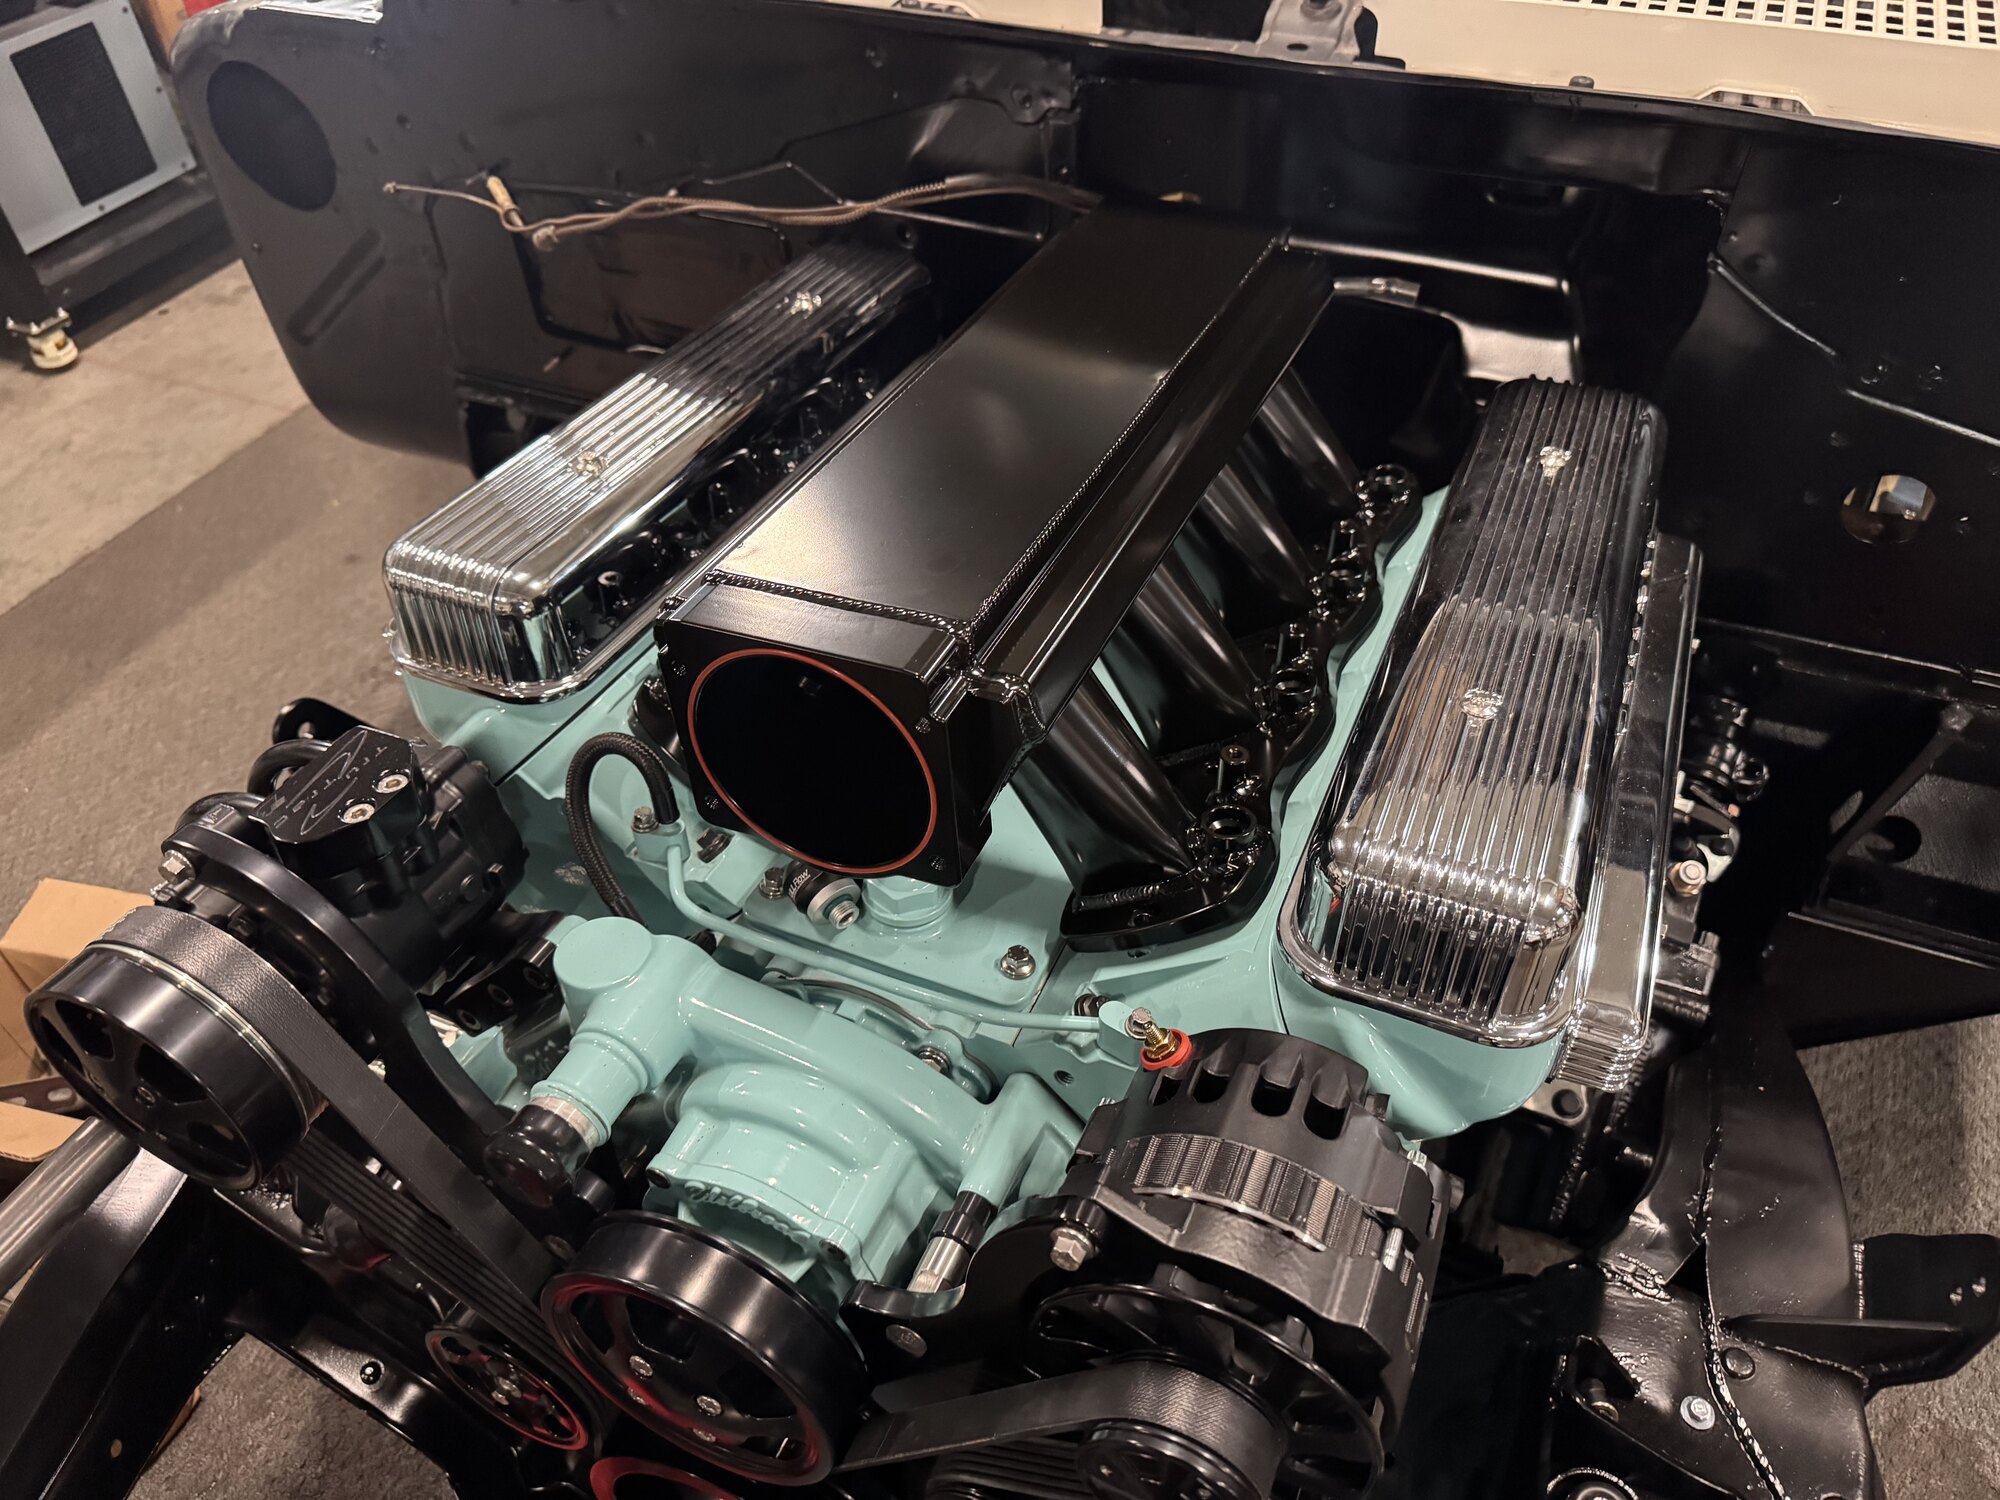 J006
J006UPDATE 02 / 09
Jul 30, 2026
TOP MILESTONEConvertible top installation complete
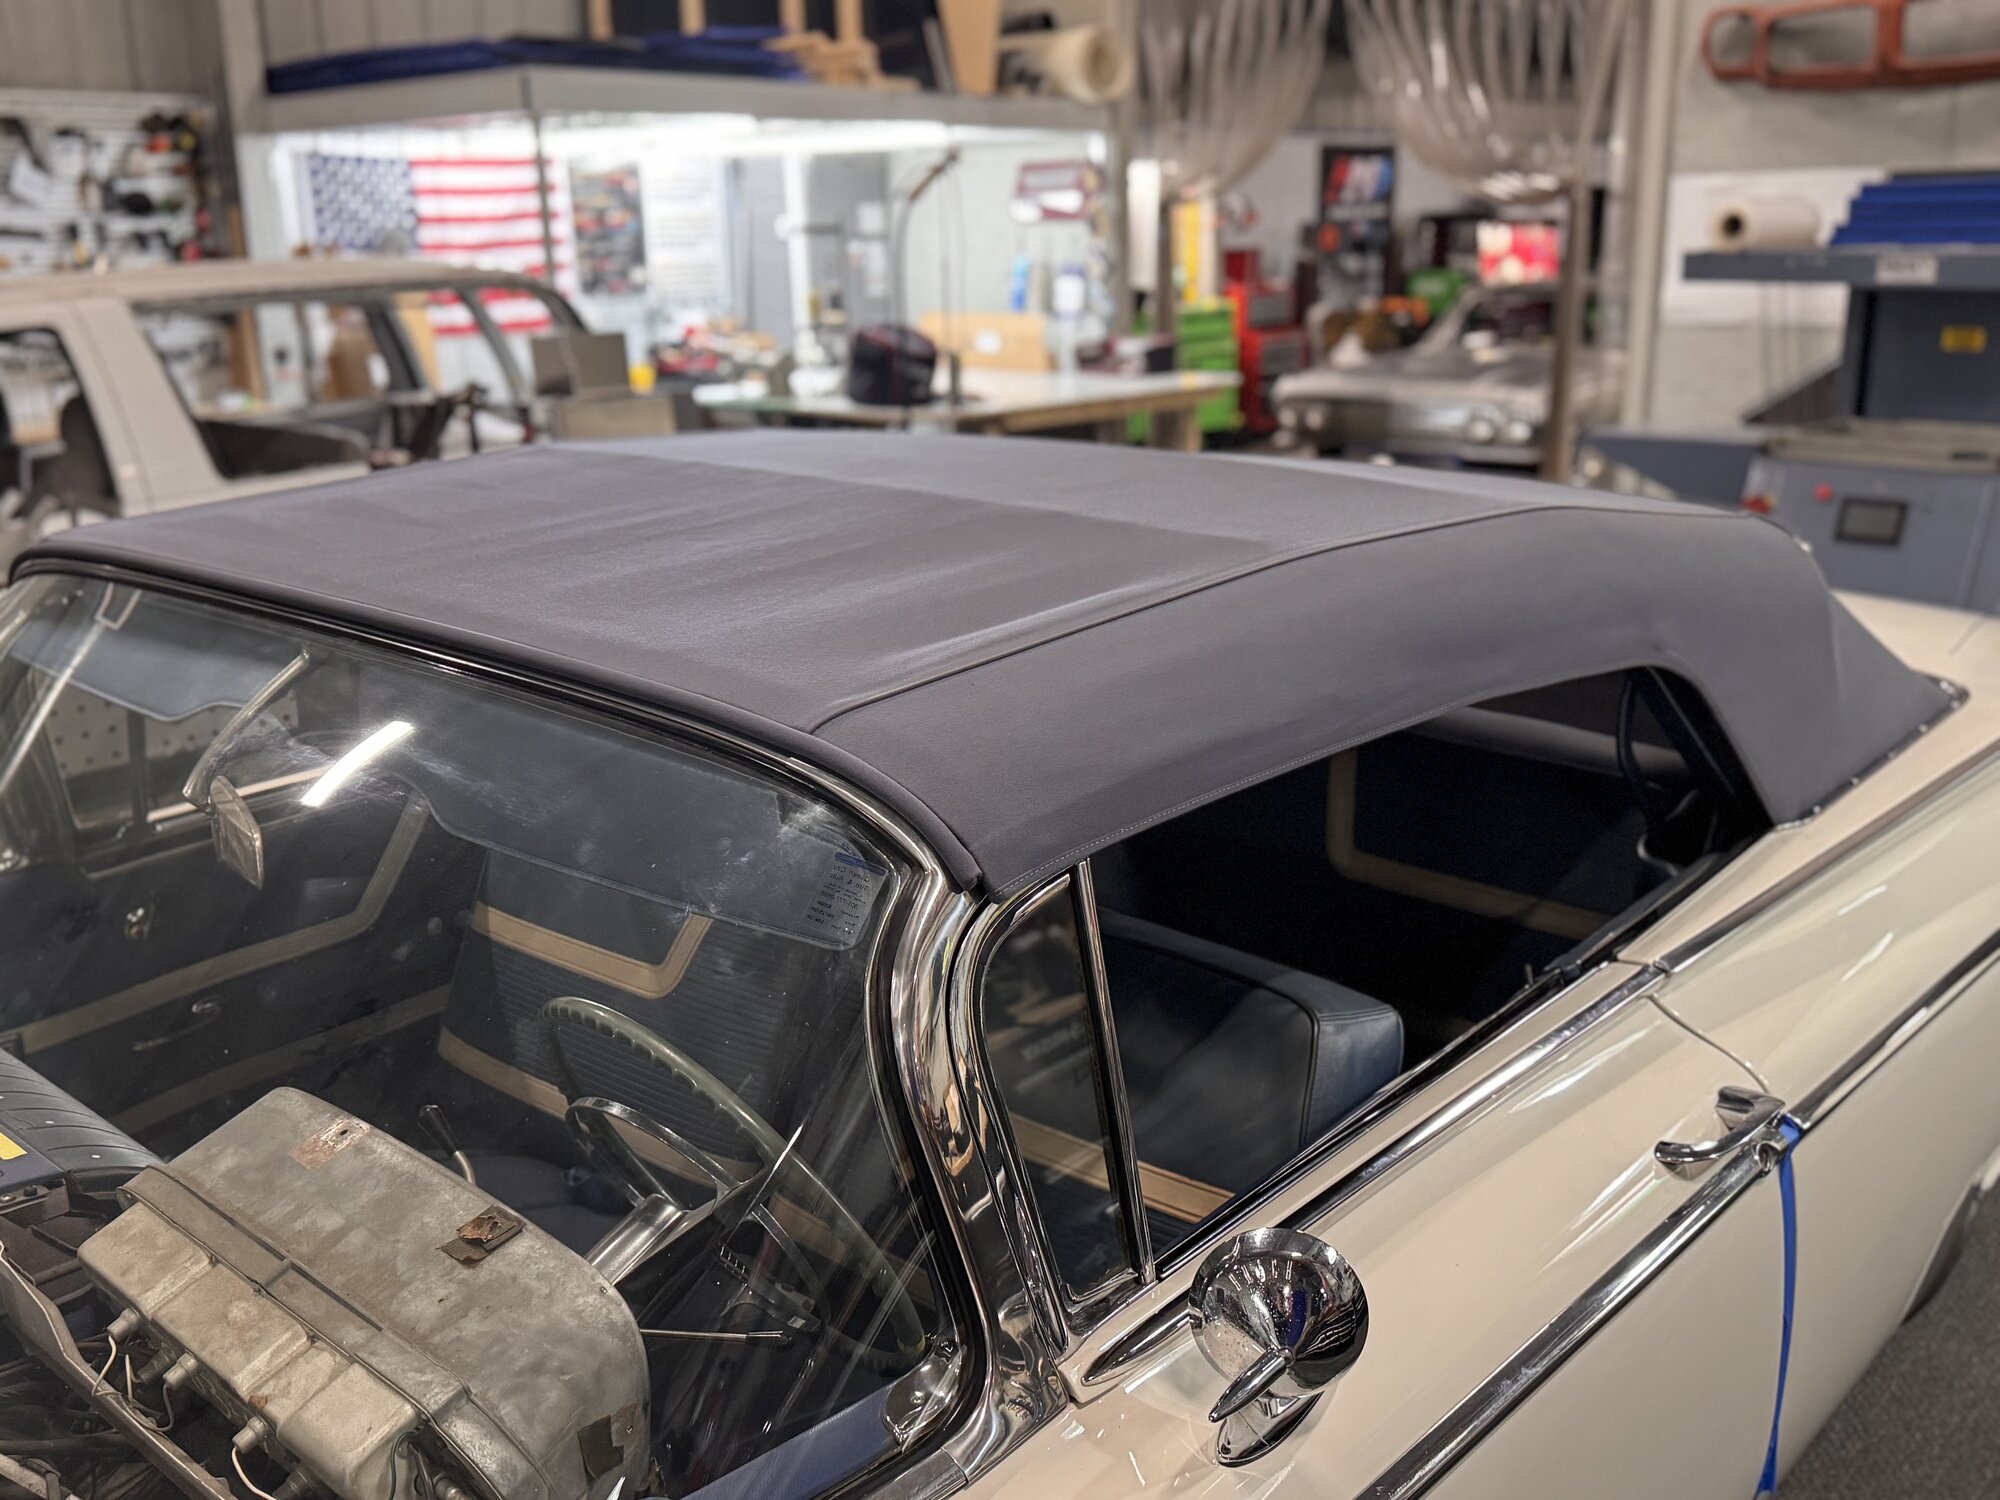
Final installation on the '59 convertible top is complete. The canvas is tacked, trimmed and pulled tight across the bows, the stainless trim is back on, and the rear window sits clean in the frame. Now it needs to sit for a while and let the material stretch and settle before we steam it again to take out the last of the wrinkles — that's how you get a top that looks factory-tight and stays that way. Meanwhile the new seat covers from SMS Auto Fabrics should arrive any time now.
 J007
J007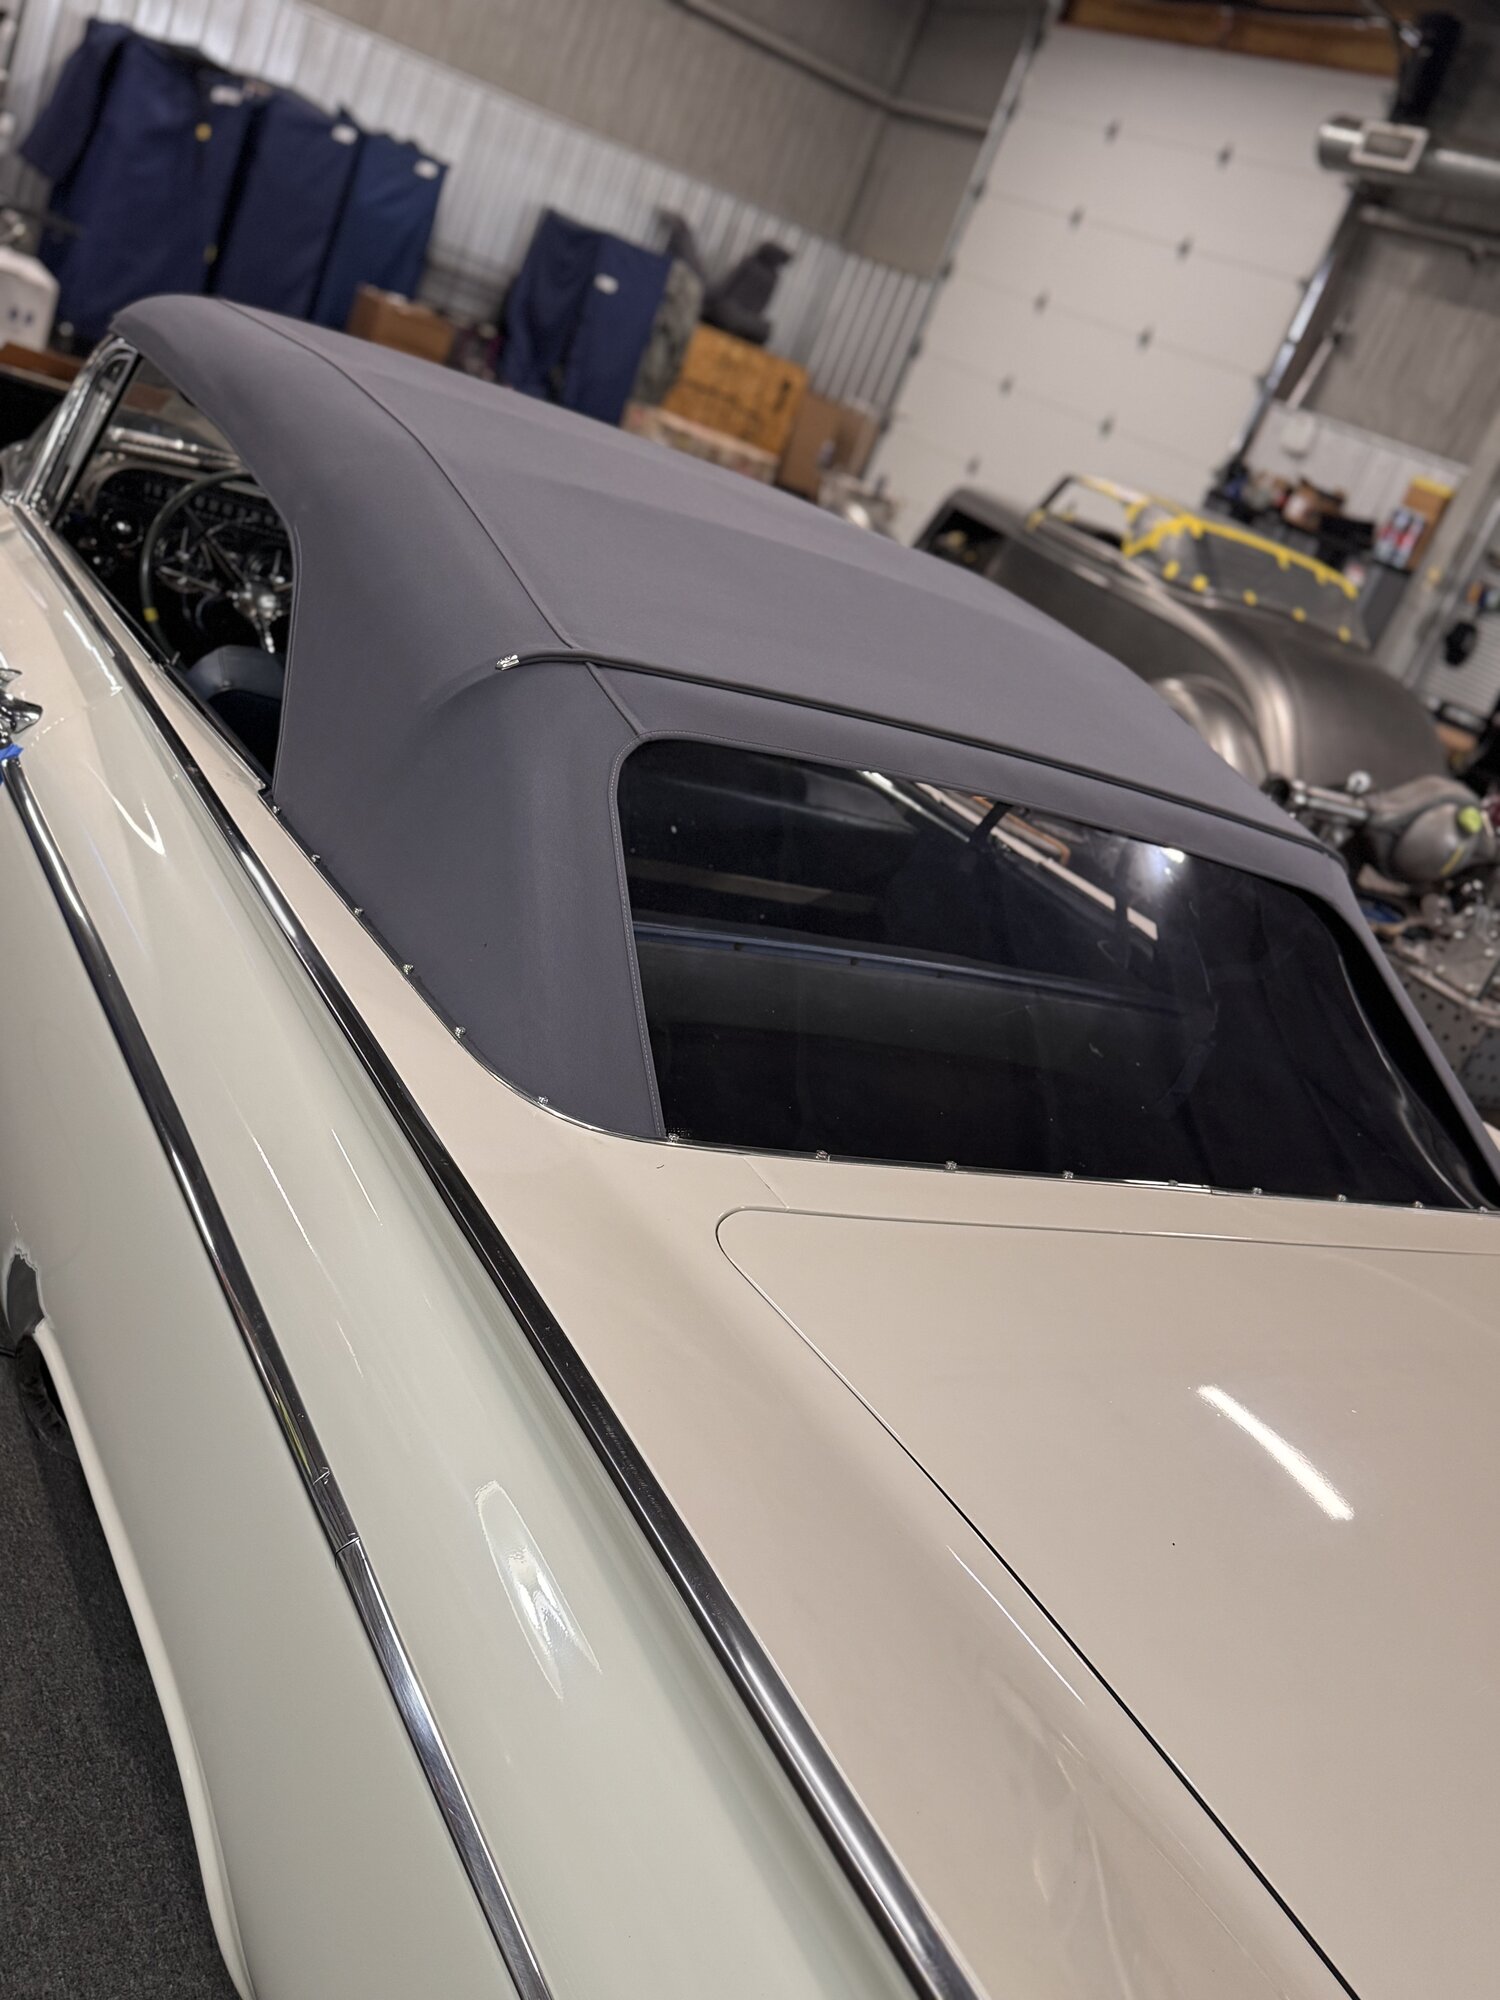 J008
J008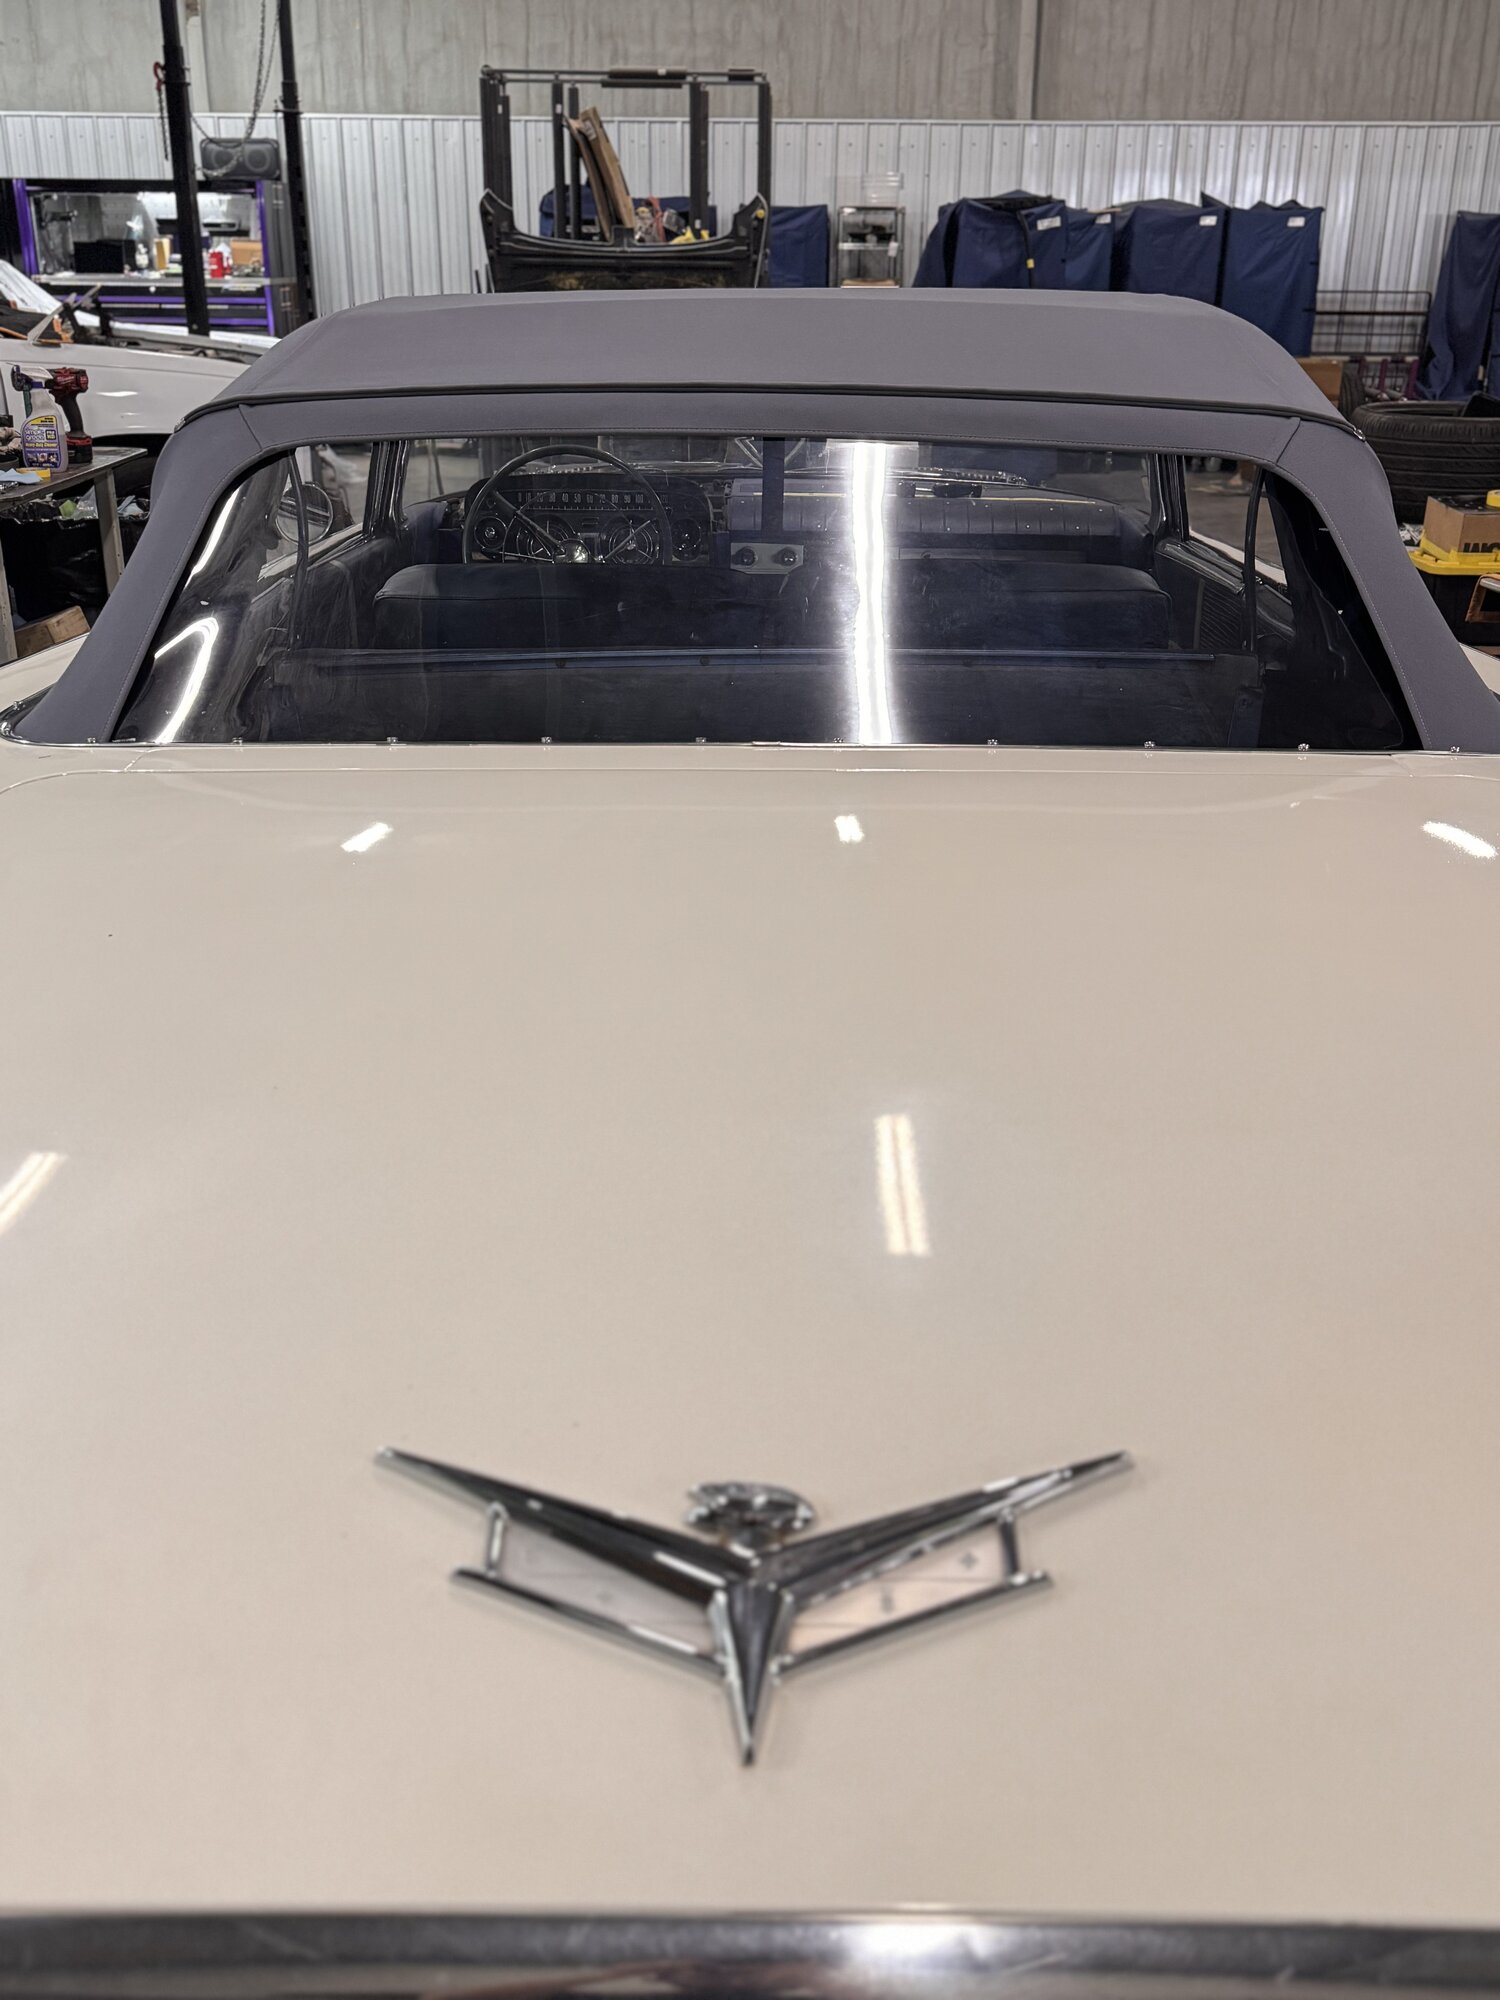 J009
J009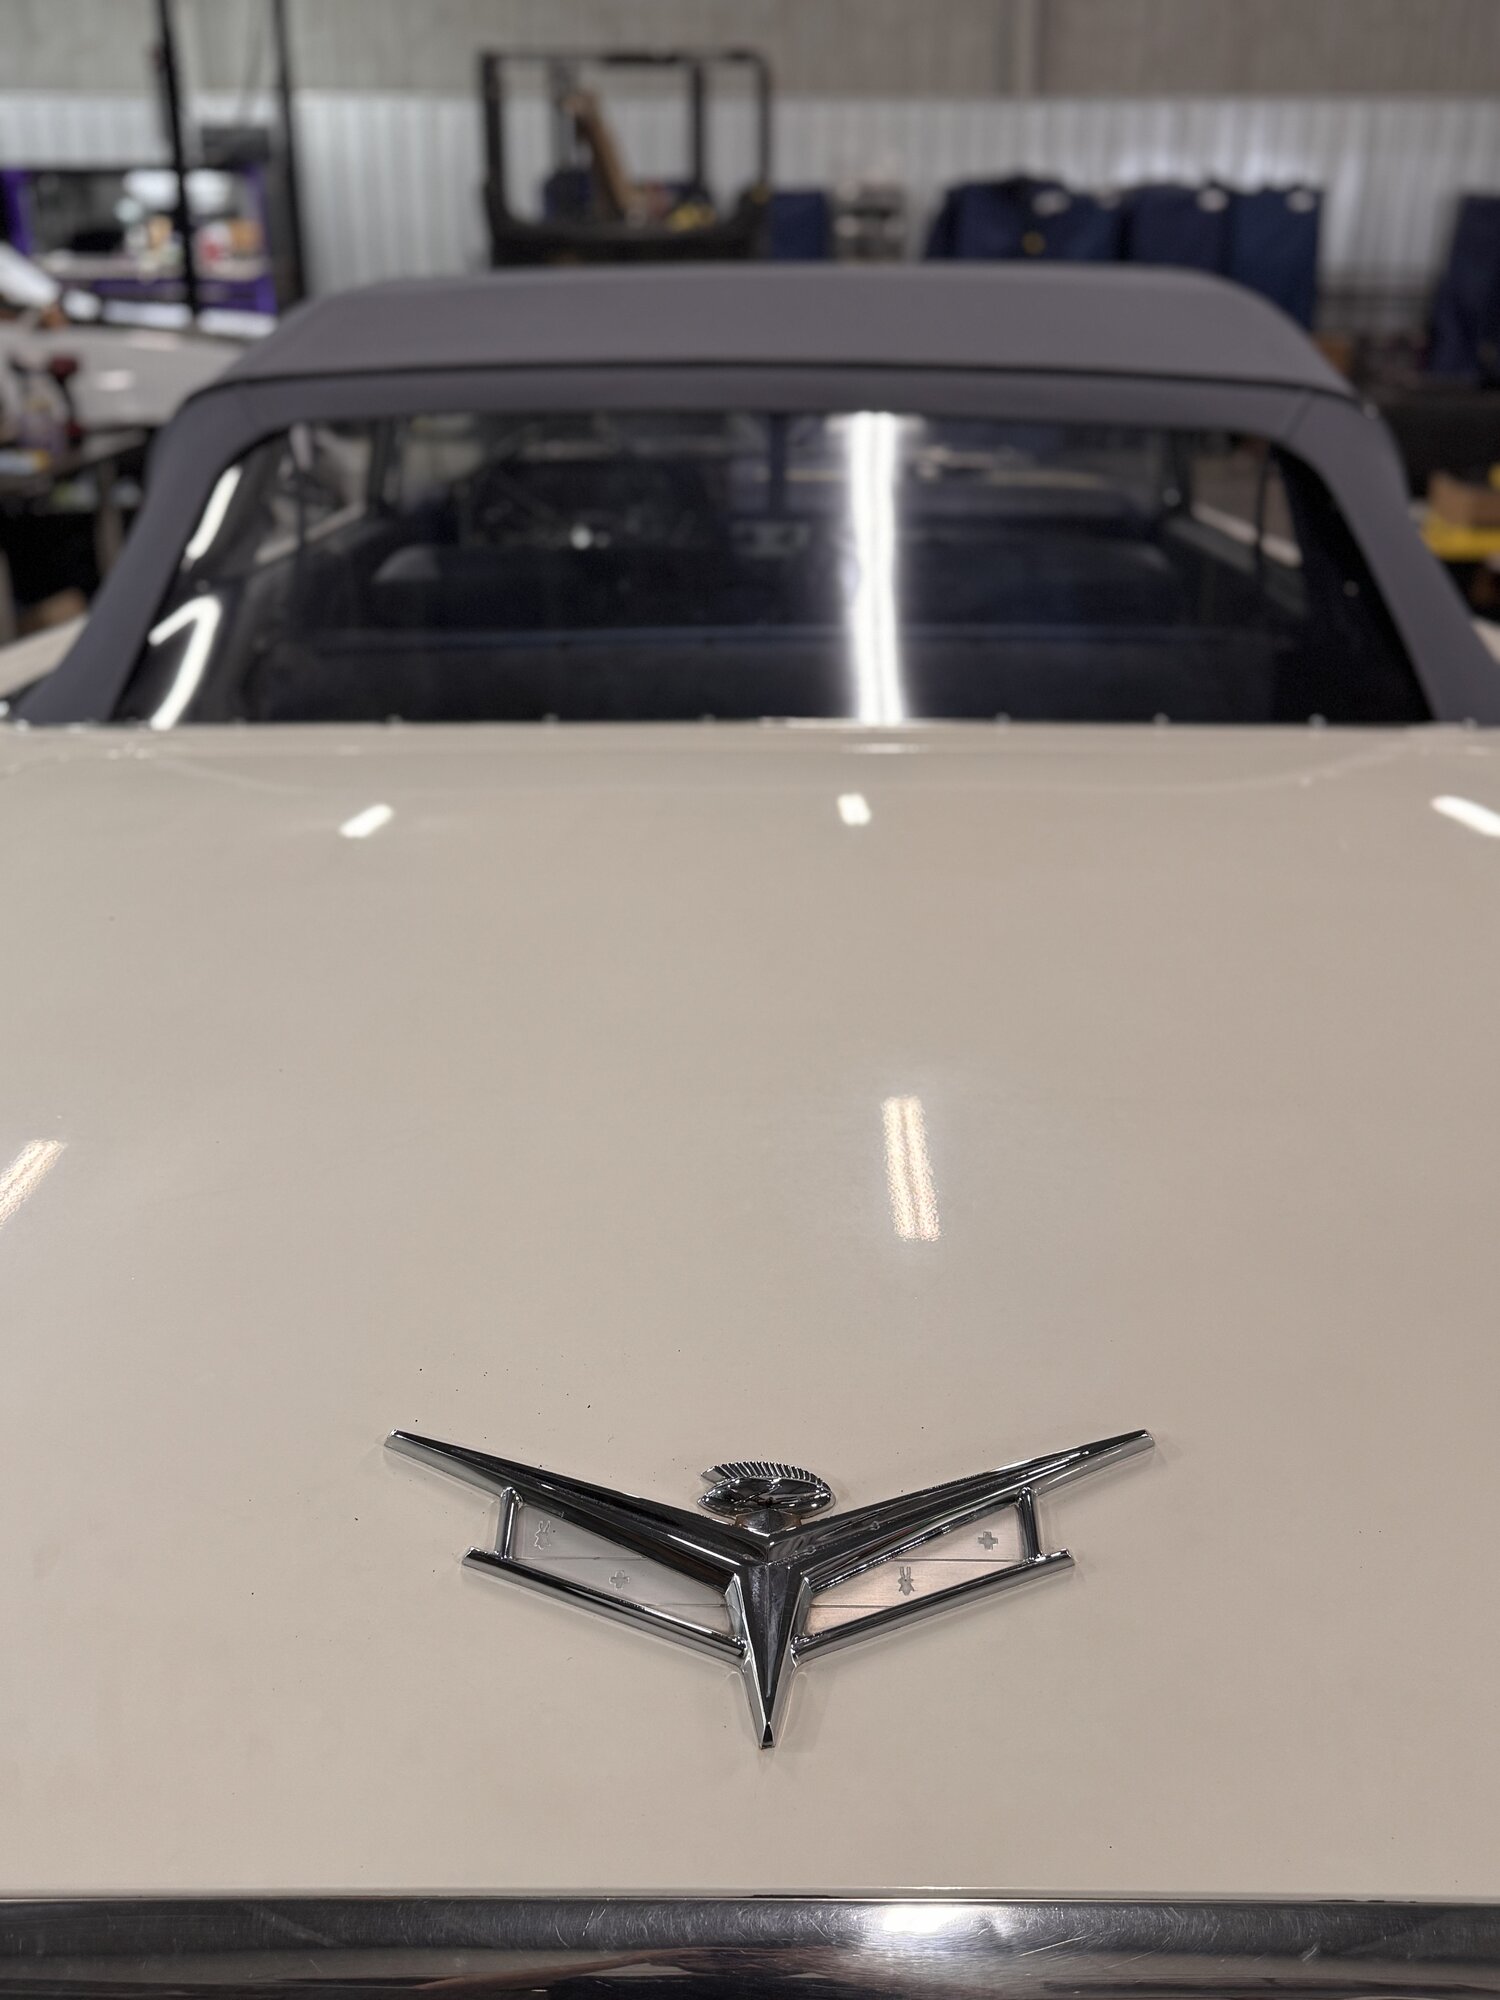 J010
J010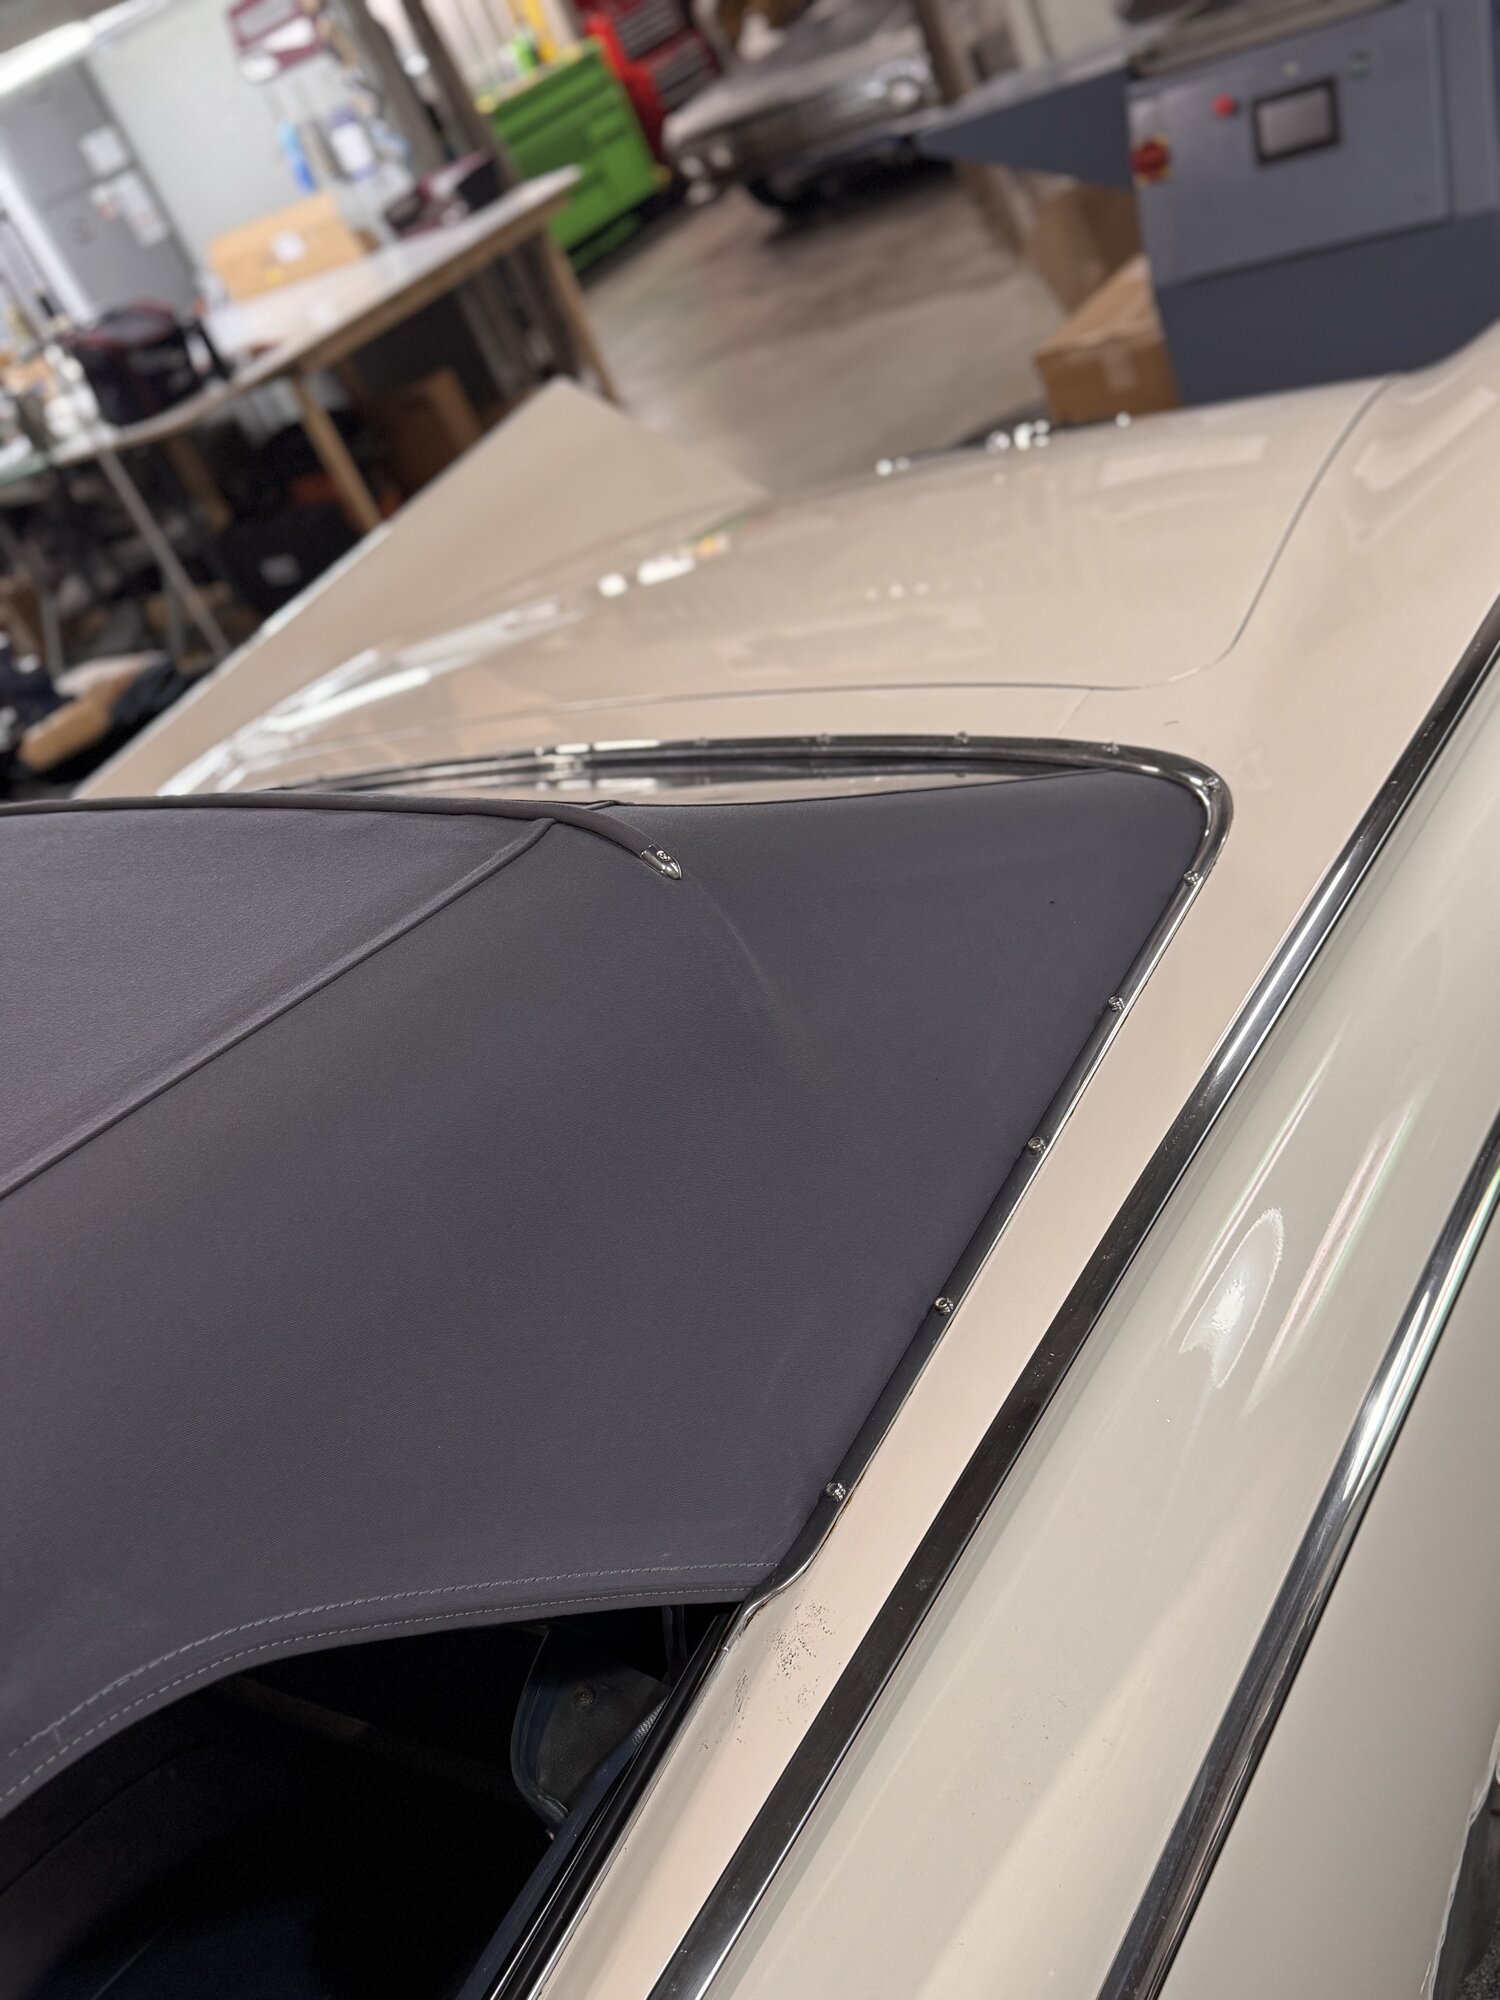 J011
J011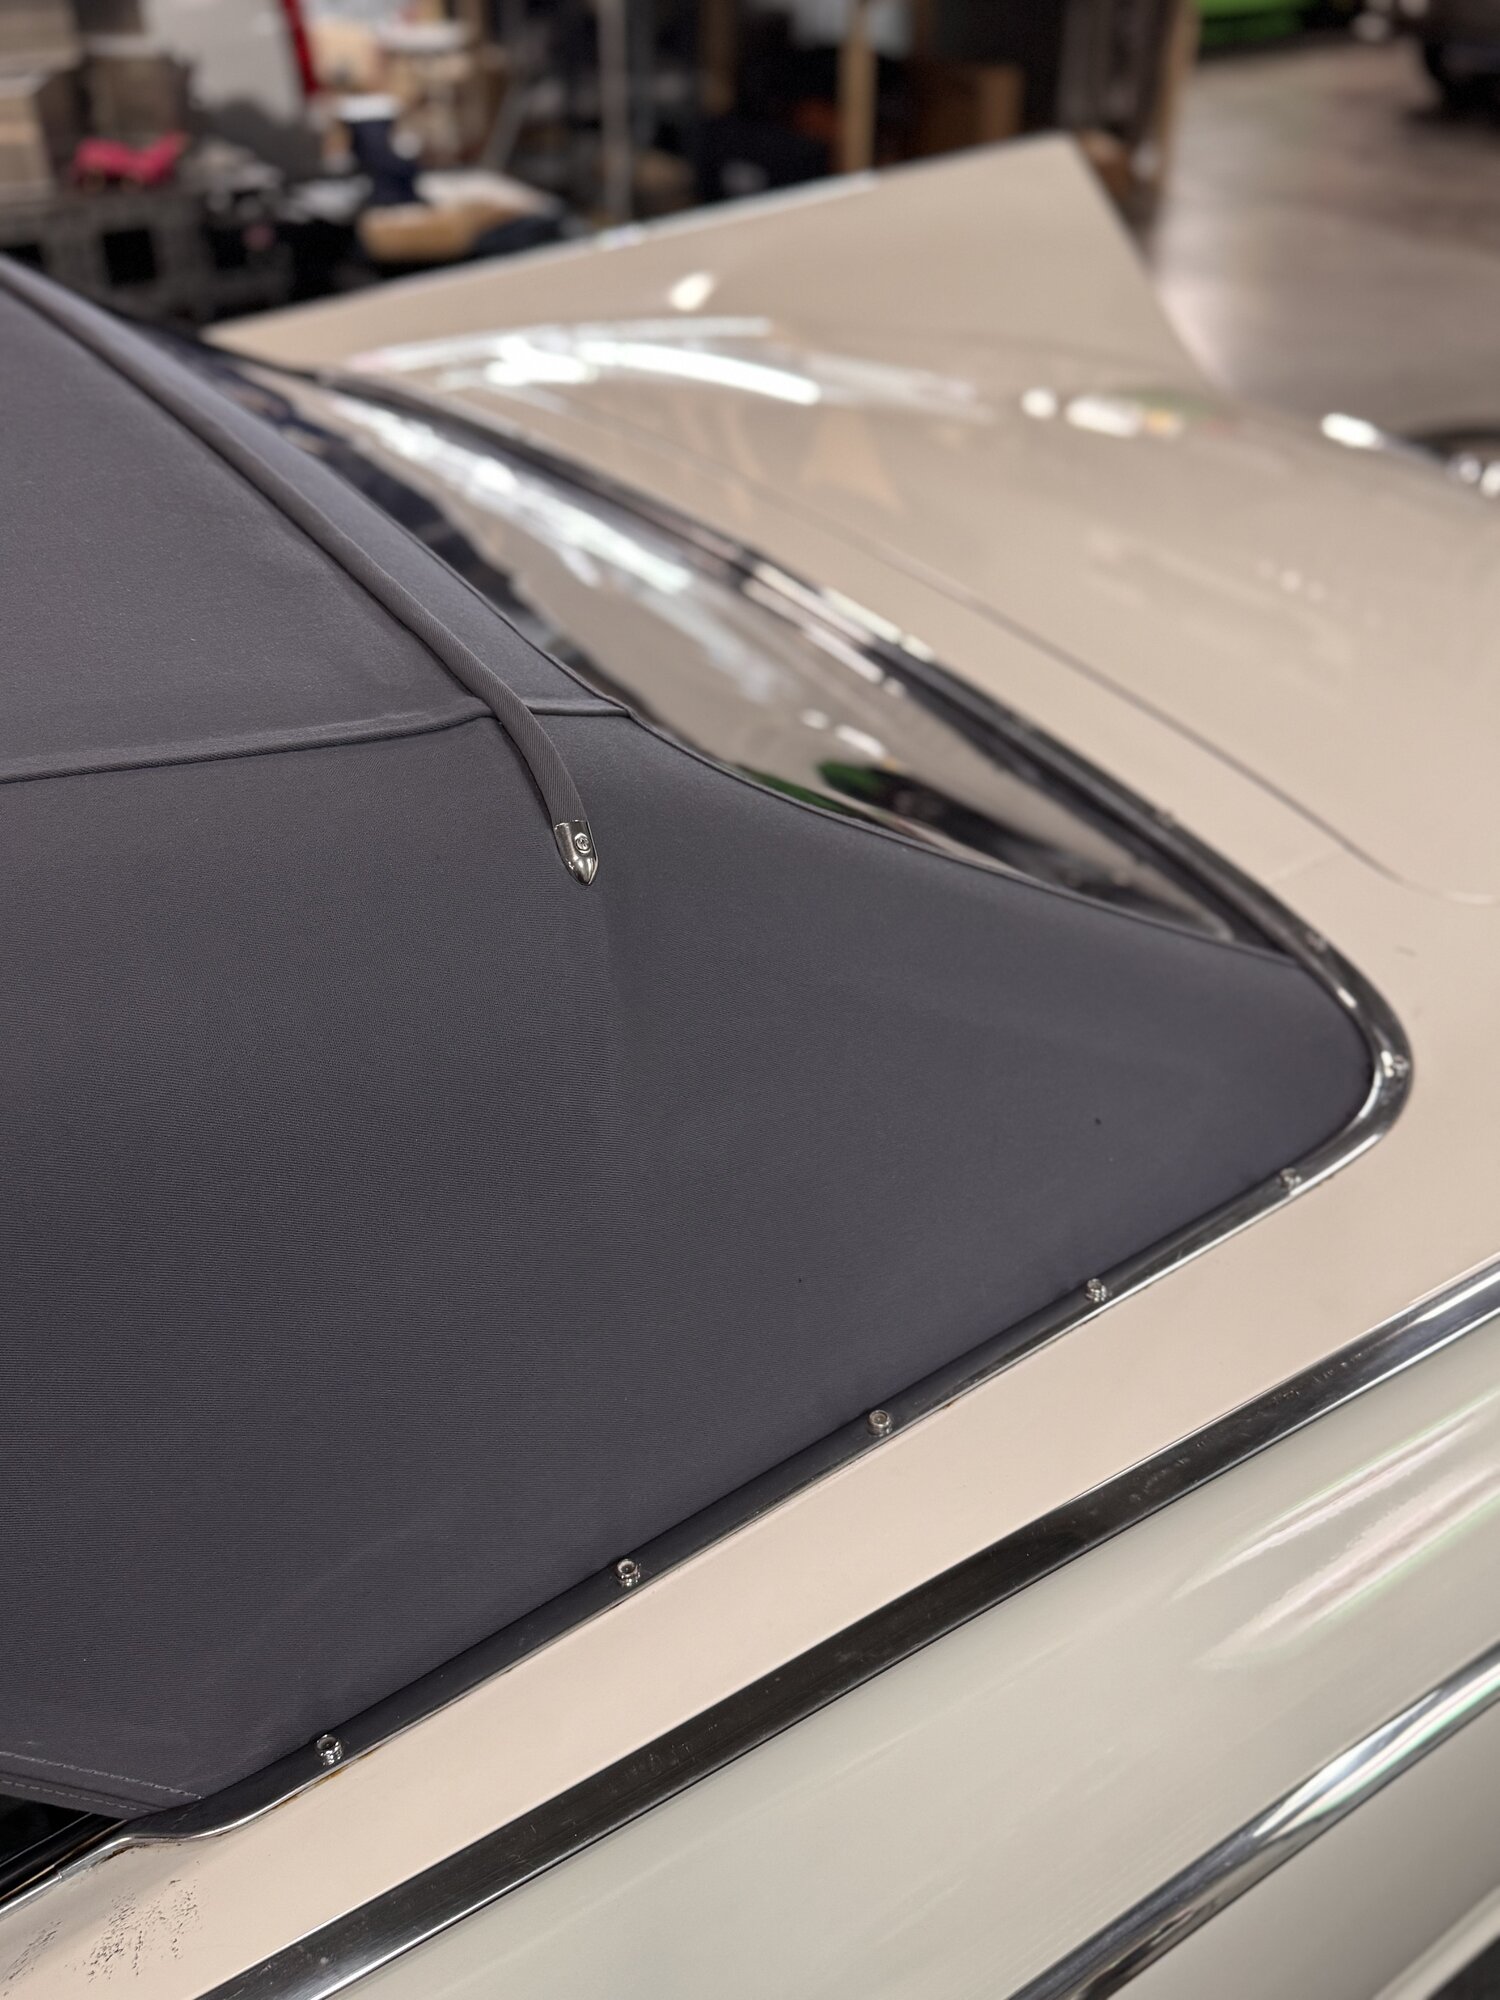 J012
J012UPDATE 03 / 09
Jul 27, 2026
TOP MILESTONENew canvas convertible top
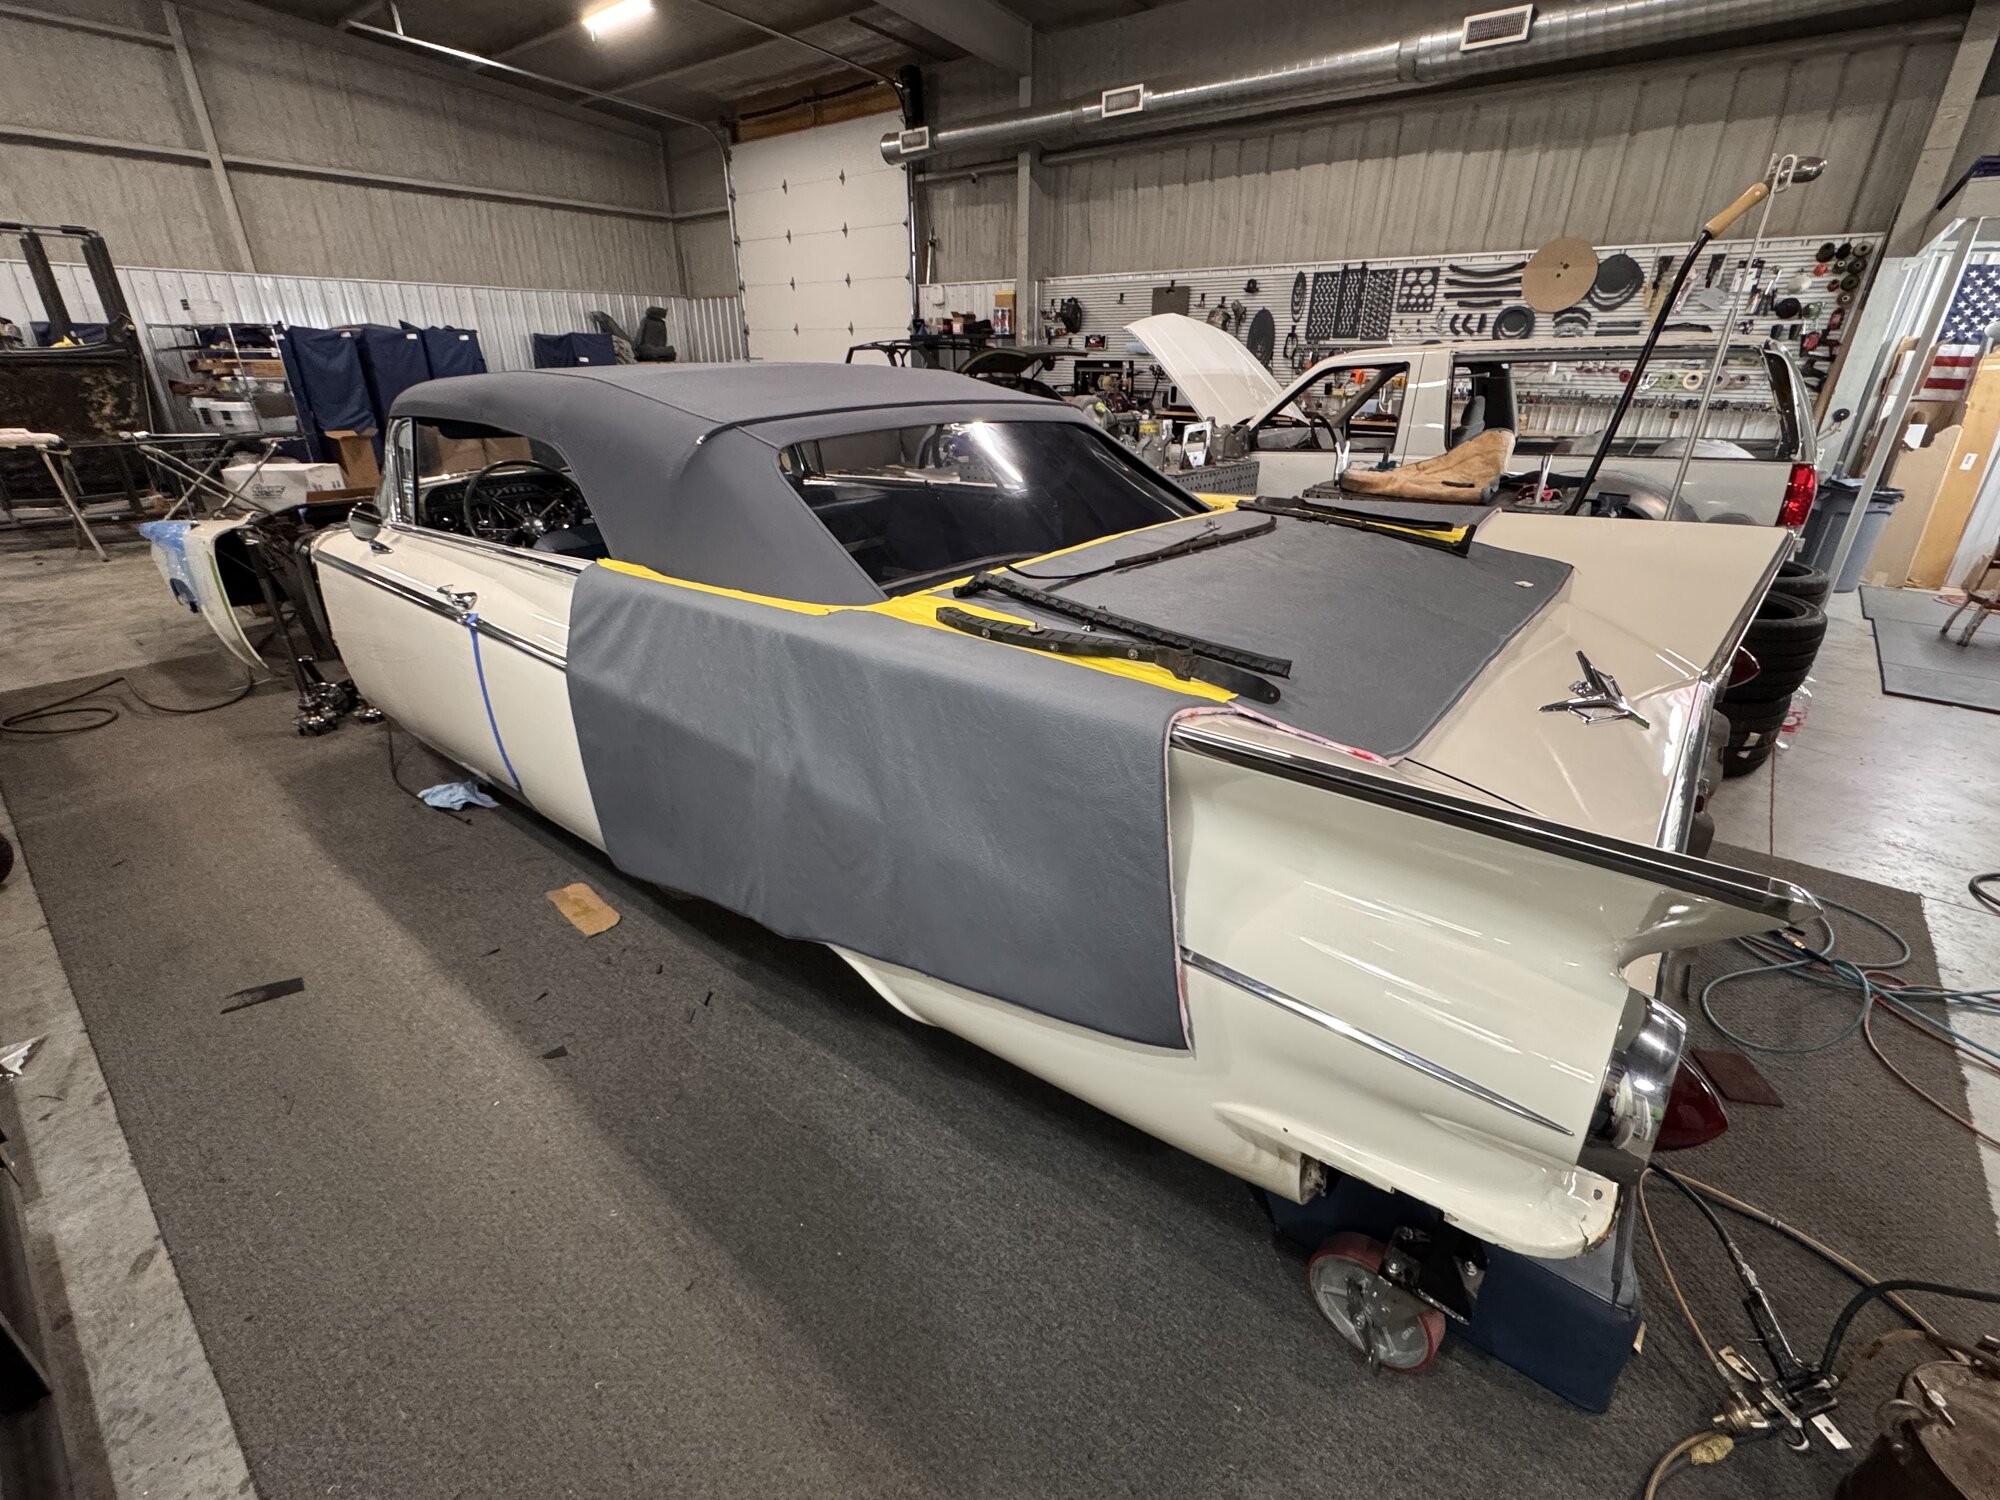
Exciting update — the Buick is getting a new convertible top. The car came to us with a vinyl top that the previous owner said had been replaced about eight years ago. There are basically two options for top material: vinyl and canvas (or stay-fast). We went canvas — it's a much better option for longevity and it has a classy appeal that vinyl just can't match. The top was ordered in a custom color and then installed right here at Hammer Fab. With the old top off we cleaned all the bows of grime and old glue and lubed every pivot point so the frame works the way it should. Thankfully the tack strips were still in good shape and could be re-used. We did opt to order new rubber weather strips, which will be here soon.
 J013
J013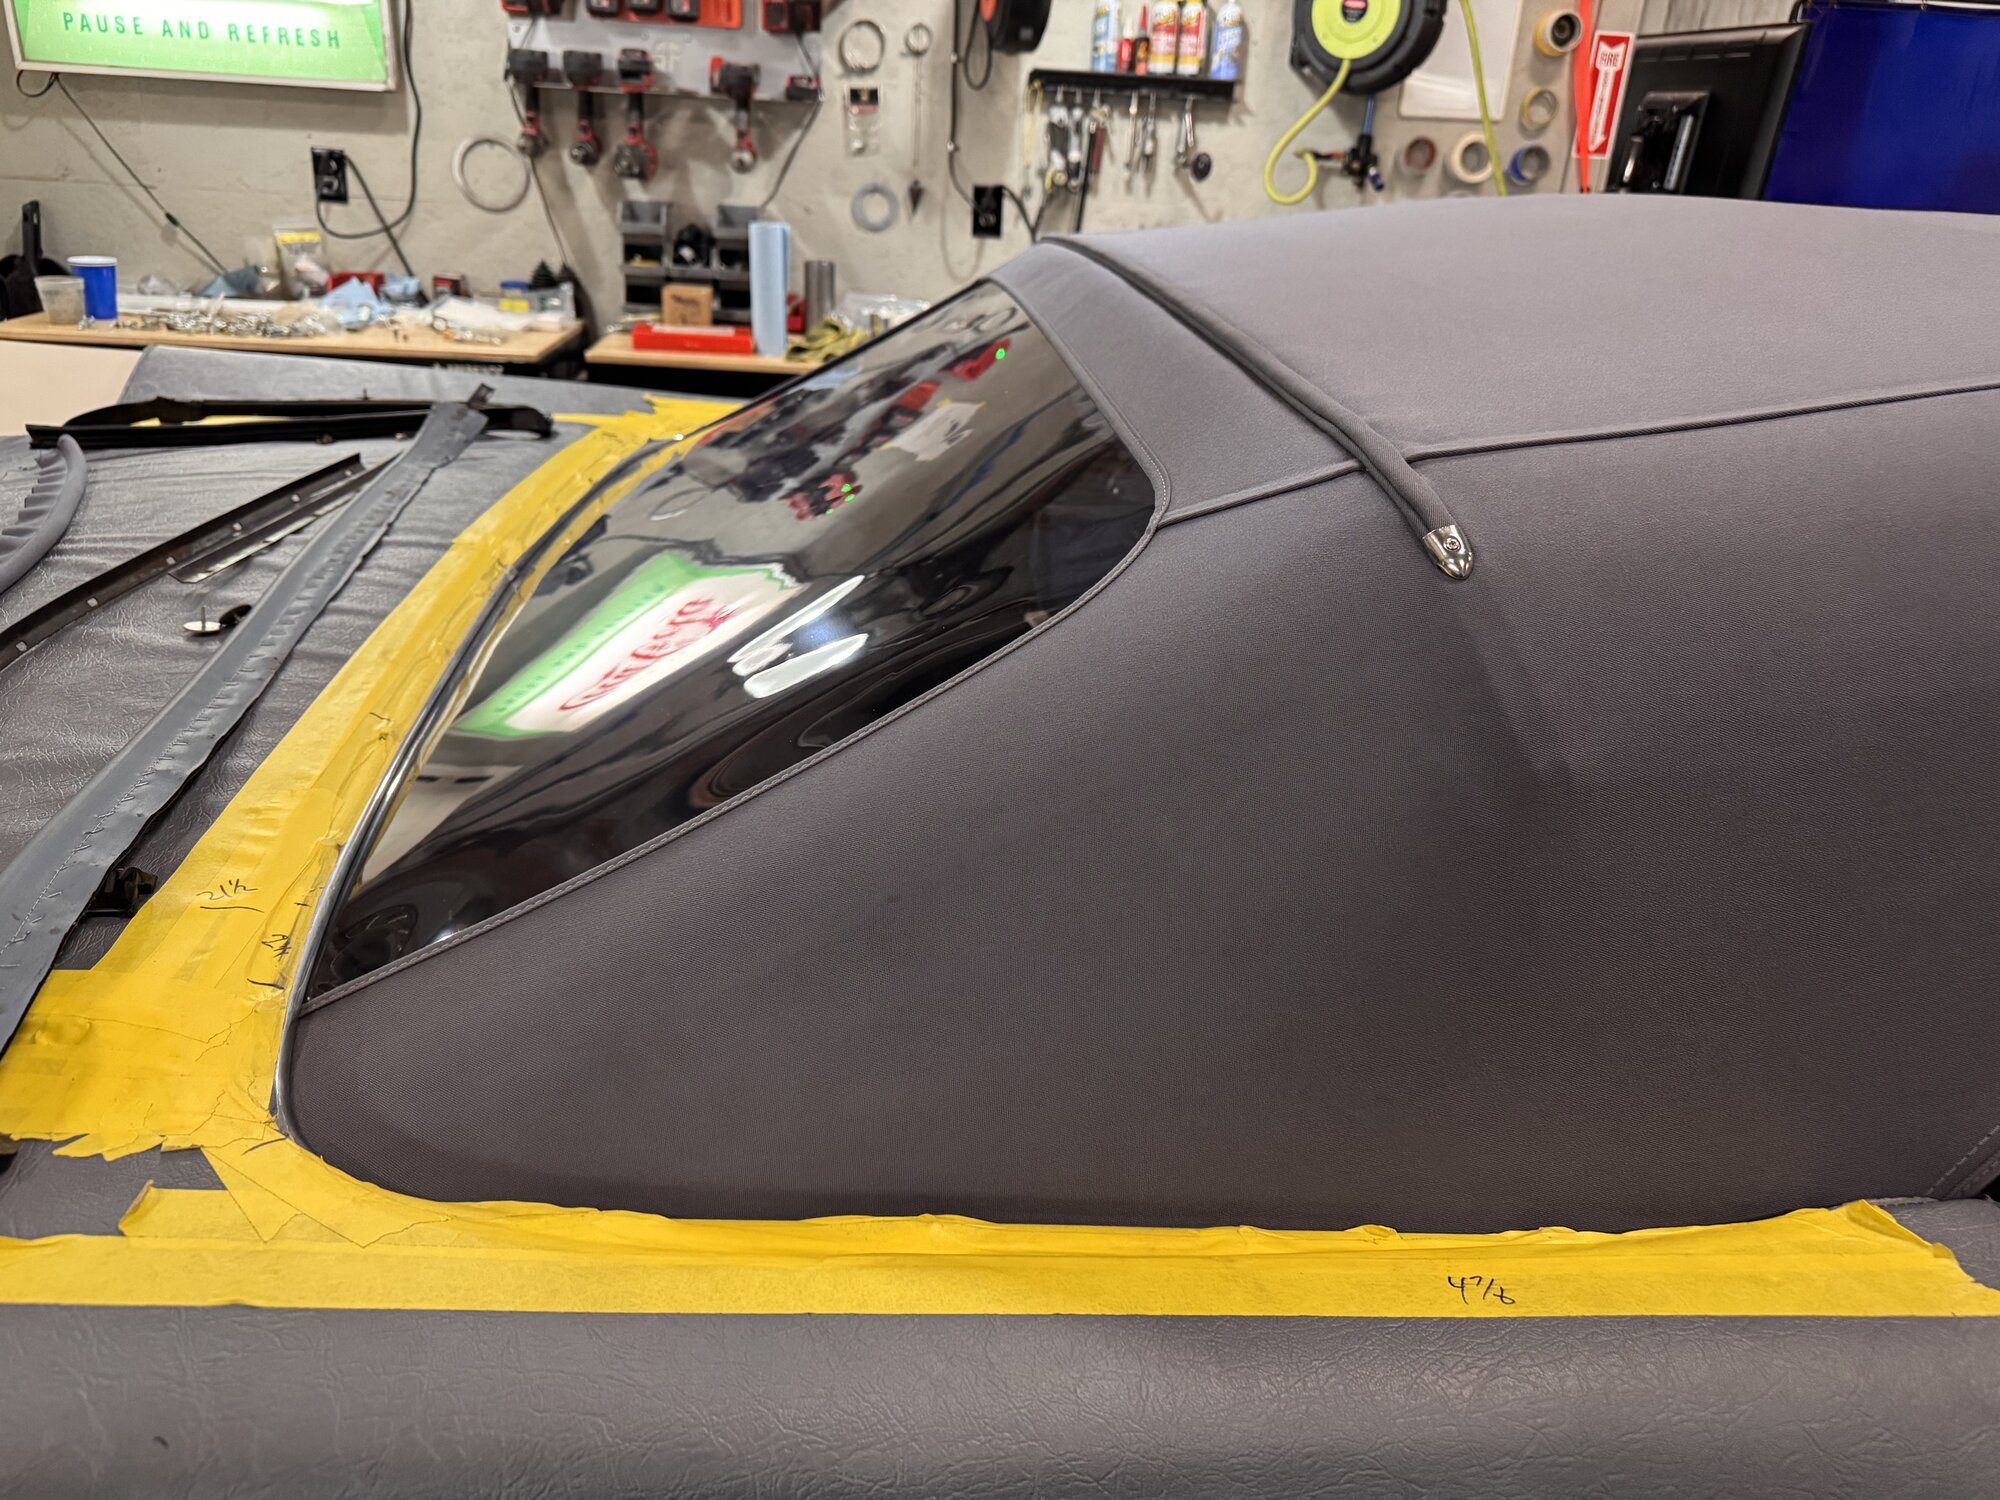 J014
J014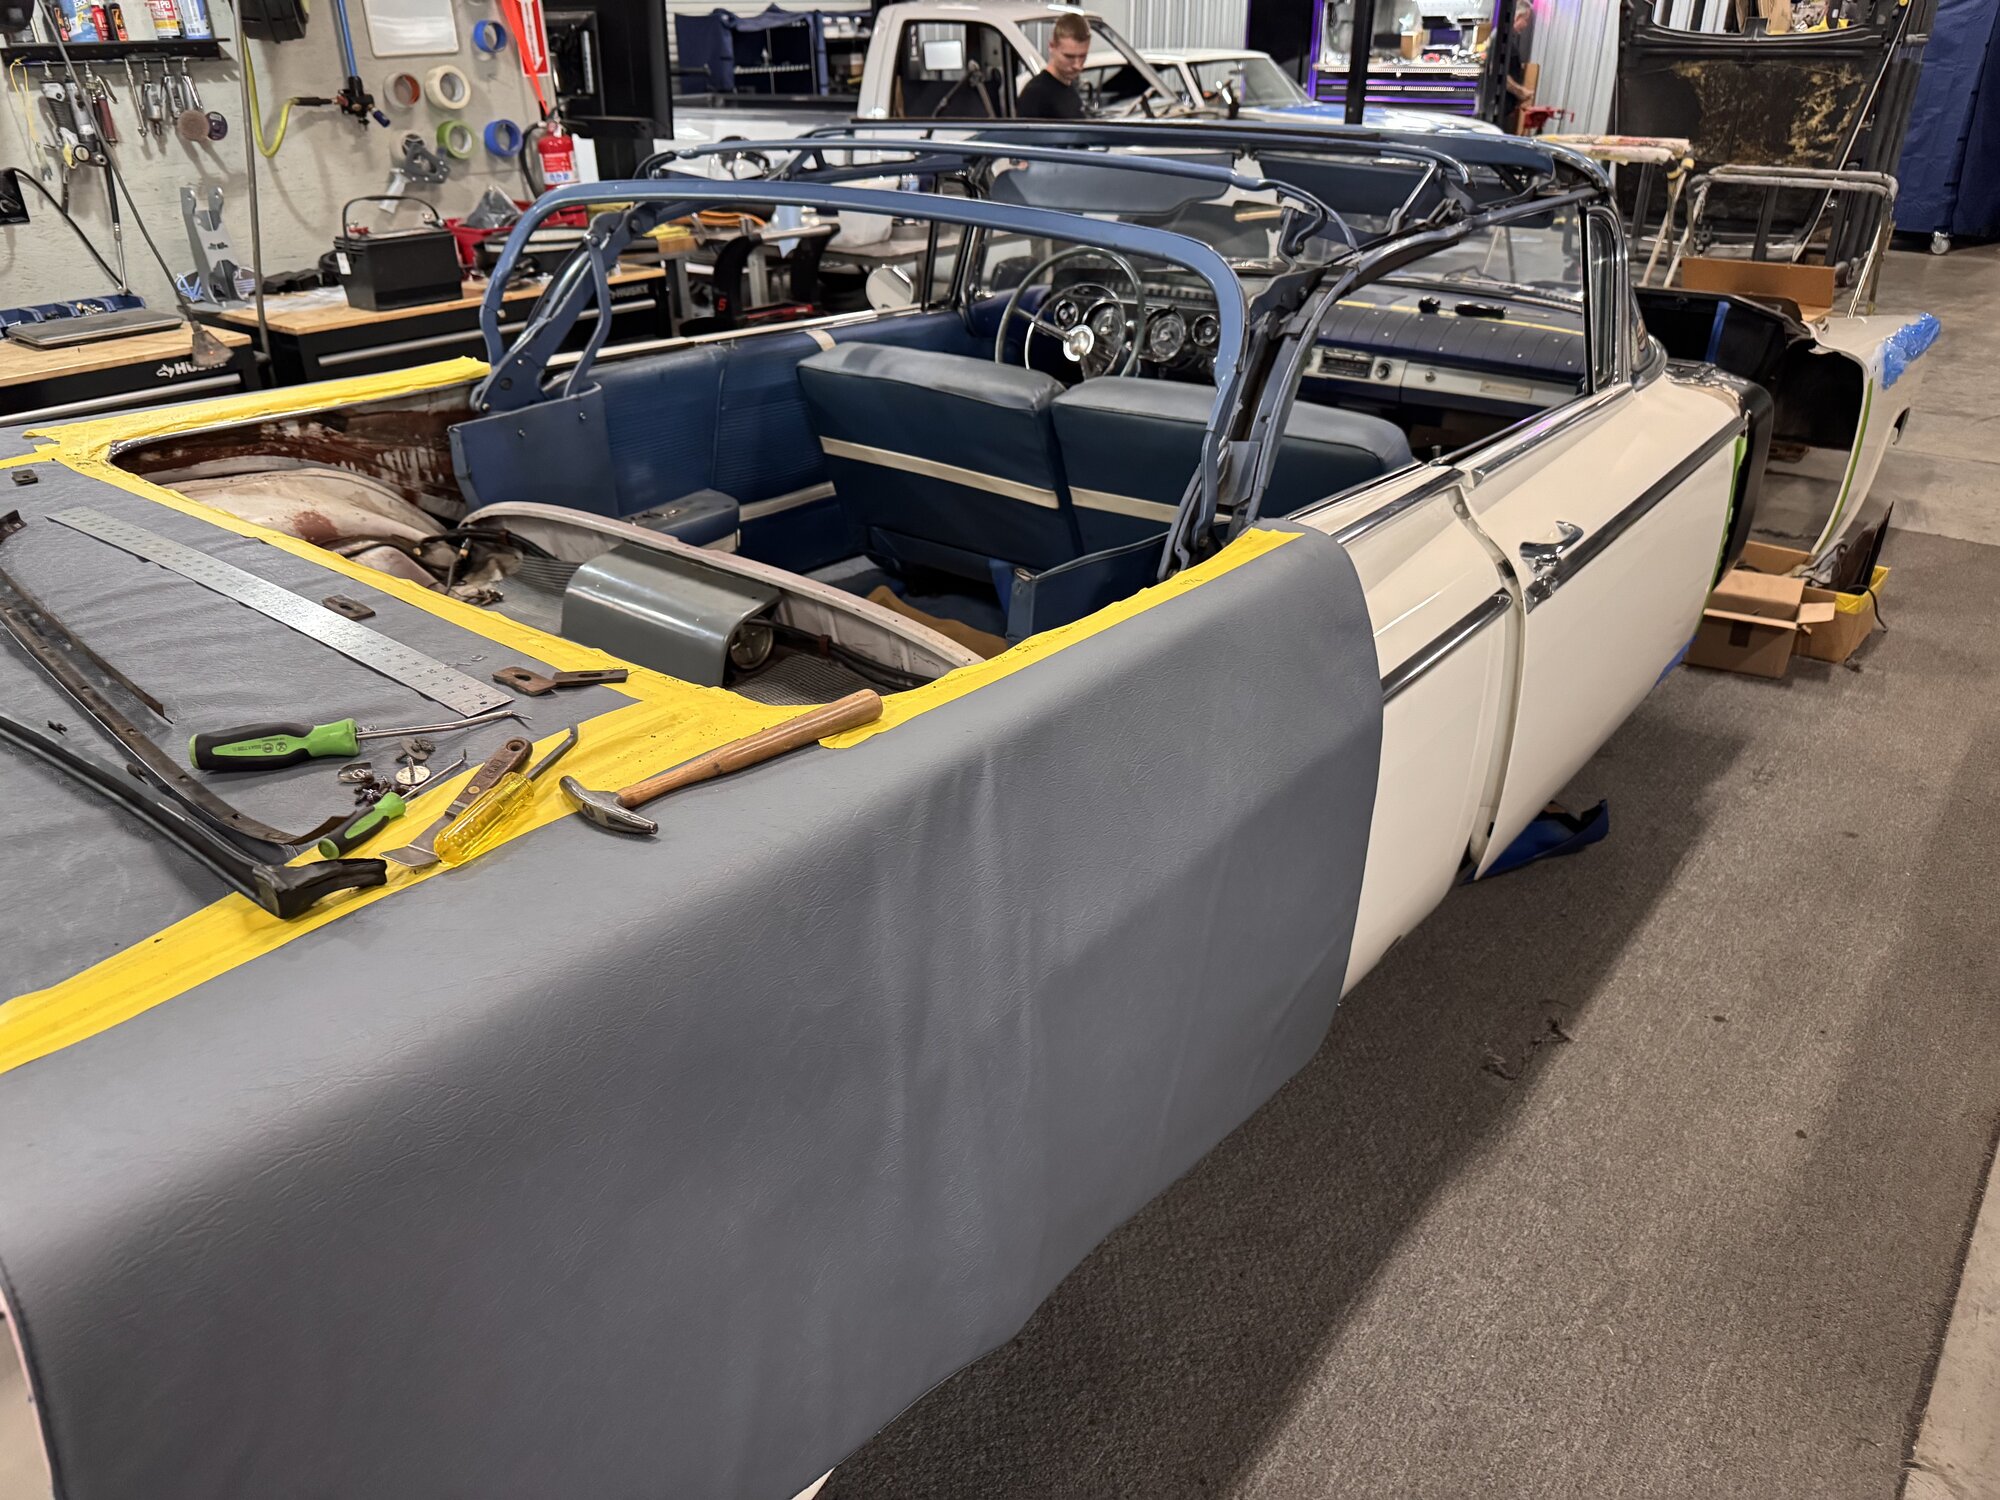 J015
J015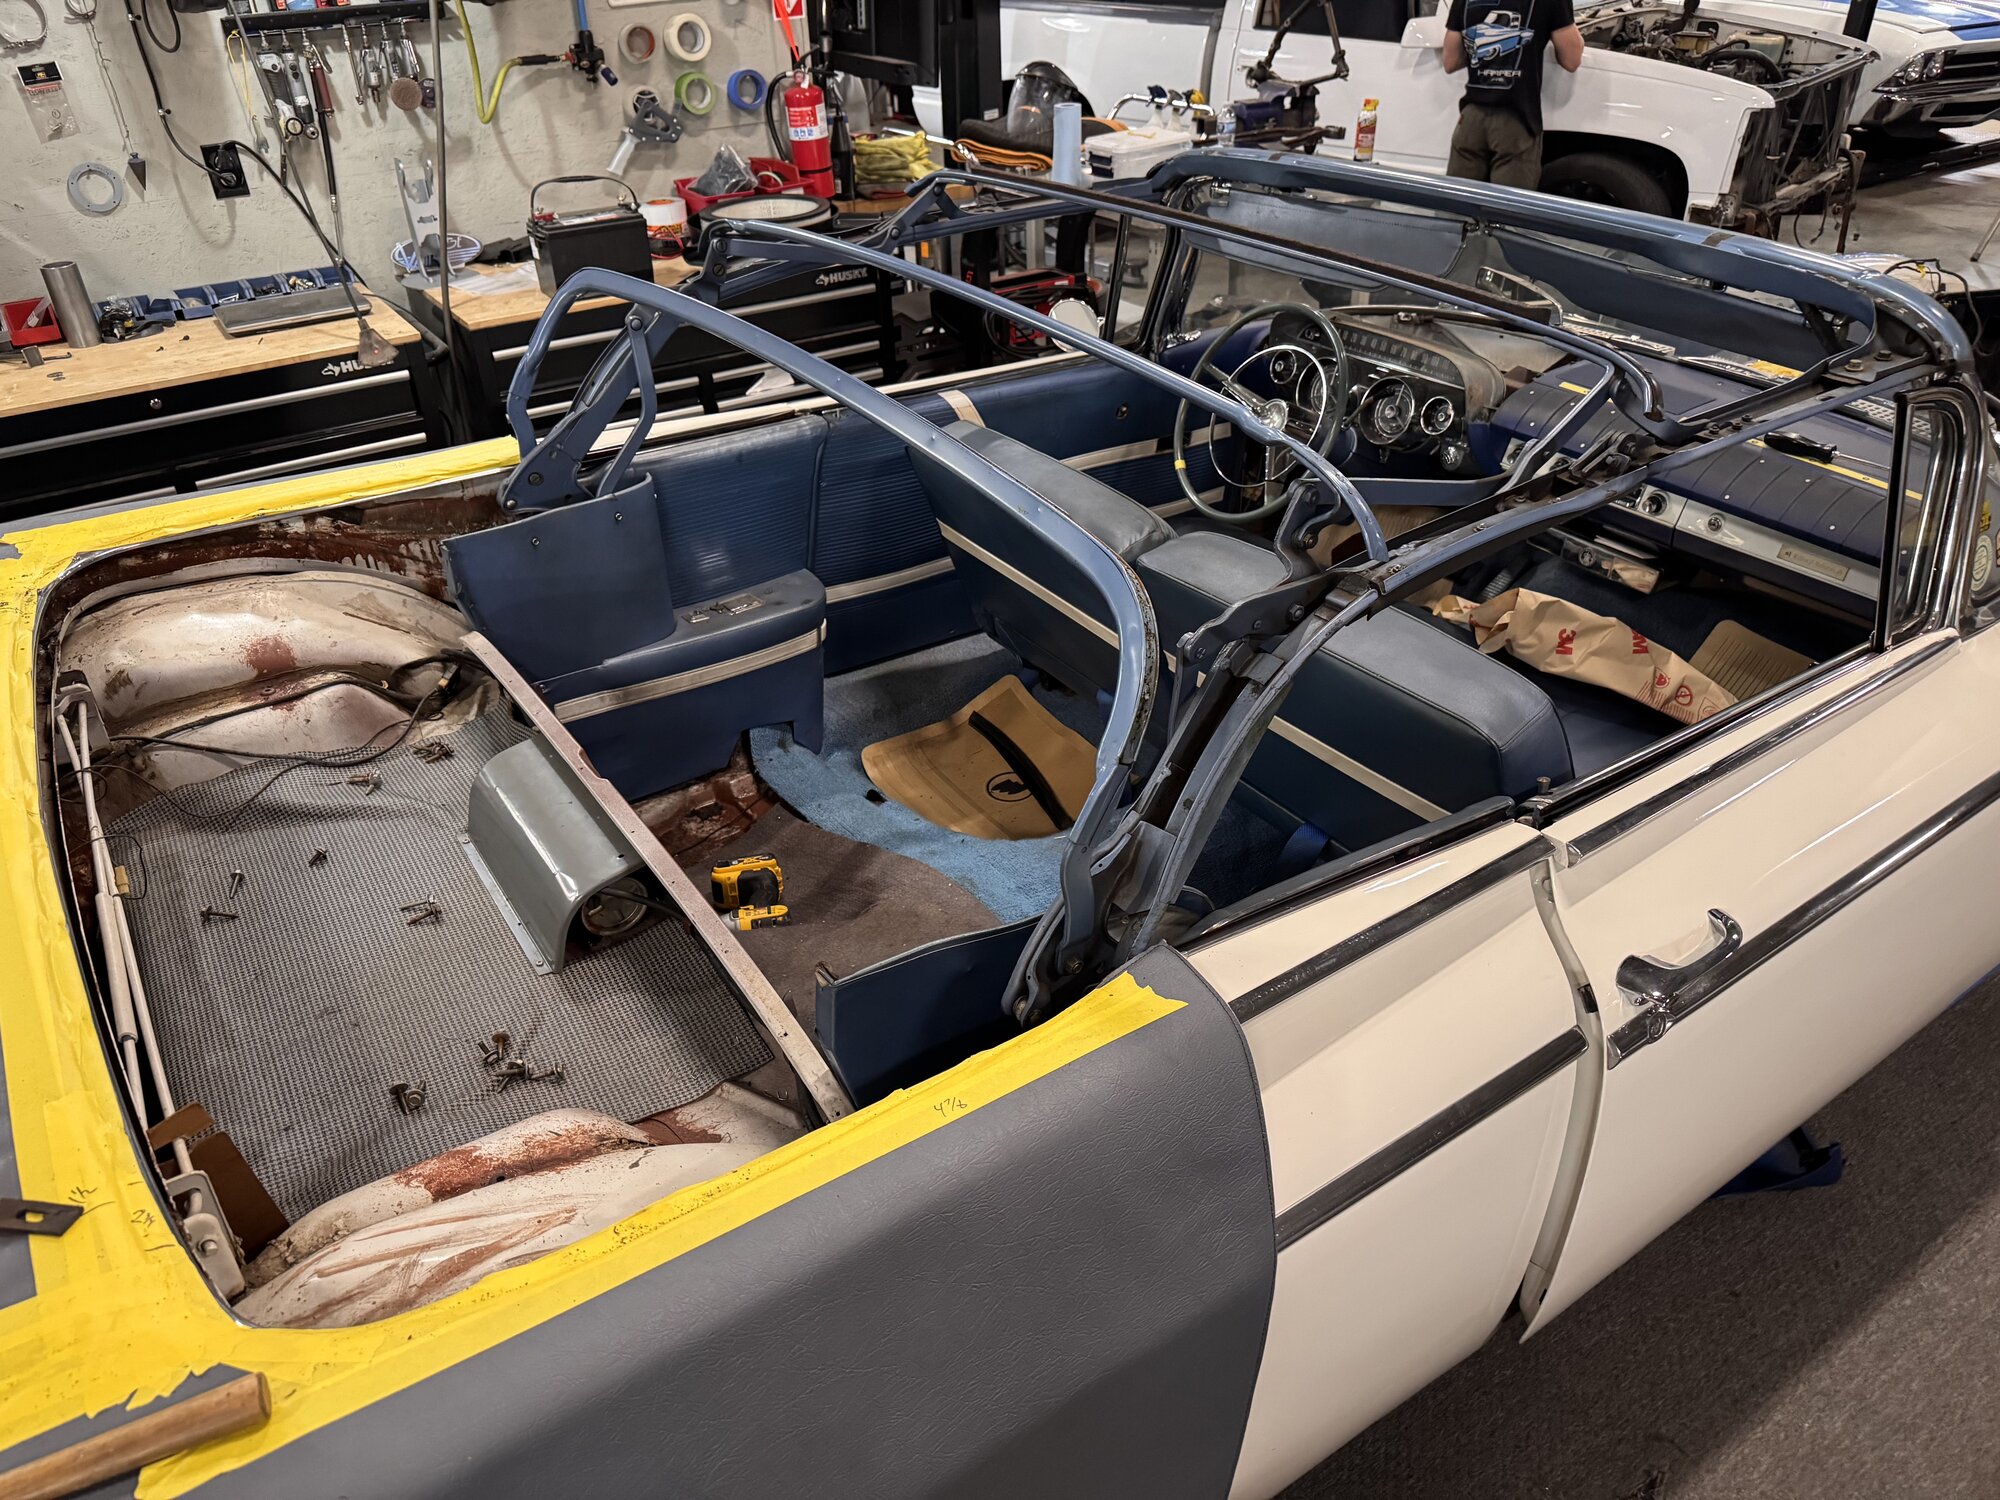 J016
J016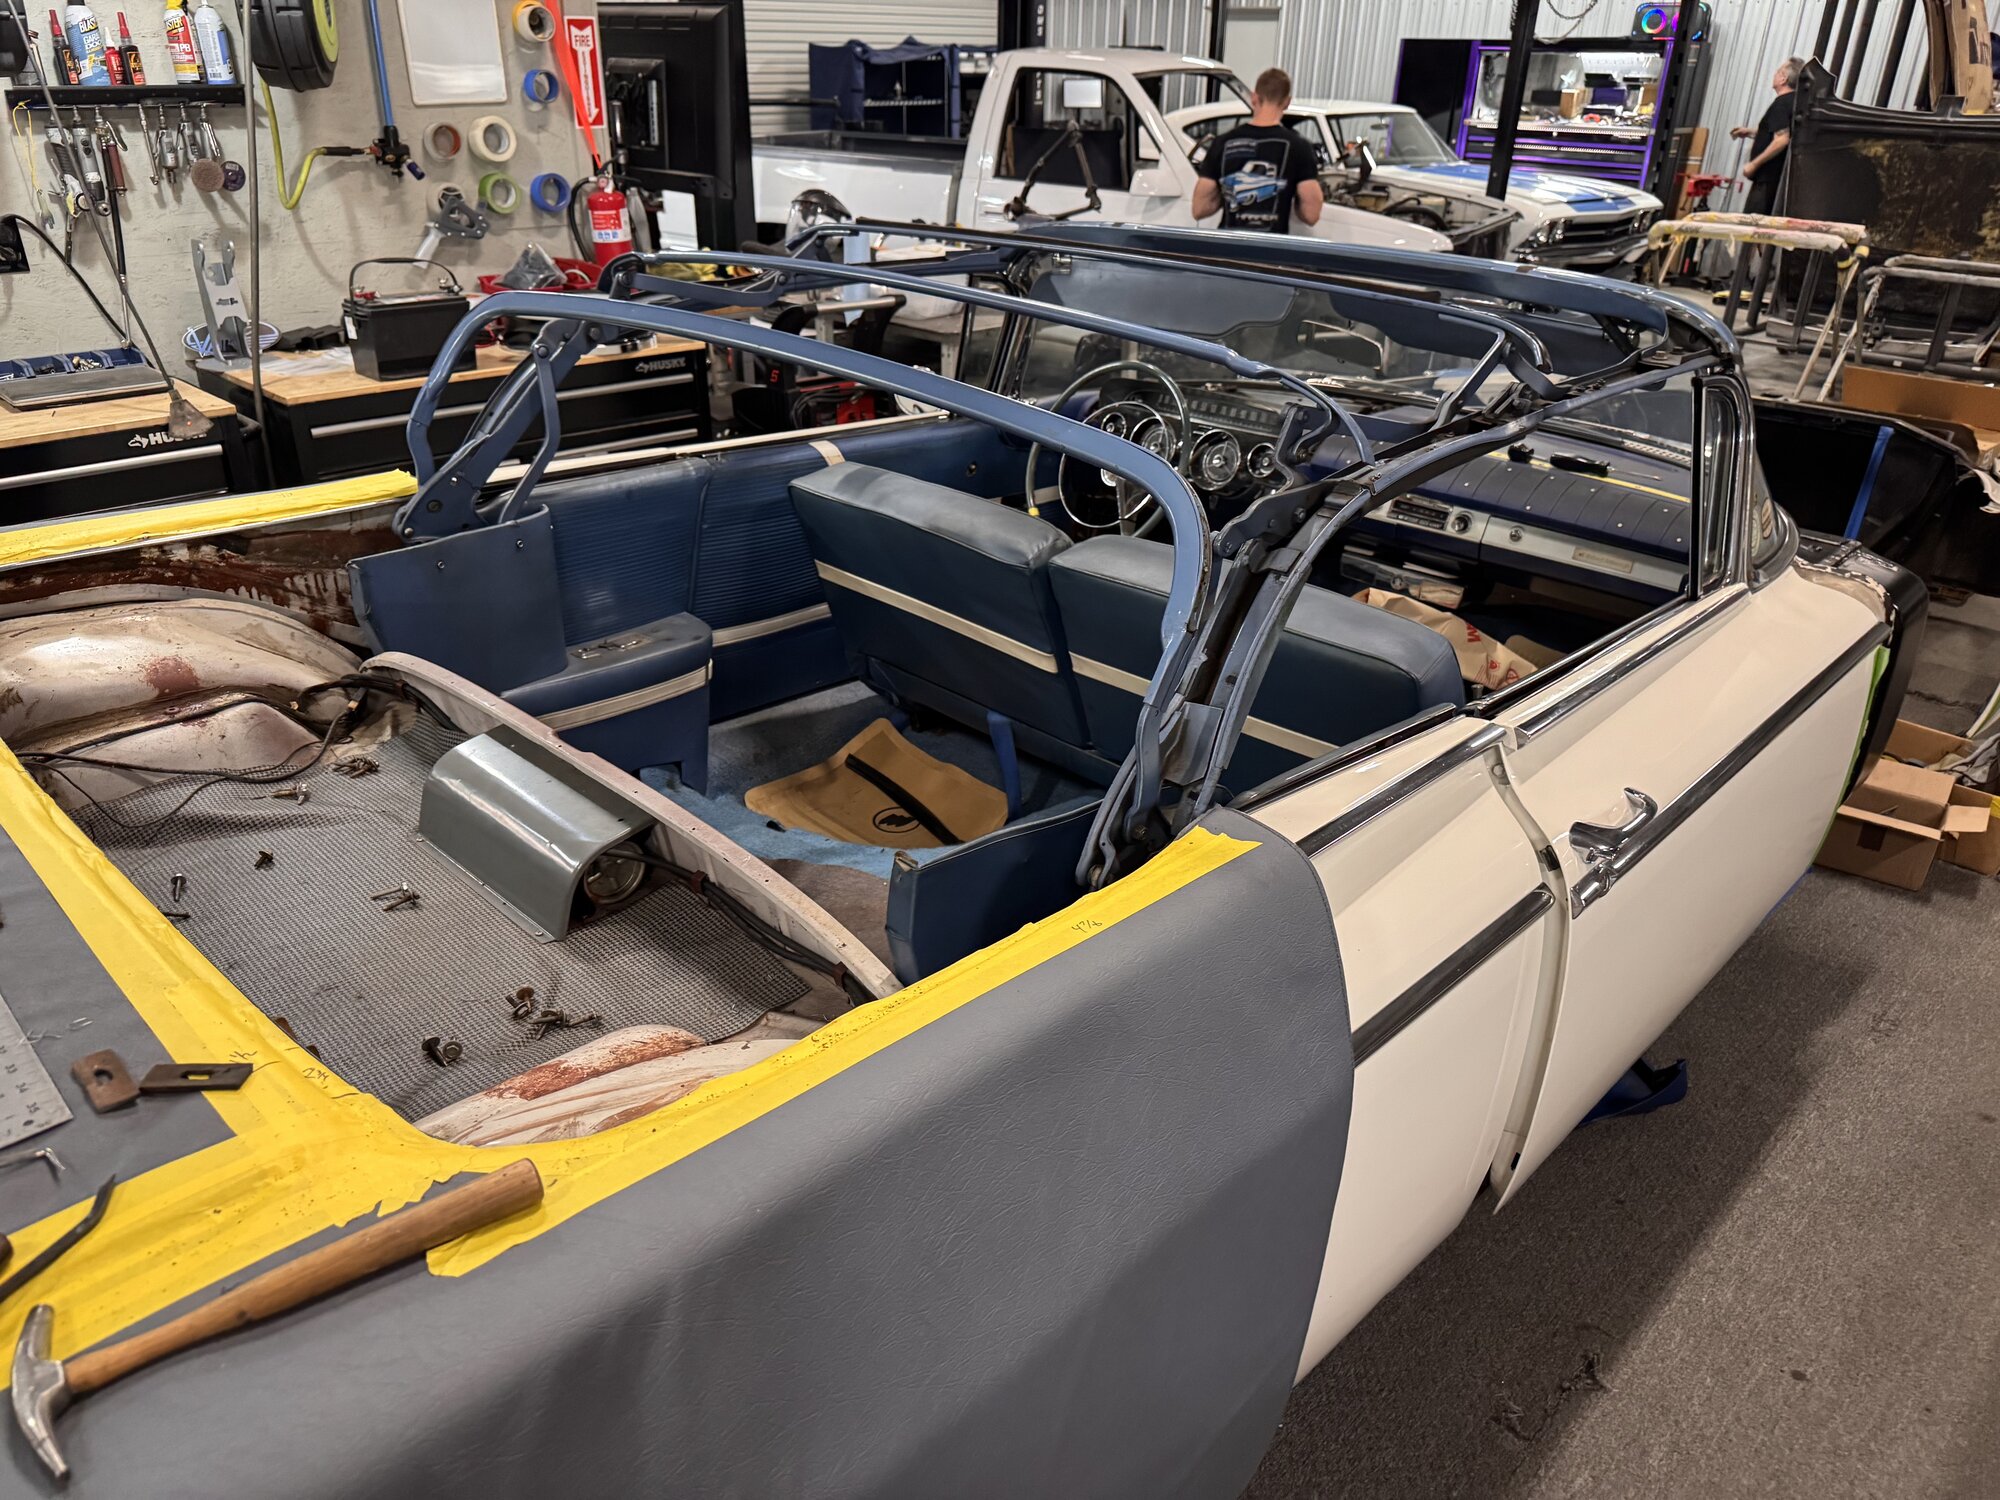 J017
J017UPDATE 04 / 09
Jul 18, 2026
CHASSIS MILESTONEChassis painted, LS3 and 4L80E in the frame
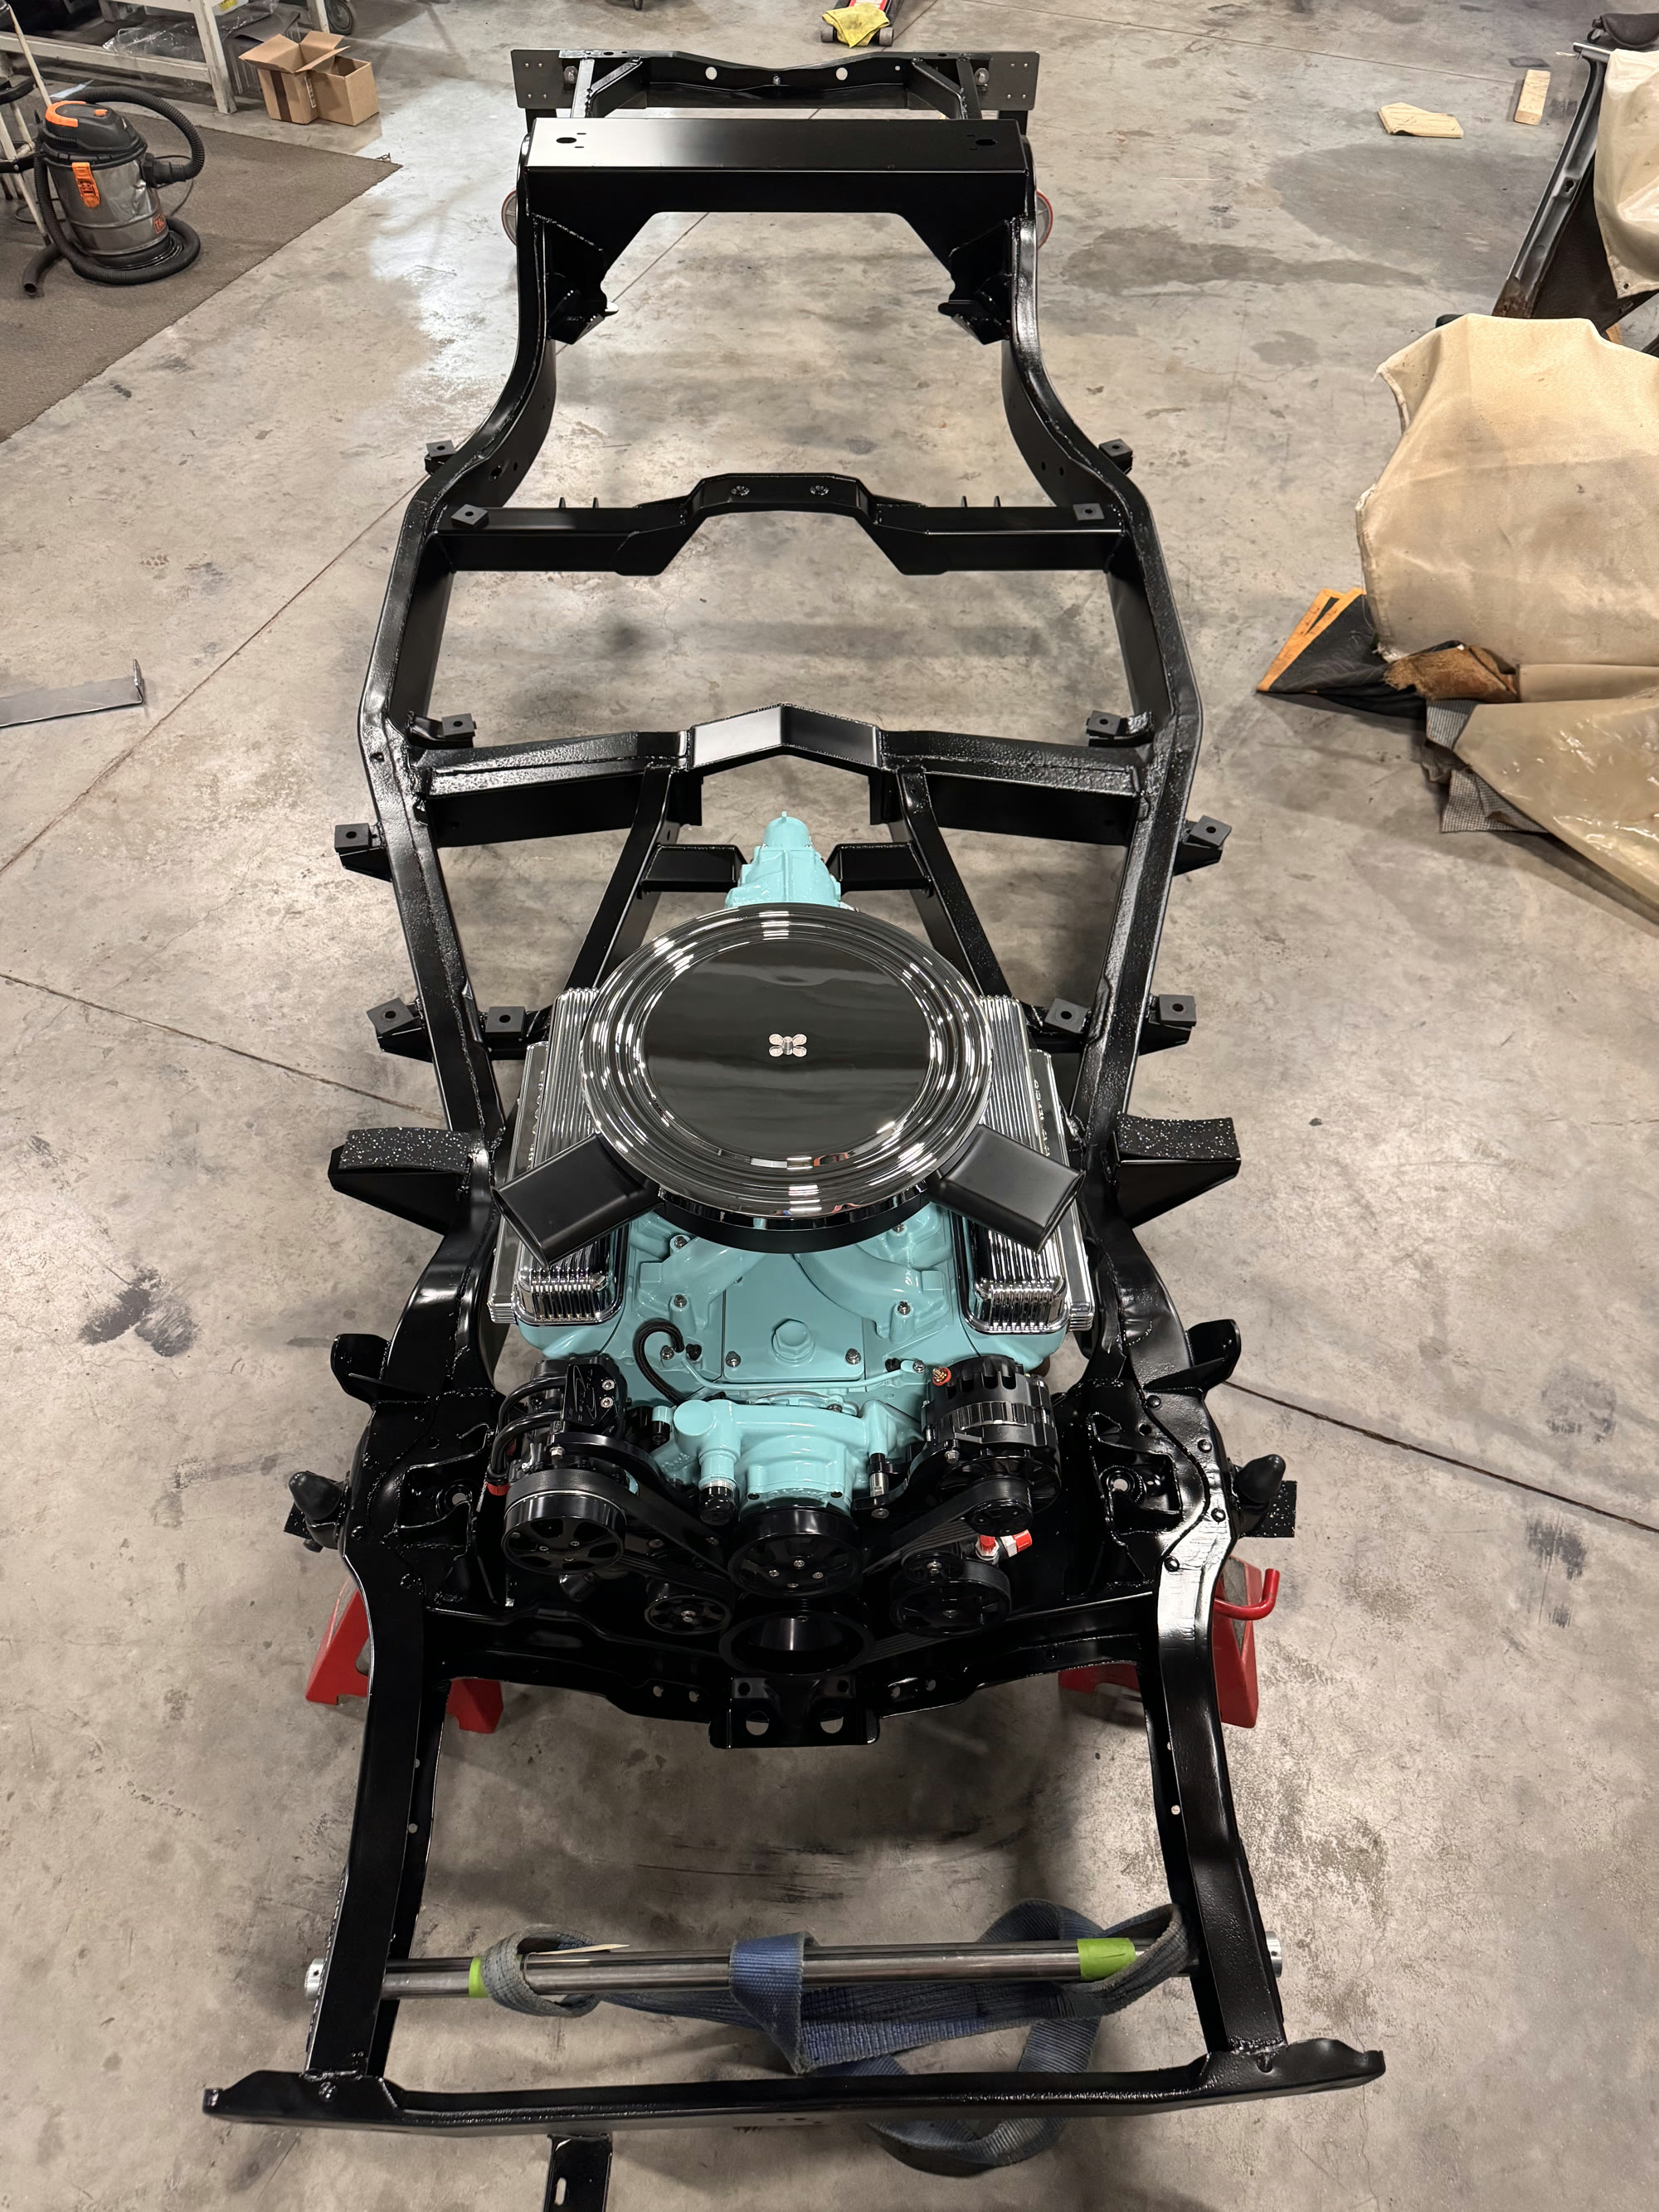
The chassis is done and painted satin black in house — we didn't have time to get it powder coated and still hit the schedule, so we shot it ourselves and it came out clean. With paint done, the 660 hp Don Hardy LS3 and 4L80E combo dropped into the frame for the first time, sitting on the new mounts with the black accessory drive, polished finned Buick valve covers, and the period-style chrome air cleaner. Next up: get the body back on.
 J018
J018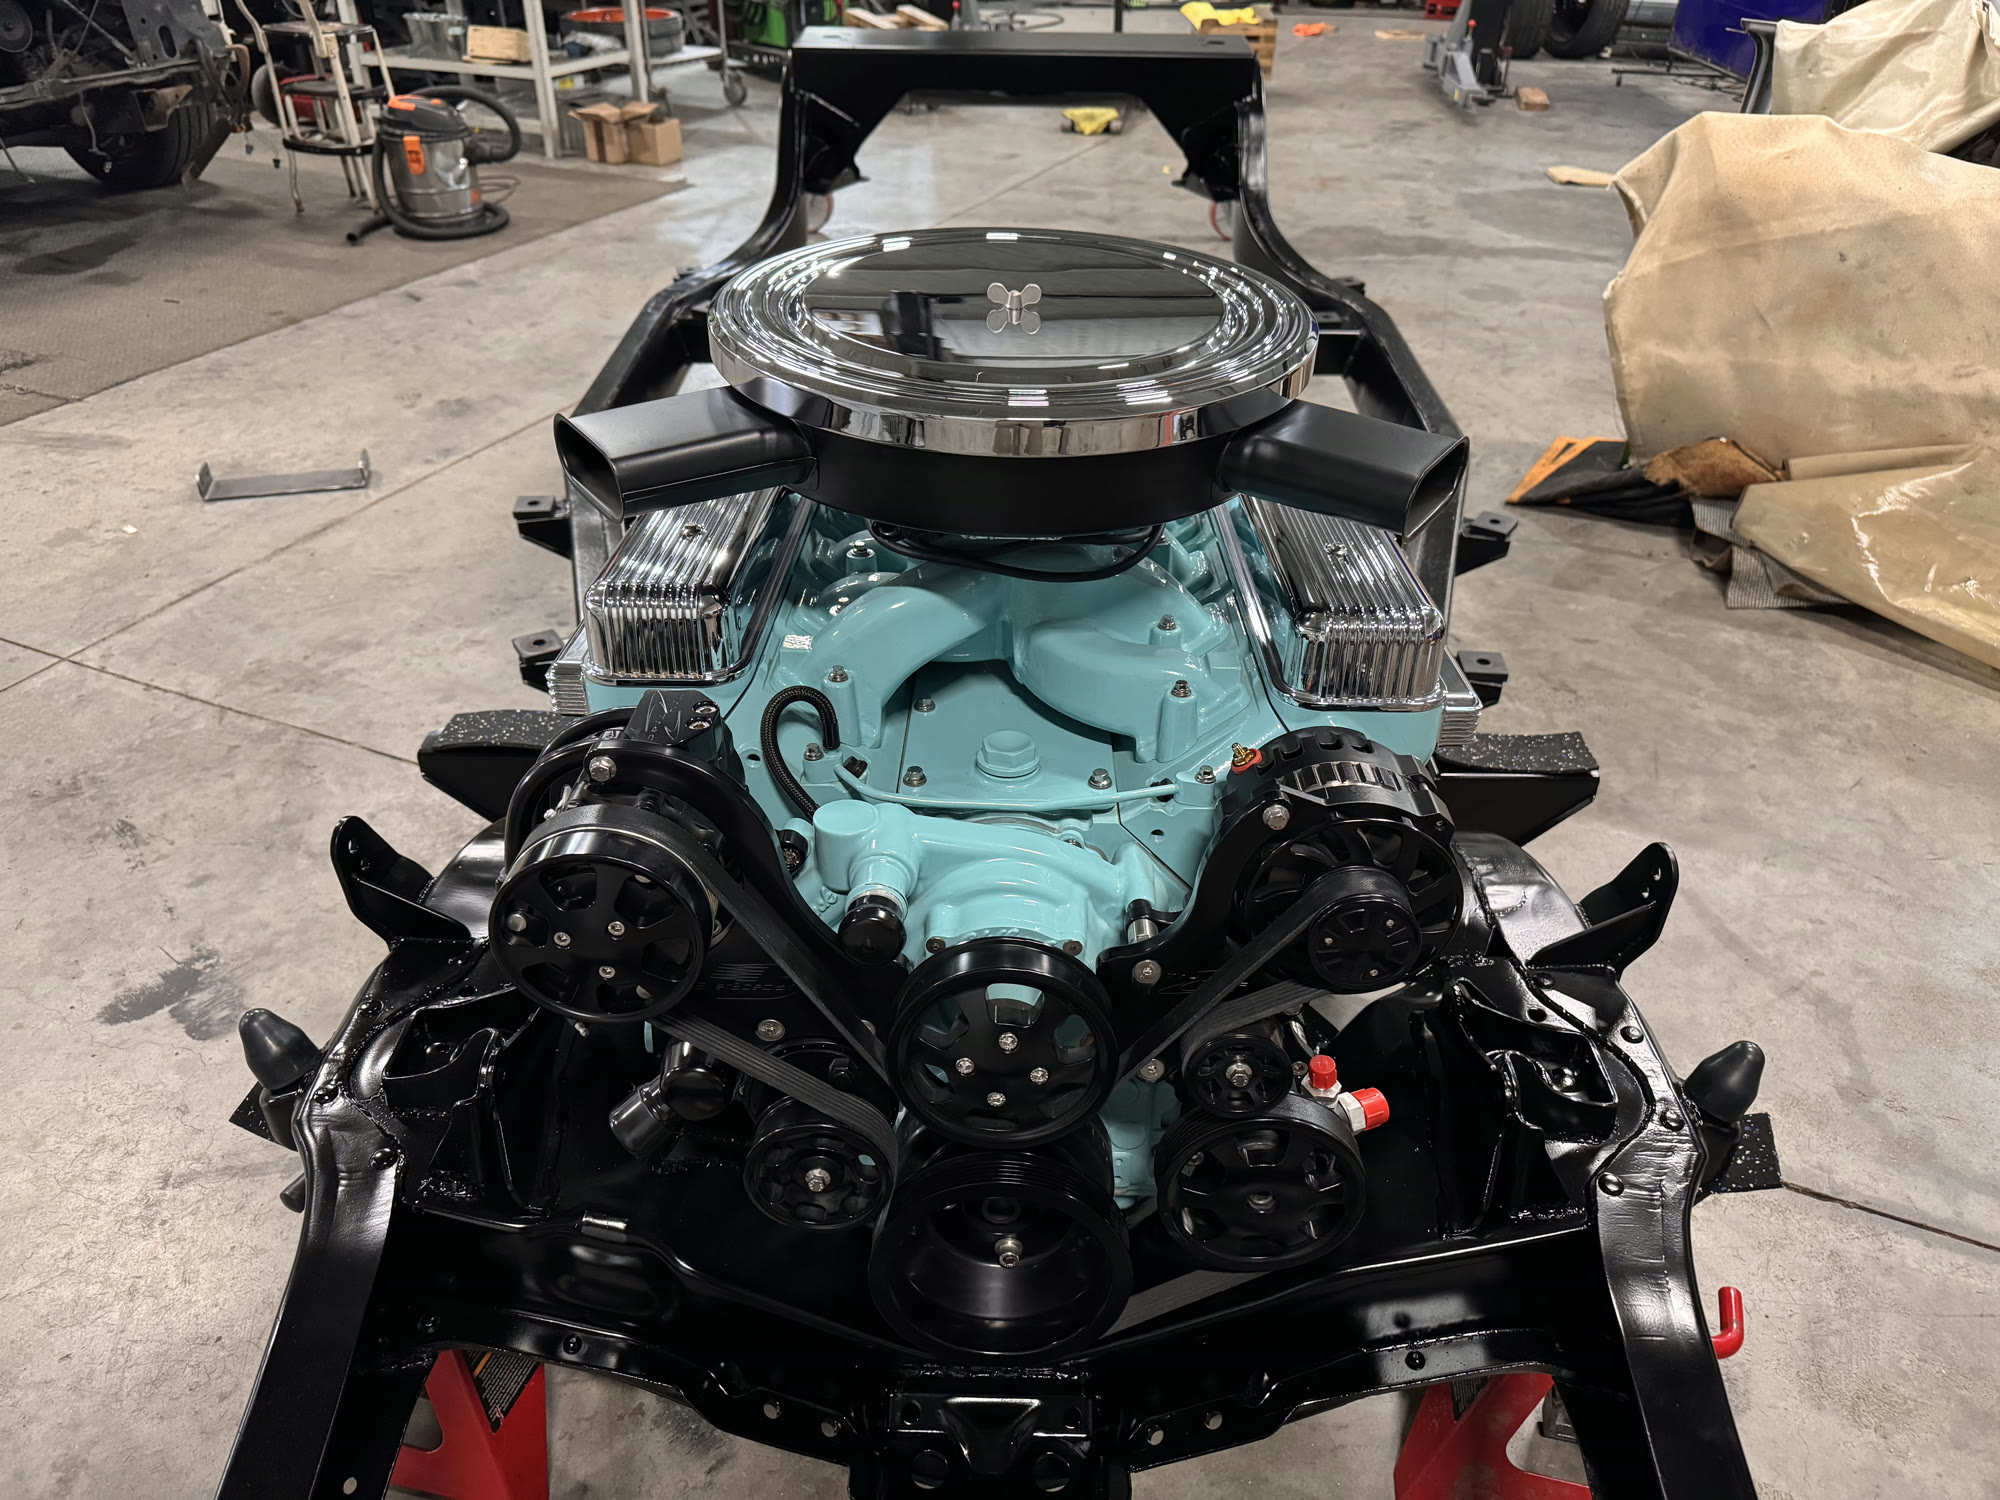 J019
J019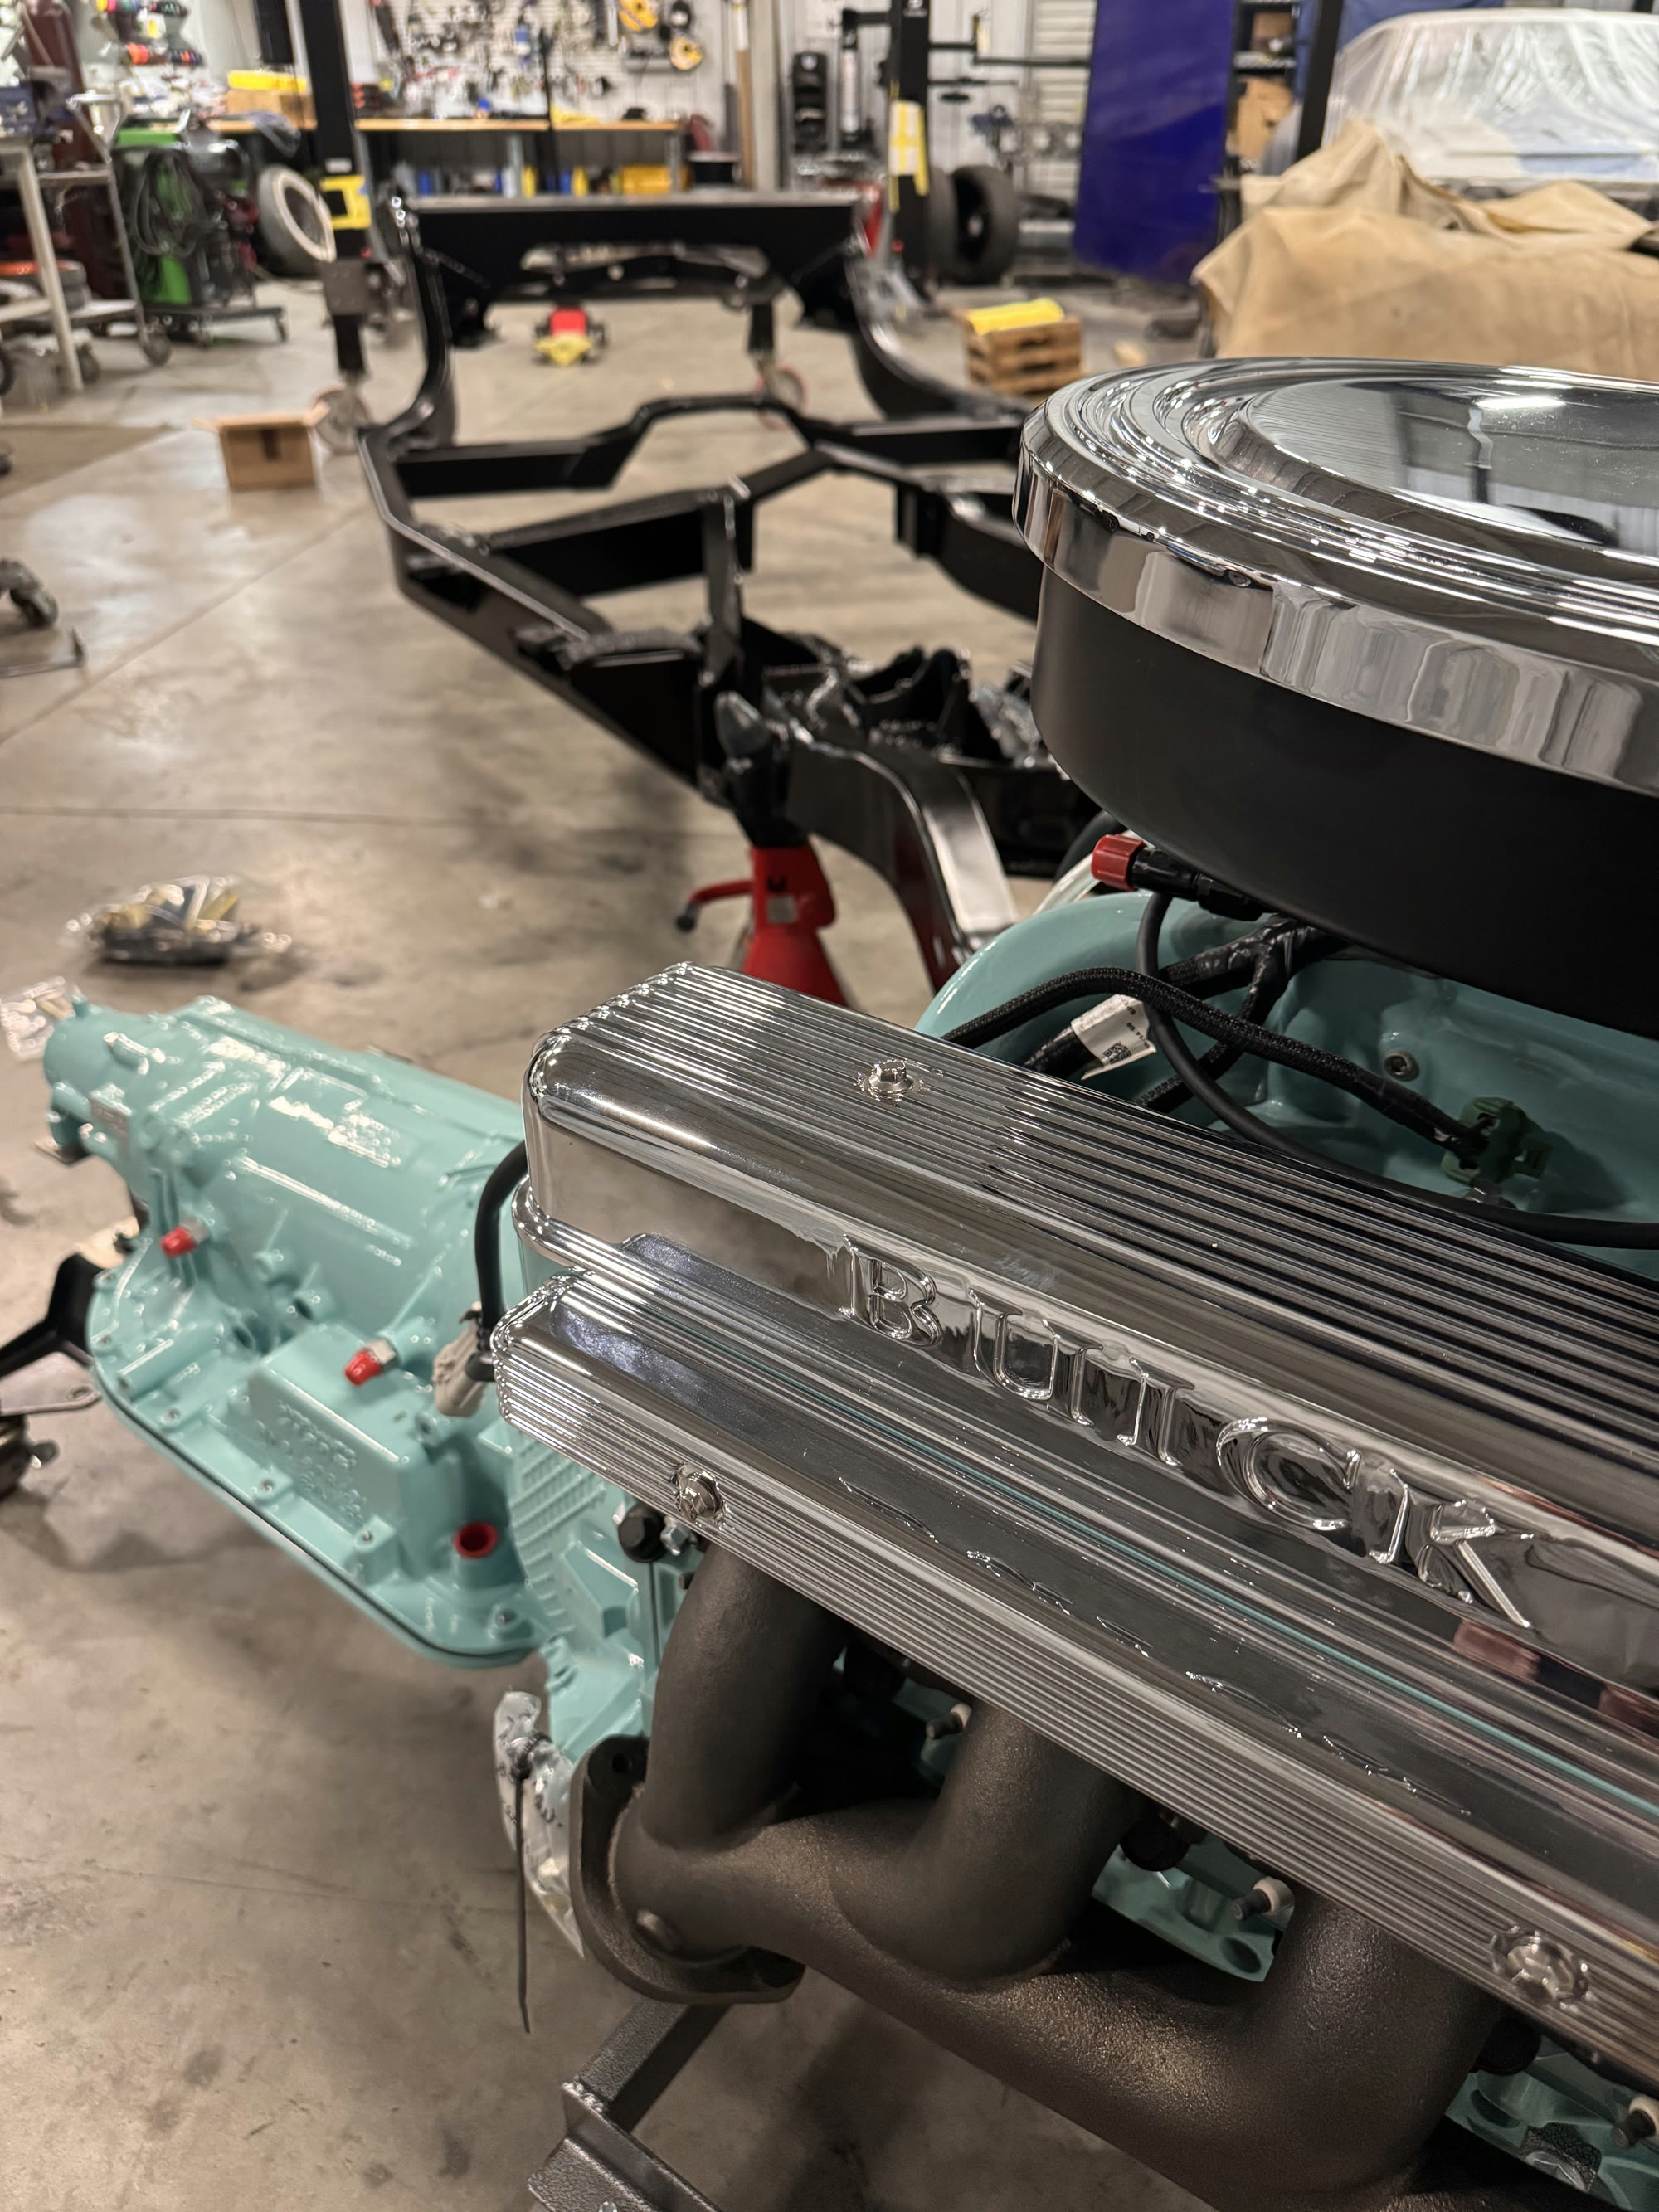 J020
J020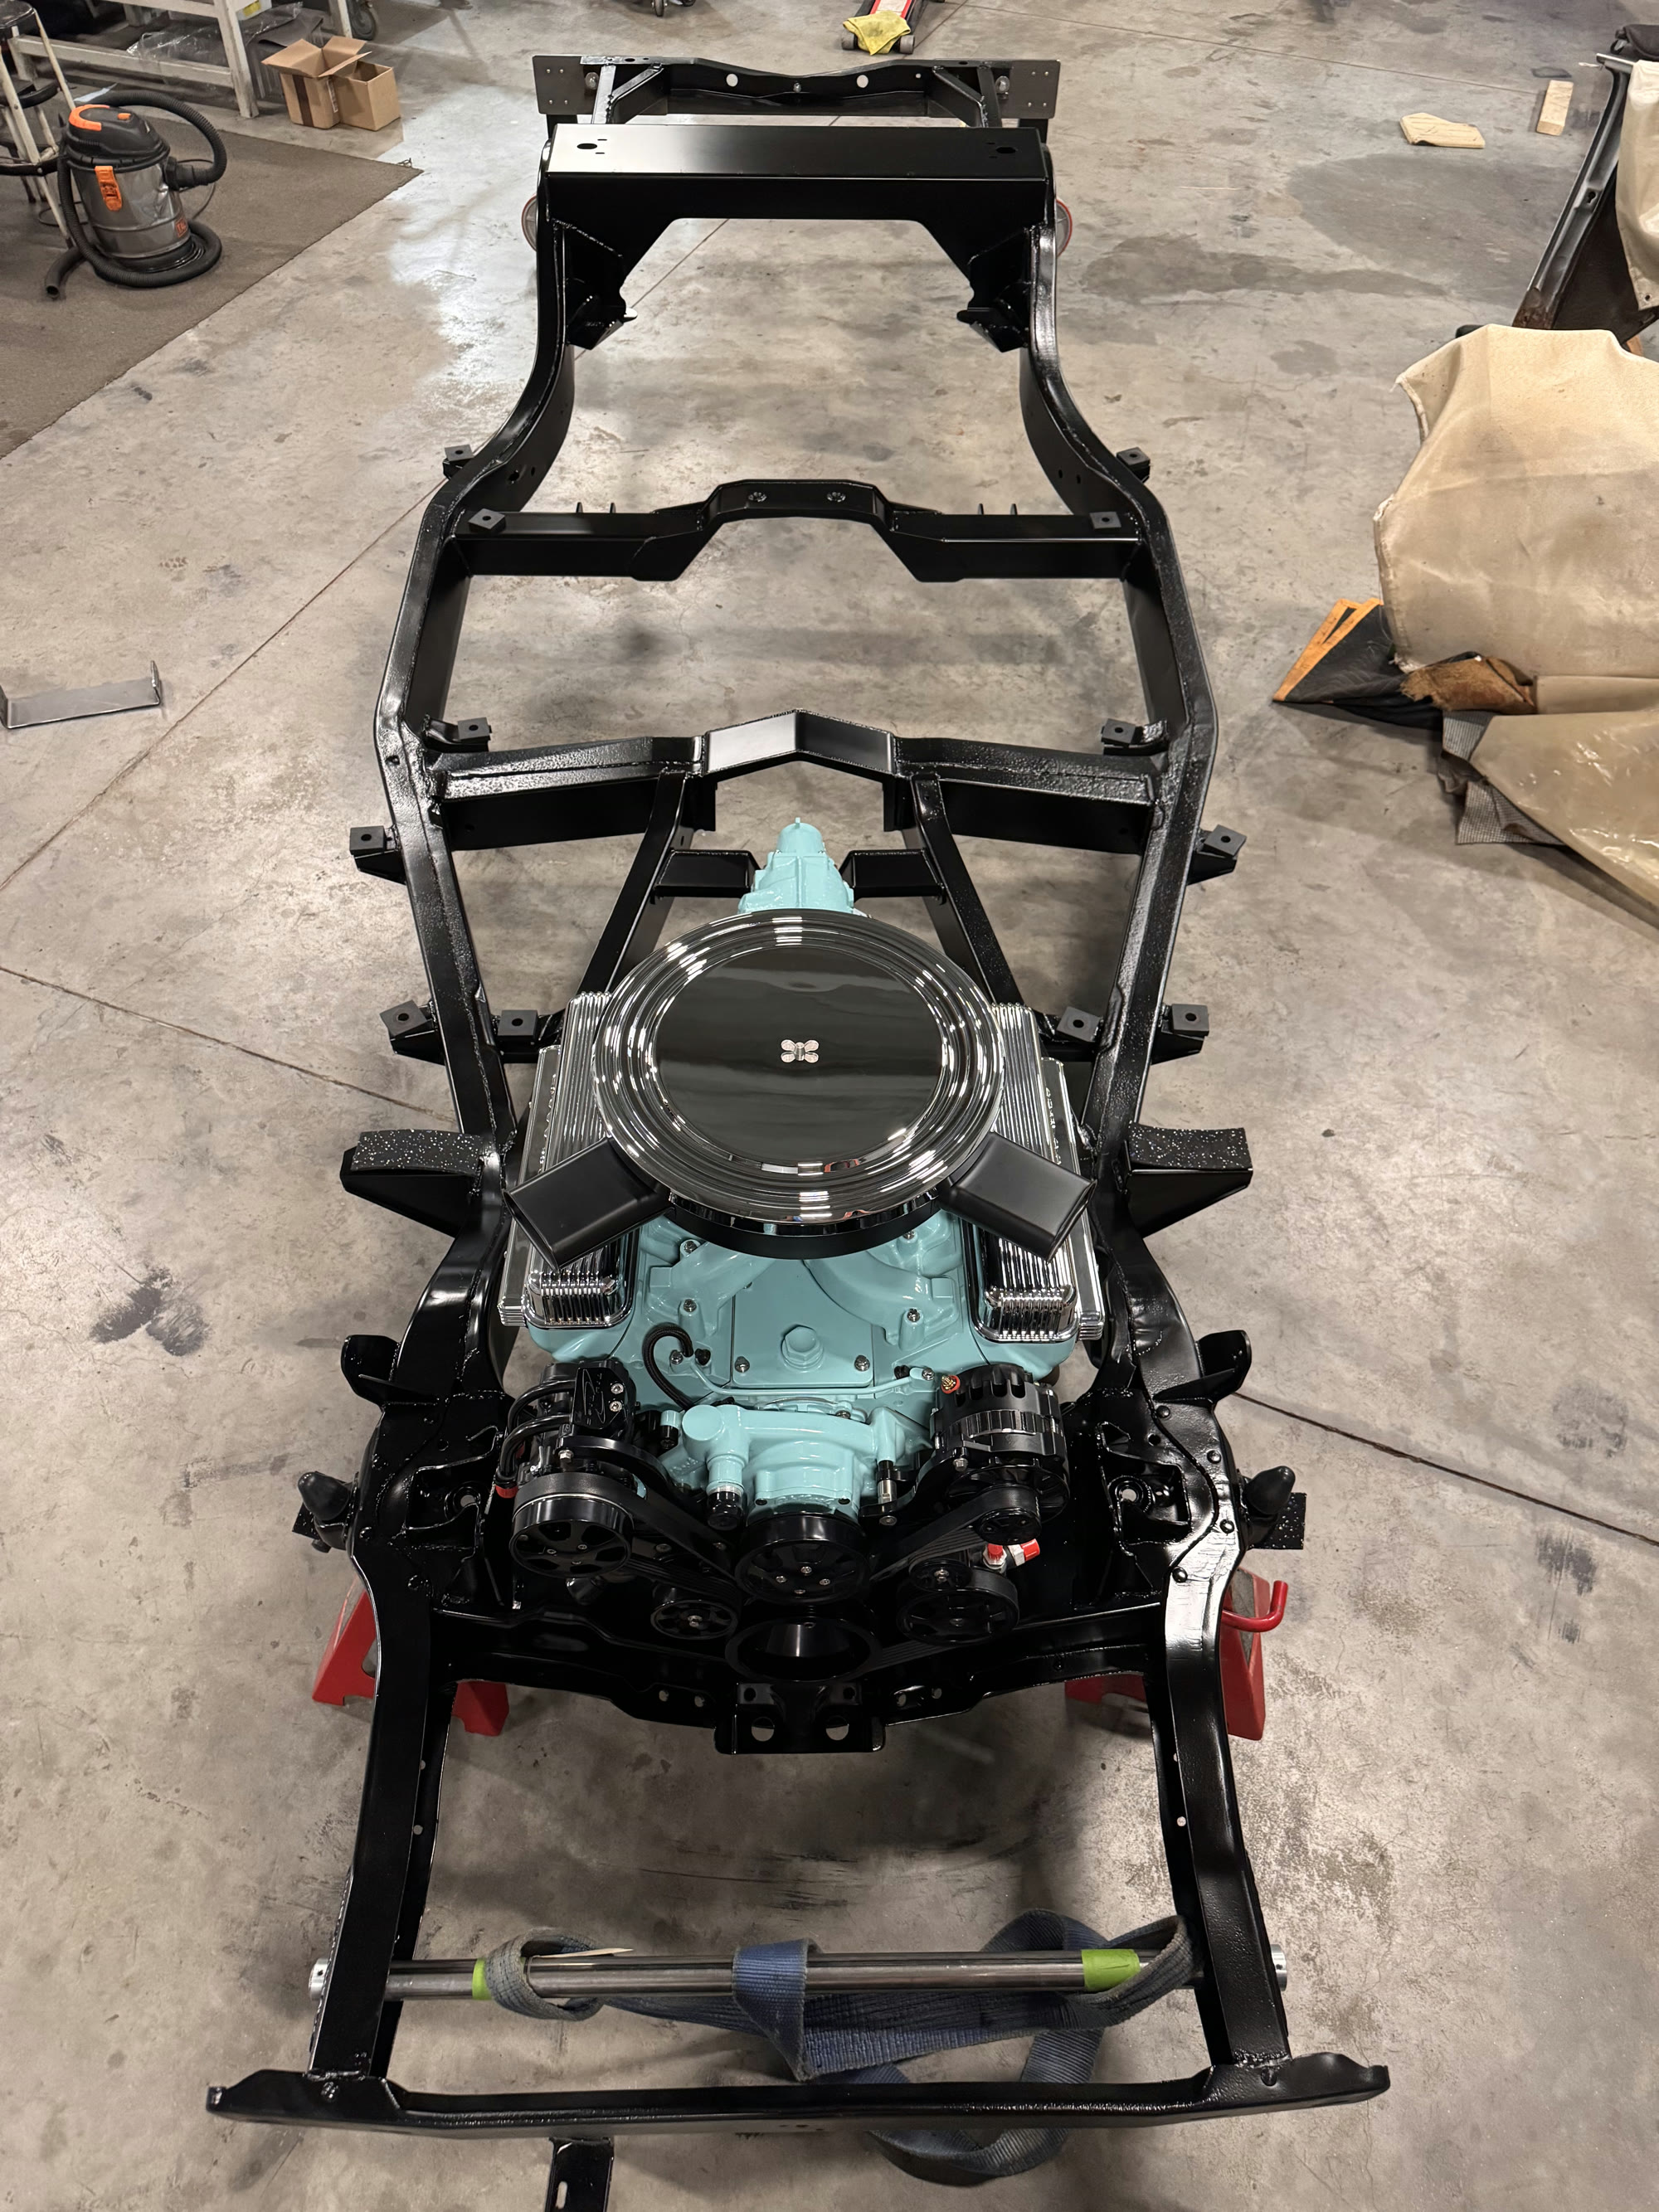 J021
J021UPDATE 05 / 09
Jul 13, 2026
CHASSIS MILESTONEHammer Fab chassis components going in
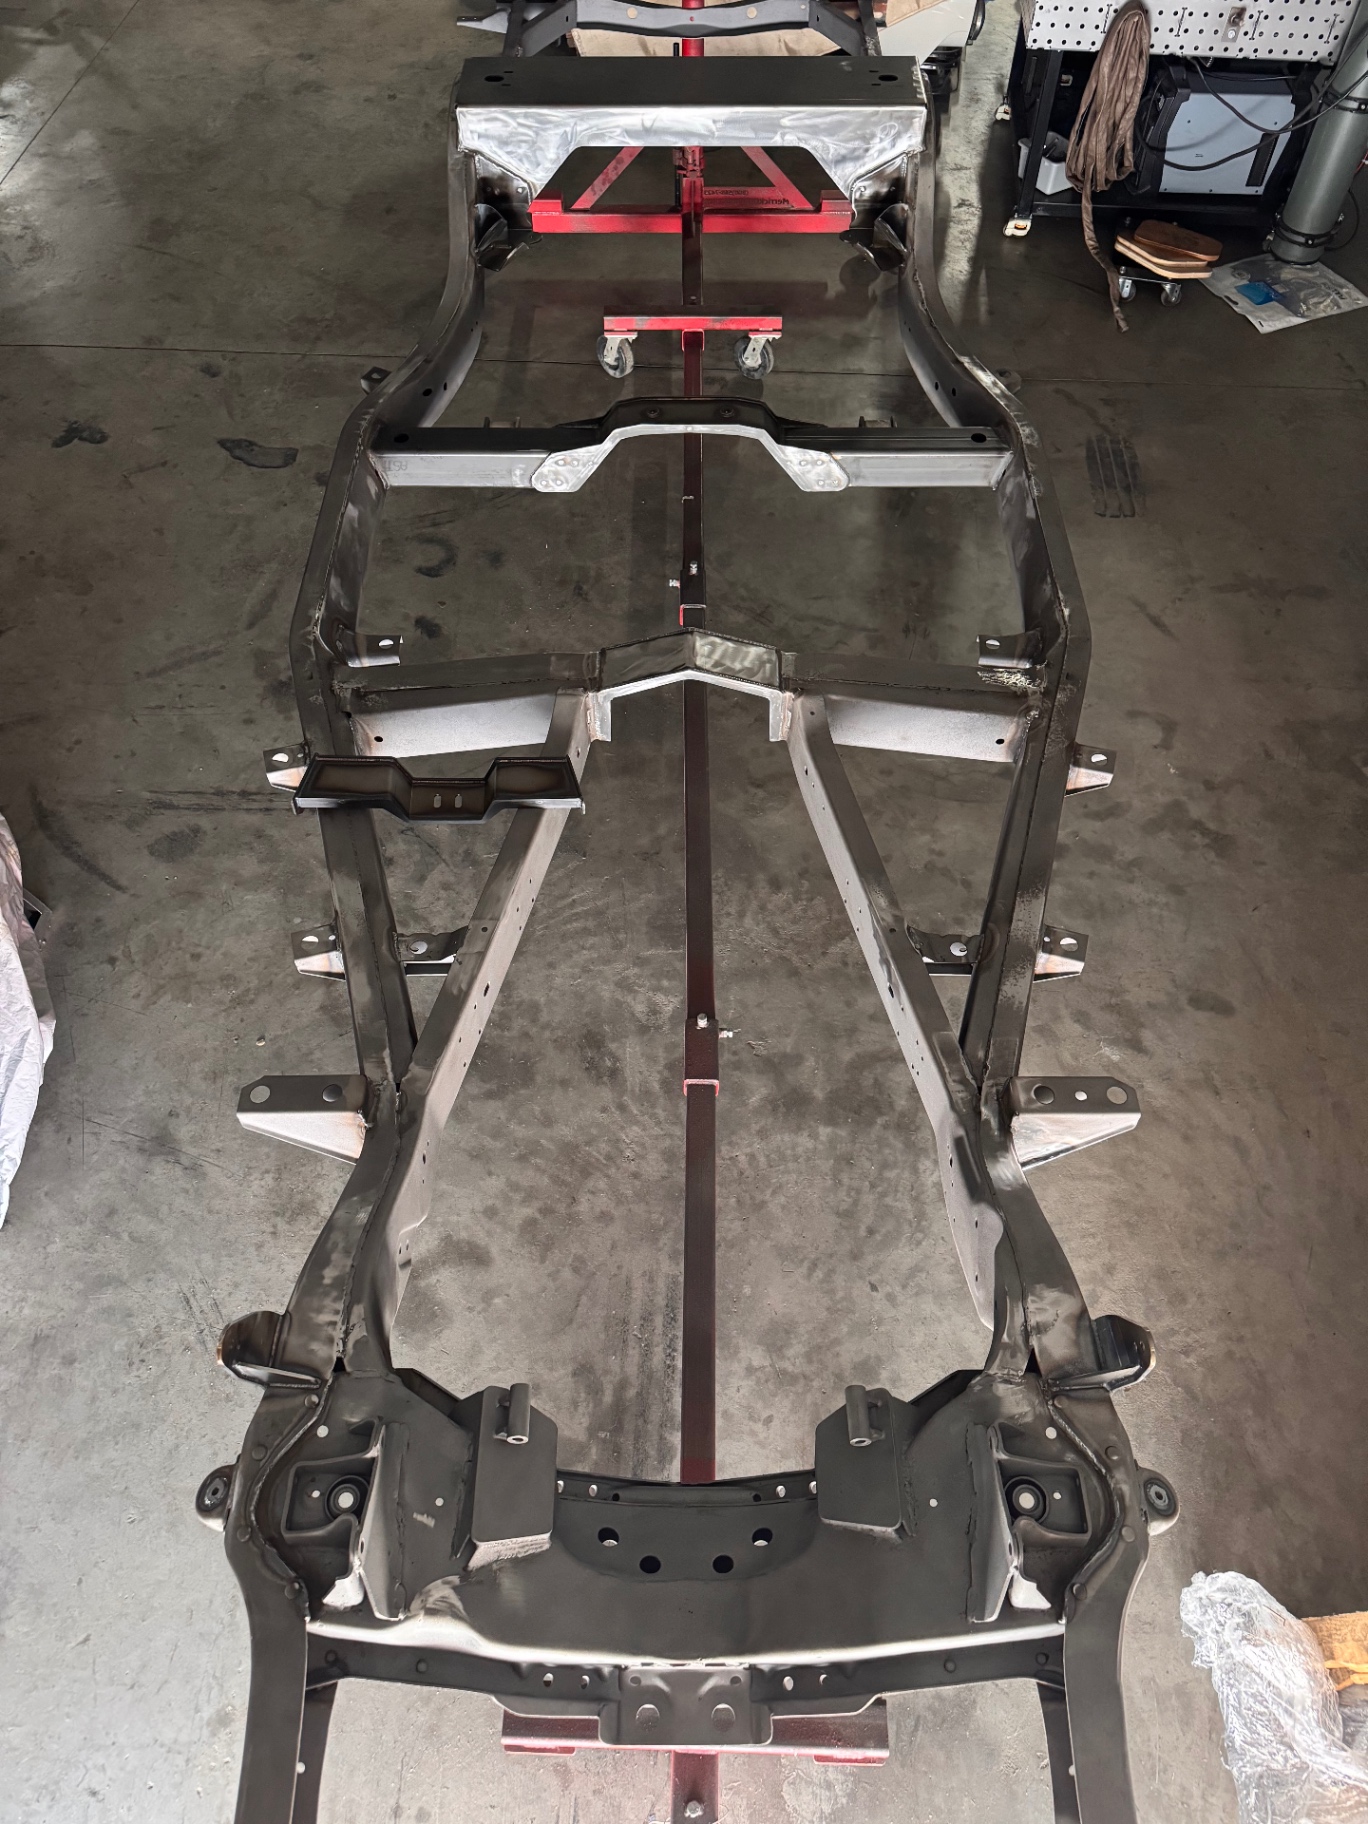
The '59 chassis is coming together with our own Hammer Fab bolt-on components — the same parts we sell through our Shopify store. Rear frame boxing plates, a bolt-in transmission crossmember, driveshaft loop, rear-end truss and pinion mounts are all being welded and bolted into place as the chassis nears final weld-out. Product links will be added to each photo caption soon.
 J022
J022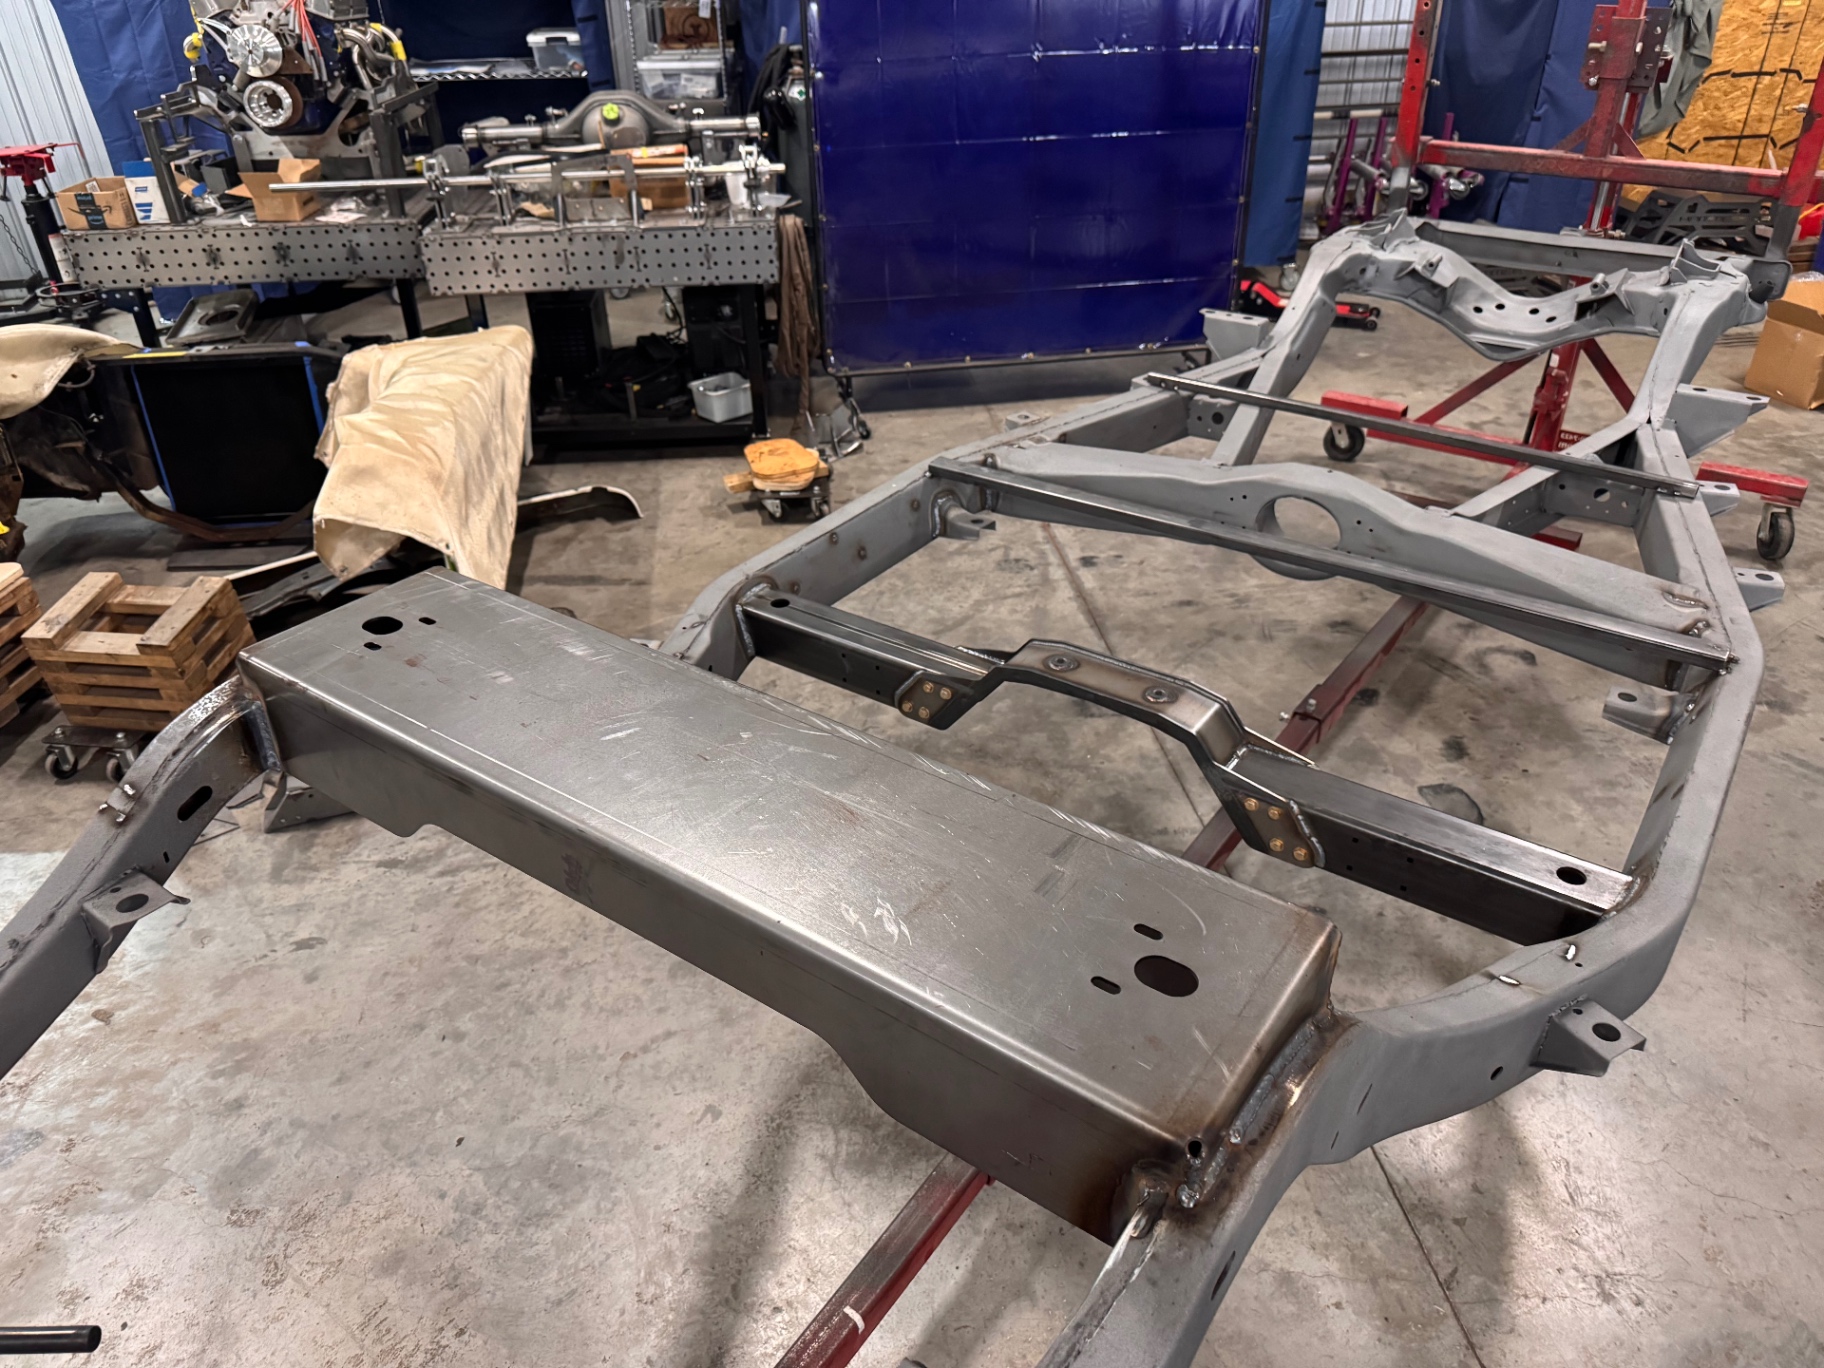 J023
J023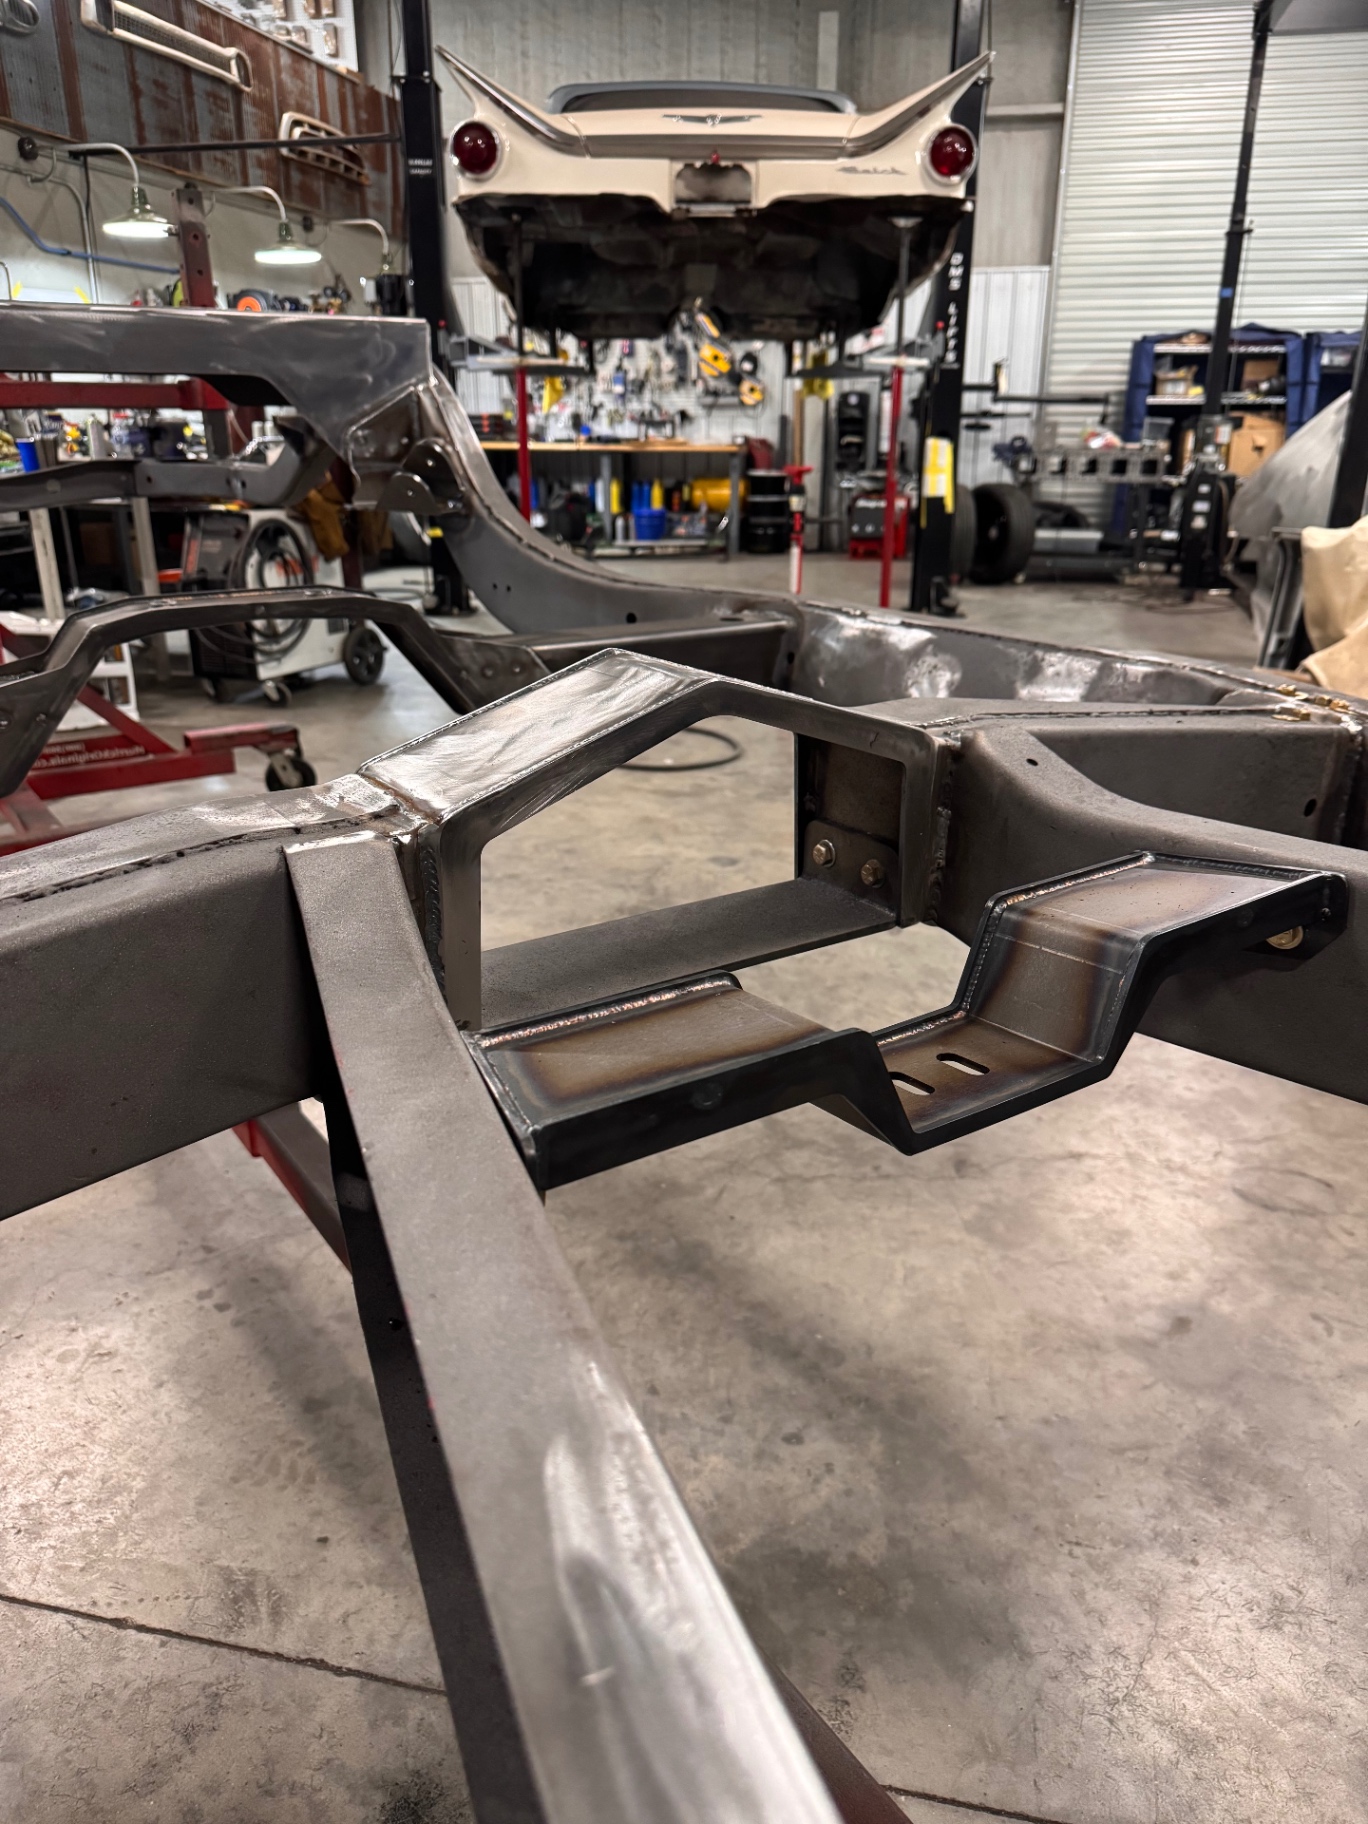 J024
J024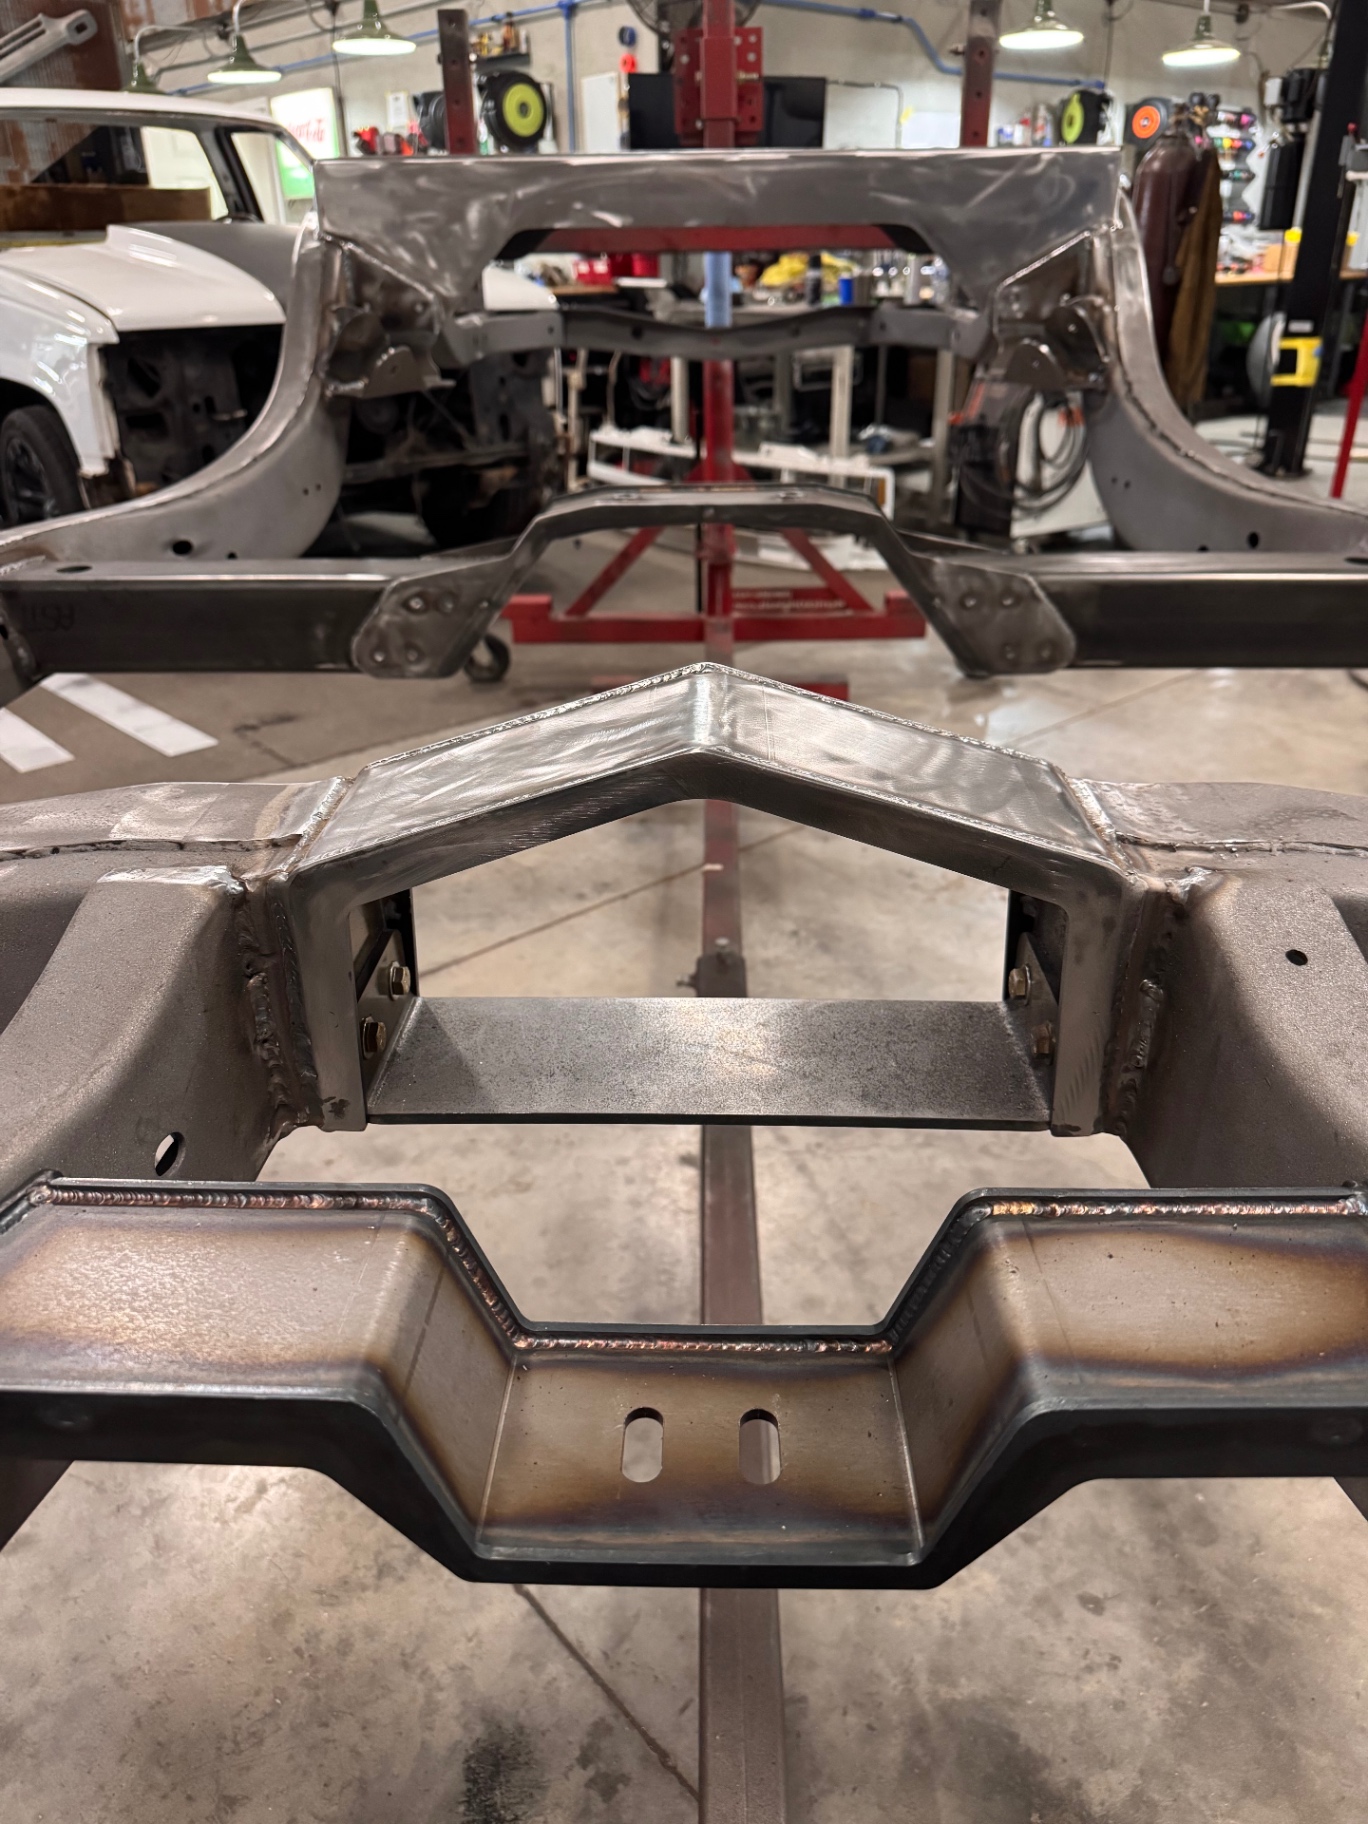 J025
J025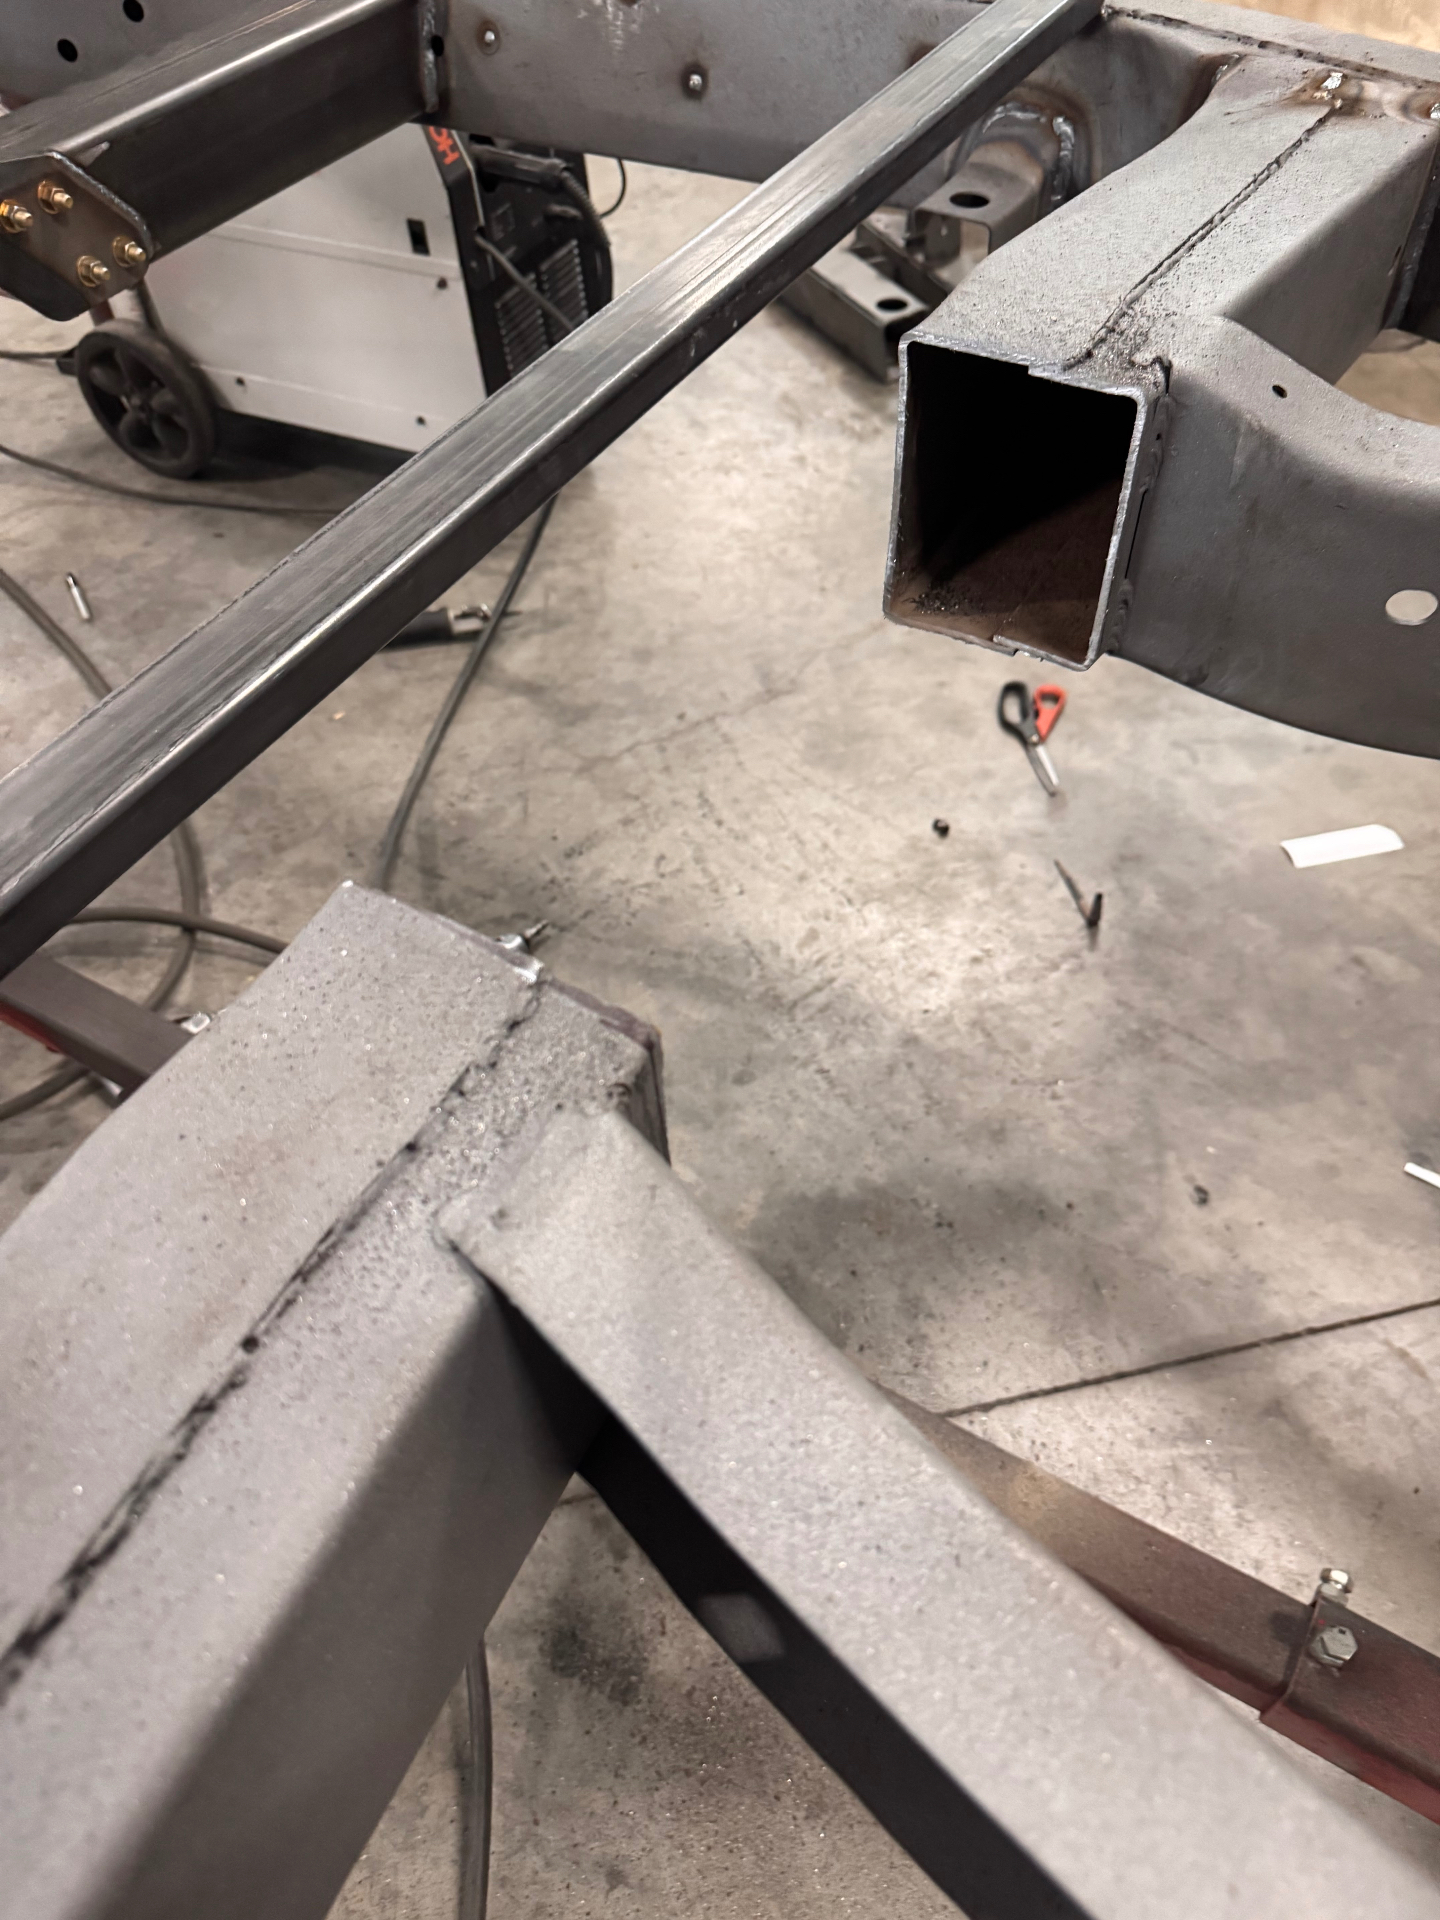 J026
J026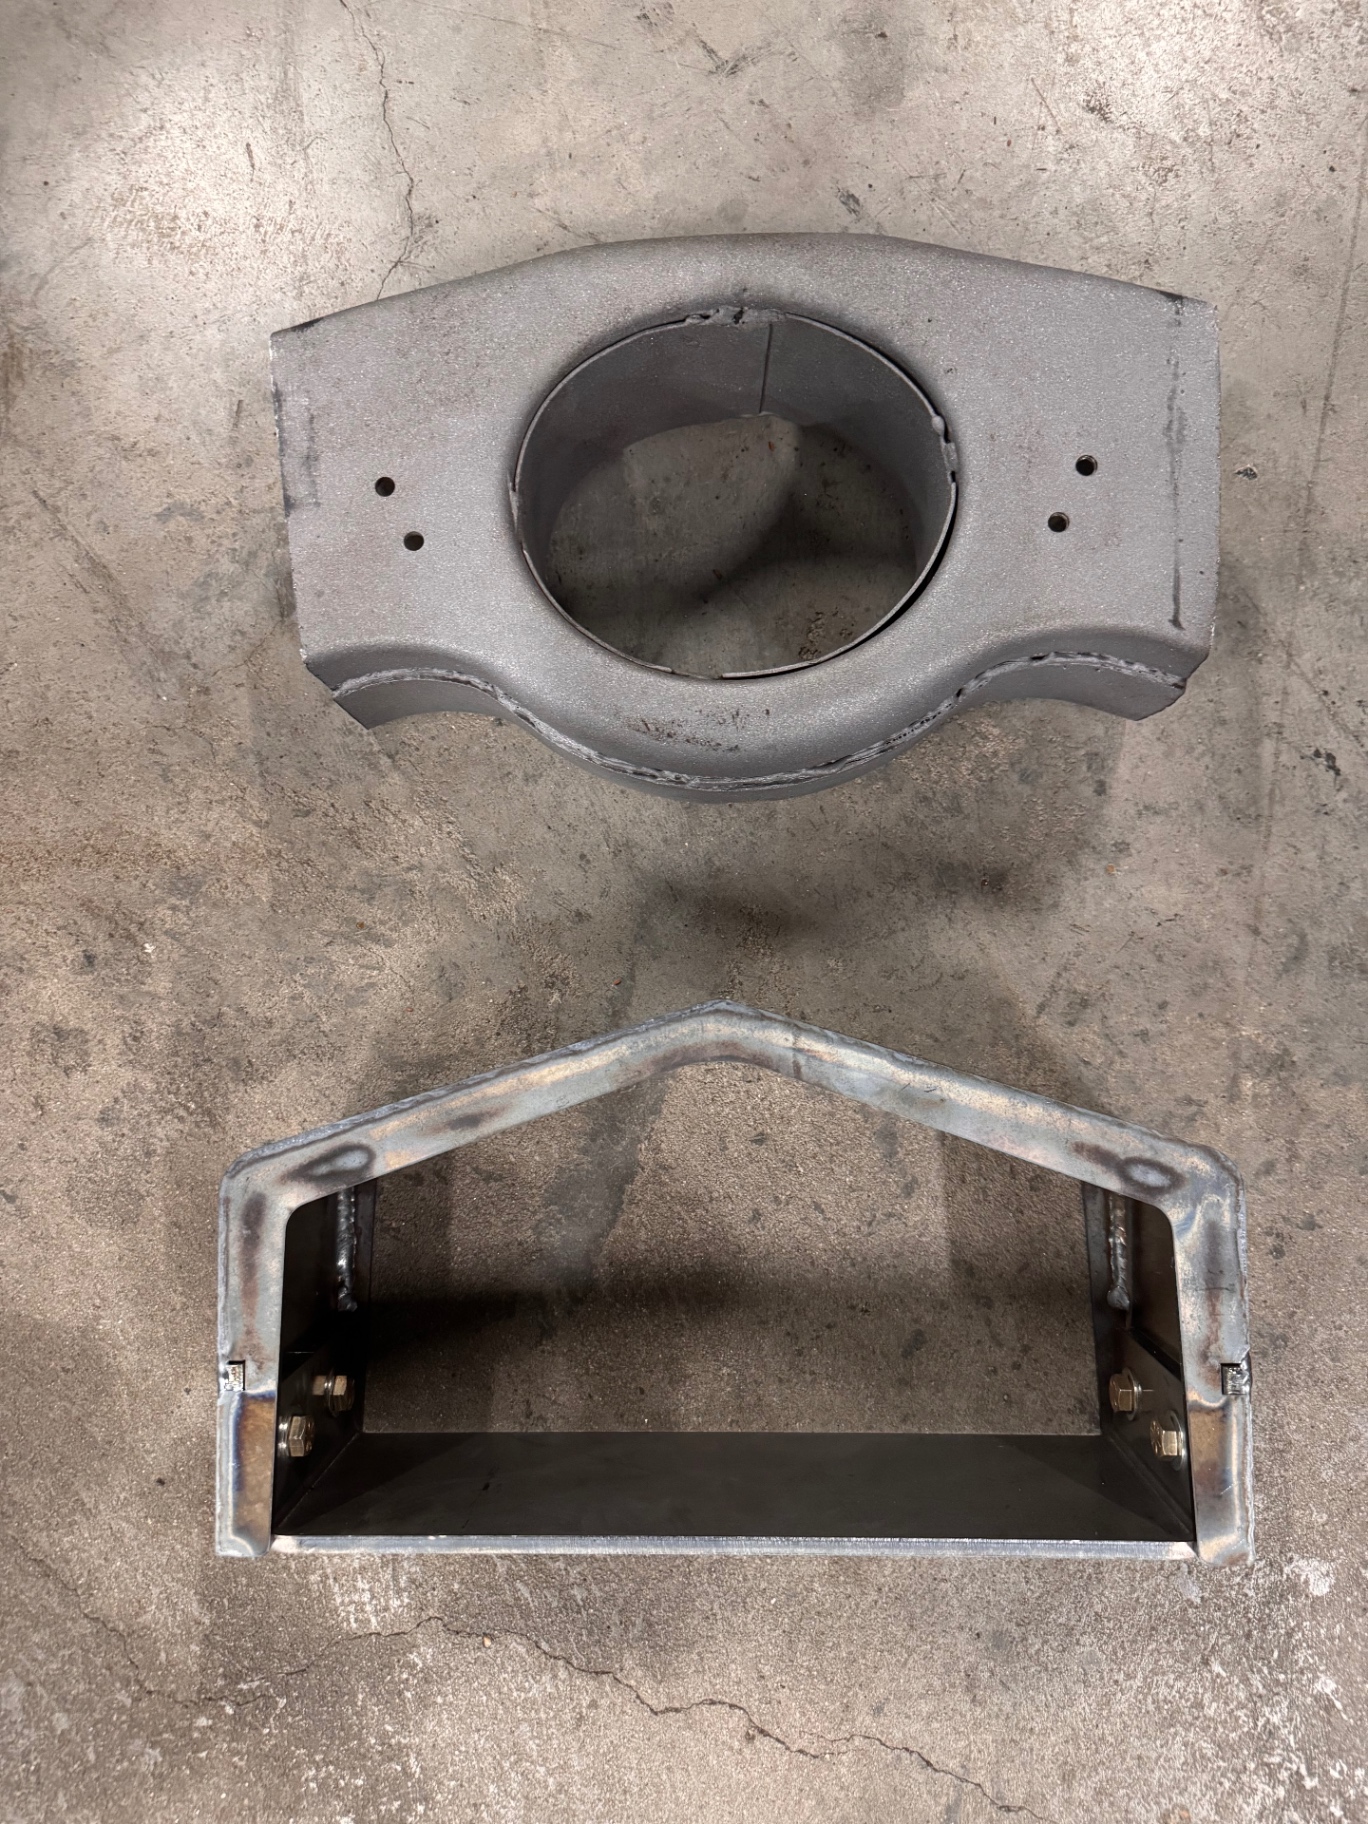 J027
J027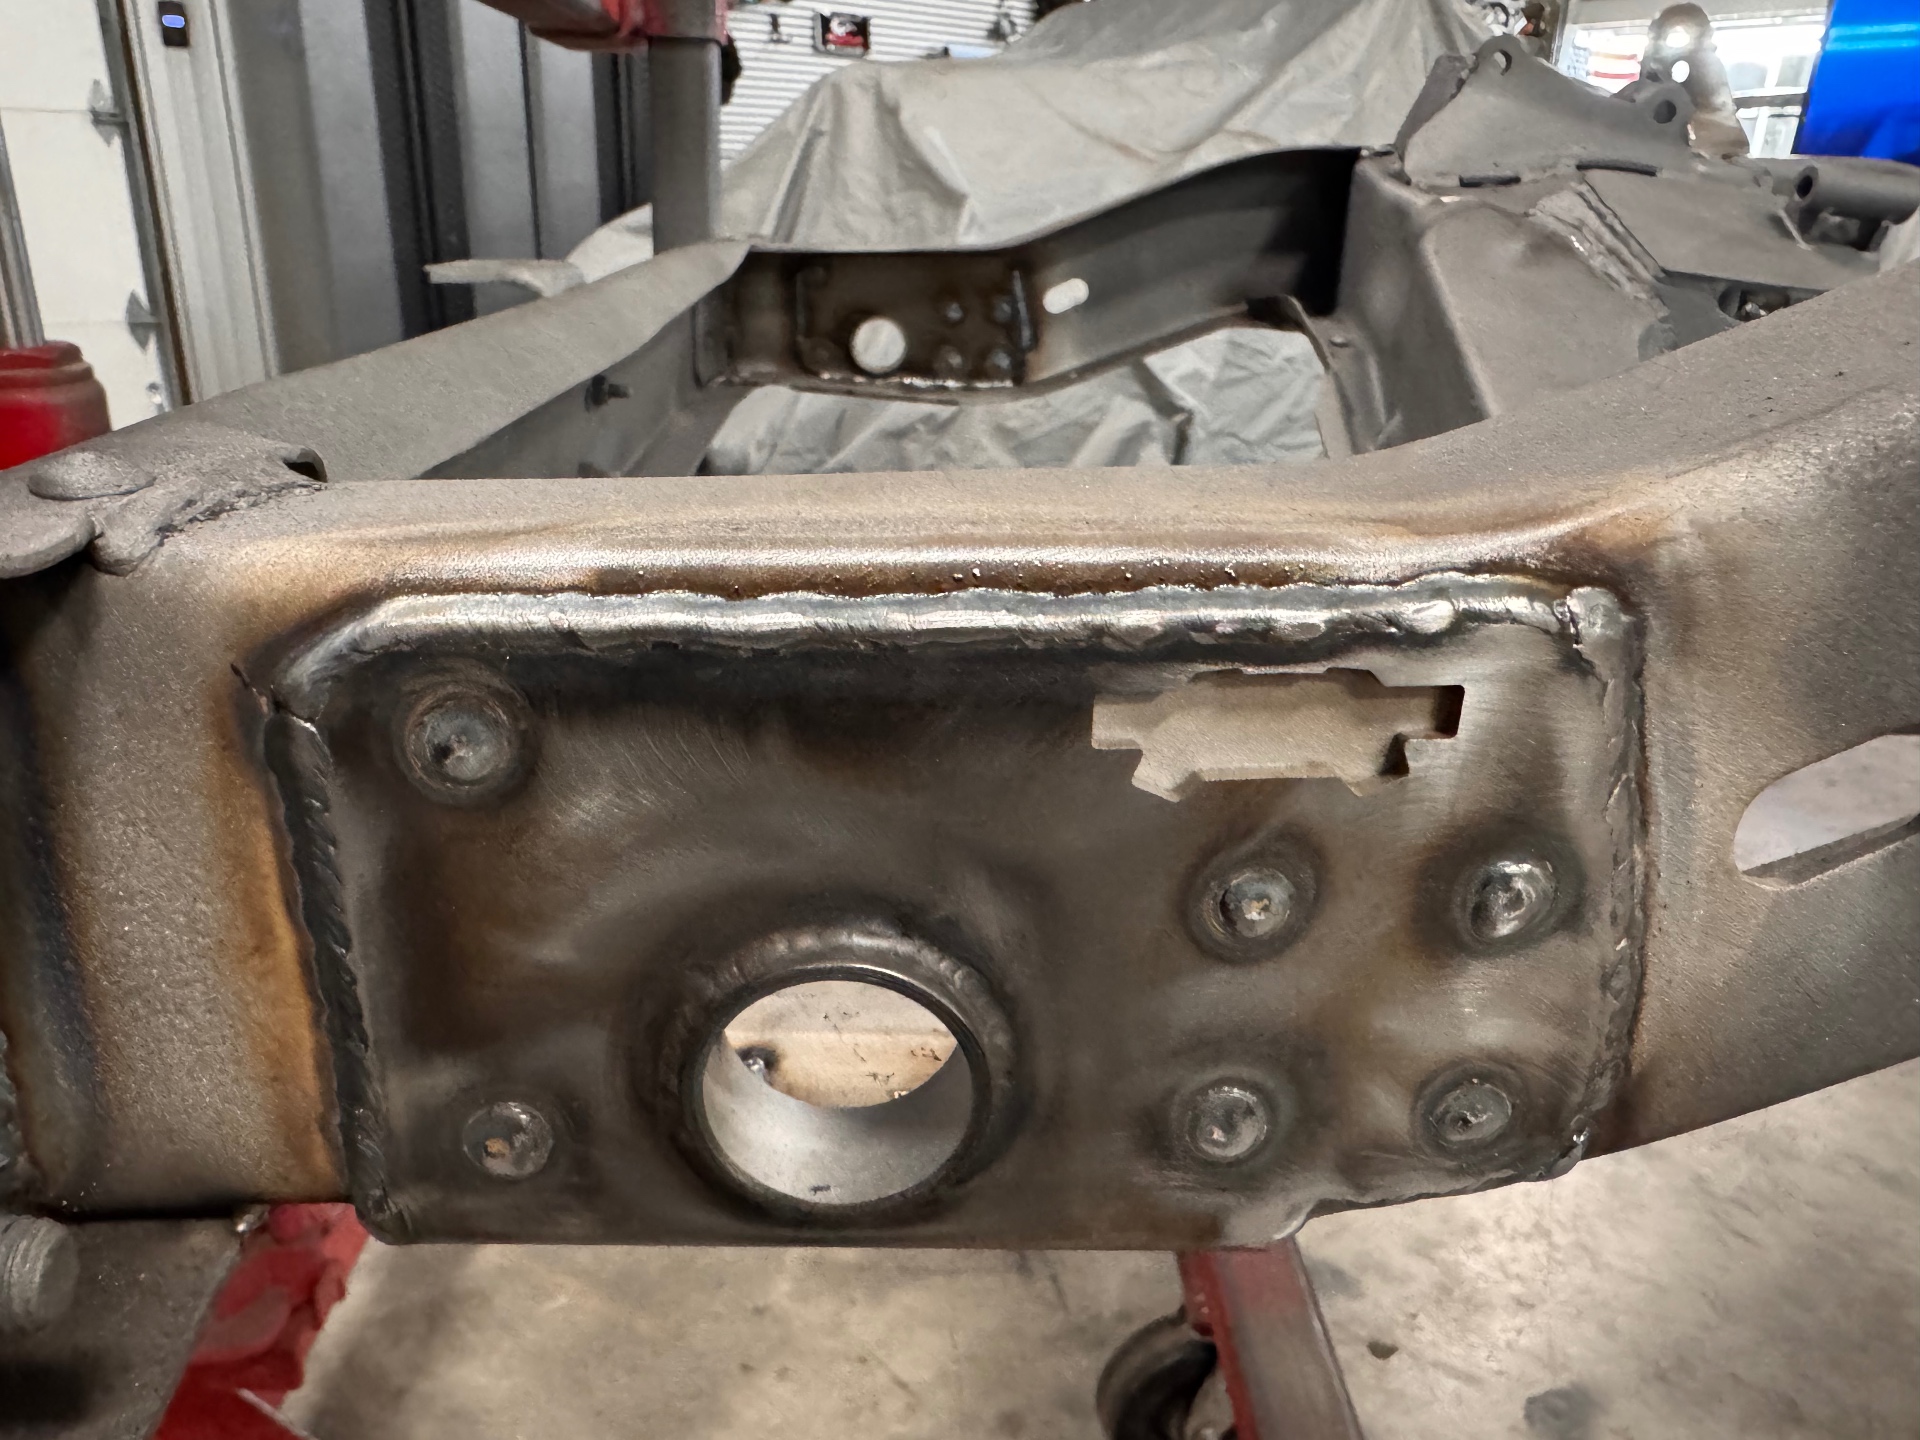 J028
J028UPDATE 06 / 09
Jul 11, 2026
PROGRESS MILESTONELS3 built, underside cleaned, chassis on the fixture table
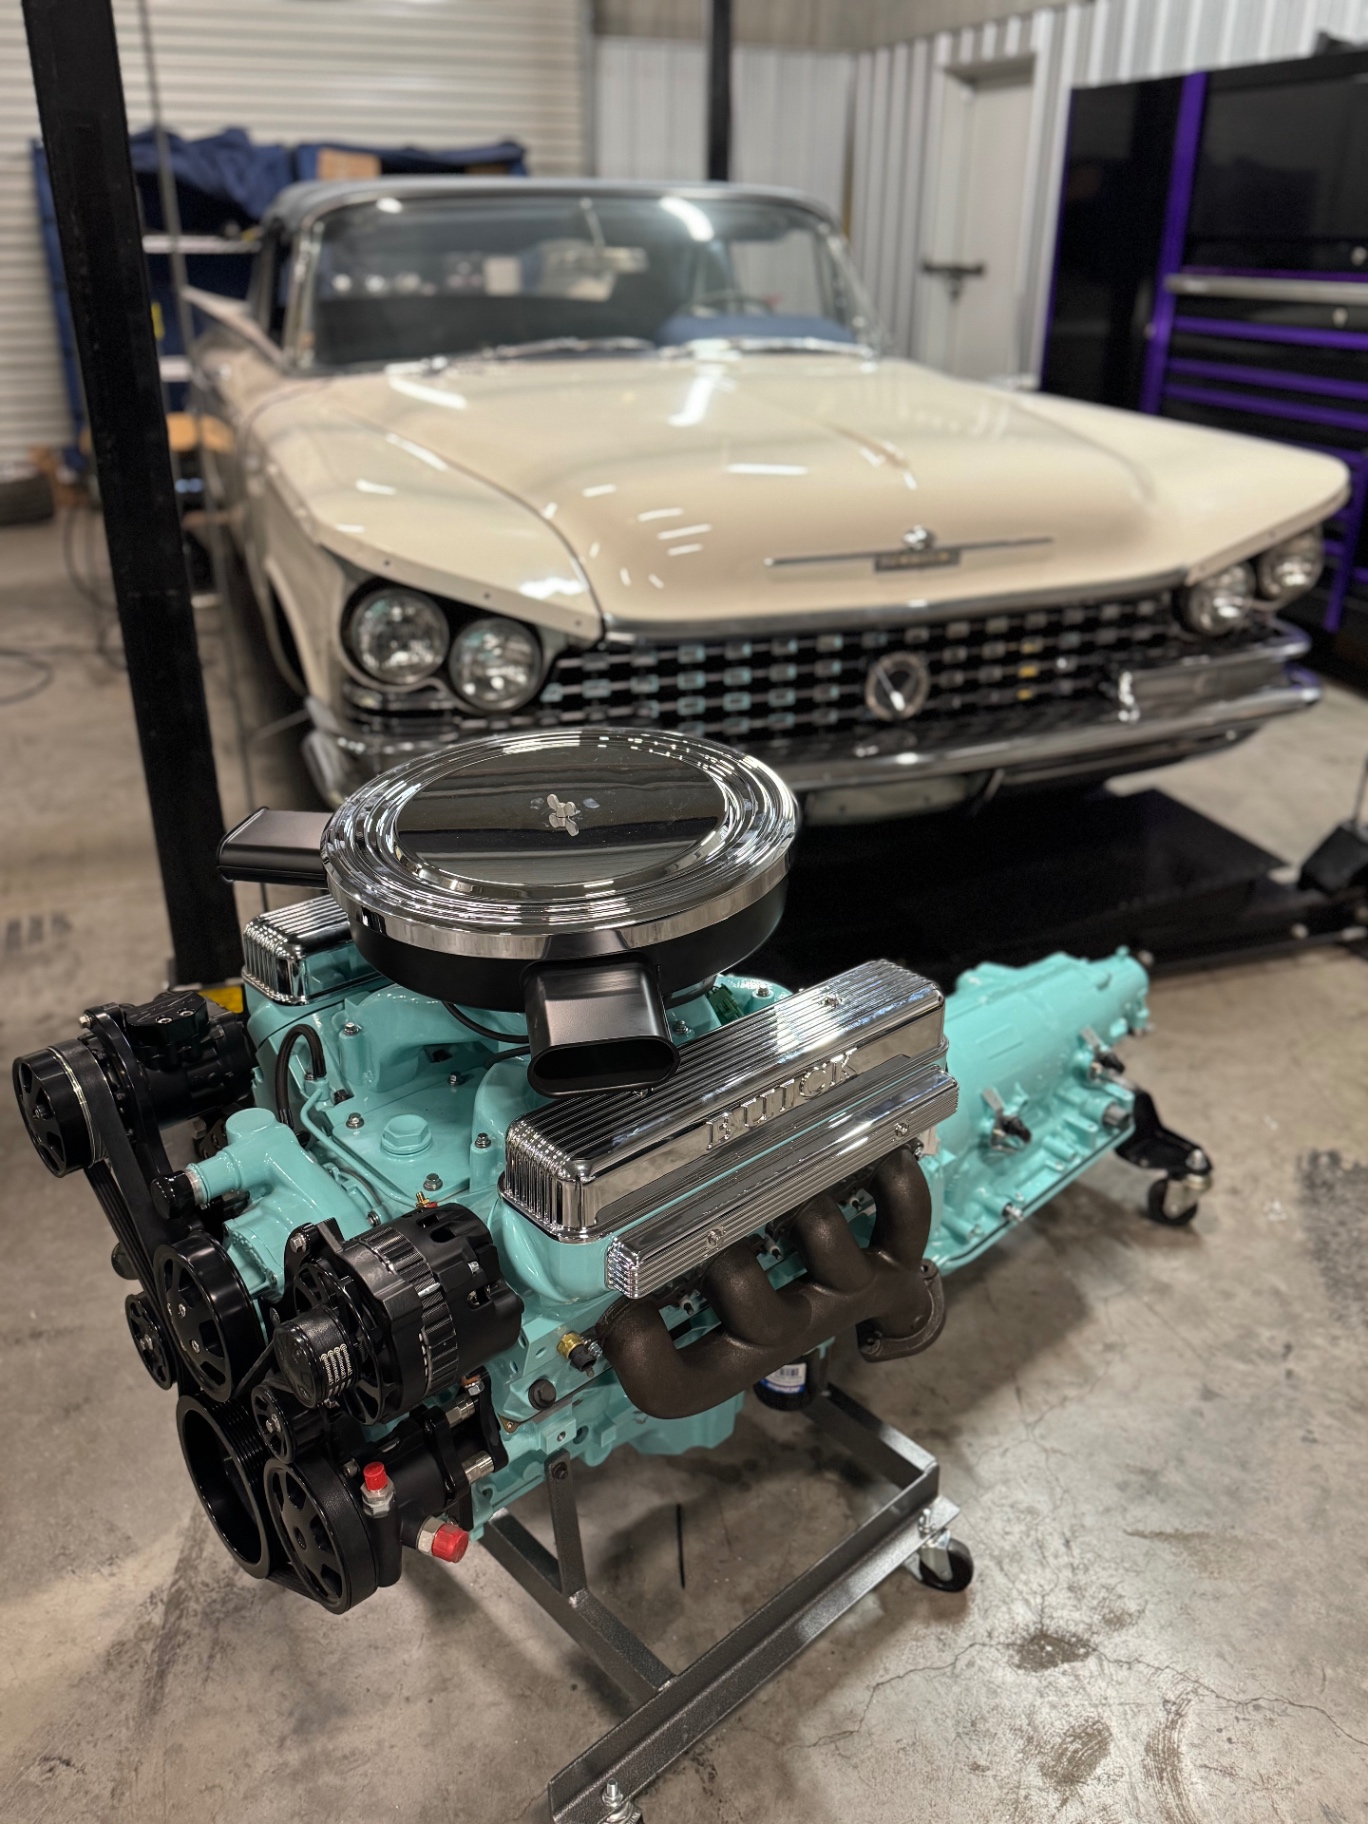
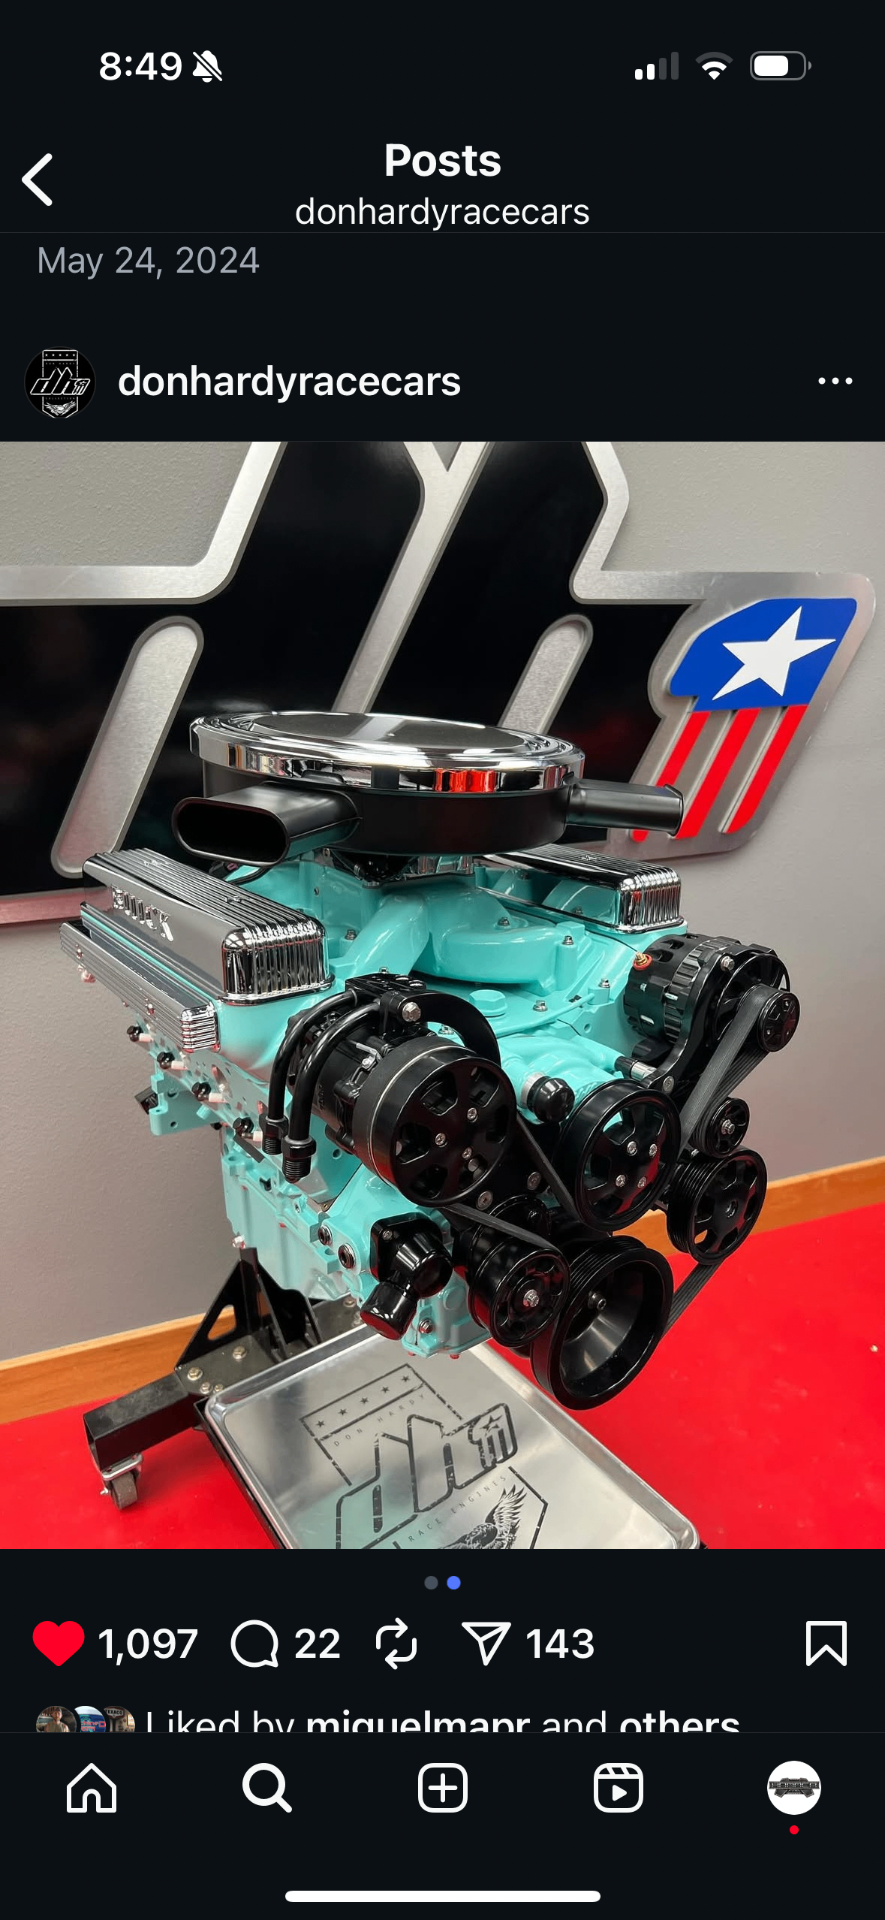
Big update across the board. The 660 hp Don Hardy LS3 is assembled and dressed — turquoise block, polished finned Buick valve covers, and a period-style chrome air cleaner that nods to the factory Wildcat setup — sitting on the stand next to the car for the mock-up. The original engine bay is documented before teardown so we have a reference for the finished look. Underneath, the whole car got a full pressure-wash and degrease so we can see clean metal before rust repair and Raptor Liner. The body is up on our fixture table for suspension R&D and 3D scanning — every bracket and crossmember is being modeled in CAD from scan data before it gets cut. Also picked out the interior fabric direction with the top color swatches next to the car.
 J029
J029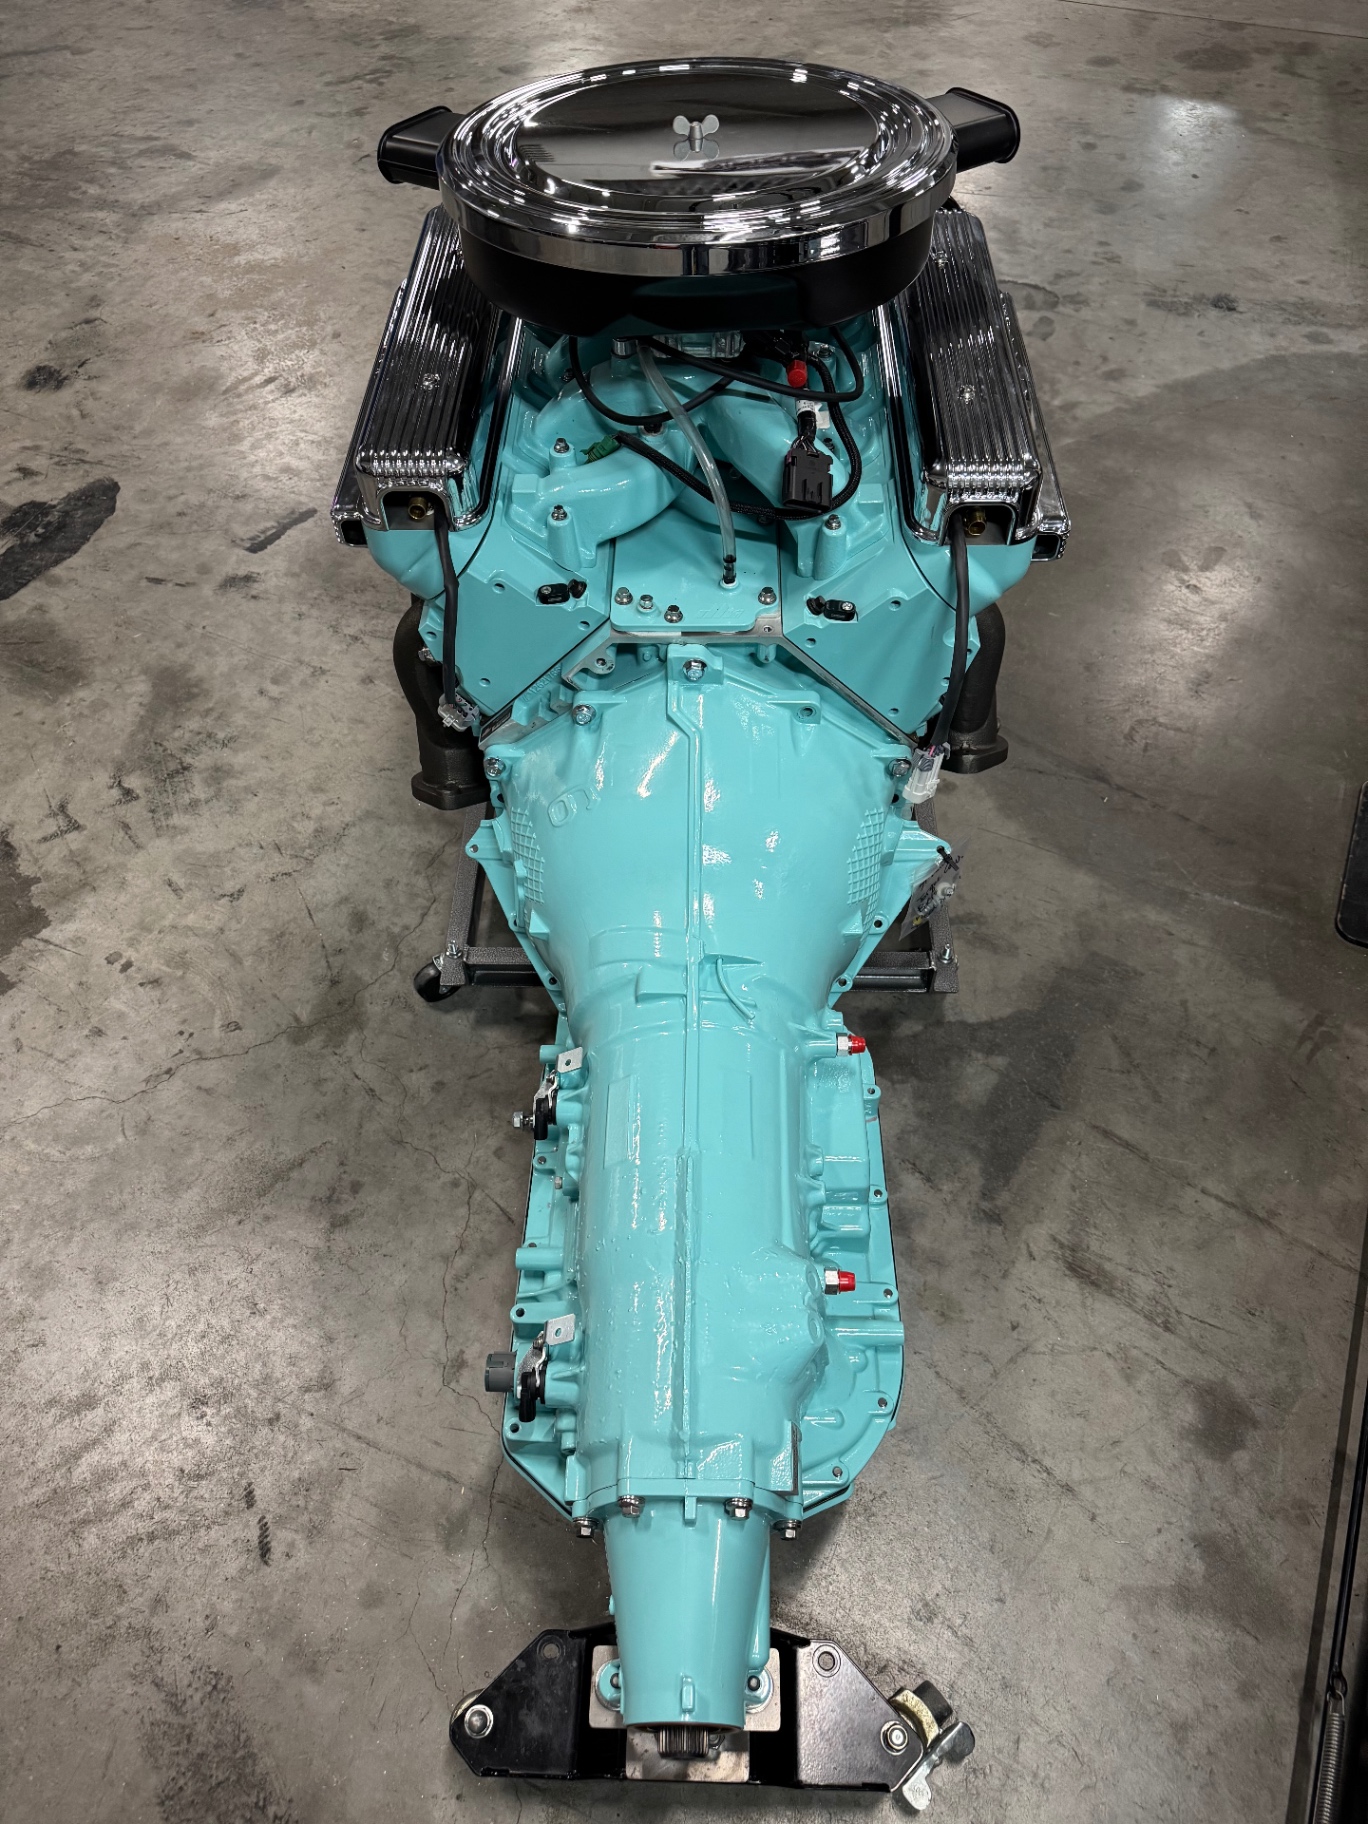 J030
J030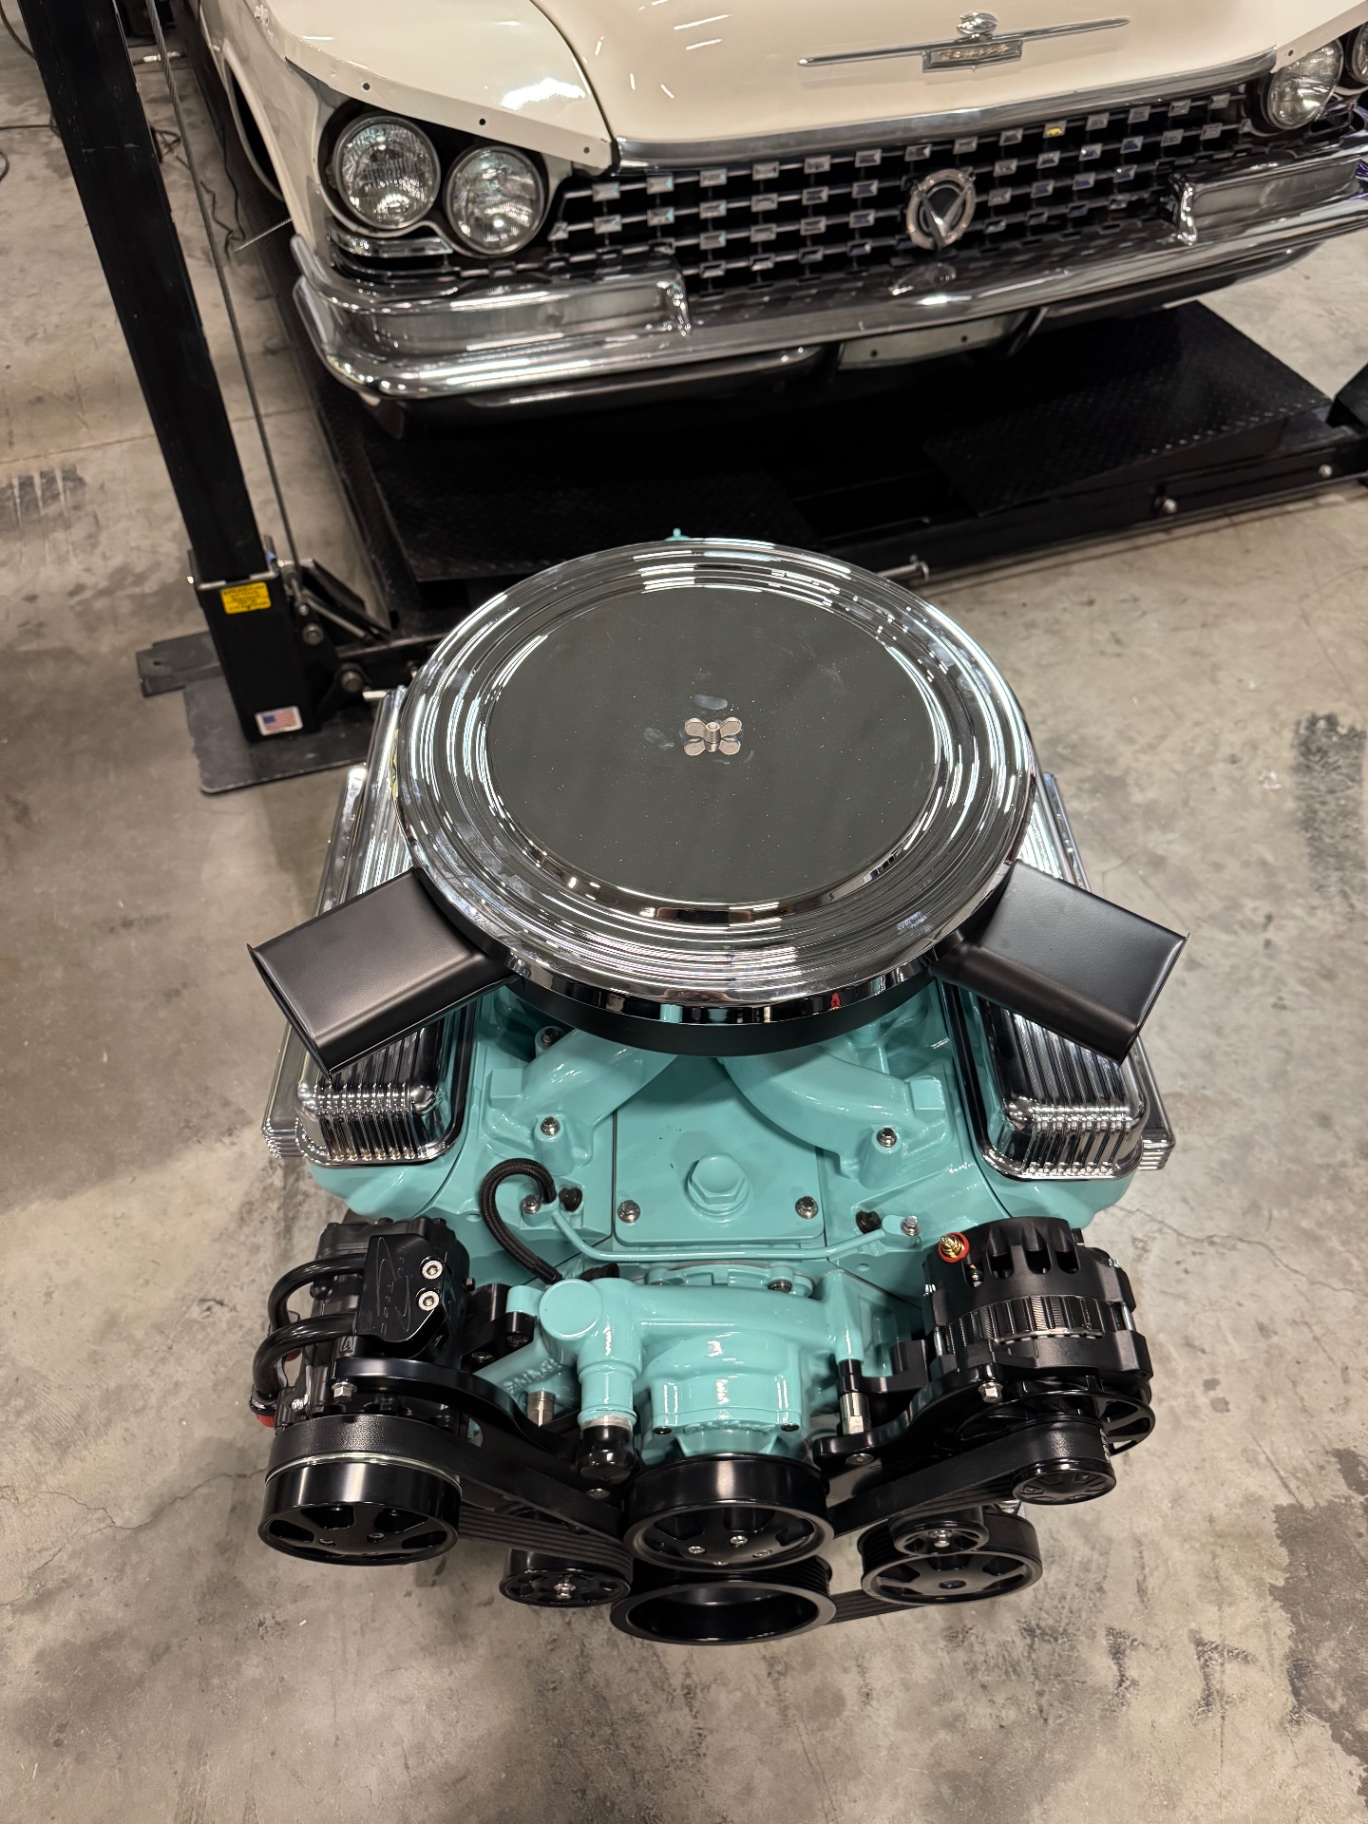 J031
J031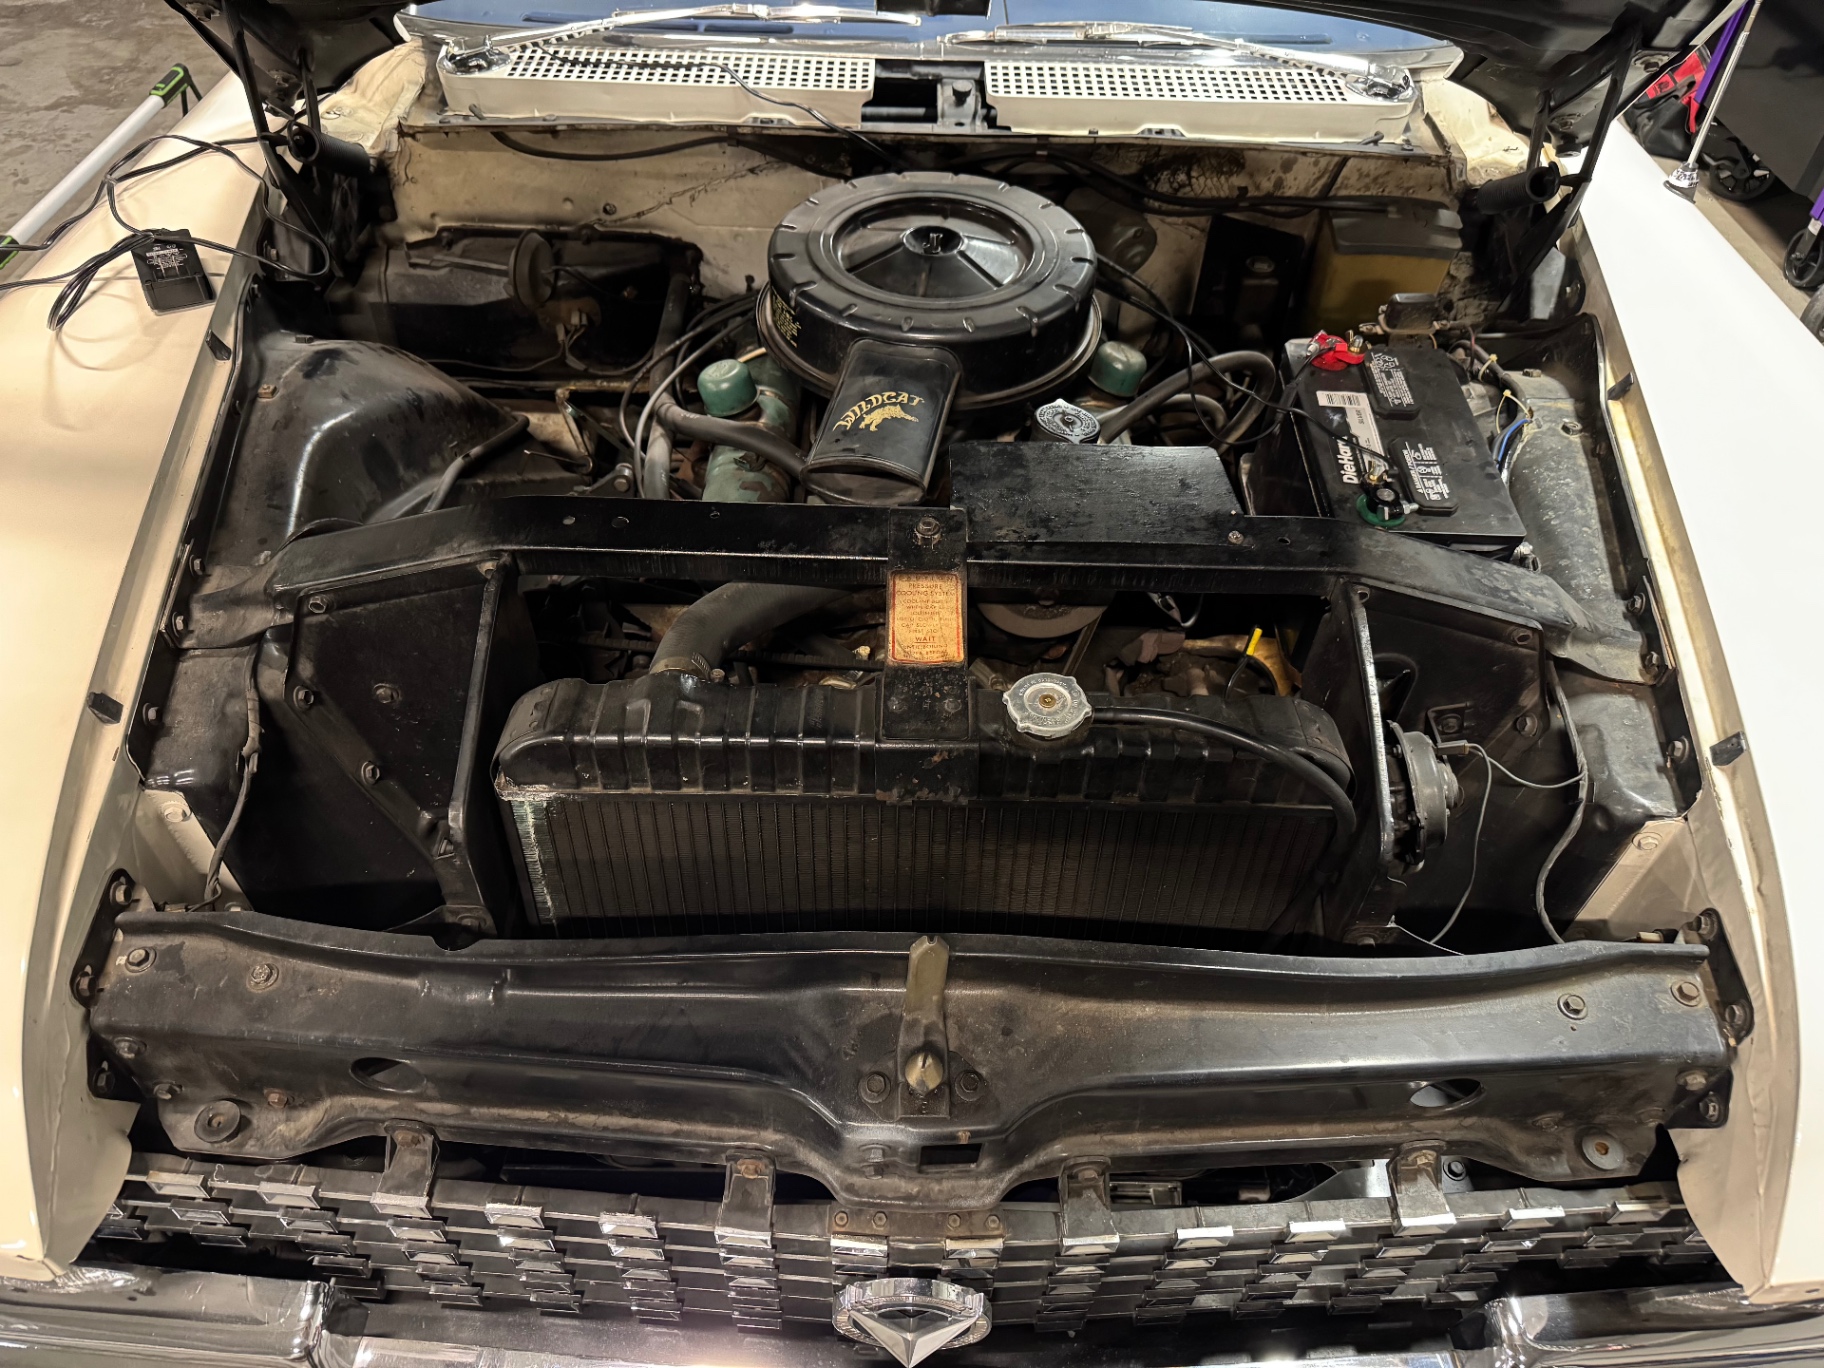 J032
J032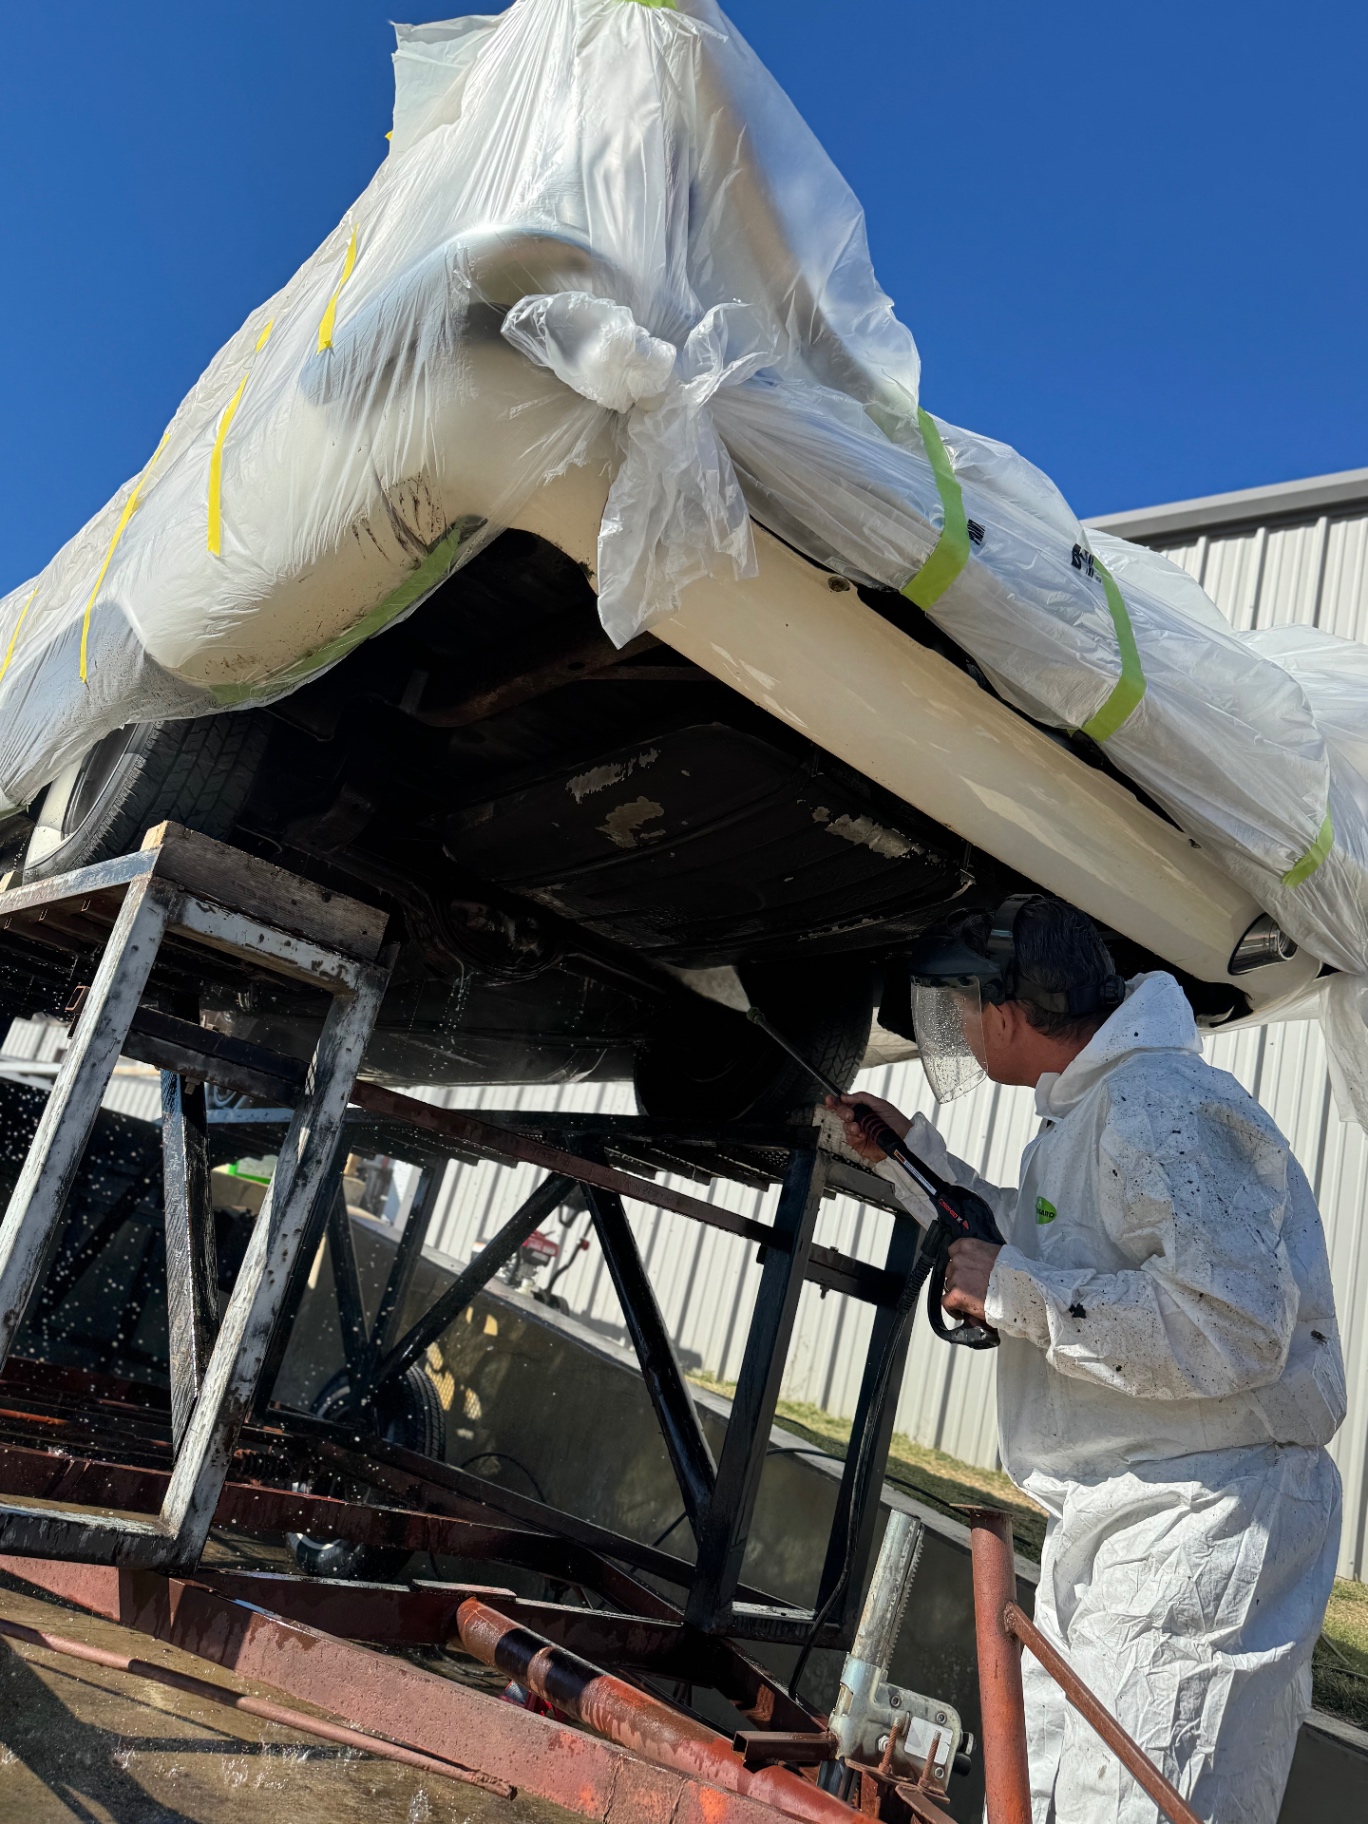 J033
J033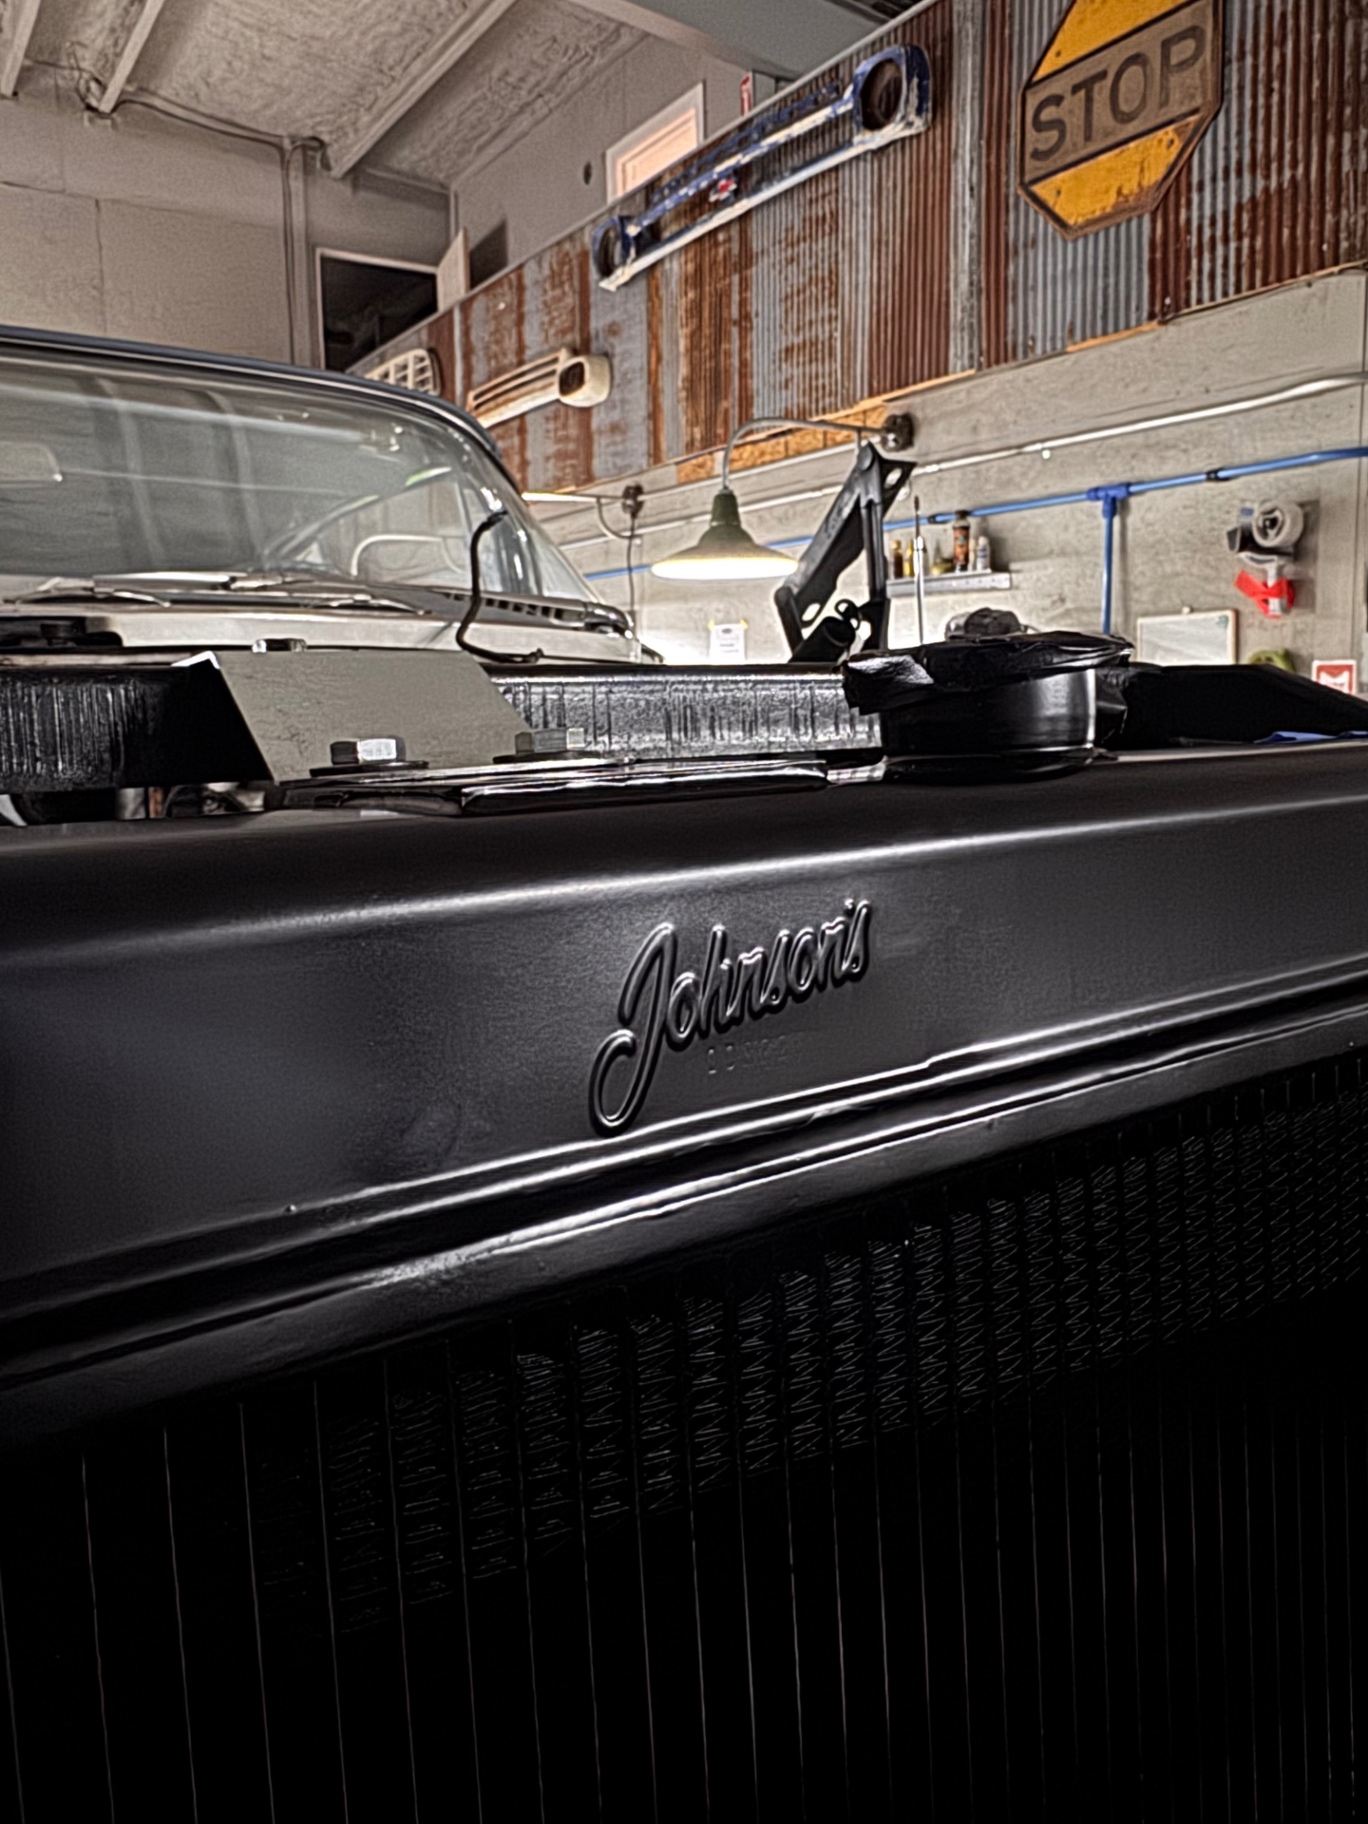 J034
J034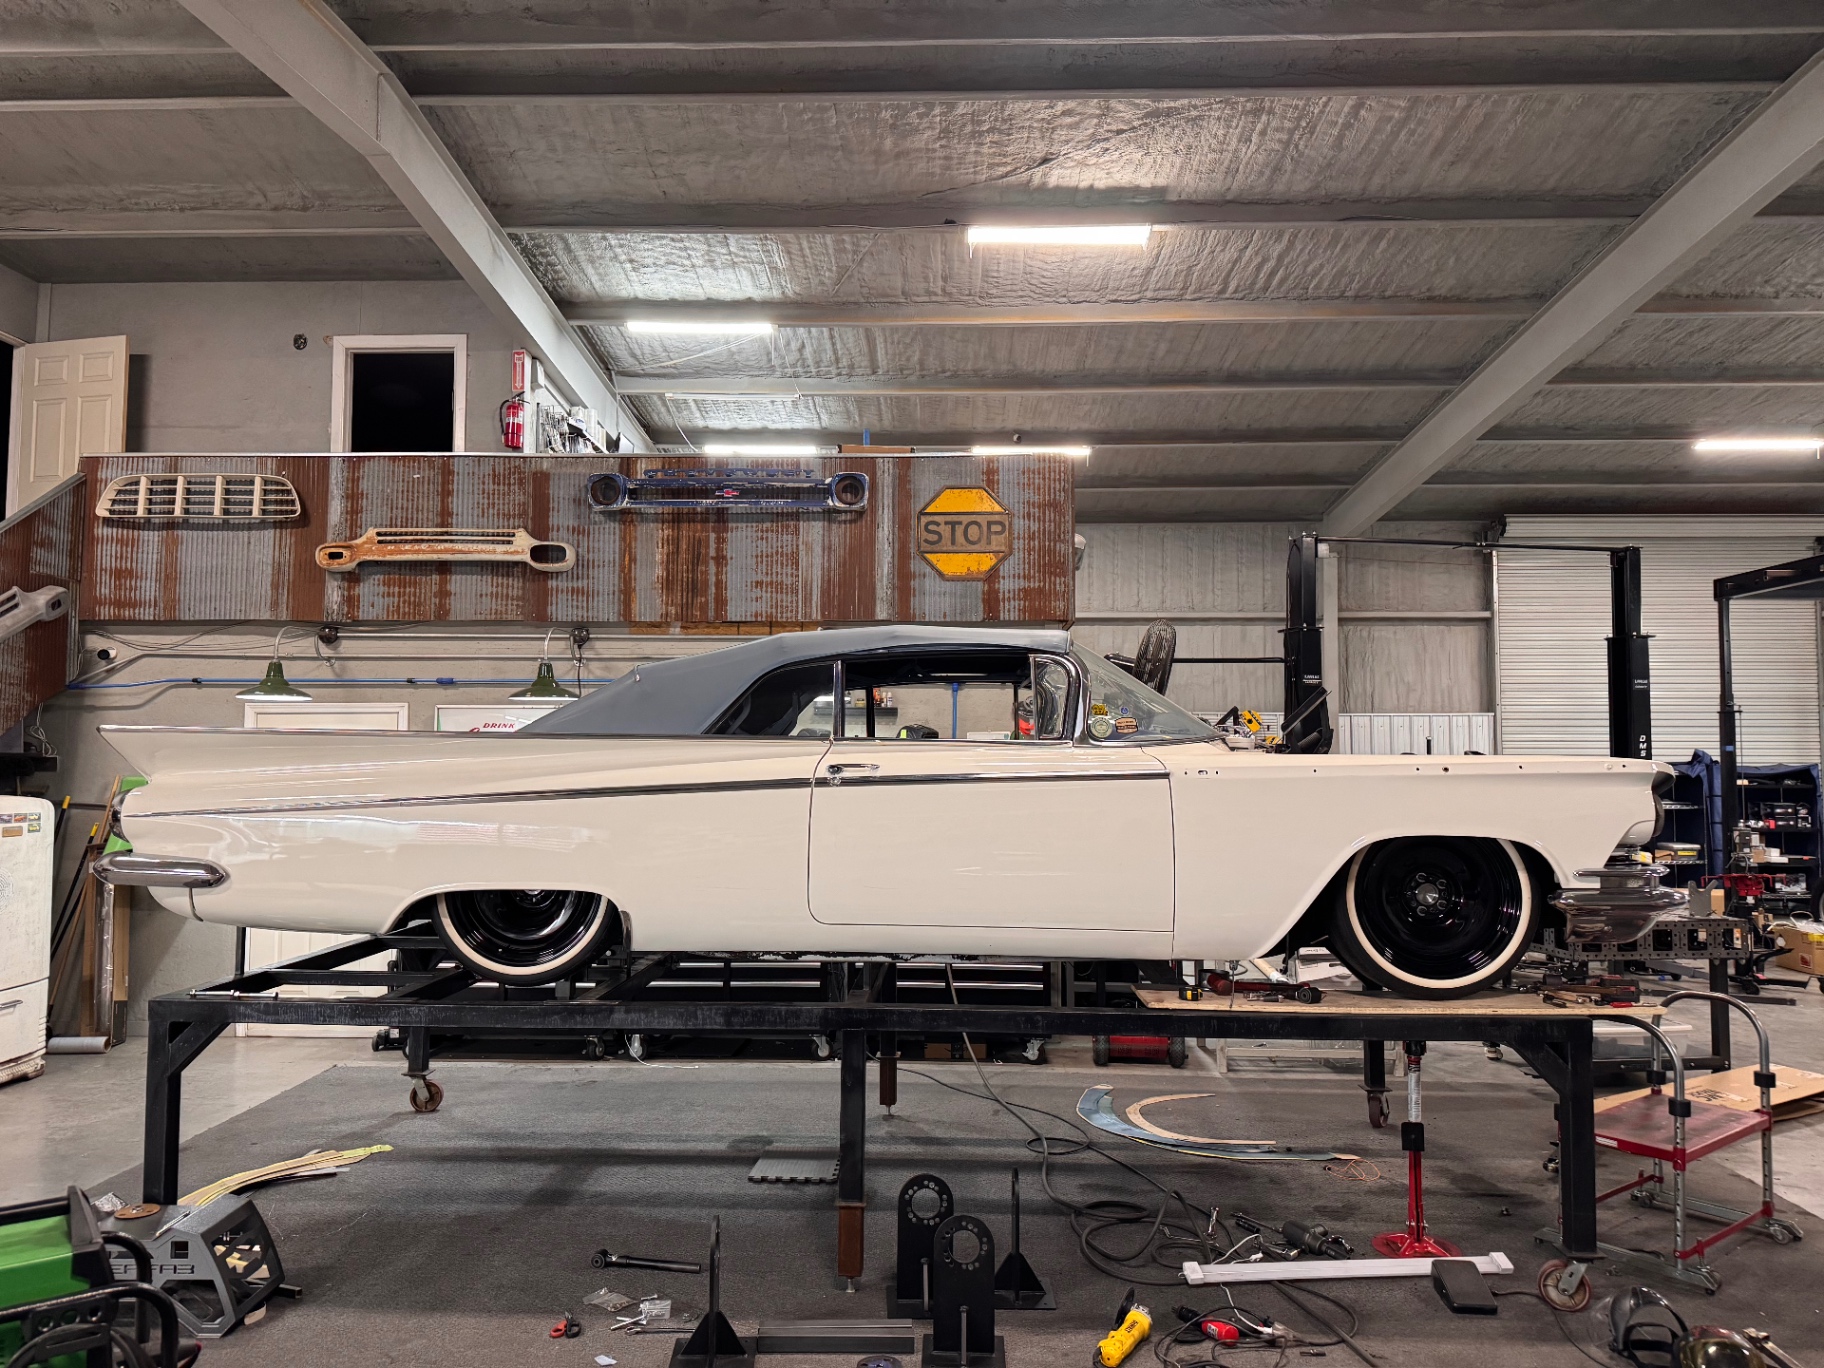 J035
J035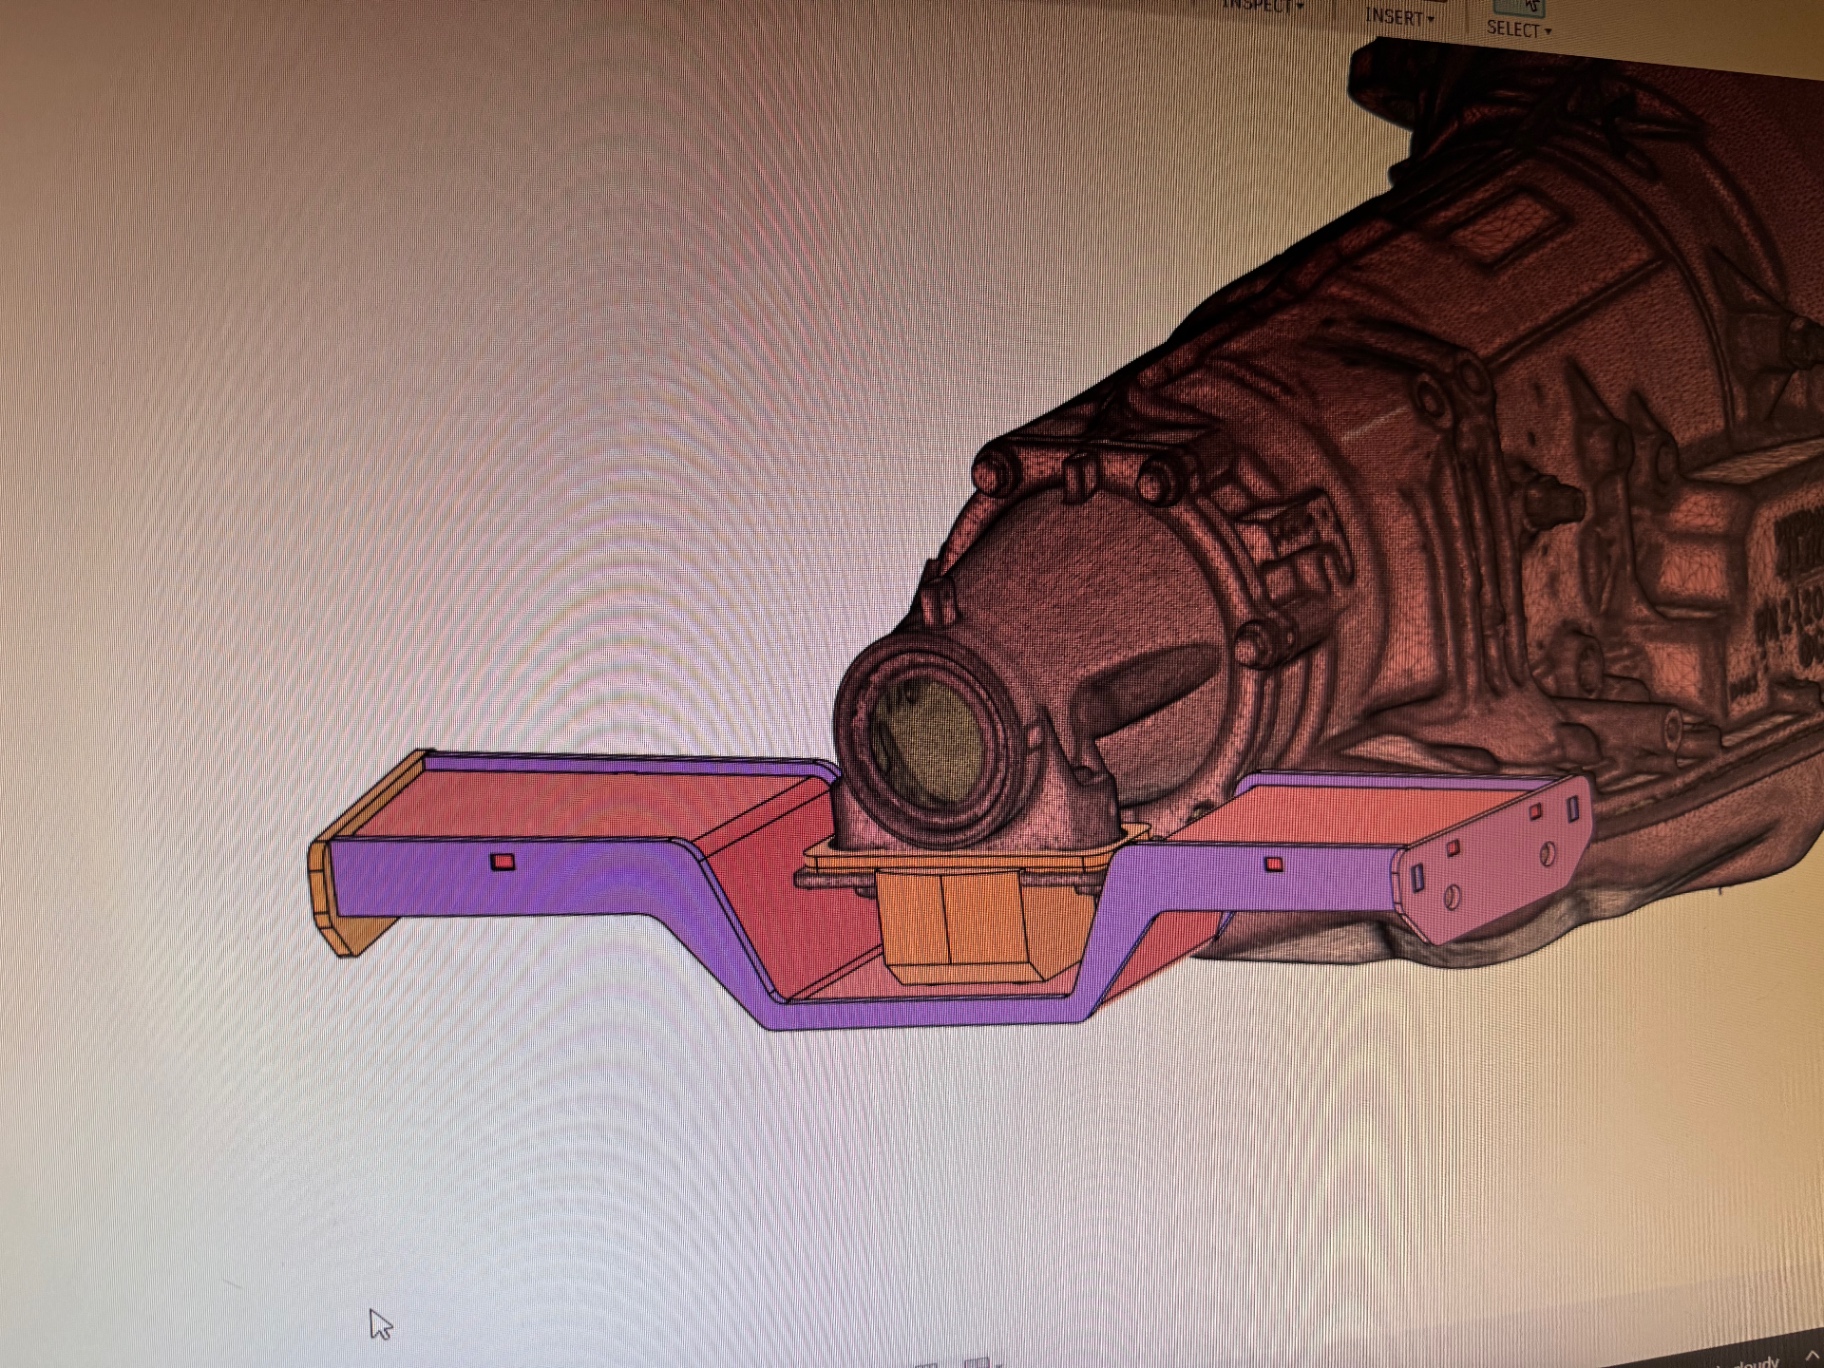 J036
J036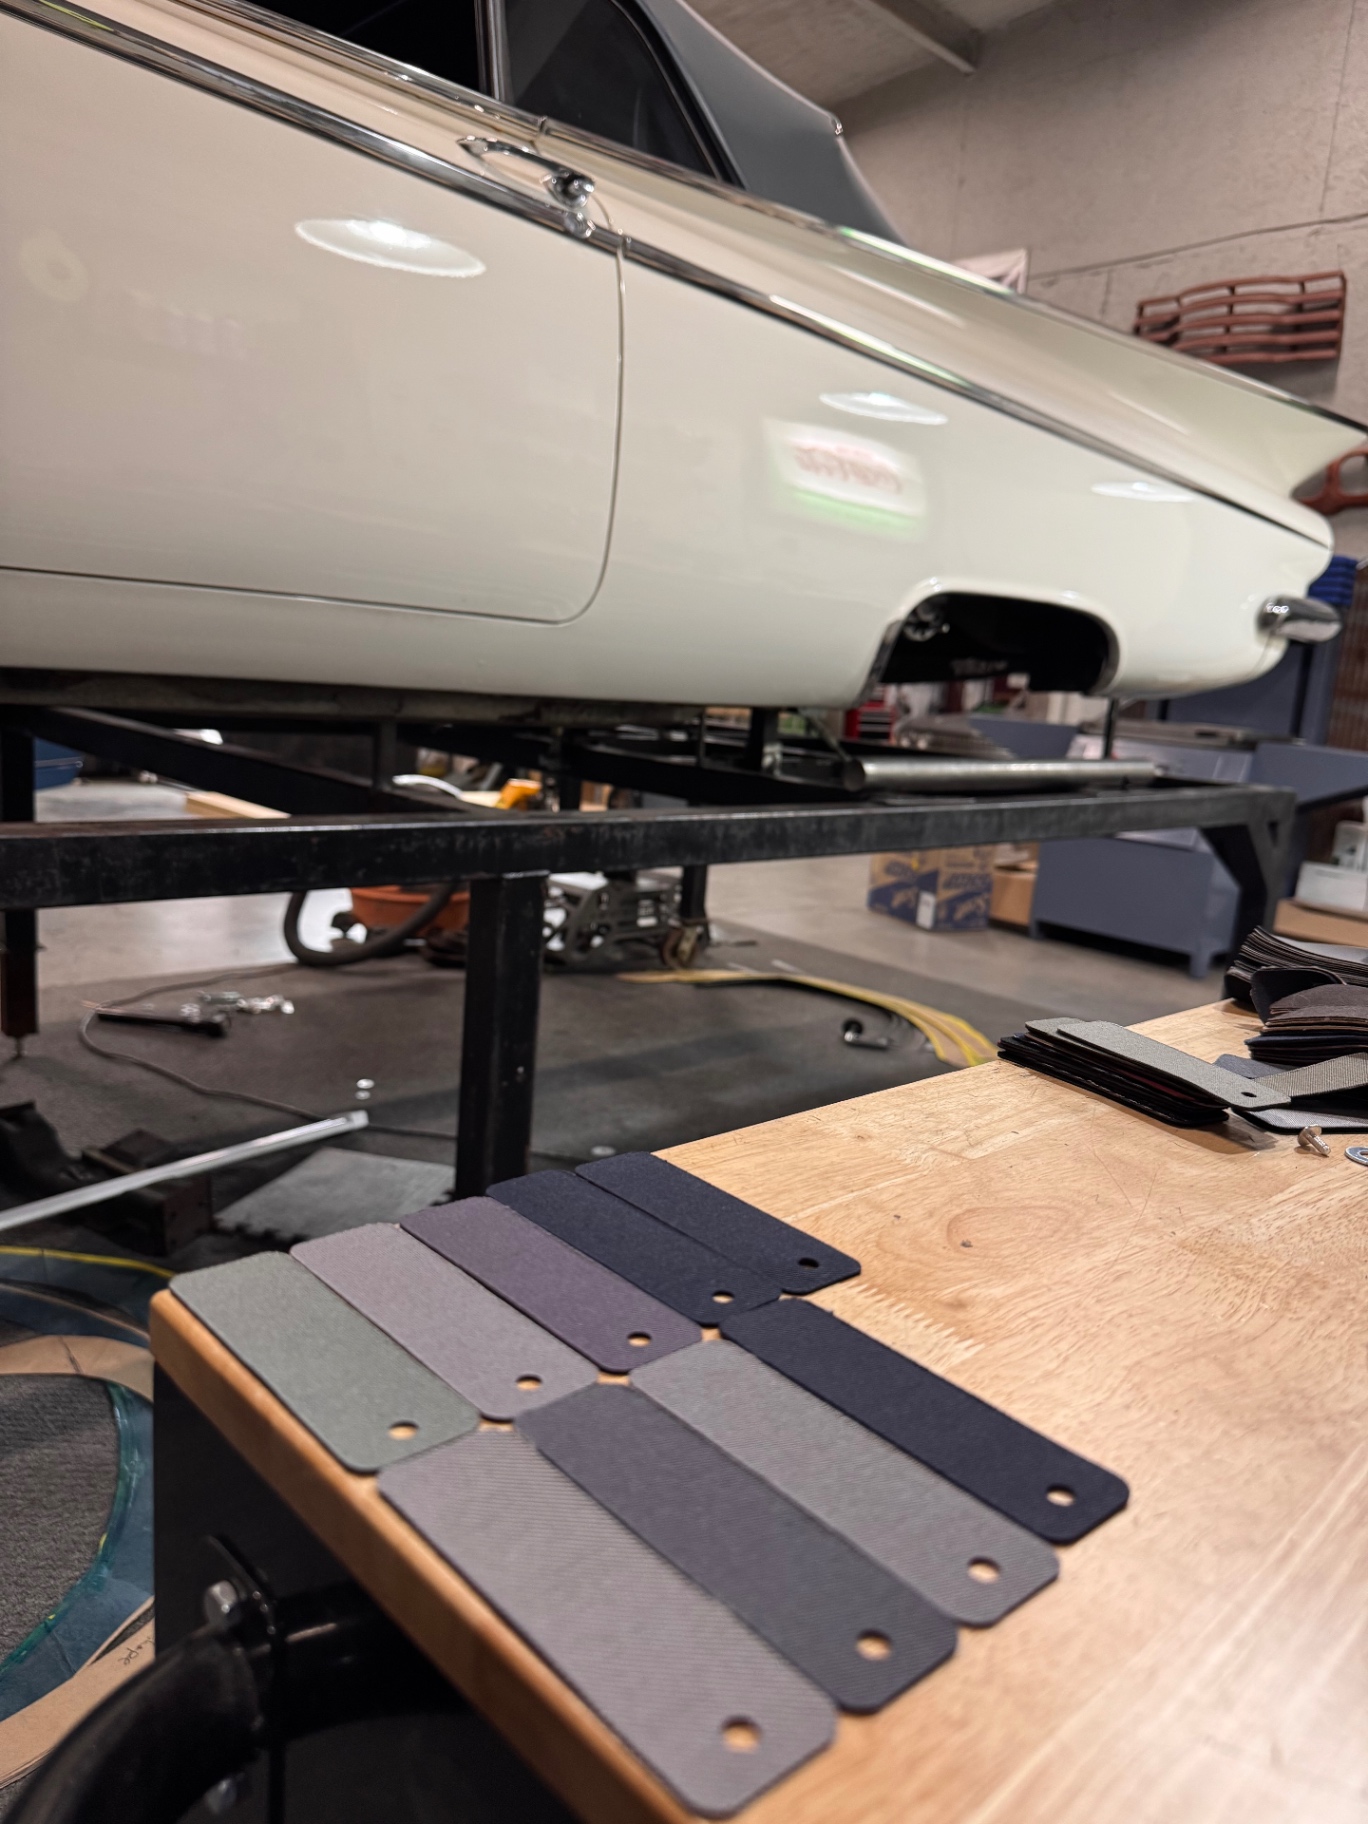 J037
J037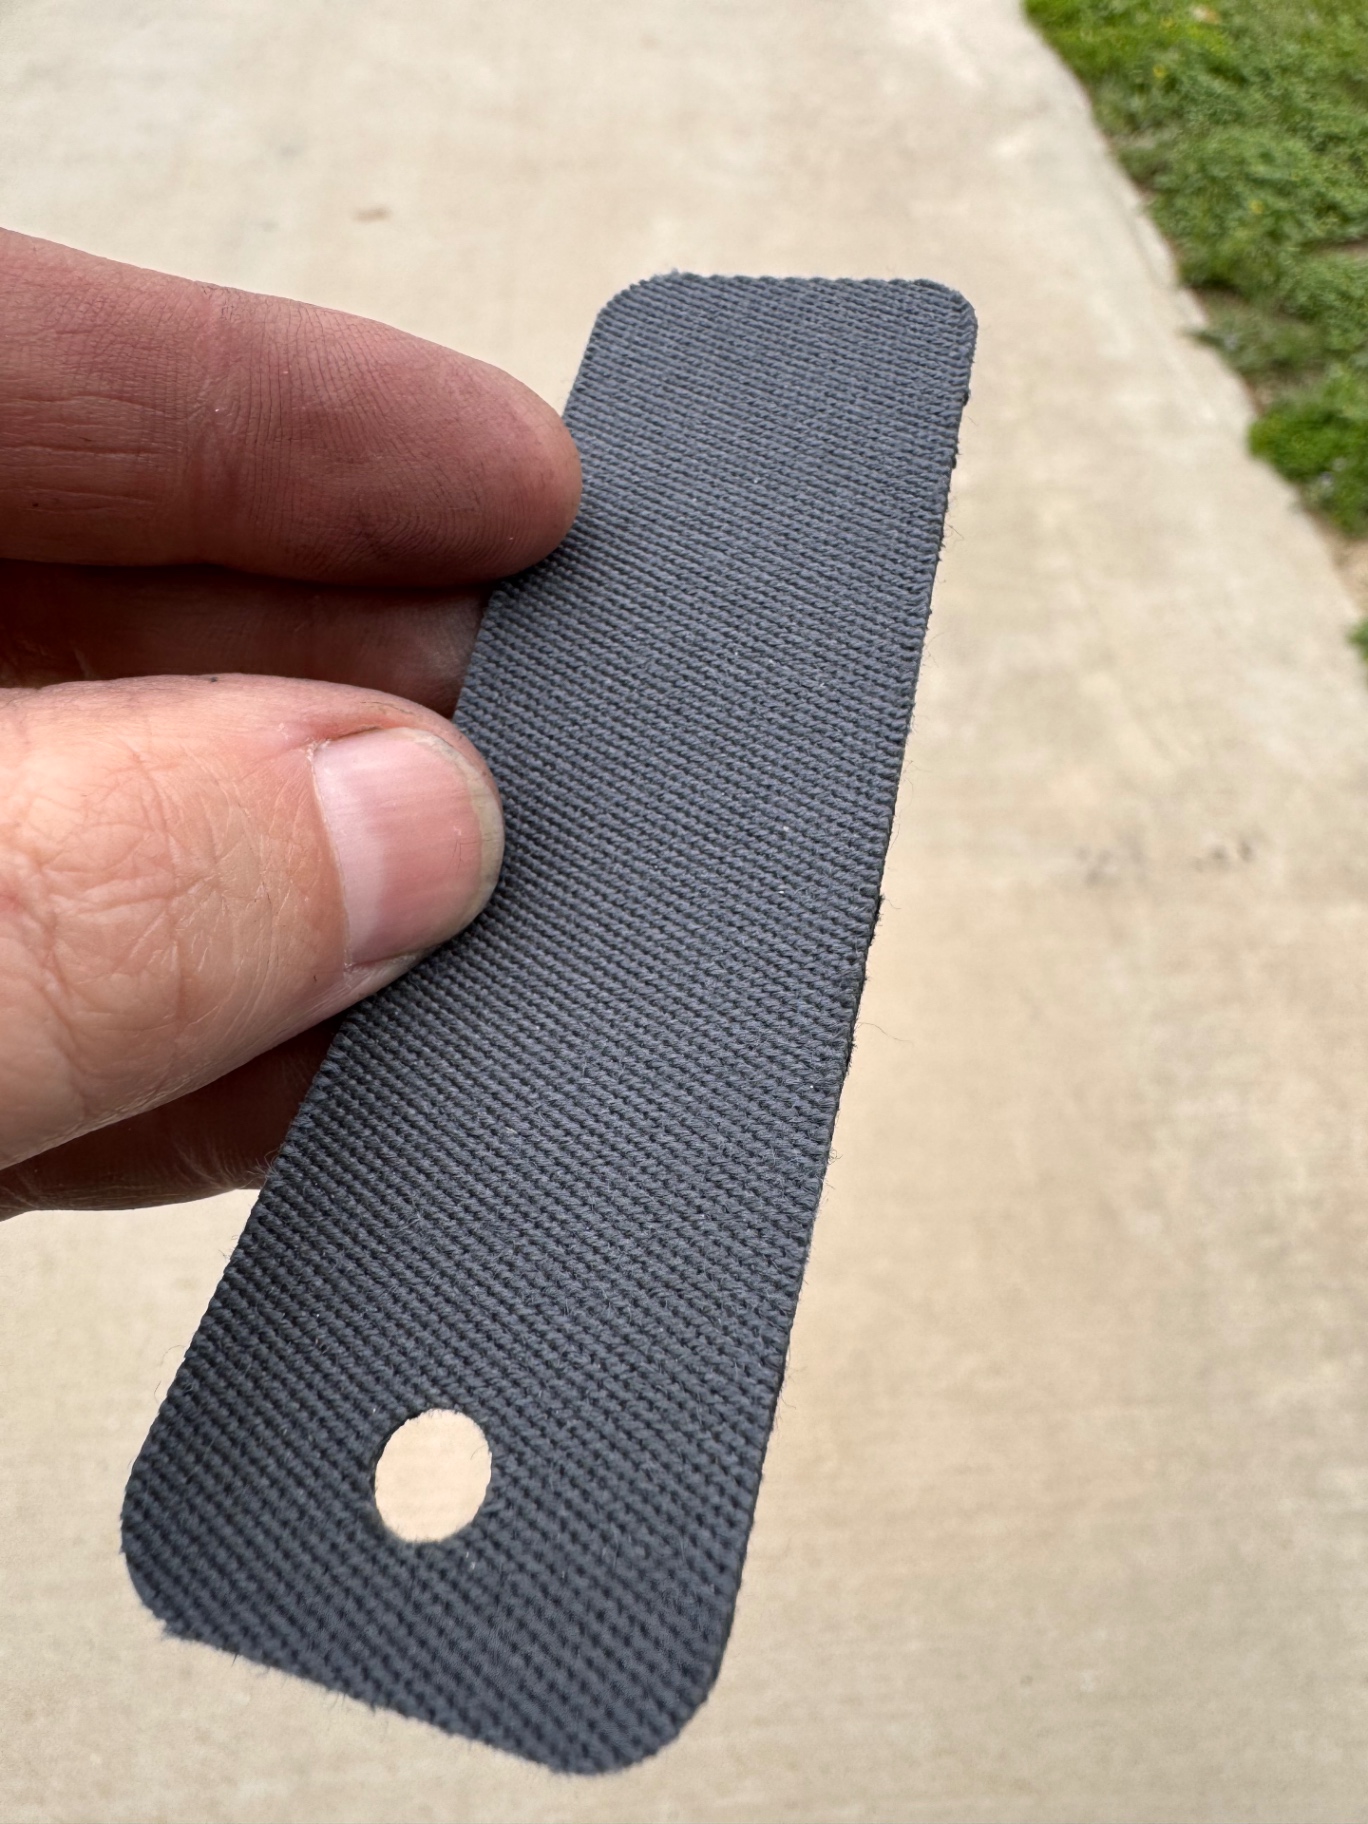 J038
J038UPDATE 07 / 09
Jul 11, 2026
METALWORK MILESTONEChassis welded and rockers almost done
As of today the chassis is fully welded and heading to the paint shop for epoxy primer and Raptor Liner undercoating — we skipped powder coat this round to hit the convertible top deadline. The rockers are almost complete, with all-new hand-fabricated 14 gauge panels that extend one inch lower than stock to hide the frame rail and add stiffness to the convertible body. The underside will be sealed with epoxy primer and then coated in Raptor Liner for a clean, smooth finish that is easy to clean and looks as good as it protects.
 J039
J039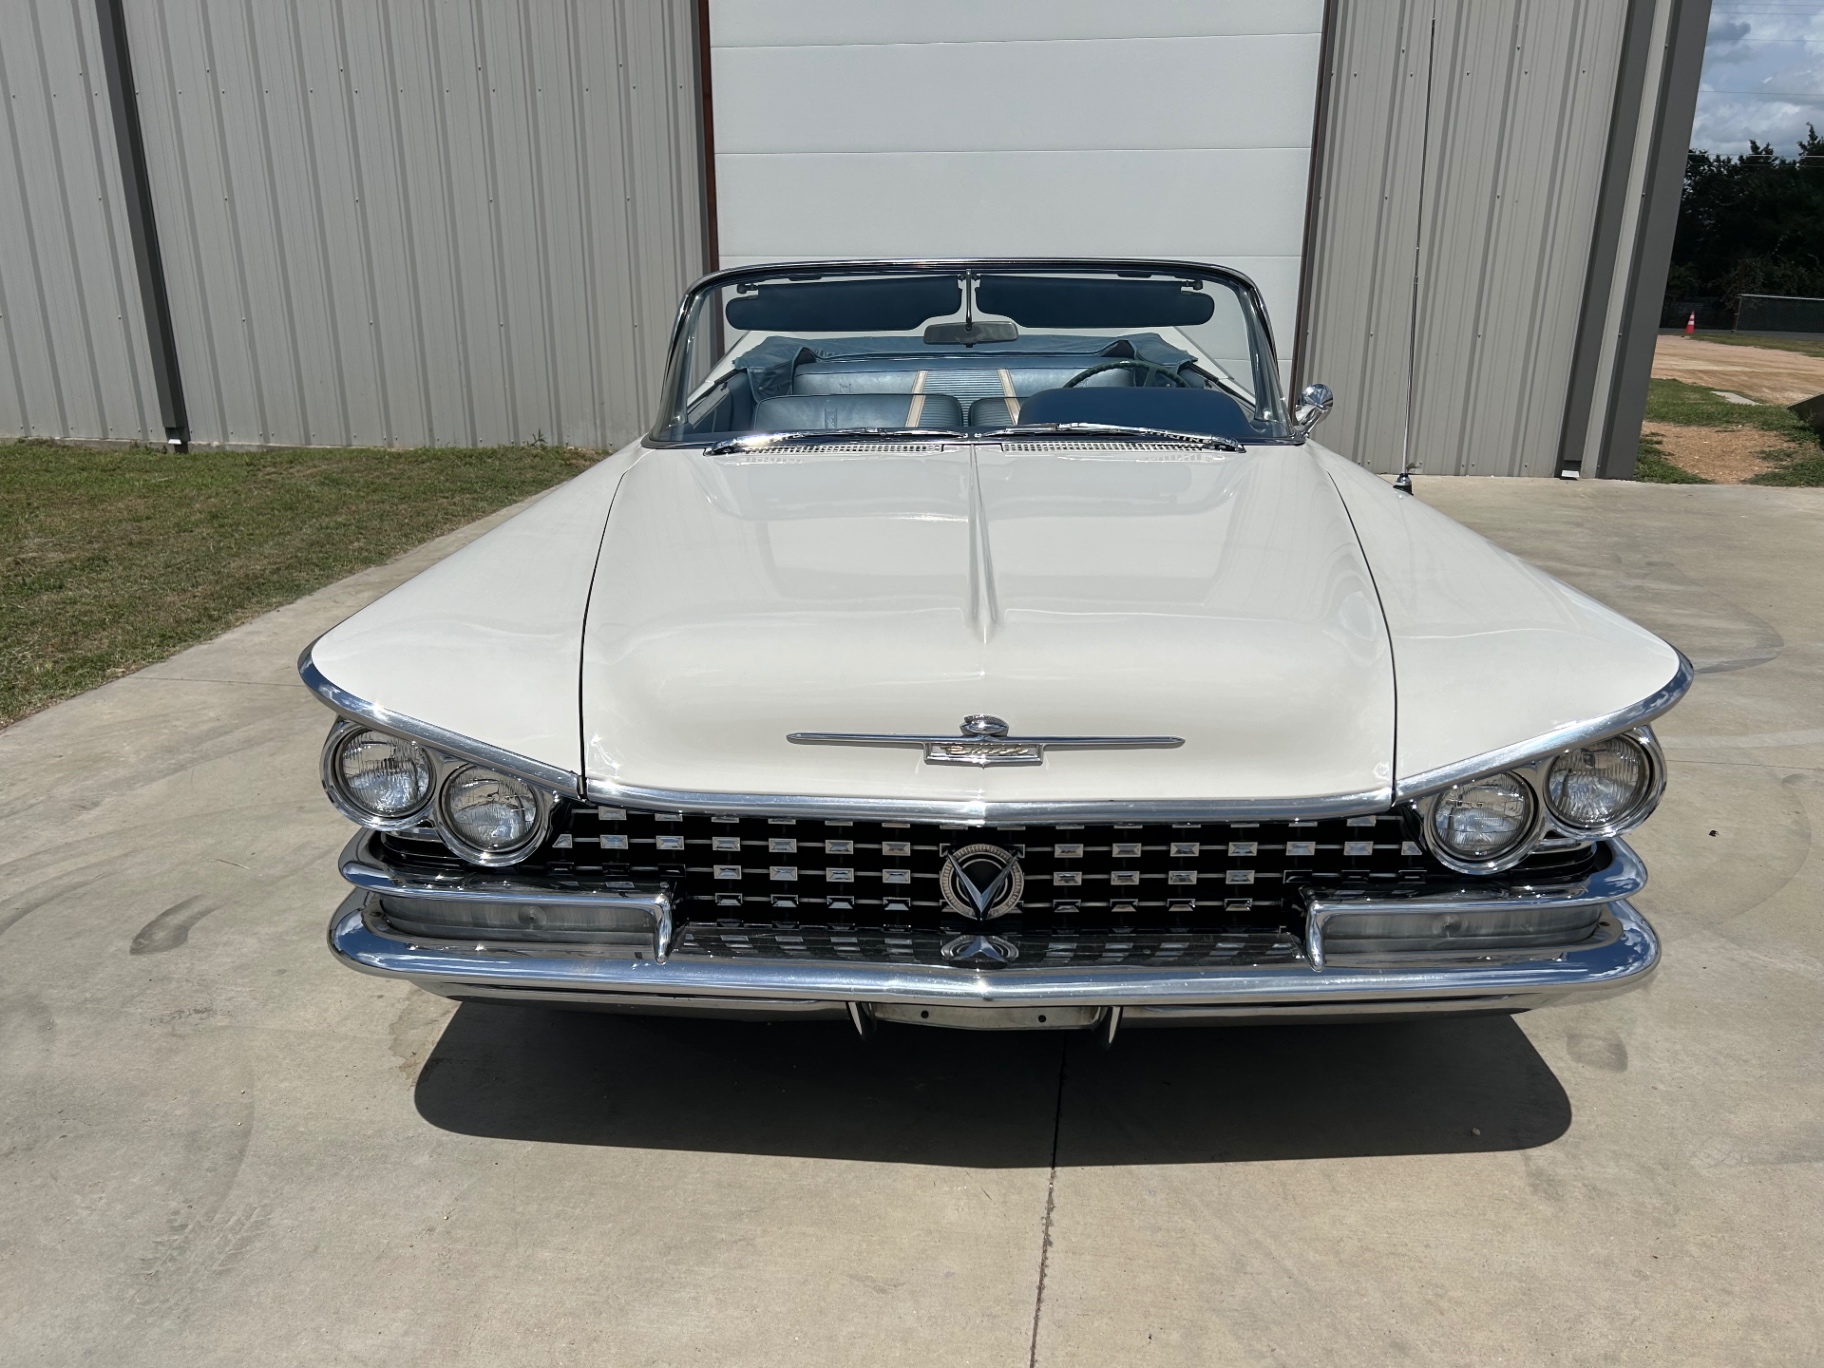 J040
J040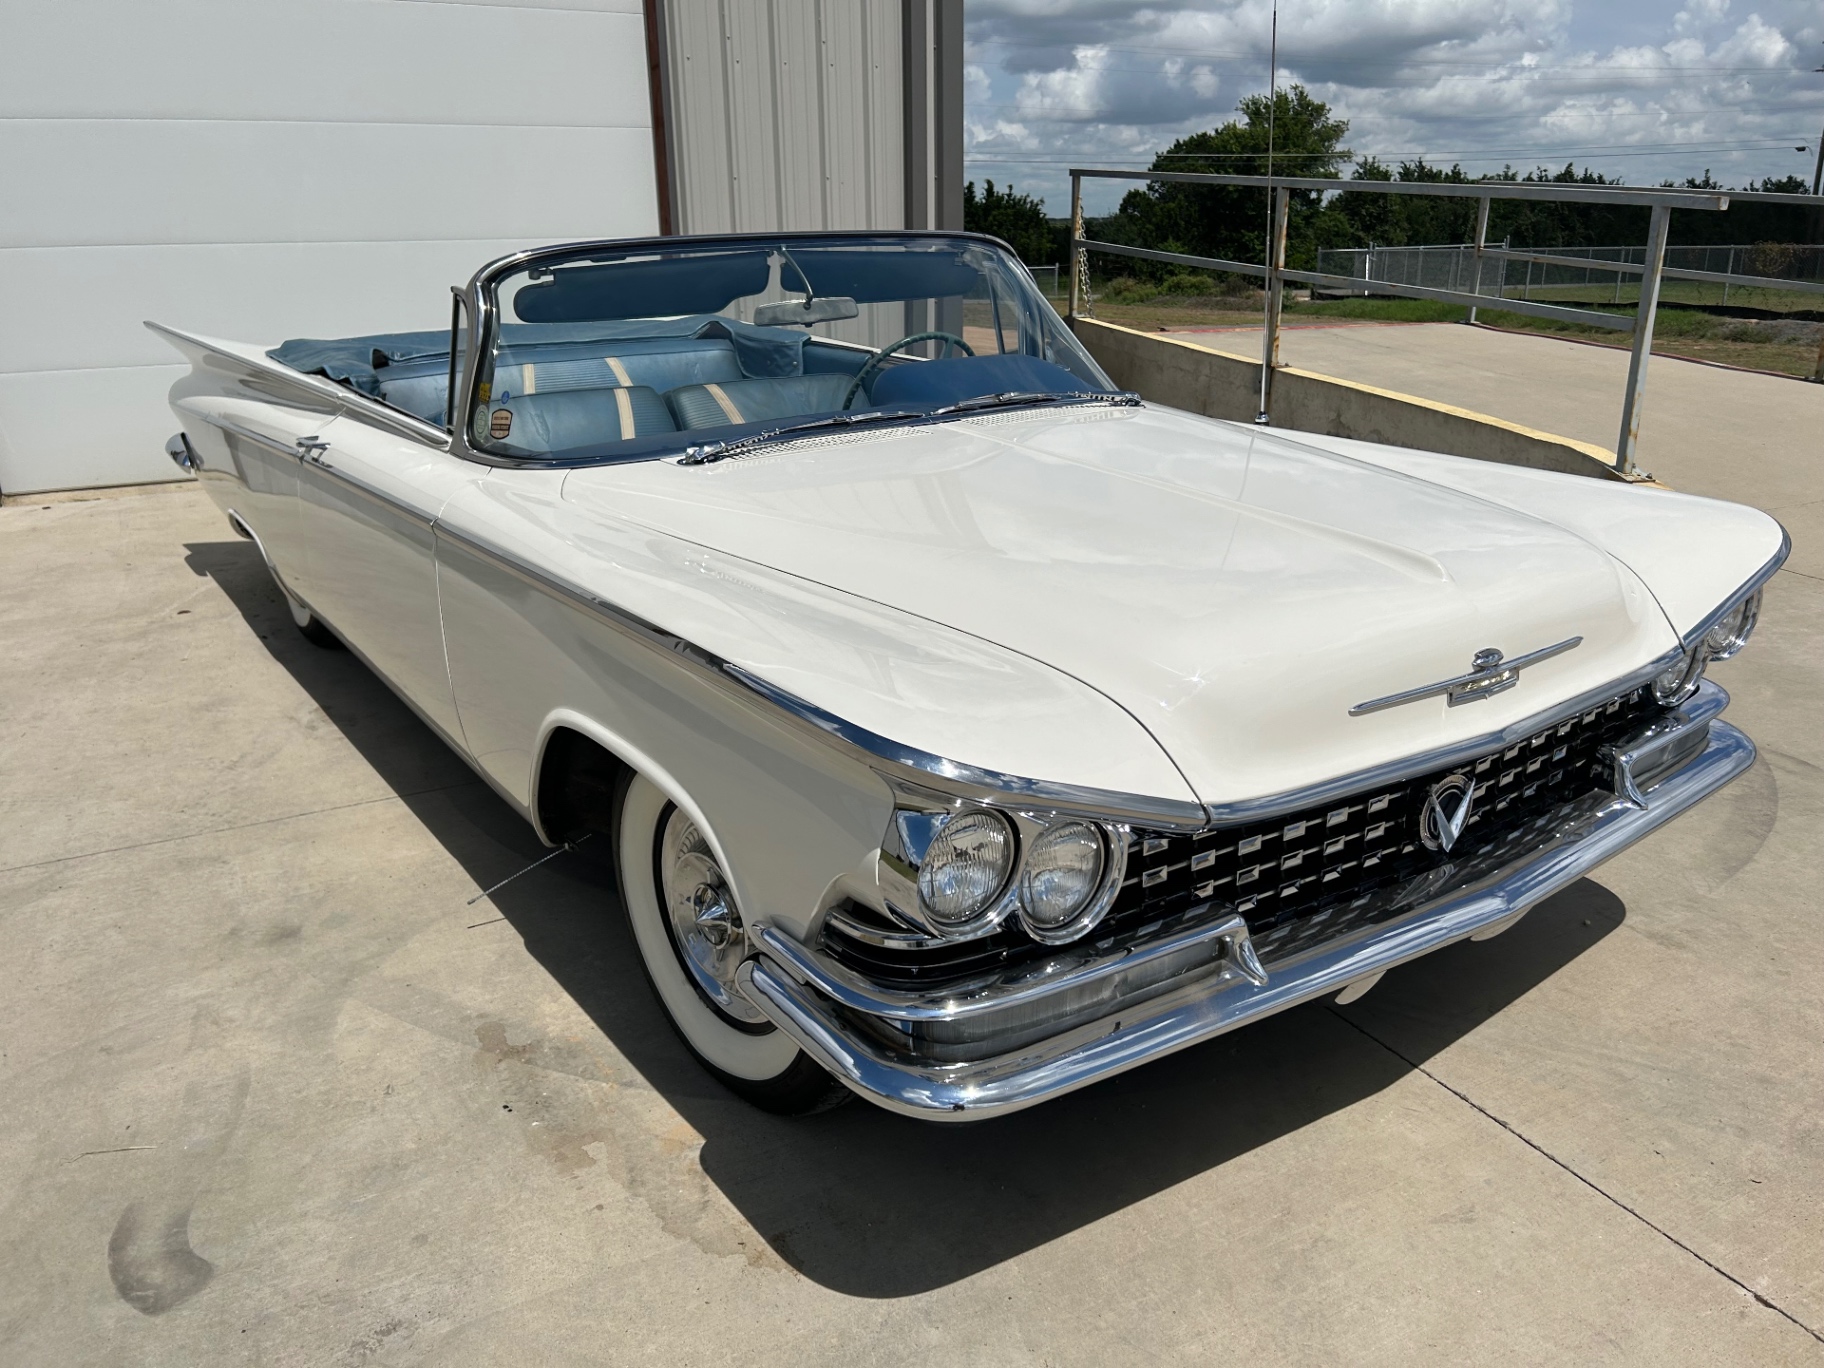 J041
J041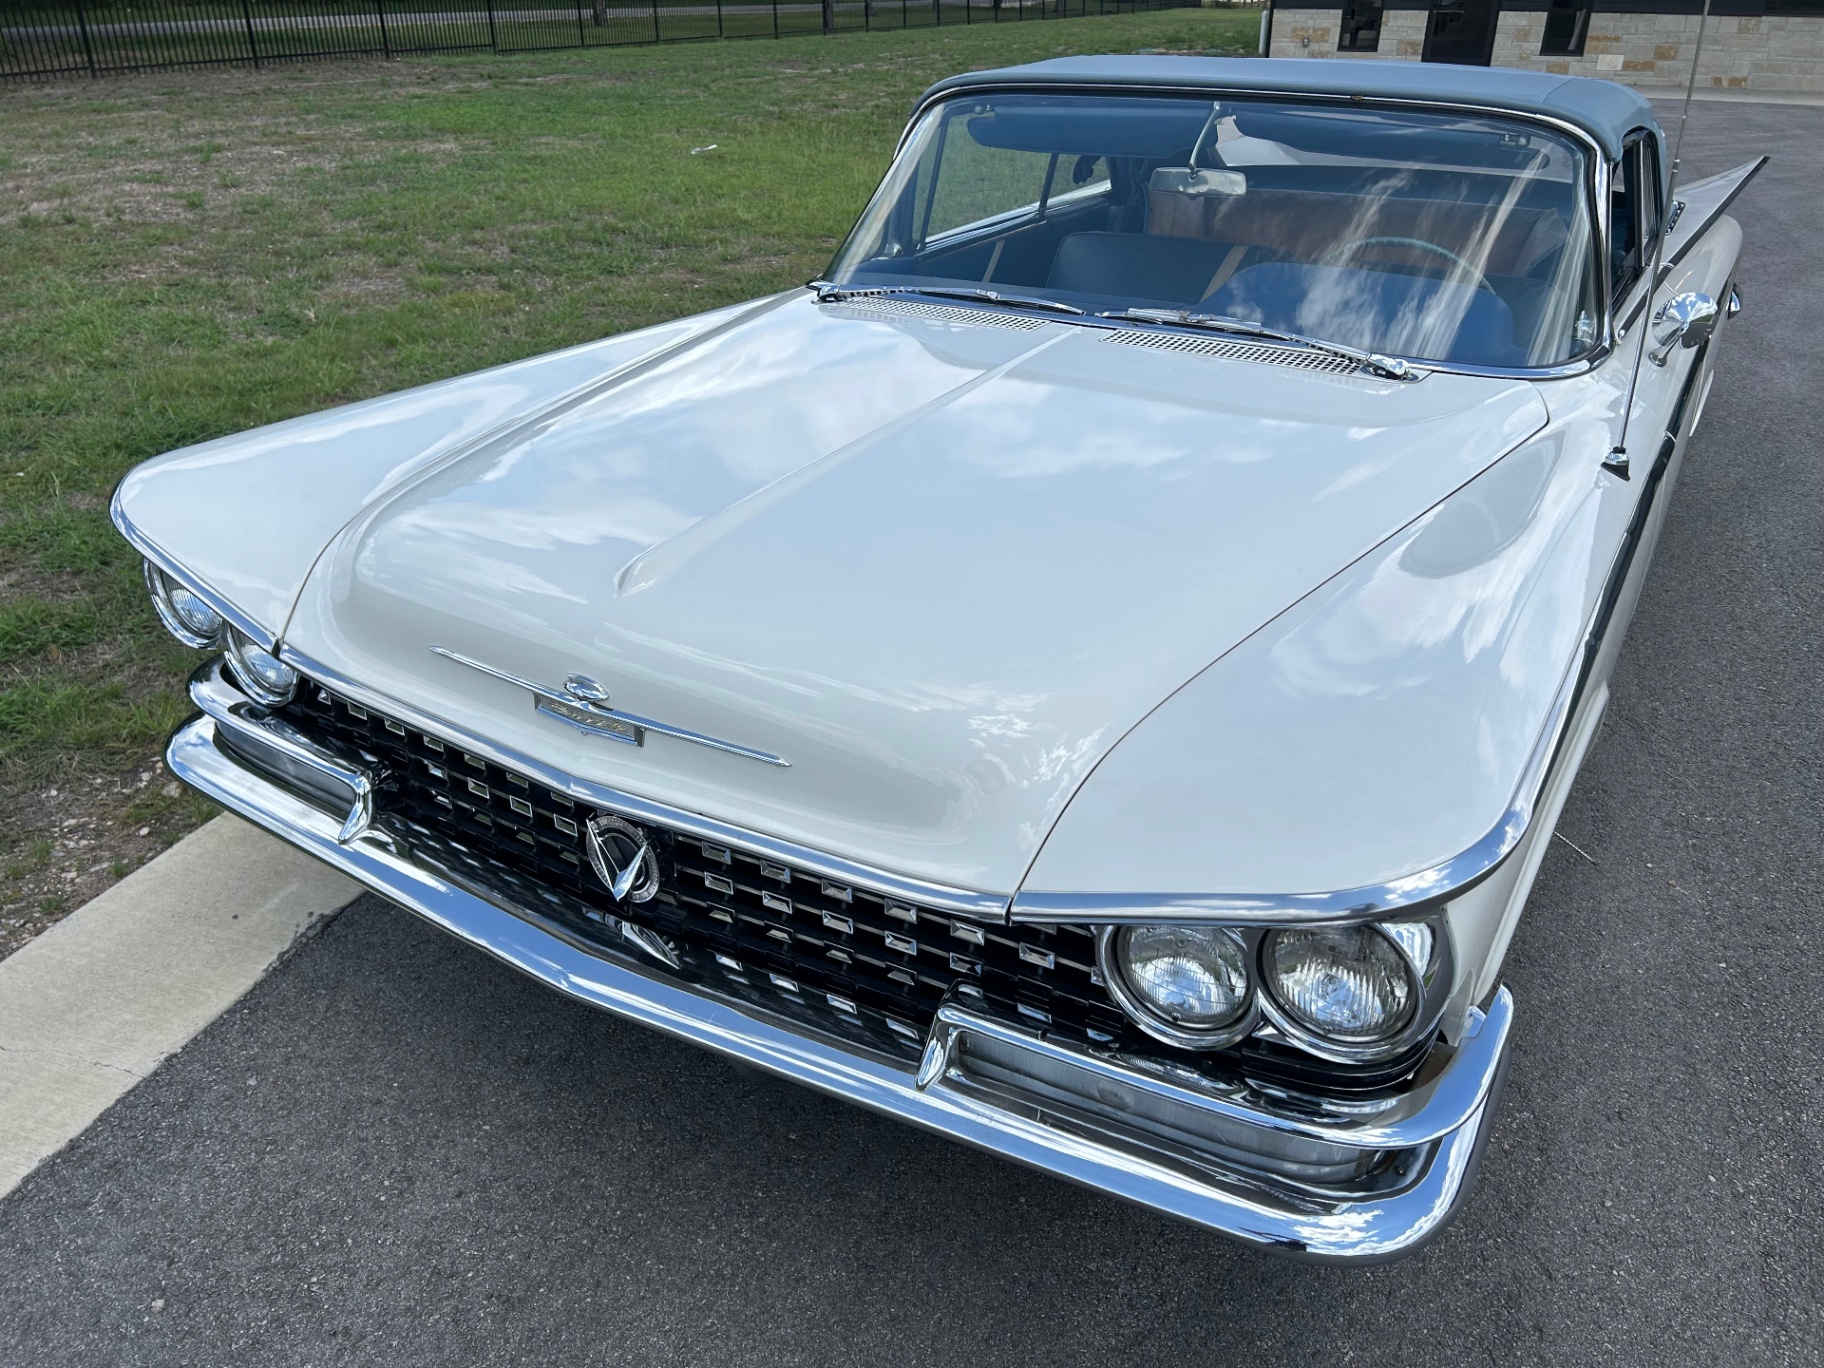 J042
J042UPDATE 08 / 09
Jul 15, 2024
INTAKEPre tear down — the car arrives
The '59 LeSabre arrived in July 2024 — bought from the original owner's daughter in Maryland and brought back to the shop in Bertram, Texas. It was driven a couple of times, then sat covered up for a year or so before work began. Documenting the car as it sits — original paint, factory chrome, soft top up and down — before any teardown starts.
J043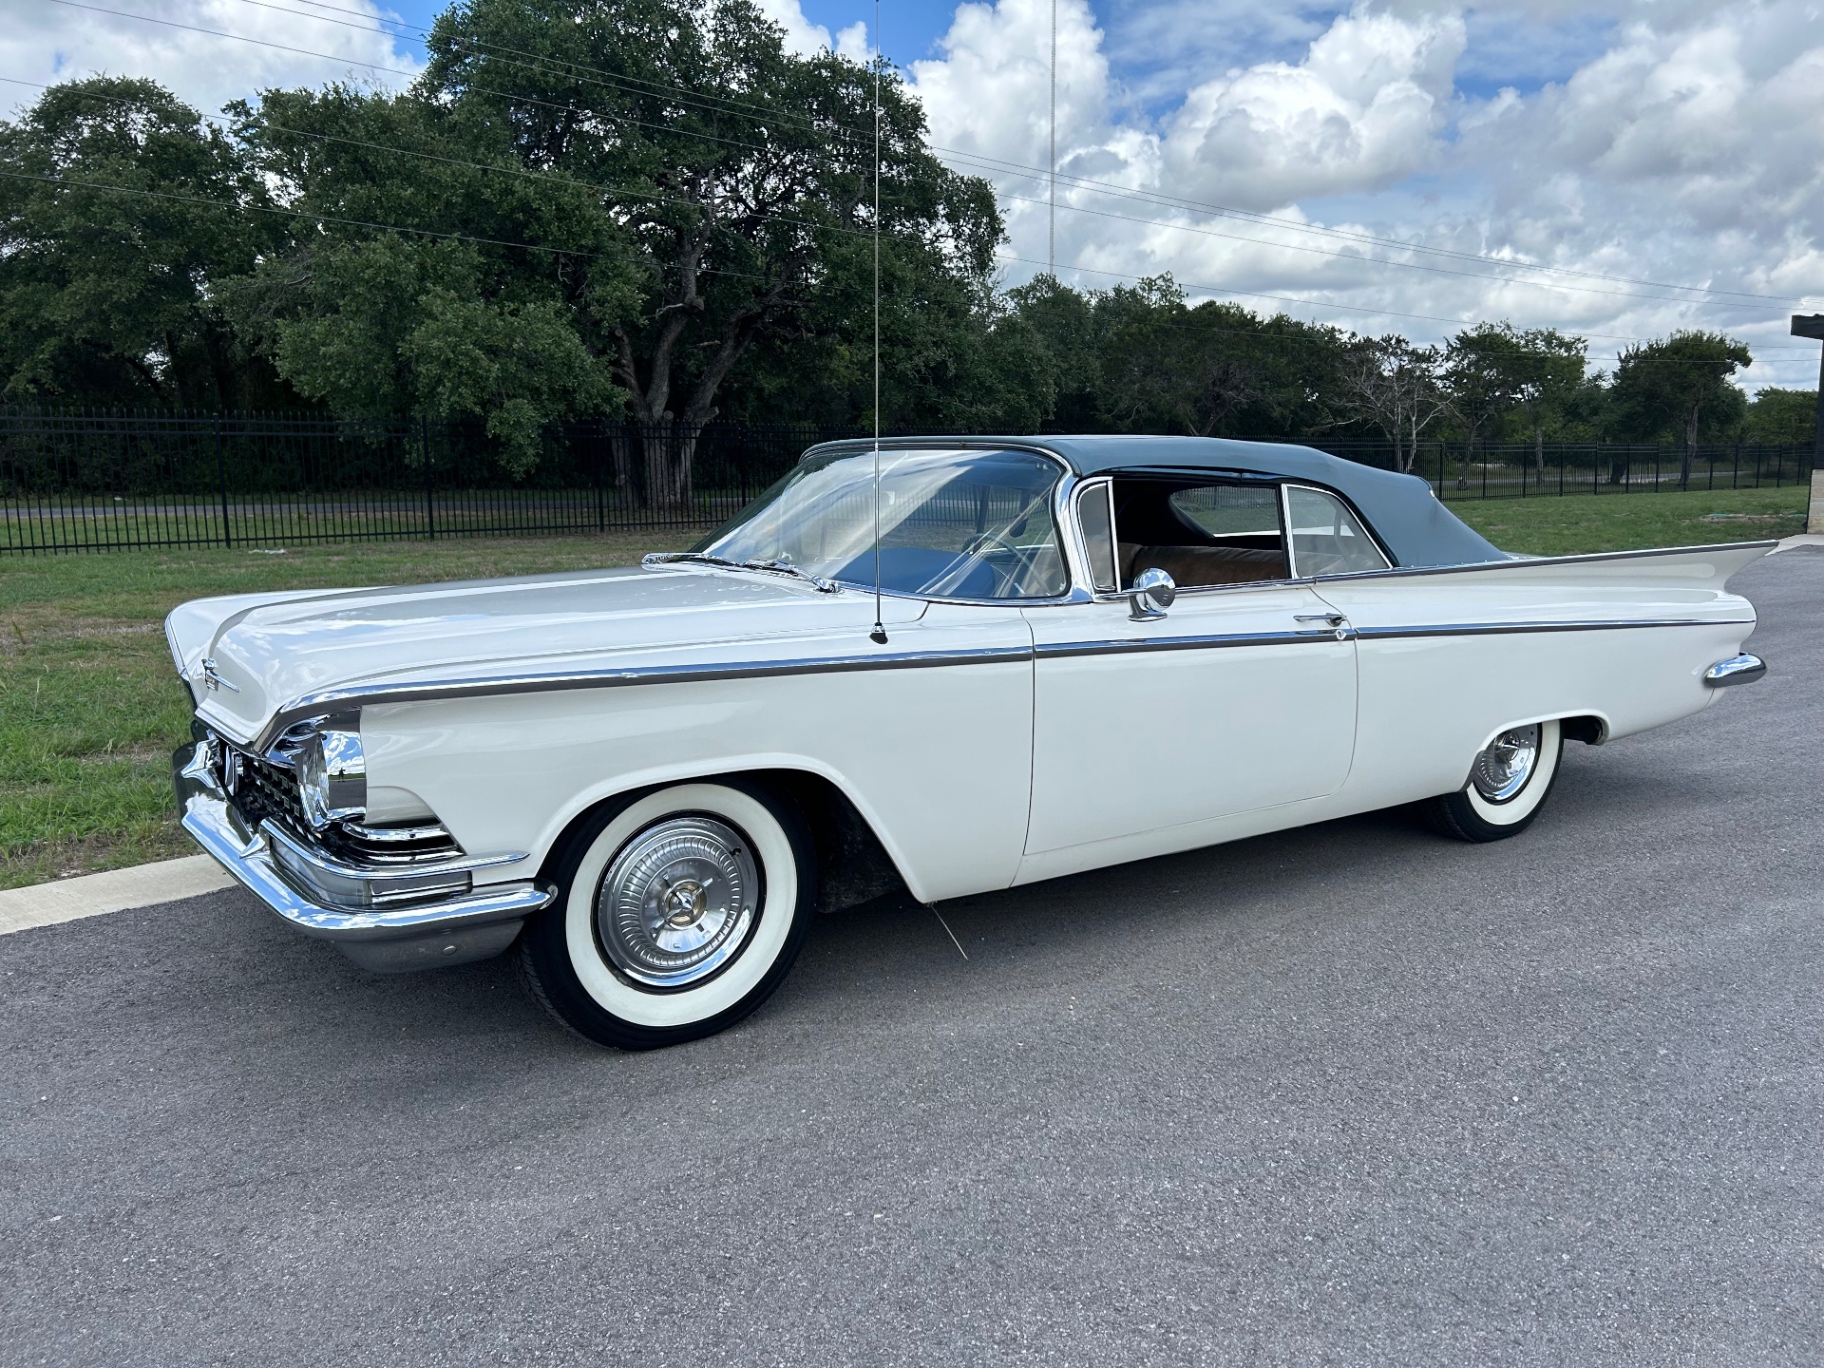 J044
J044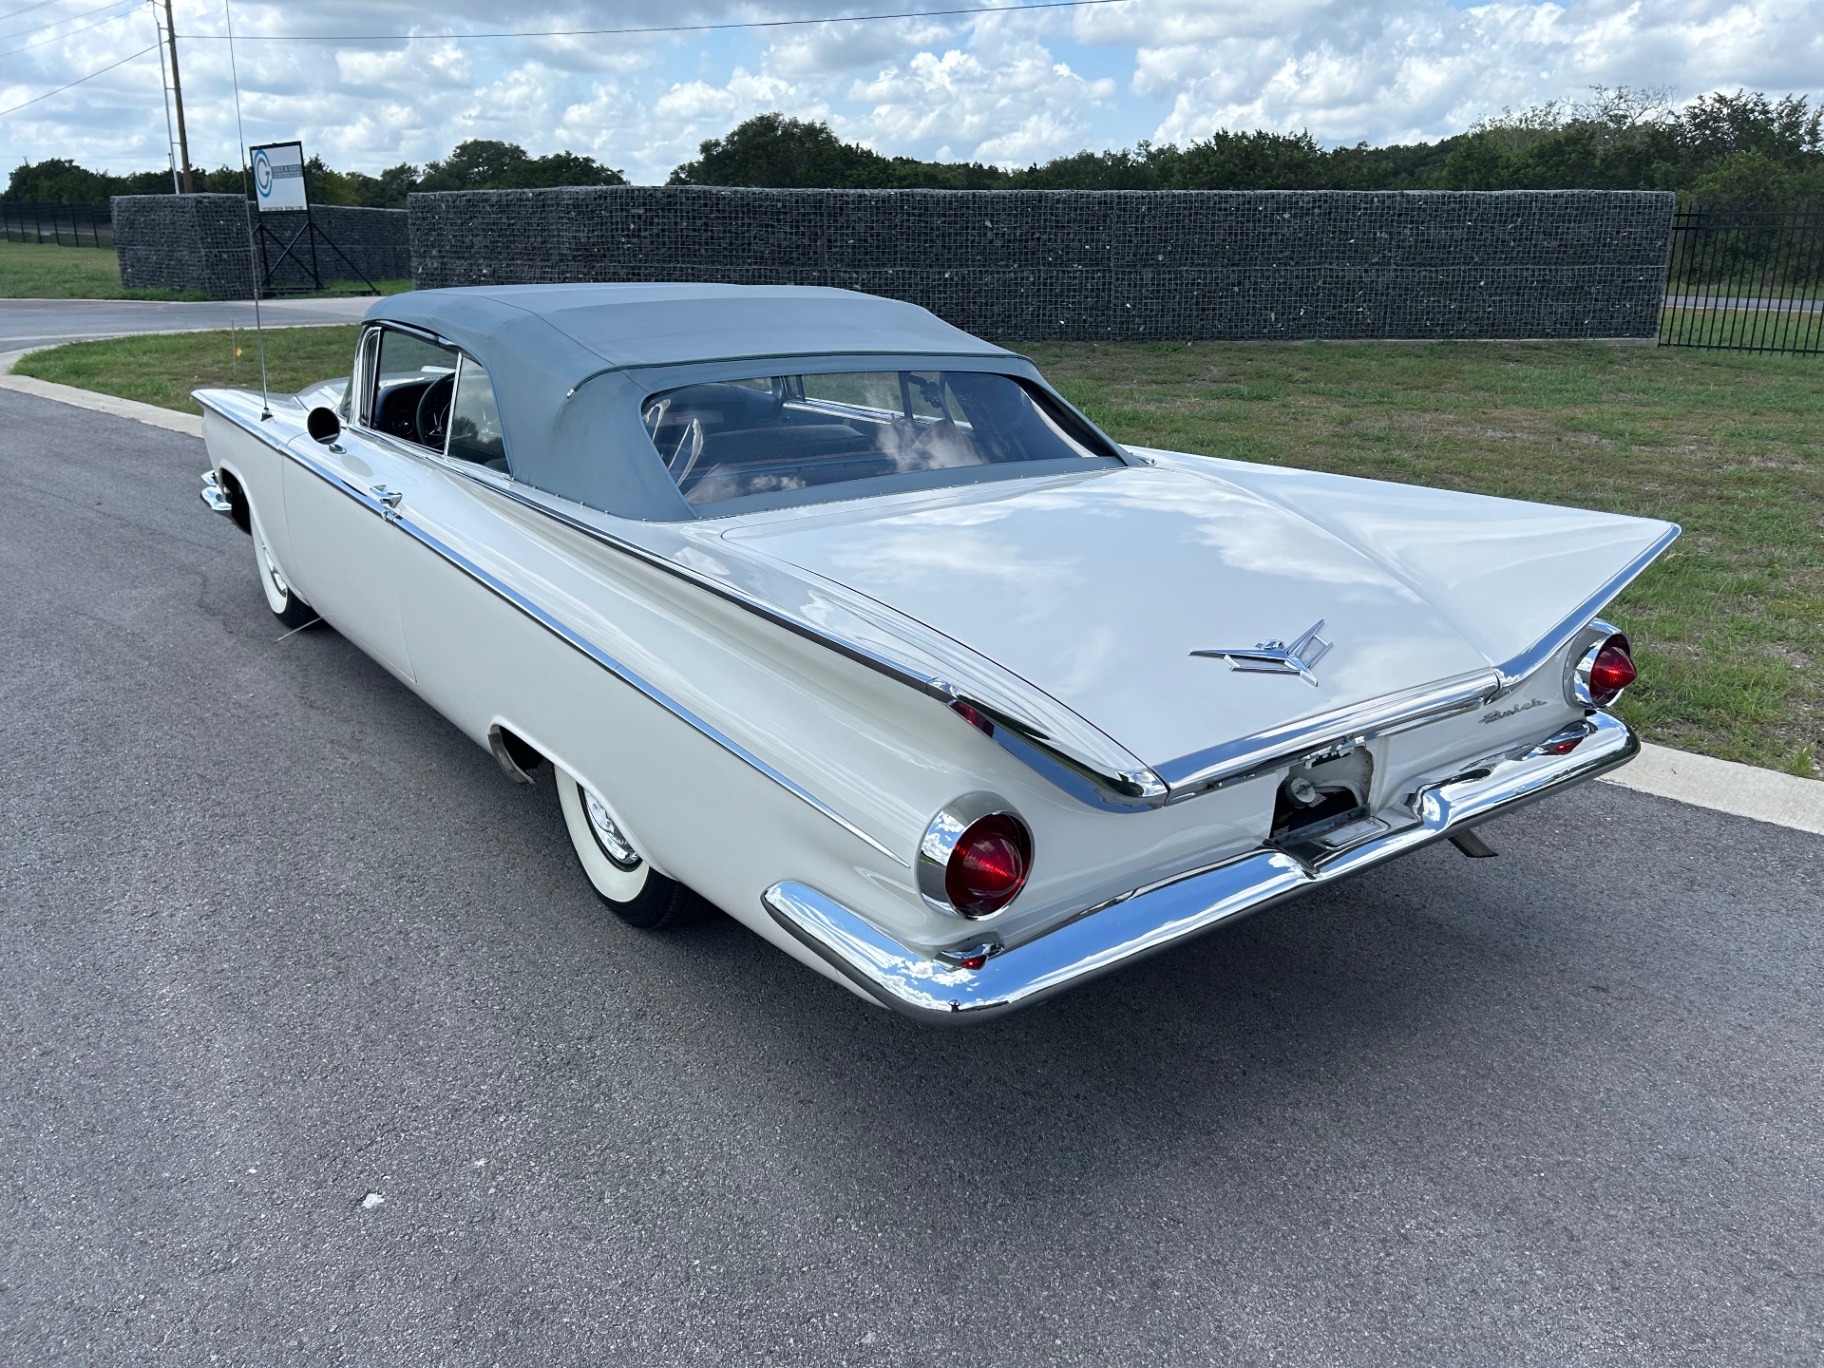 J045J046J047
 J048J049
 J050
J050UPDATE 09 / 09
Jul 10, 2024
DESIGNRender locked
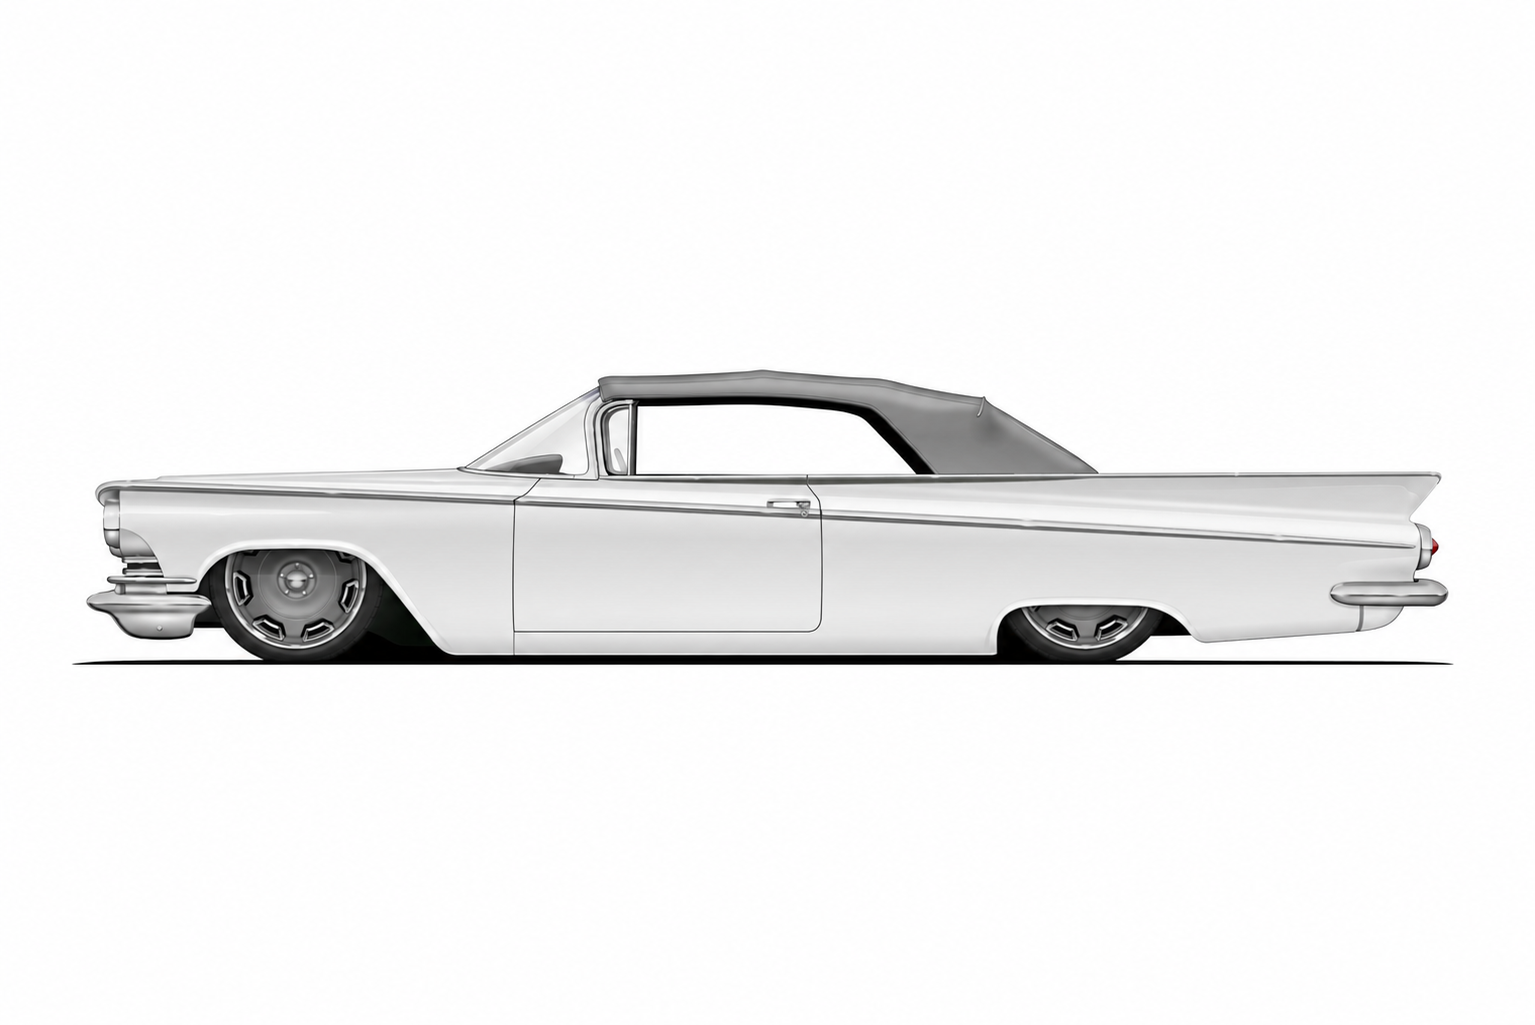
The '59 Buick LeSabre direction is approved: keep the factory fins, chrome, and classic proportions, and build a modern chassis and drivetrain underneath. The rendering is the target for the finished stance and look.
J051§ 04 — Process
Chapter by chapter.
Every build is documented as it moves through the shop. Here's how this one came together.
C052Body & metal
Hidden rust in the rockers and wheel tubs forced the project into a full metal rebuild. Bad prior repairs on the outer rockers are being cut out and replaced with hand-fabricated 14 gauge rockers that run one inch lower than stock to hide the frame rail and stiffen the convertible shell. Door gaps and panel straightness are being tightened while the car is apart.
 C053
C053Chassis & stance
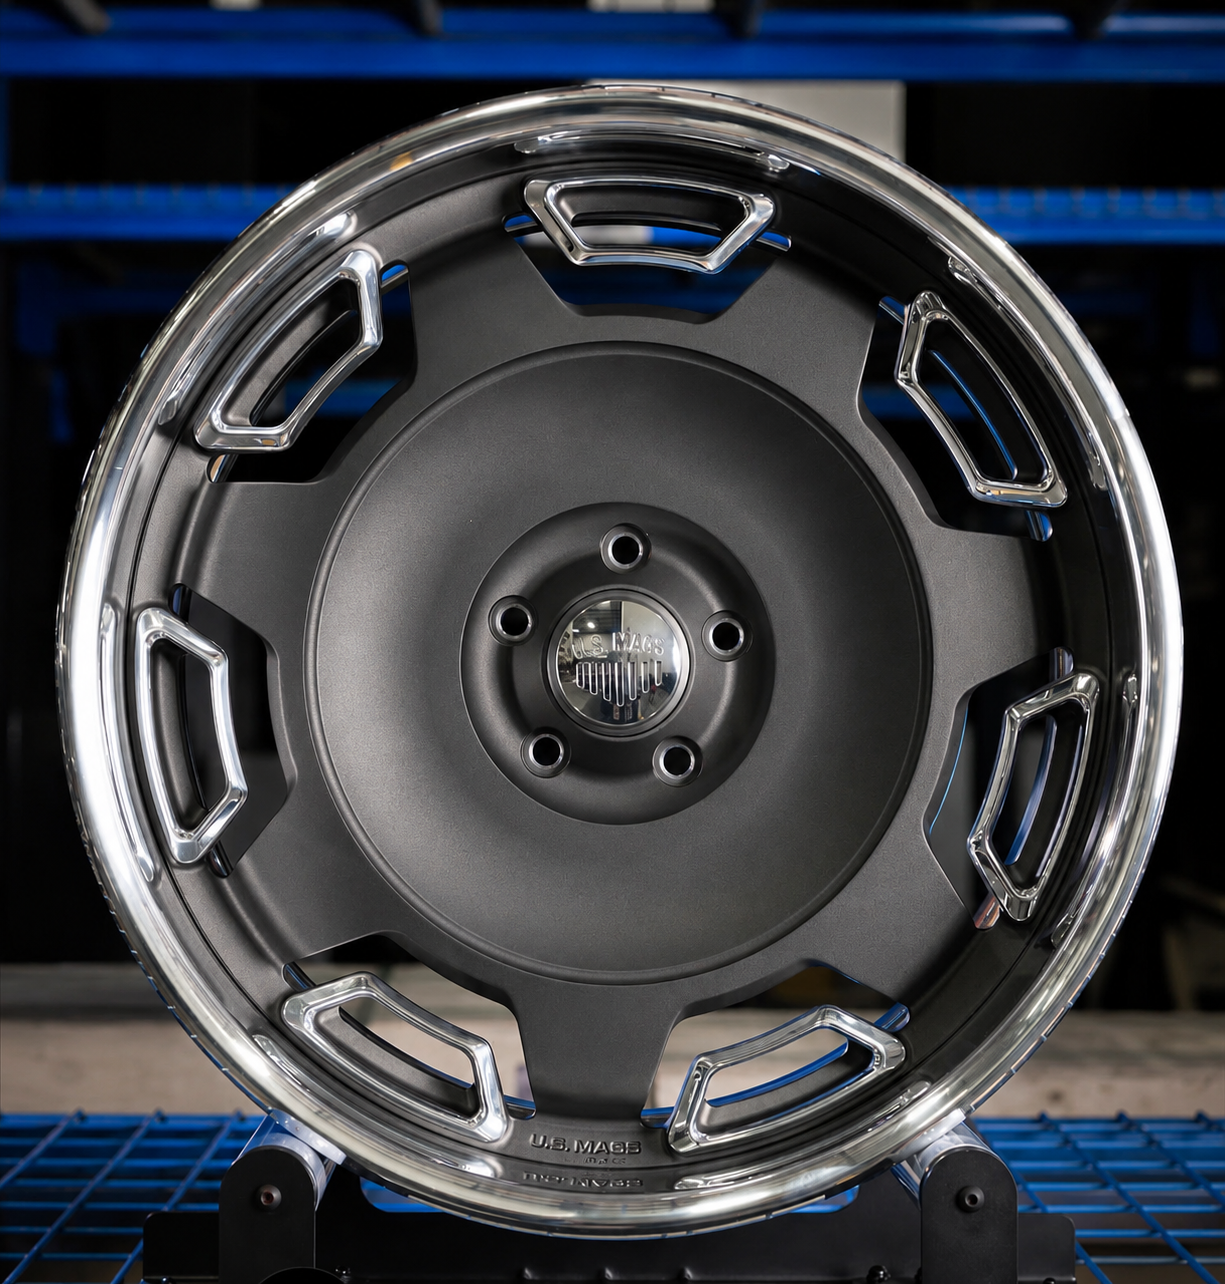
A complete chassis makeover is underway for a slammed air-ride stance. Every component was designed in-house from 3D scan data and CAD models, then laser cut, CNC bent, and TIG and MIG welded together. The package will be rolling on 20 and 22 inch US Mags billet wheels.
 C054
C054Drivetrain
Power comes from a 660 hp Don Hardy LS3 backed by a 4L80E transmission. Out back a 9 inch housing carries a Detroit Speed 8.8 third member with 3.73 gears — strong enough to handle the power and the road miles.
C055Trim, top & interior
Stainless trim dings are being metal-finished and block-sanded in-house before polishing. Bumpers, headlight bezels, instrument bezel, and tail light bezels are all being re-chromed. A new canvas stay-fast convertible top will be installed by Jay Schluter of Colorado in late July 2026. Inside, the car will look mostly stock with new NOS seat covers from SMS Auto Fabrics, custom-made door panels, a 3D-printed and vinyl-wrapped dash pad, and a custom billet steering wheel in a smaller diameter.
§ 05 — Gallery
Frame by frame.
27 FRAMES · SHOT IN-HOUSE
G056G057G058G059G060G061G062G063G064G065G066G067G068G069G070G071G072G073G074G075G076G077G078G079G080G081G082§ 06 — Next steps
Have a project
like this?
Send us the story of the car and what you want it to become. We'll get back with a real assessment and a realistic timeline.
Start an inquiry
NEXT IN THE LOG →
99 Tahoe
HF-99-01