§ 01
THE BRIEF
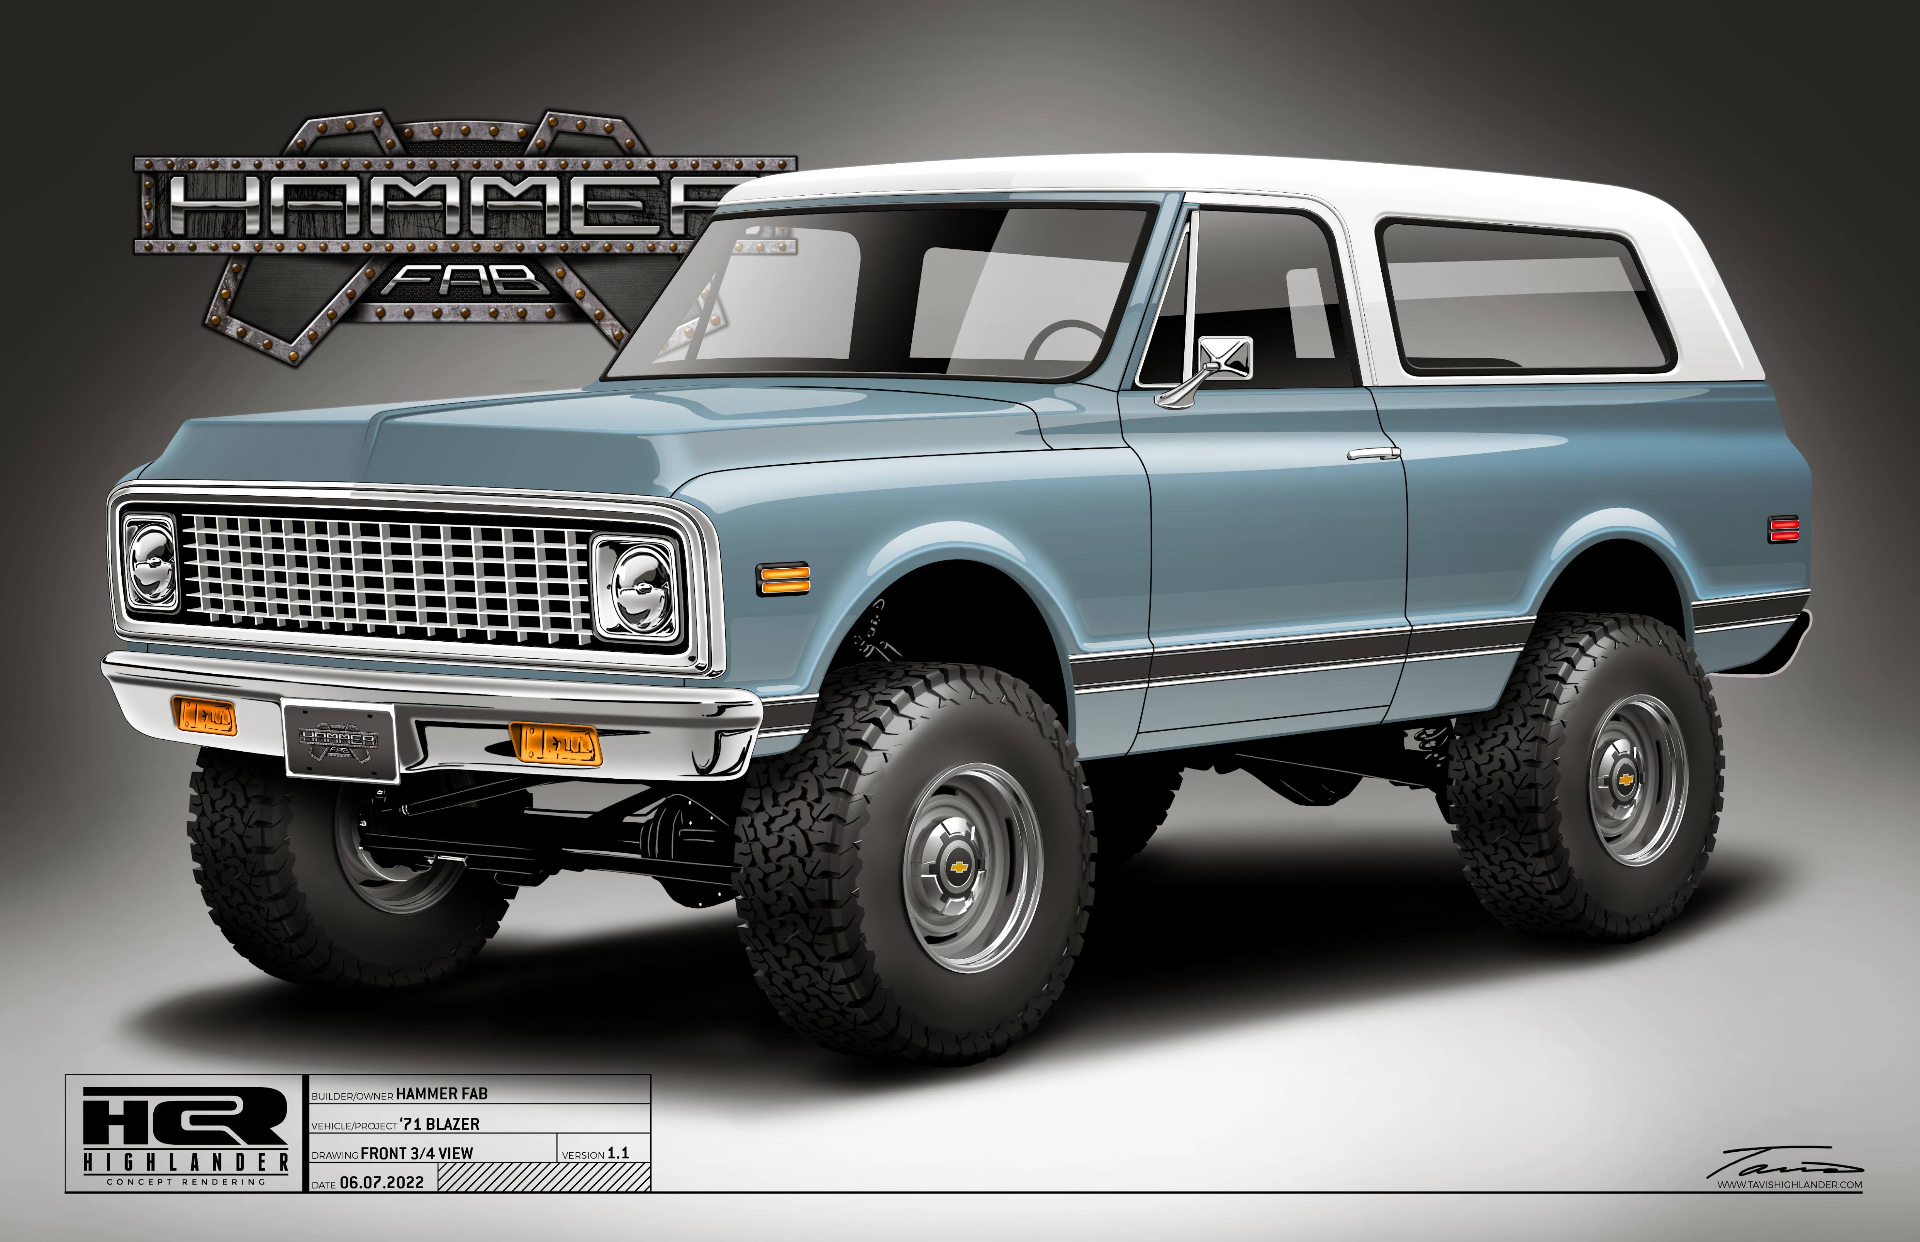
This 1971 Chevrolet Blazer keeps the recognizable K5 profile but reimagines every surface underneath. It sits on a Roadster Shop Legends chassis and is powered by a GM crate LT4 supercharged engine through an 8-speed automatic. The standout details are everywhere: a complete billet grille carved out of a 900lb chunk of aluminum, billet side markers, side trim, tail lights, and dash bezels. The bed sides have been raised to match the door profile, and the roof is a custom coach-built aluminum top shaped in-house. LED lighting runs throughout. The build is nearing the end of metal fabrication, has already fired up, and the electrical system has been tested before it heads to the body shop.
§ 02 — Note from the shop
"Classic K5 silhouette with a hand-built aluminum top and more billet detail than anything else in the shop."
§ 03 — Build journal
The updates.
A living log of every meaningful moment on this build — new photos, short notes, and the milestones worth marking.
11 UPDATES · 9 MILESTONES
Milestones
- OCT 4, 2026— Bonding the inner structure to the outer skin
- AUG 1, 2026— Billet trim, aluminum roof structure, and headliner development
- JUL 10, 2026— Metal fab, paint, and mockup
- JUL 10, 2026— First fire and electrical test
- JUL 1, 2026— Hand-built coolant expansion tank
- JUL 1, 2026— Tri-function front bumper turn signals
- JUL 1, 2026— Flush-mount edge-lit side marker lights
- JUN 1, 2026— Custom aluminum hood latch panel
- MAY 1, 2026— Billet grille, billet tail lights, and hidden actuator hardware
UPDATE 01 / 11LATEST
Oct 4, 2026
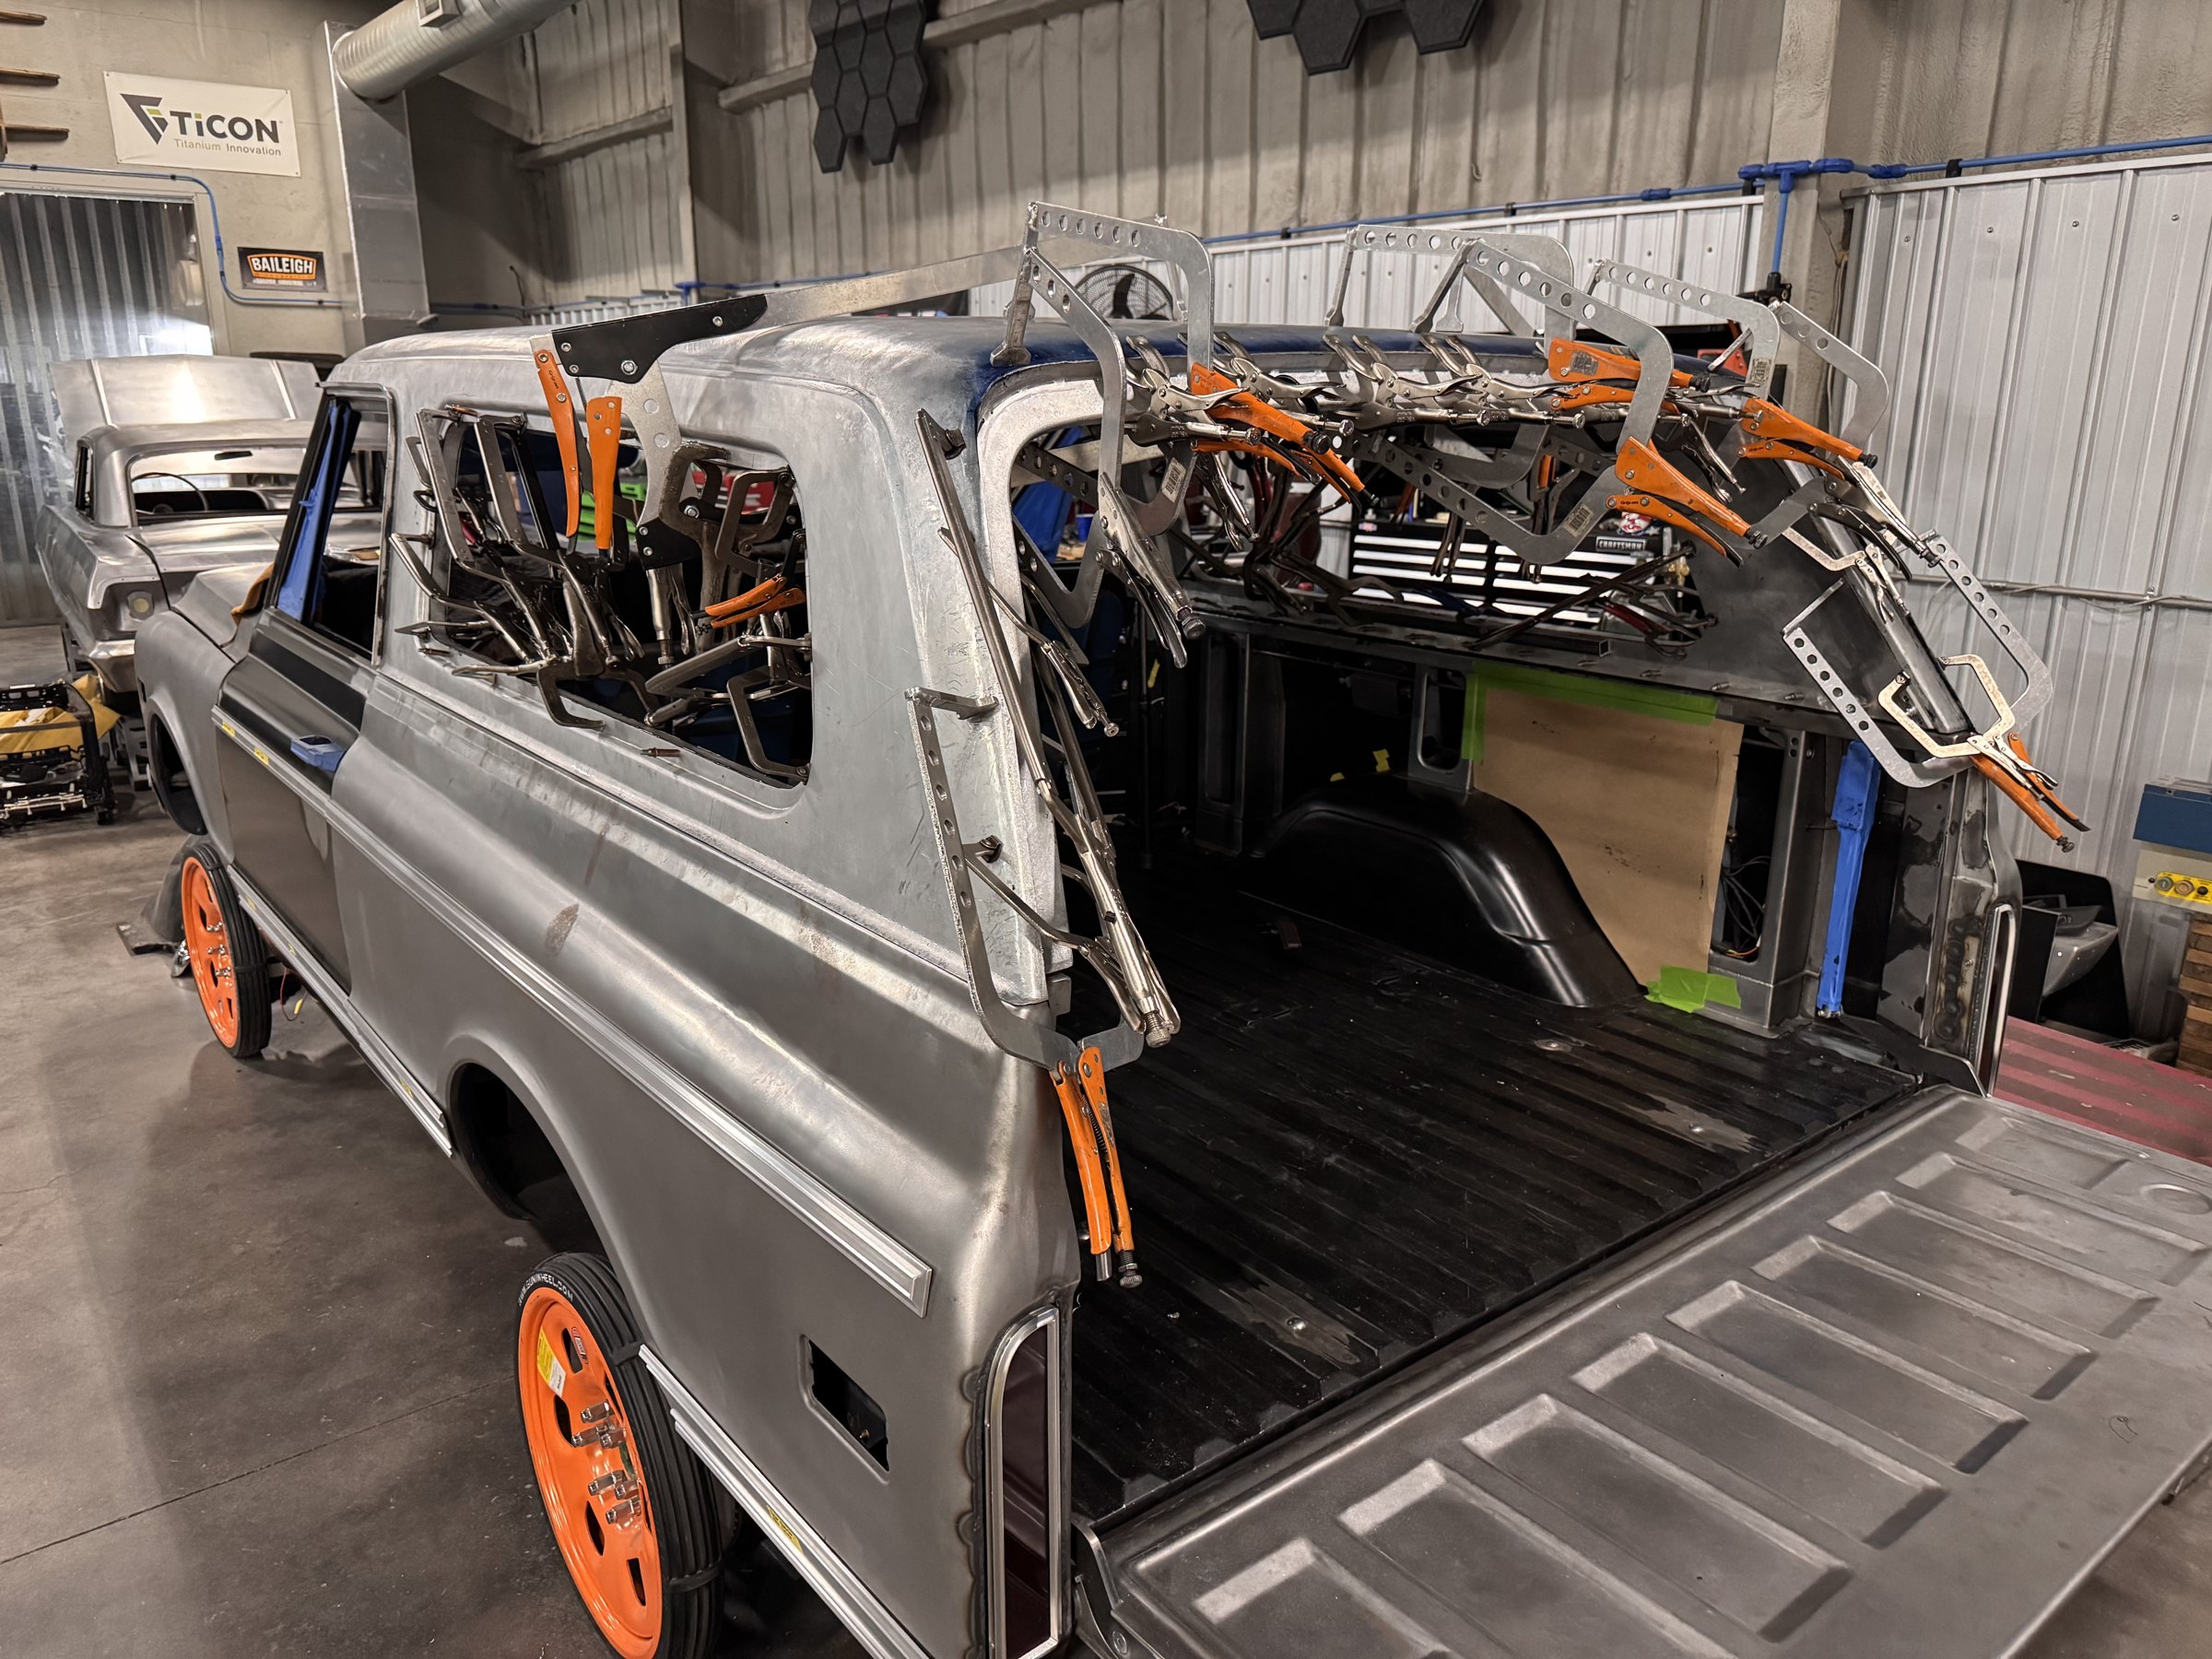
FABRICATION MILESTONEBonding the inner structure to the outer skin
The hand-made aluminum inner structure is getting final bonded to the hand-made outer skin, making the two one solid unit. Before mating them together, we put Silent Coat sound dampening on the back of both layers. That makes for a quieter, more pleasurable driving experience.
 J001
J001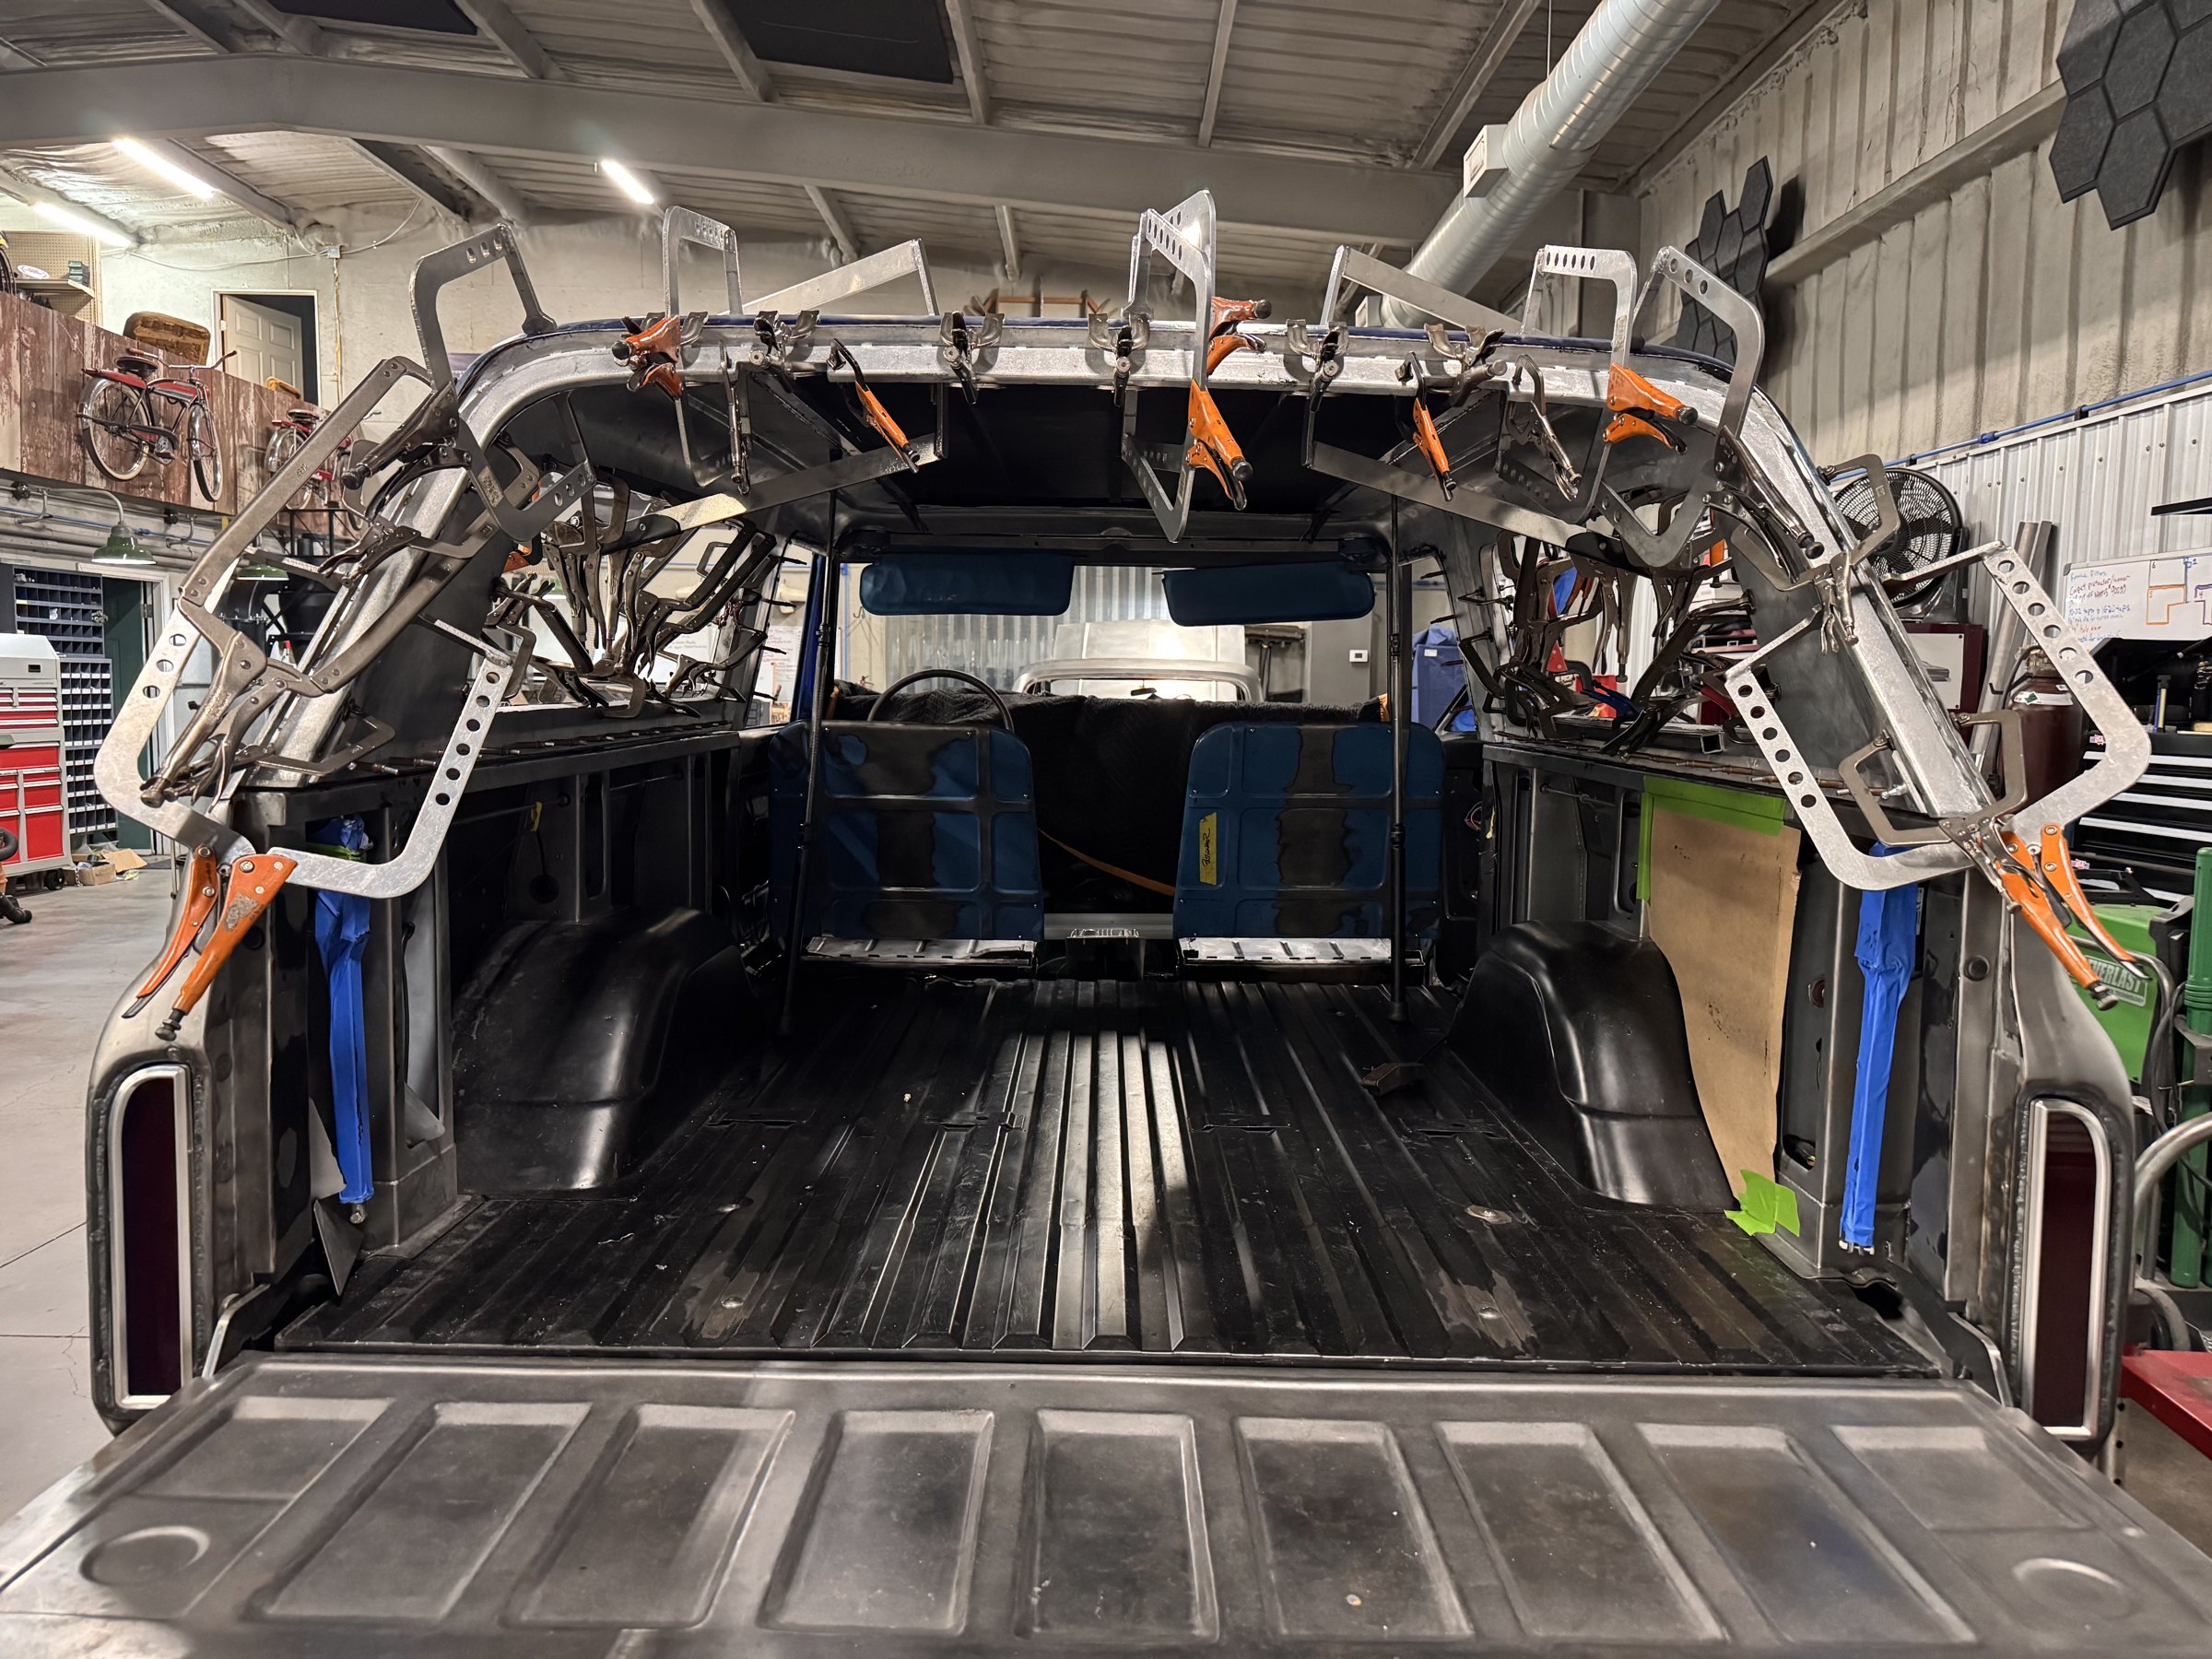 J002
J002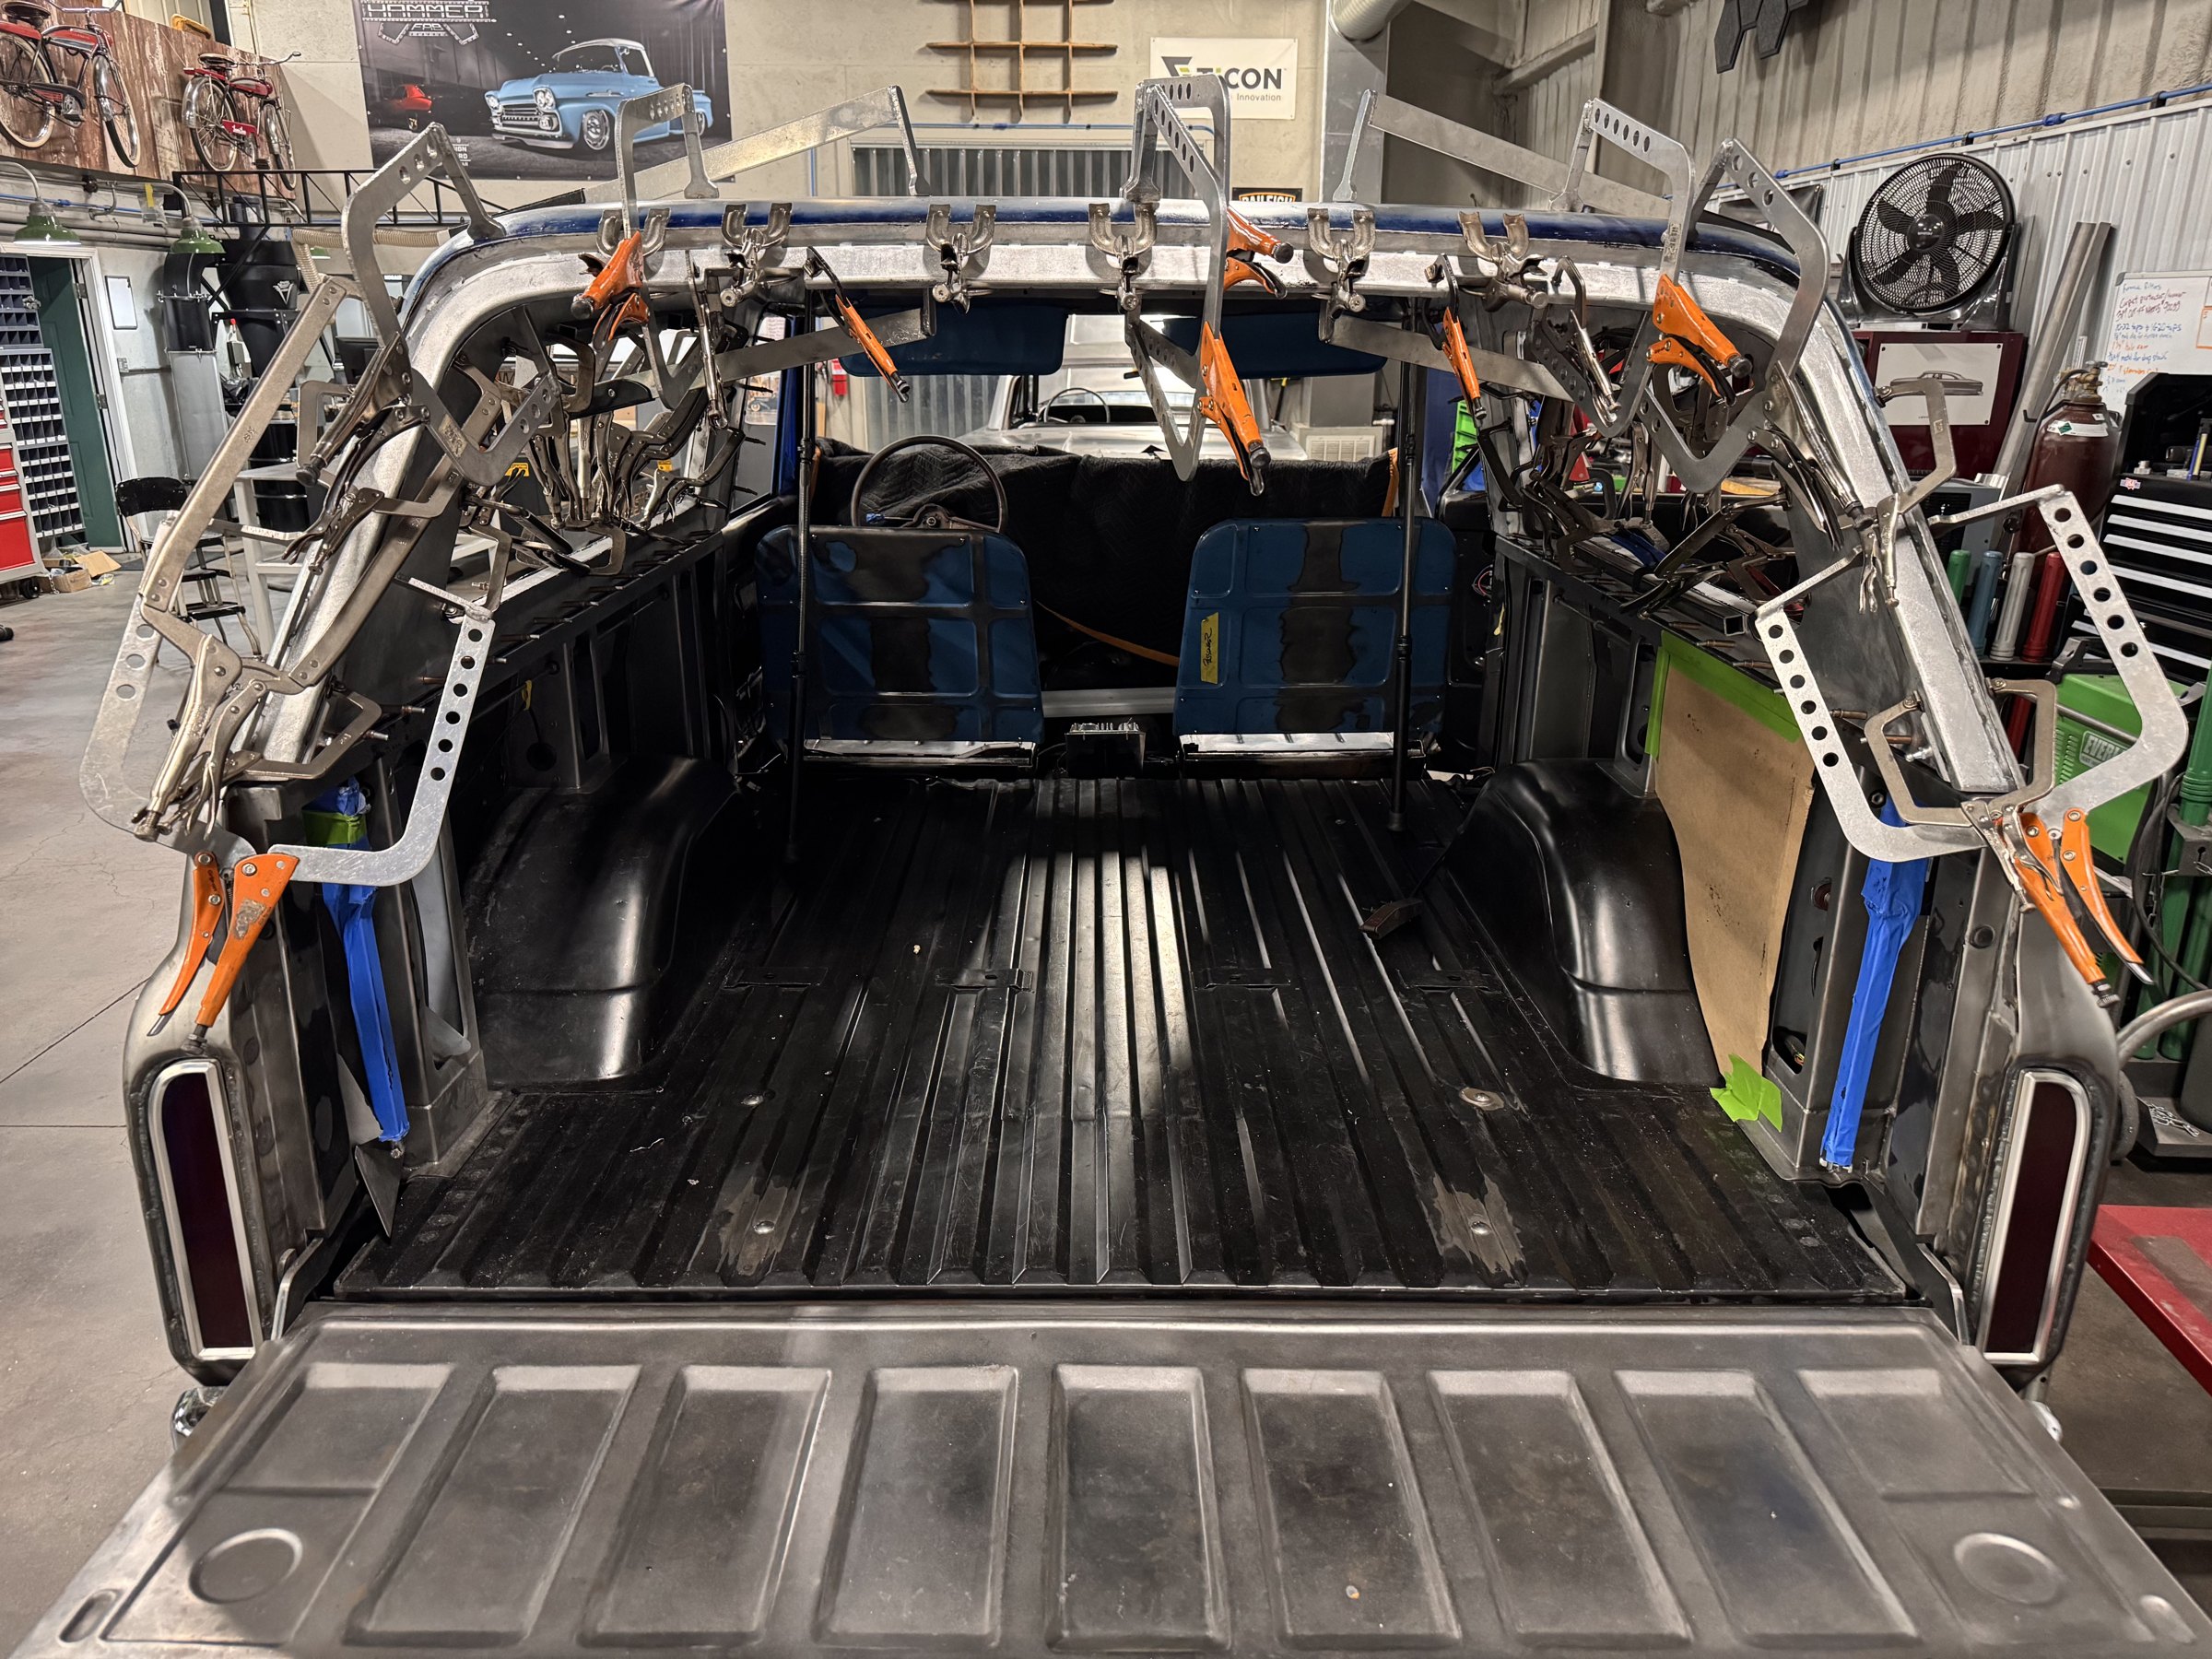 J003
J003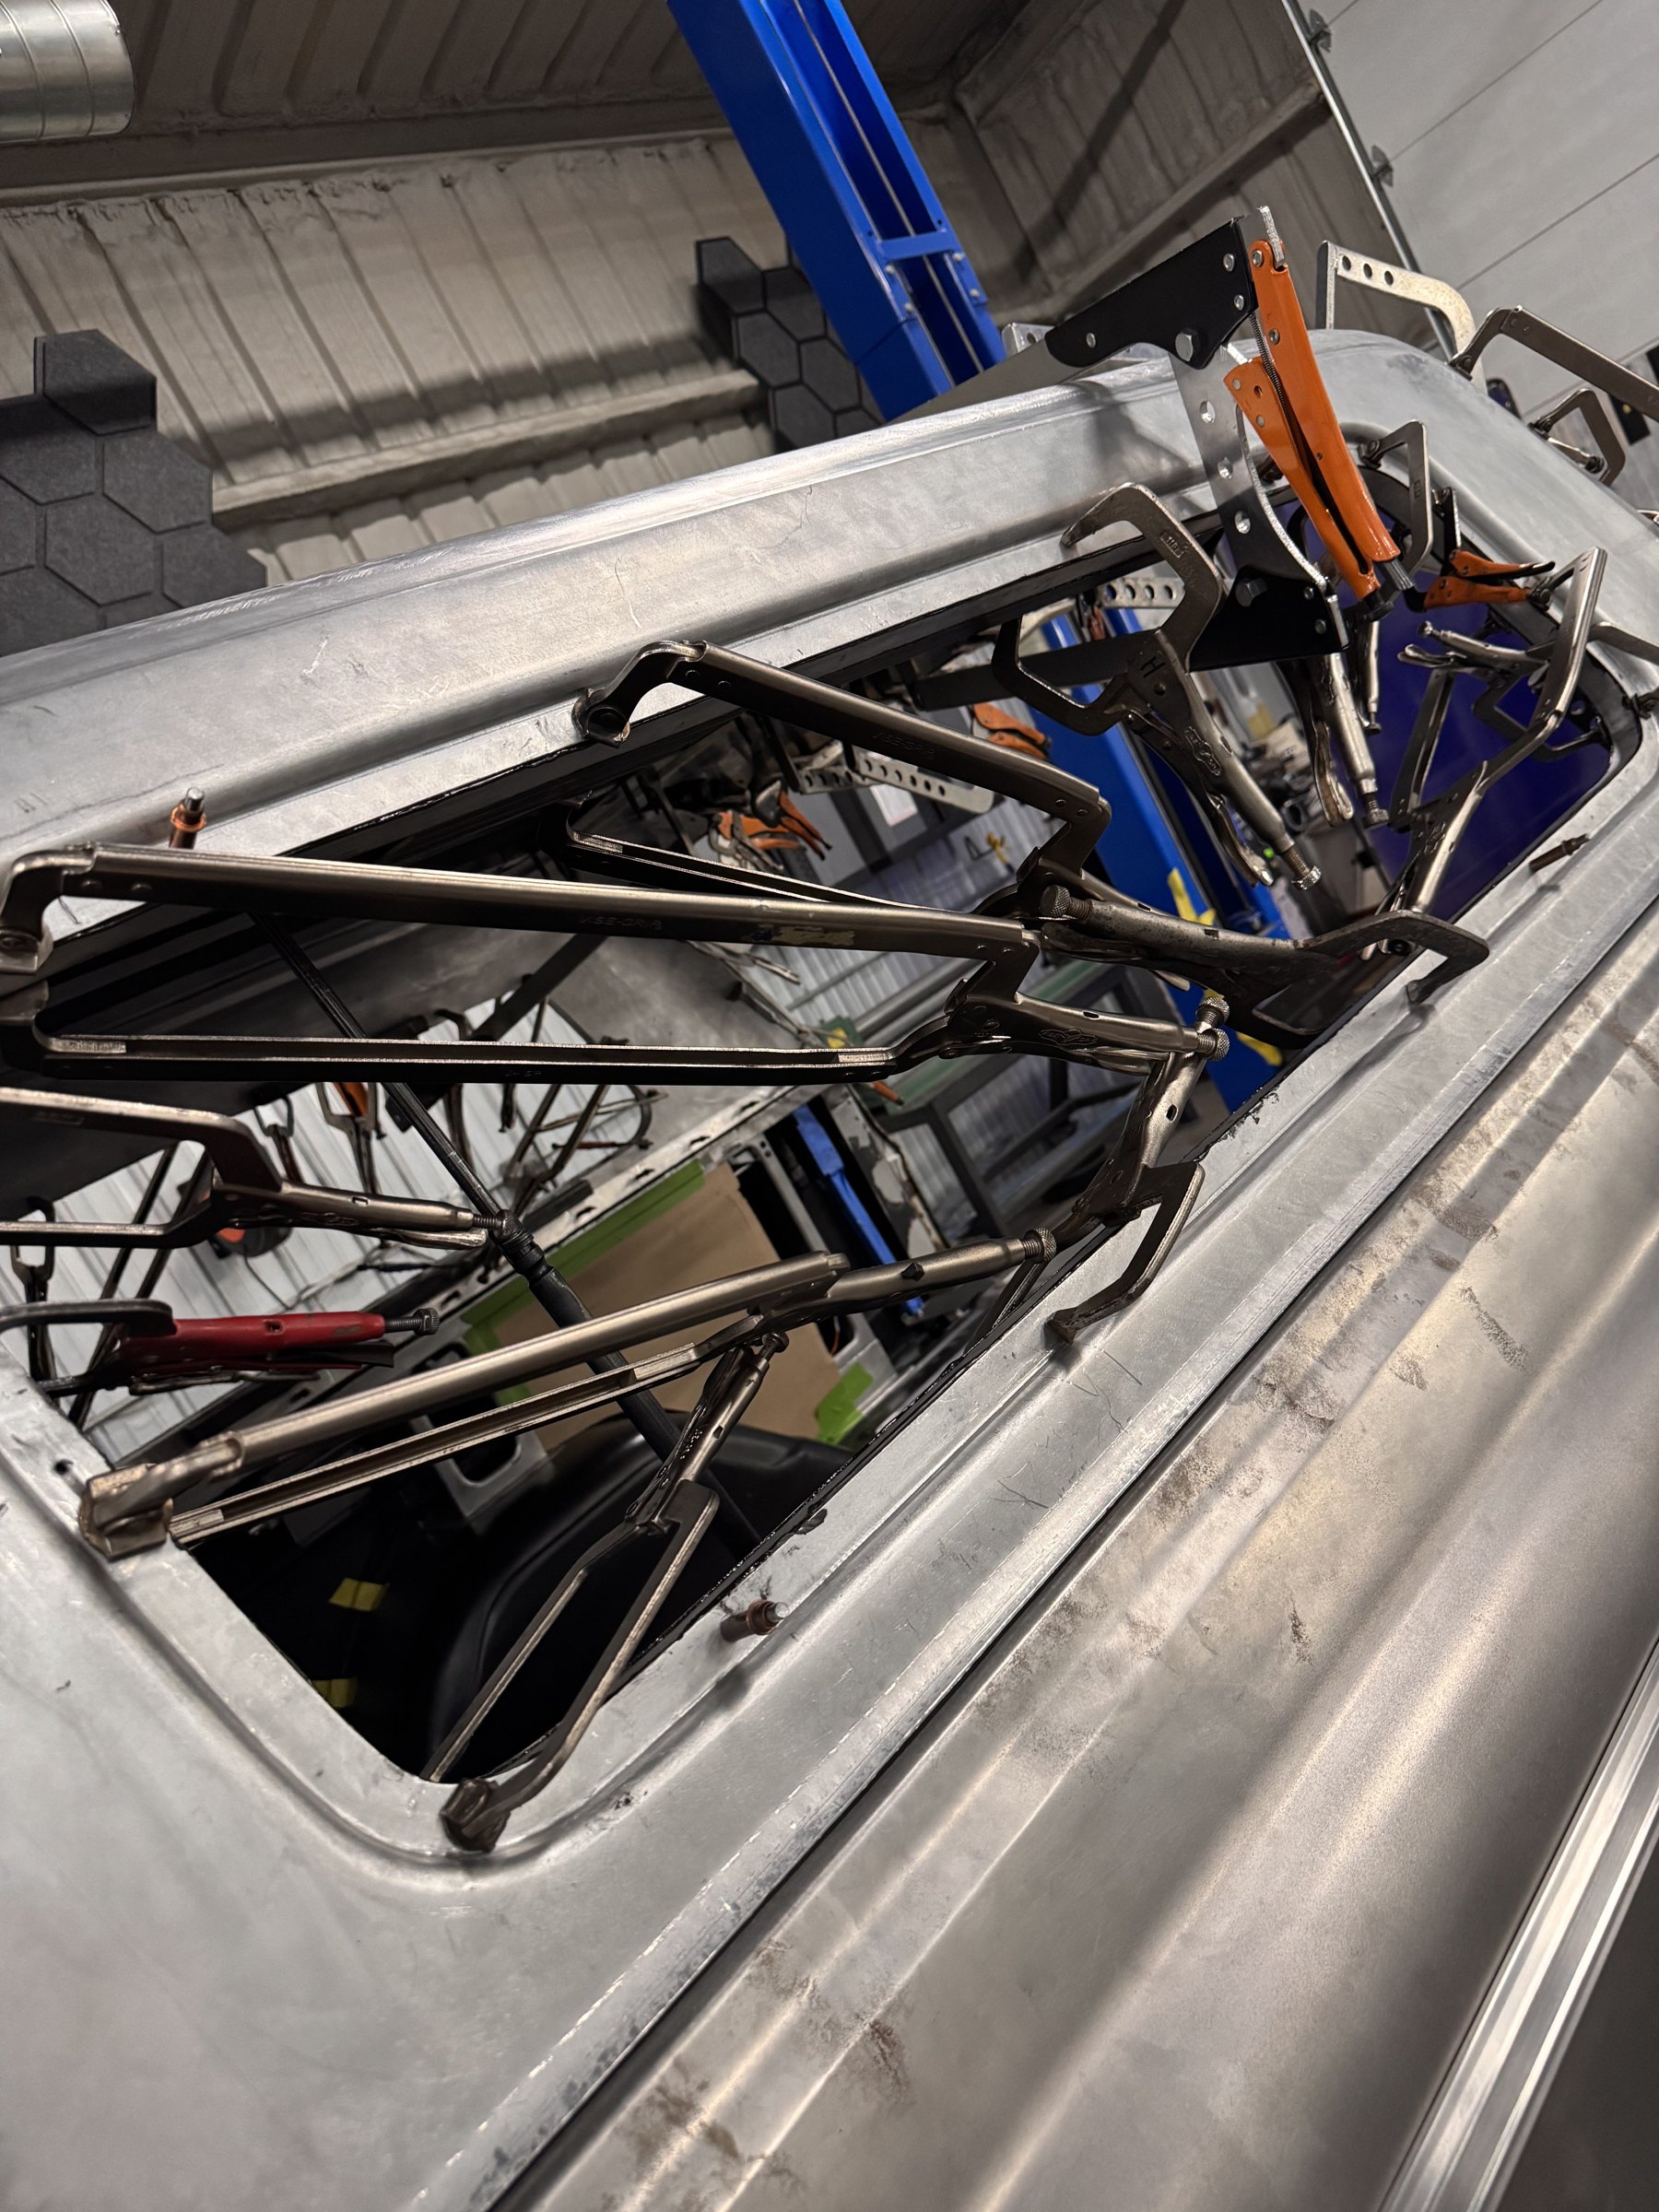 J004
J004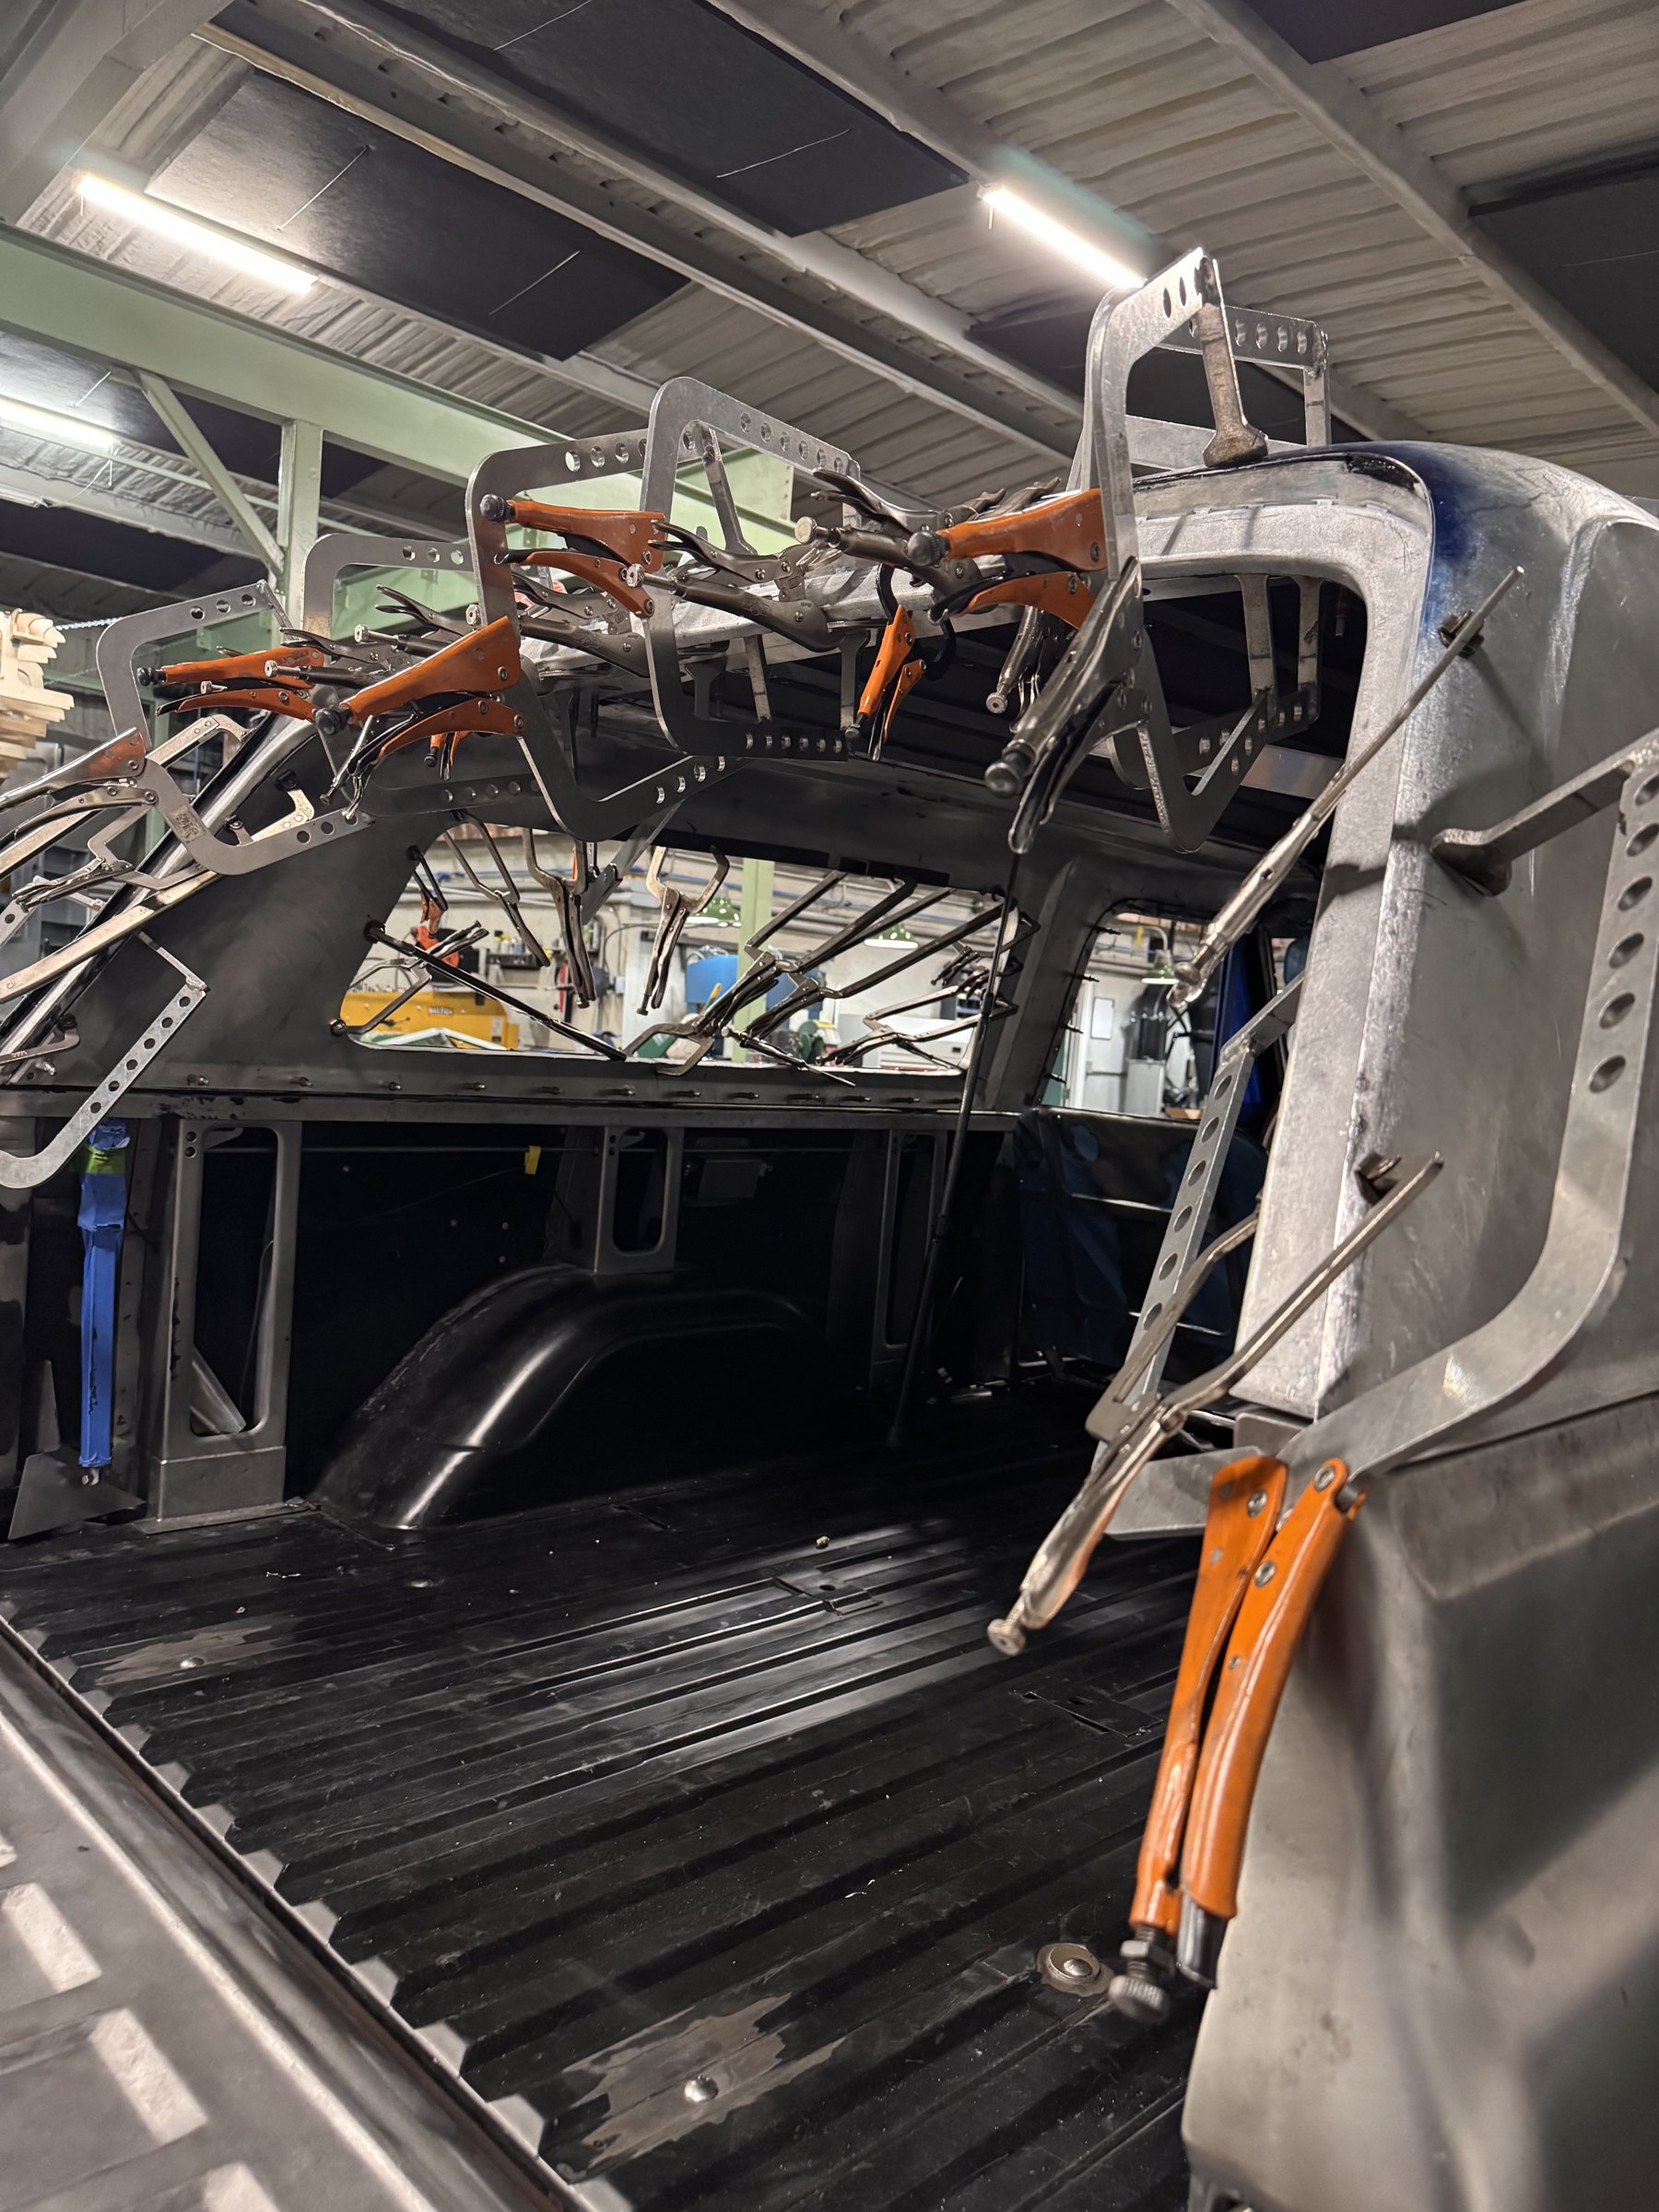 J005
J005UPDATE 02 / 11
Aug 1, 2026
FABRICATION MILESTONEBillet trim, aluminum roof structure, and headliner development
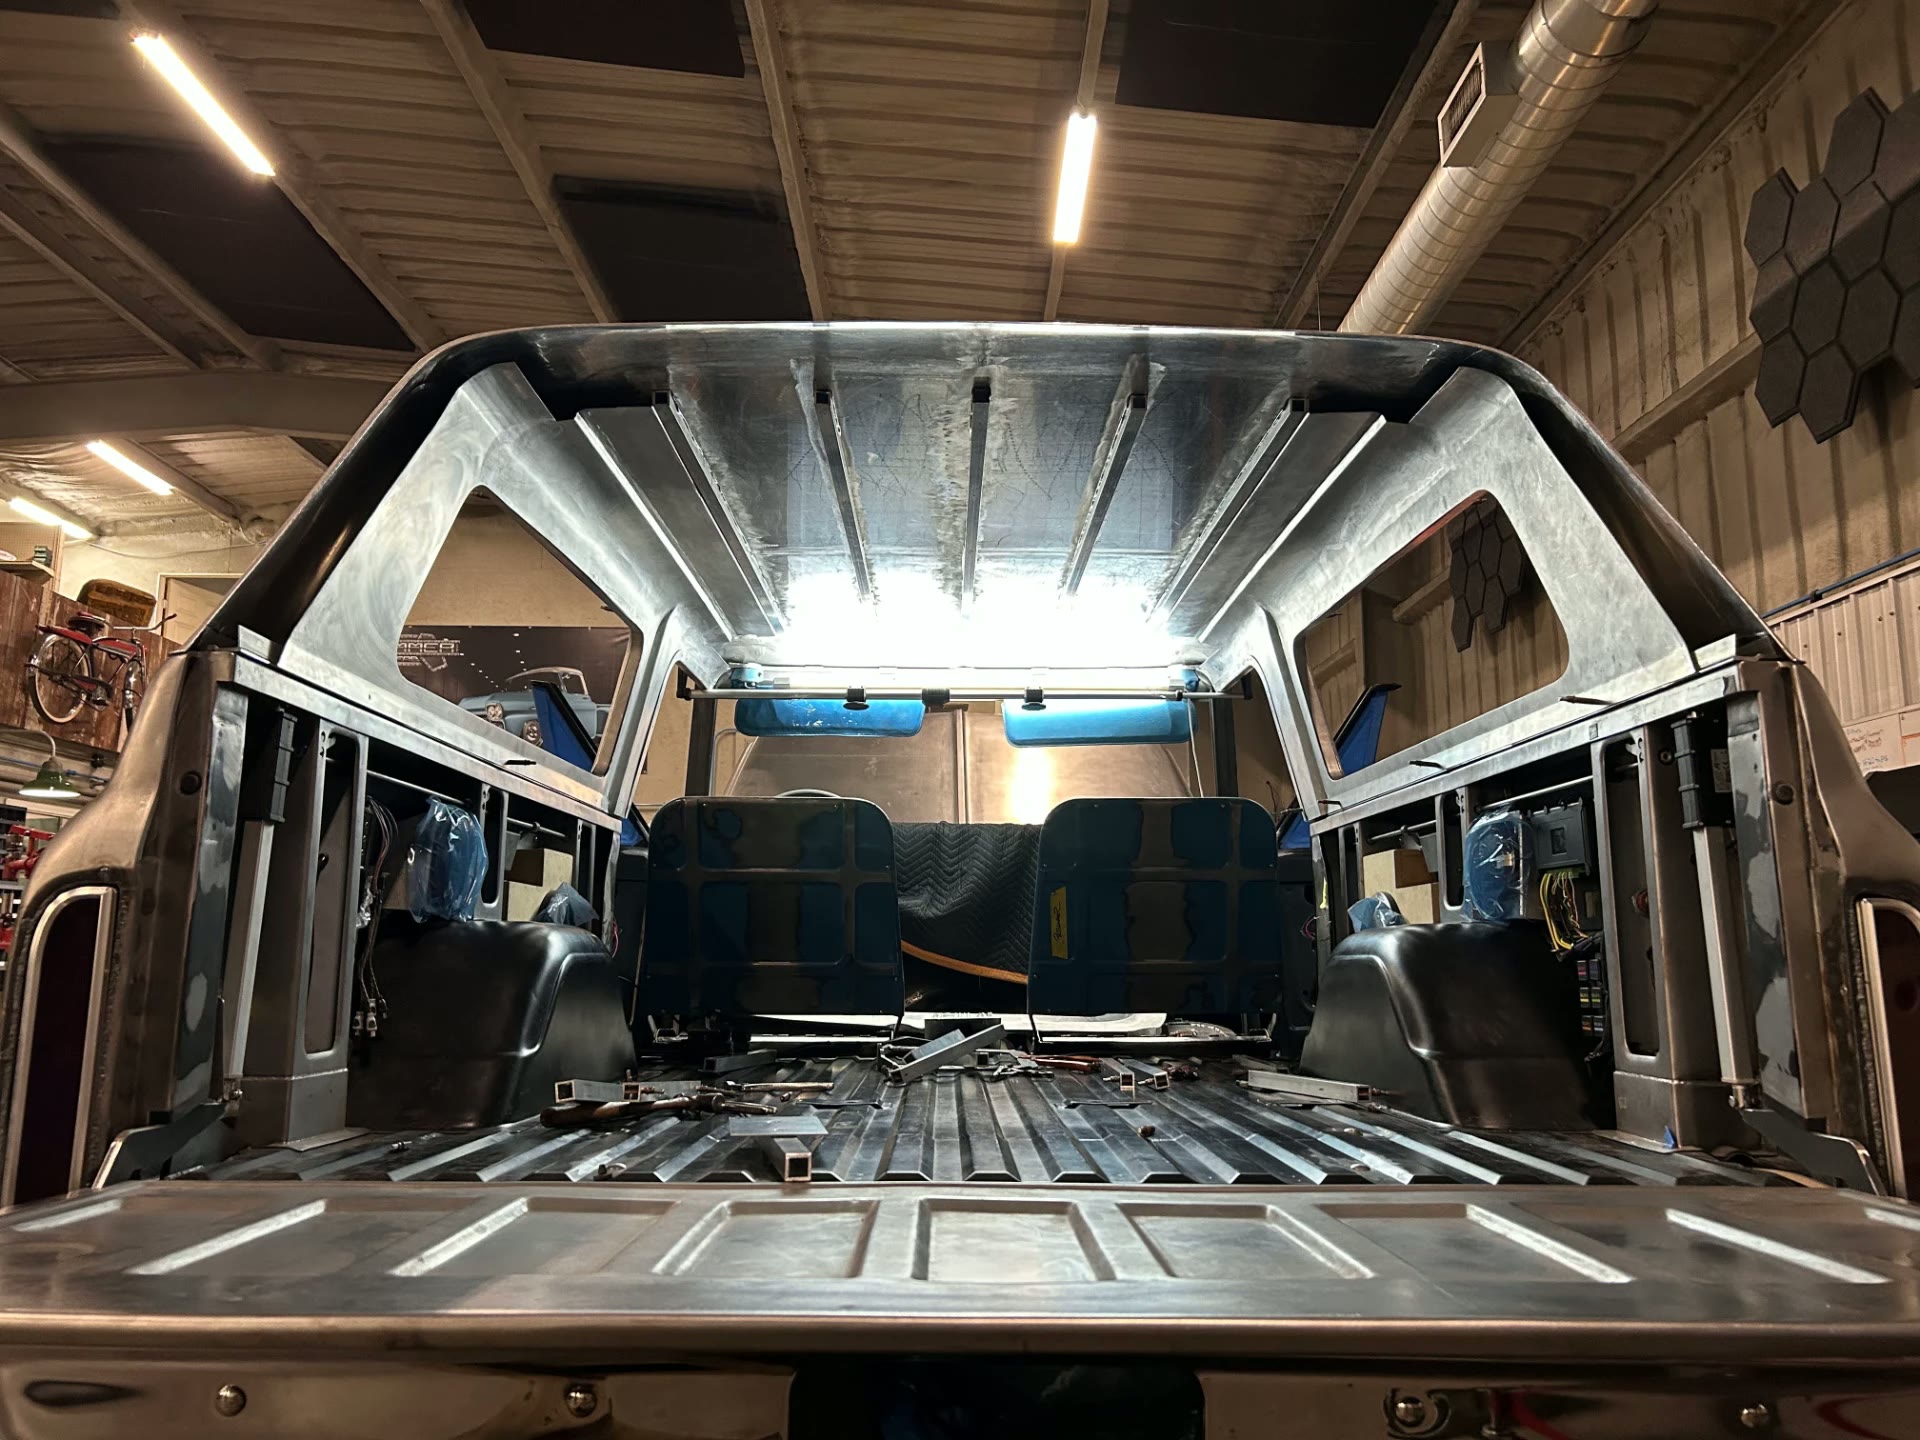
The machined billet trim pieces arrived and are being fitted to the body, with each spear checked against the panel contour before final mounting. At the same time the roof is getting an all-new aluminum inner structure, hand shaped and fit to the shell so the skin stays flat and the bows land where they need to. The headliner is being engineered alongside that structure with upholstery in mind, so the mounting points, wiring, and lighting are all planned before any material goes in.
 J006
J006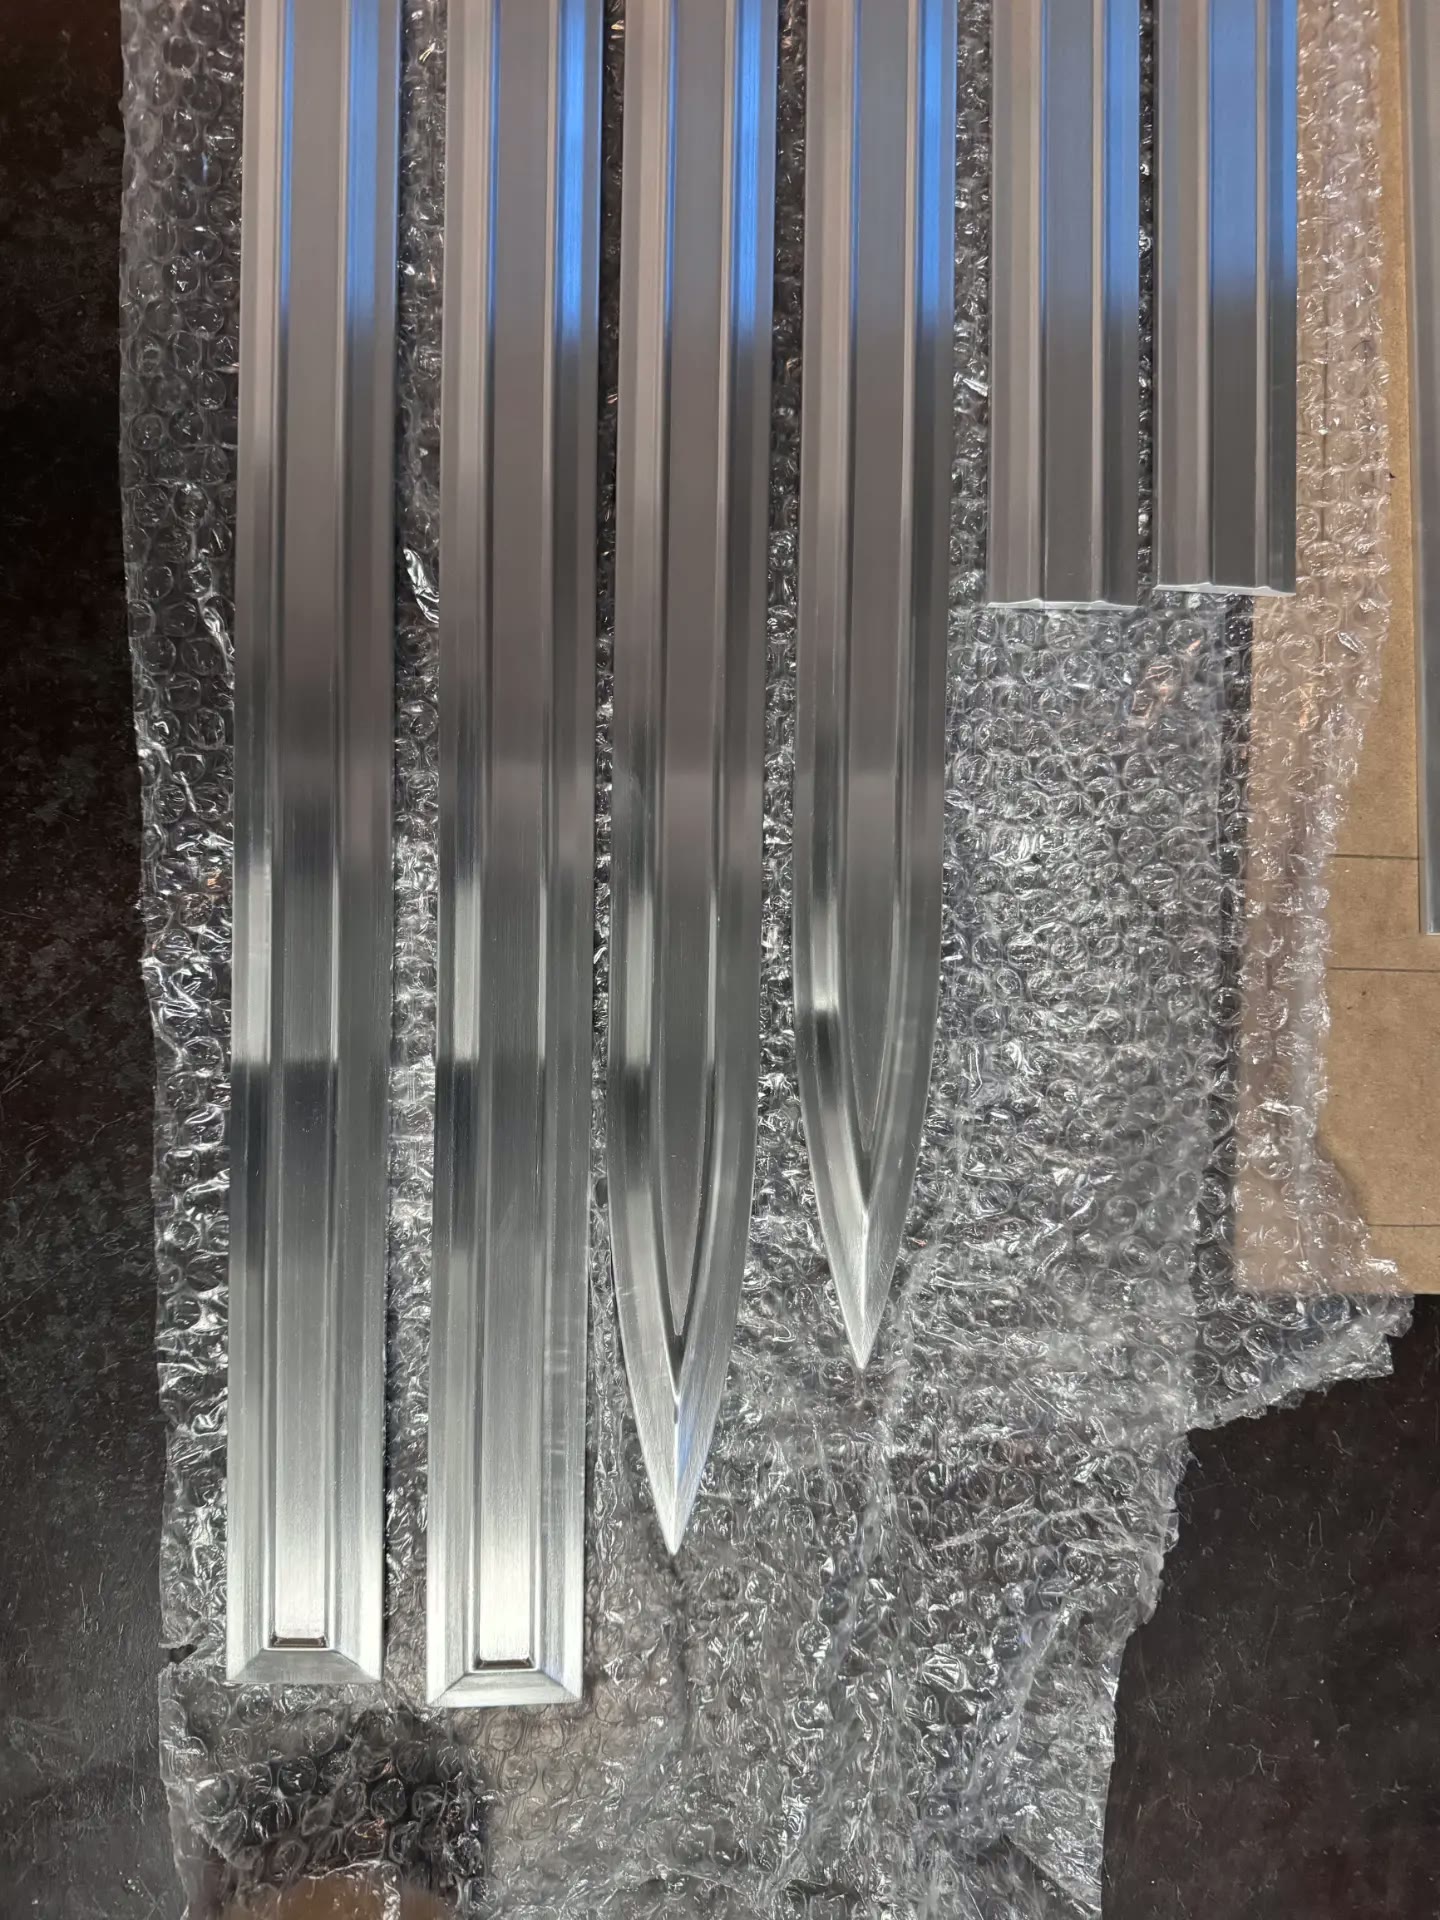 J007
J007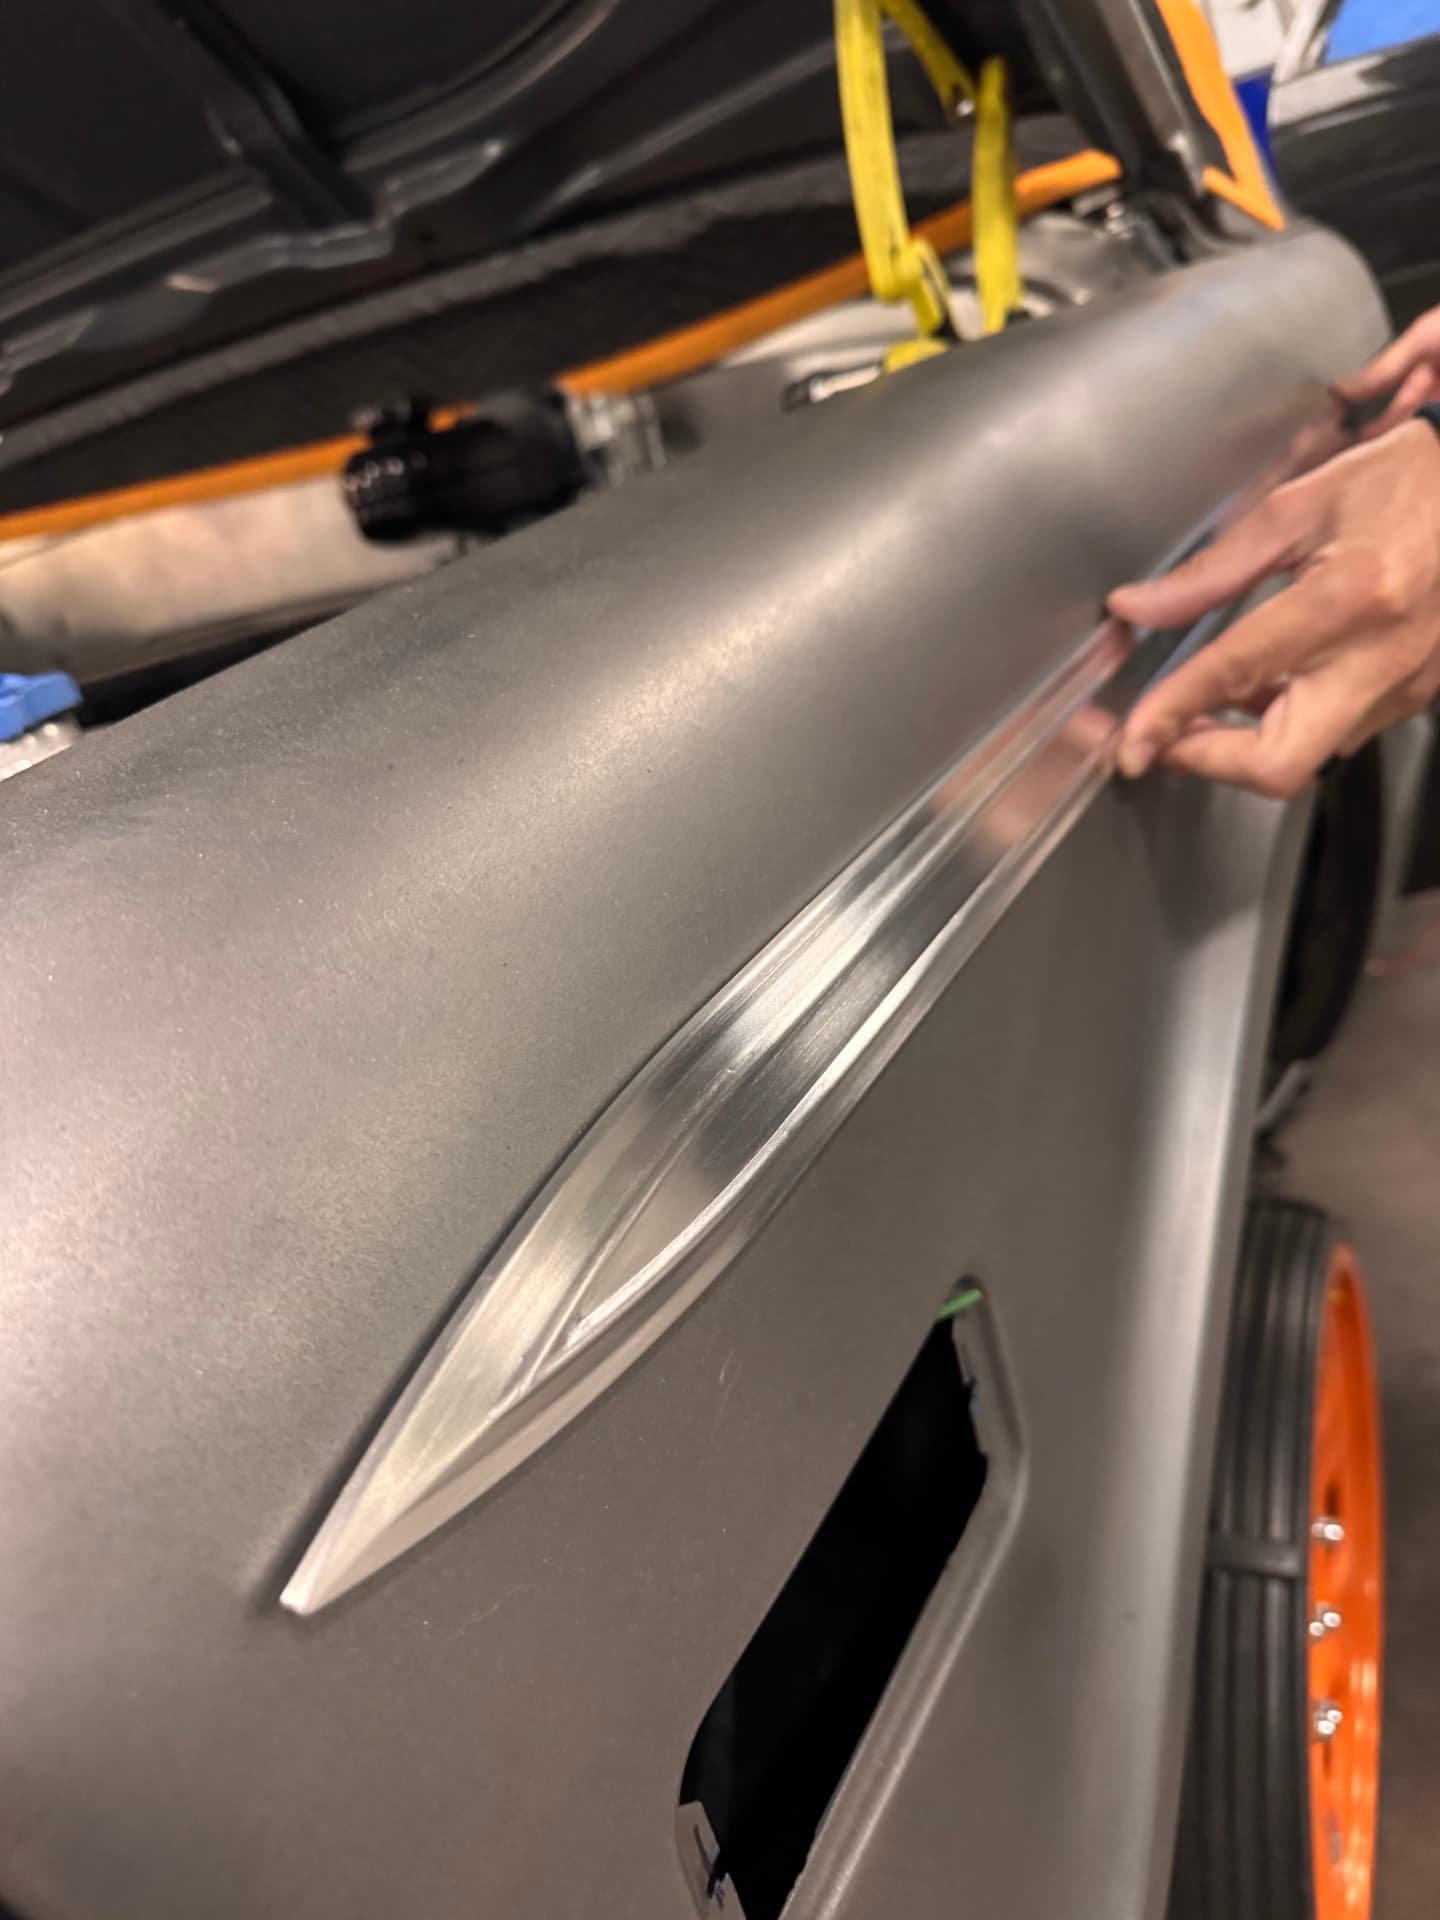 J008
J008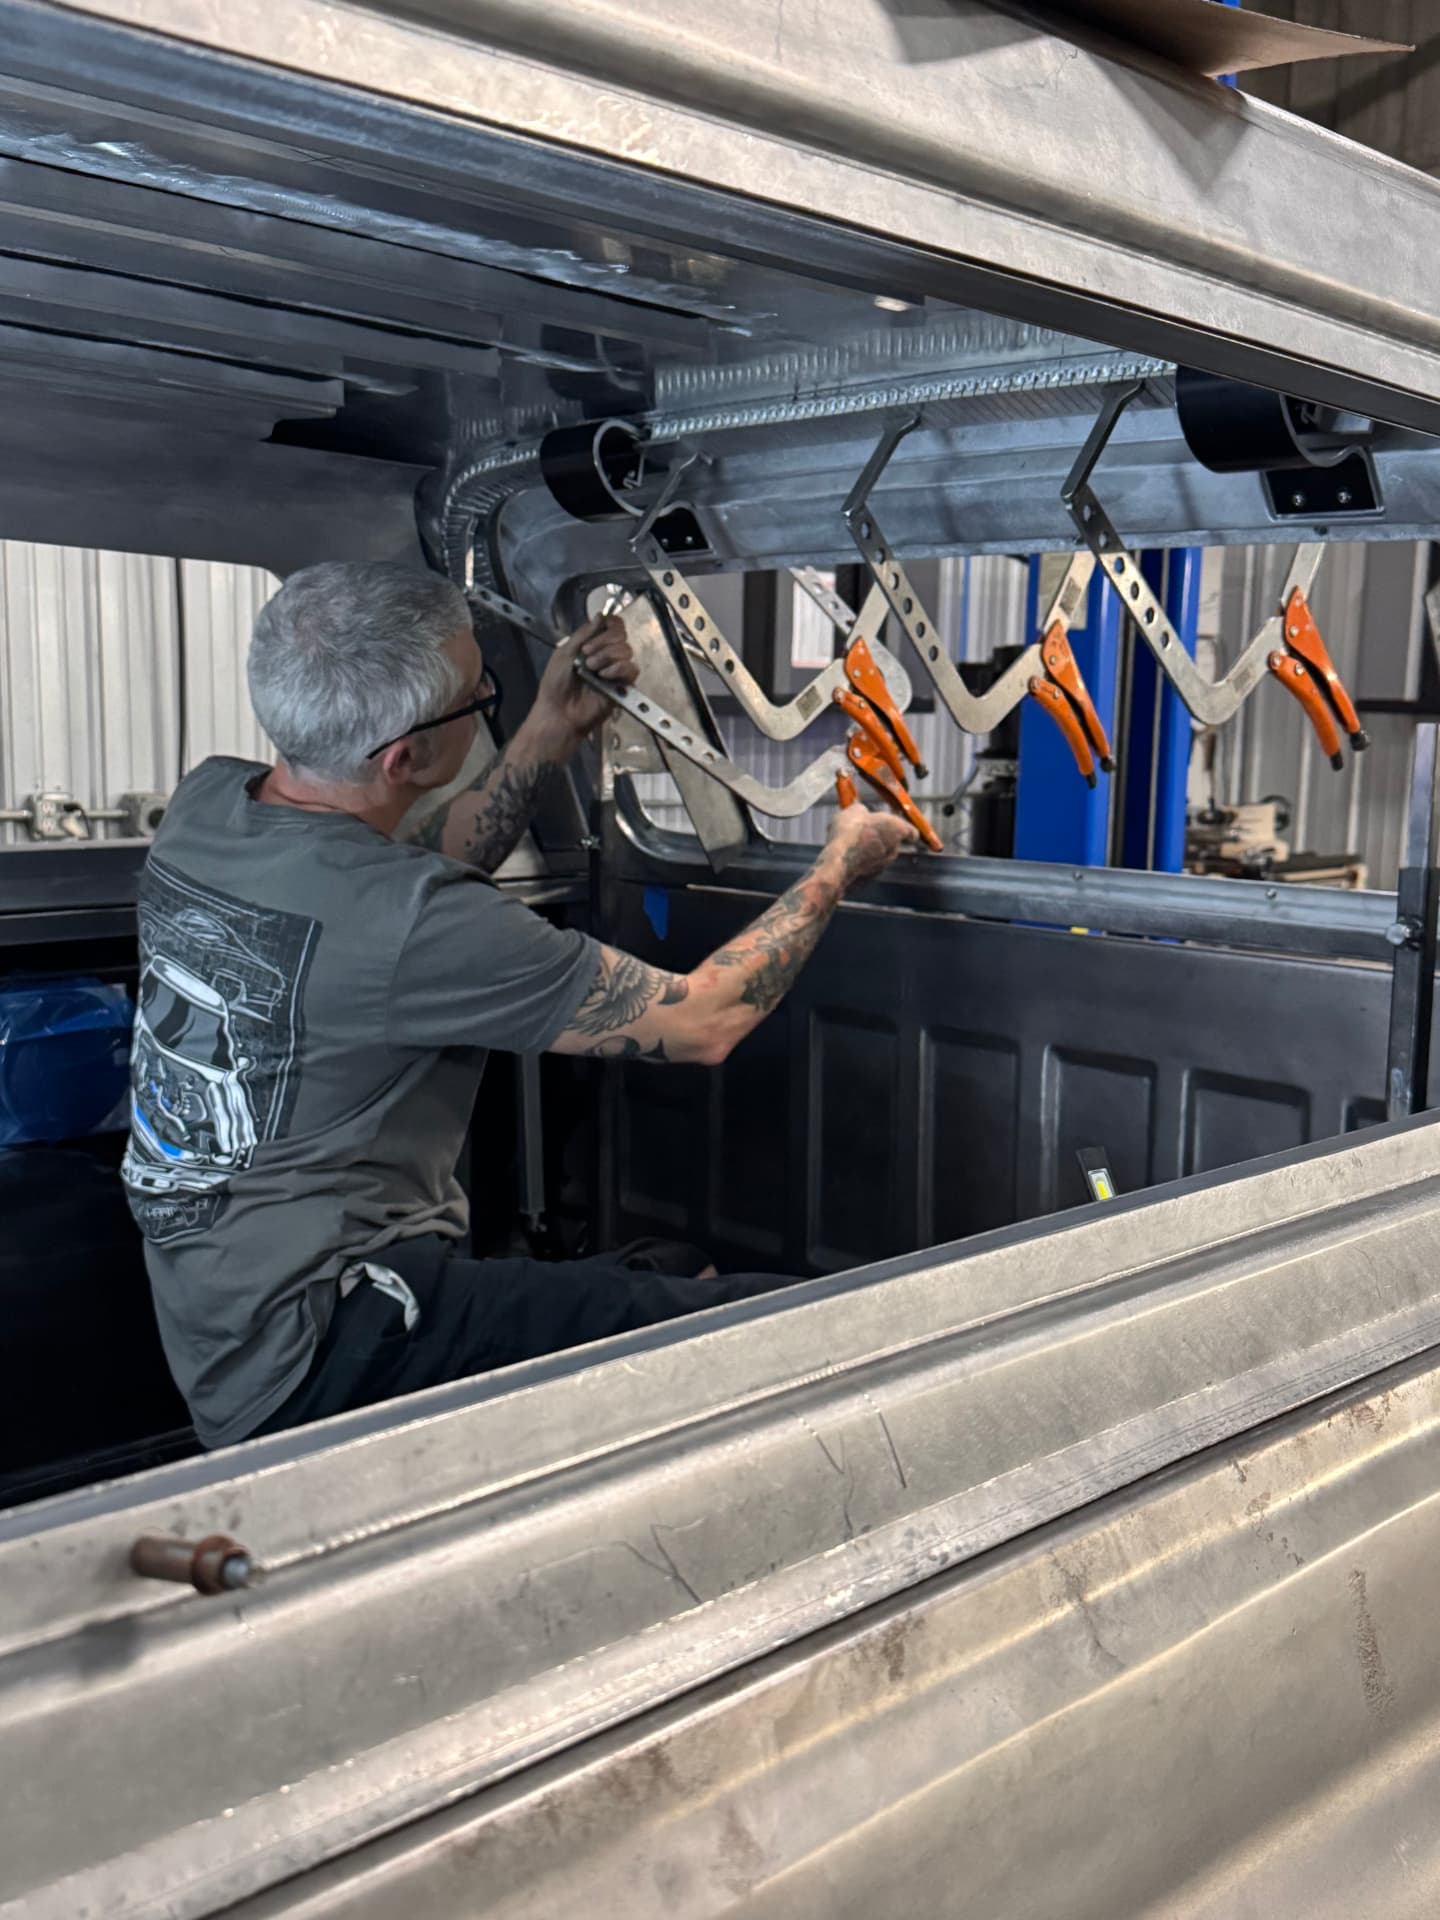 J009
J009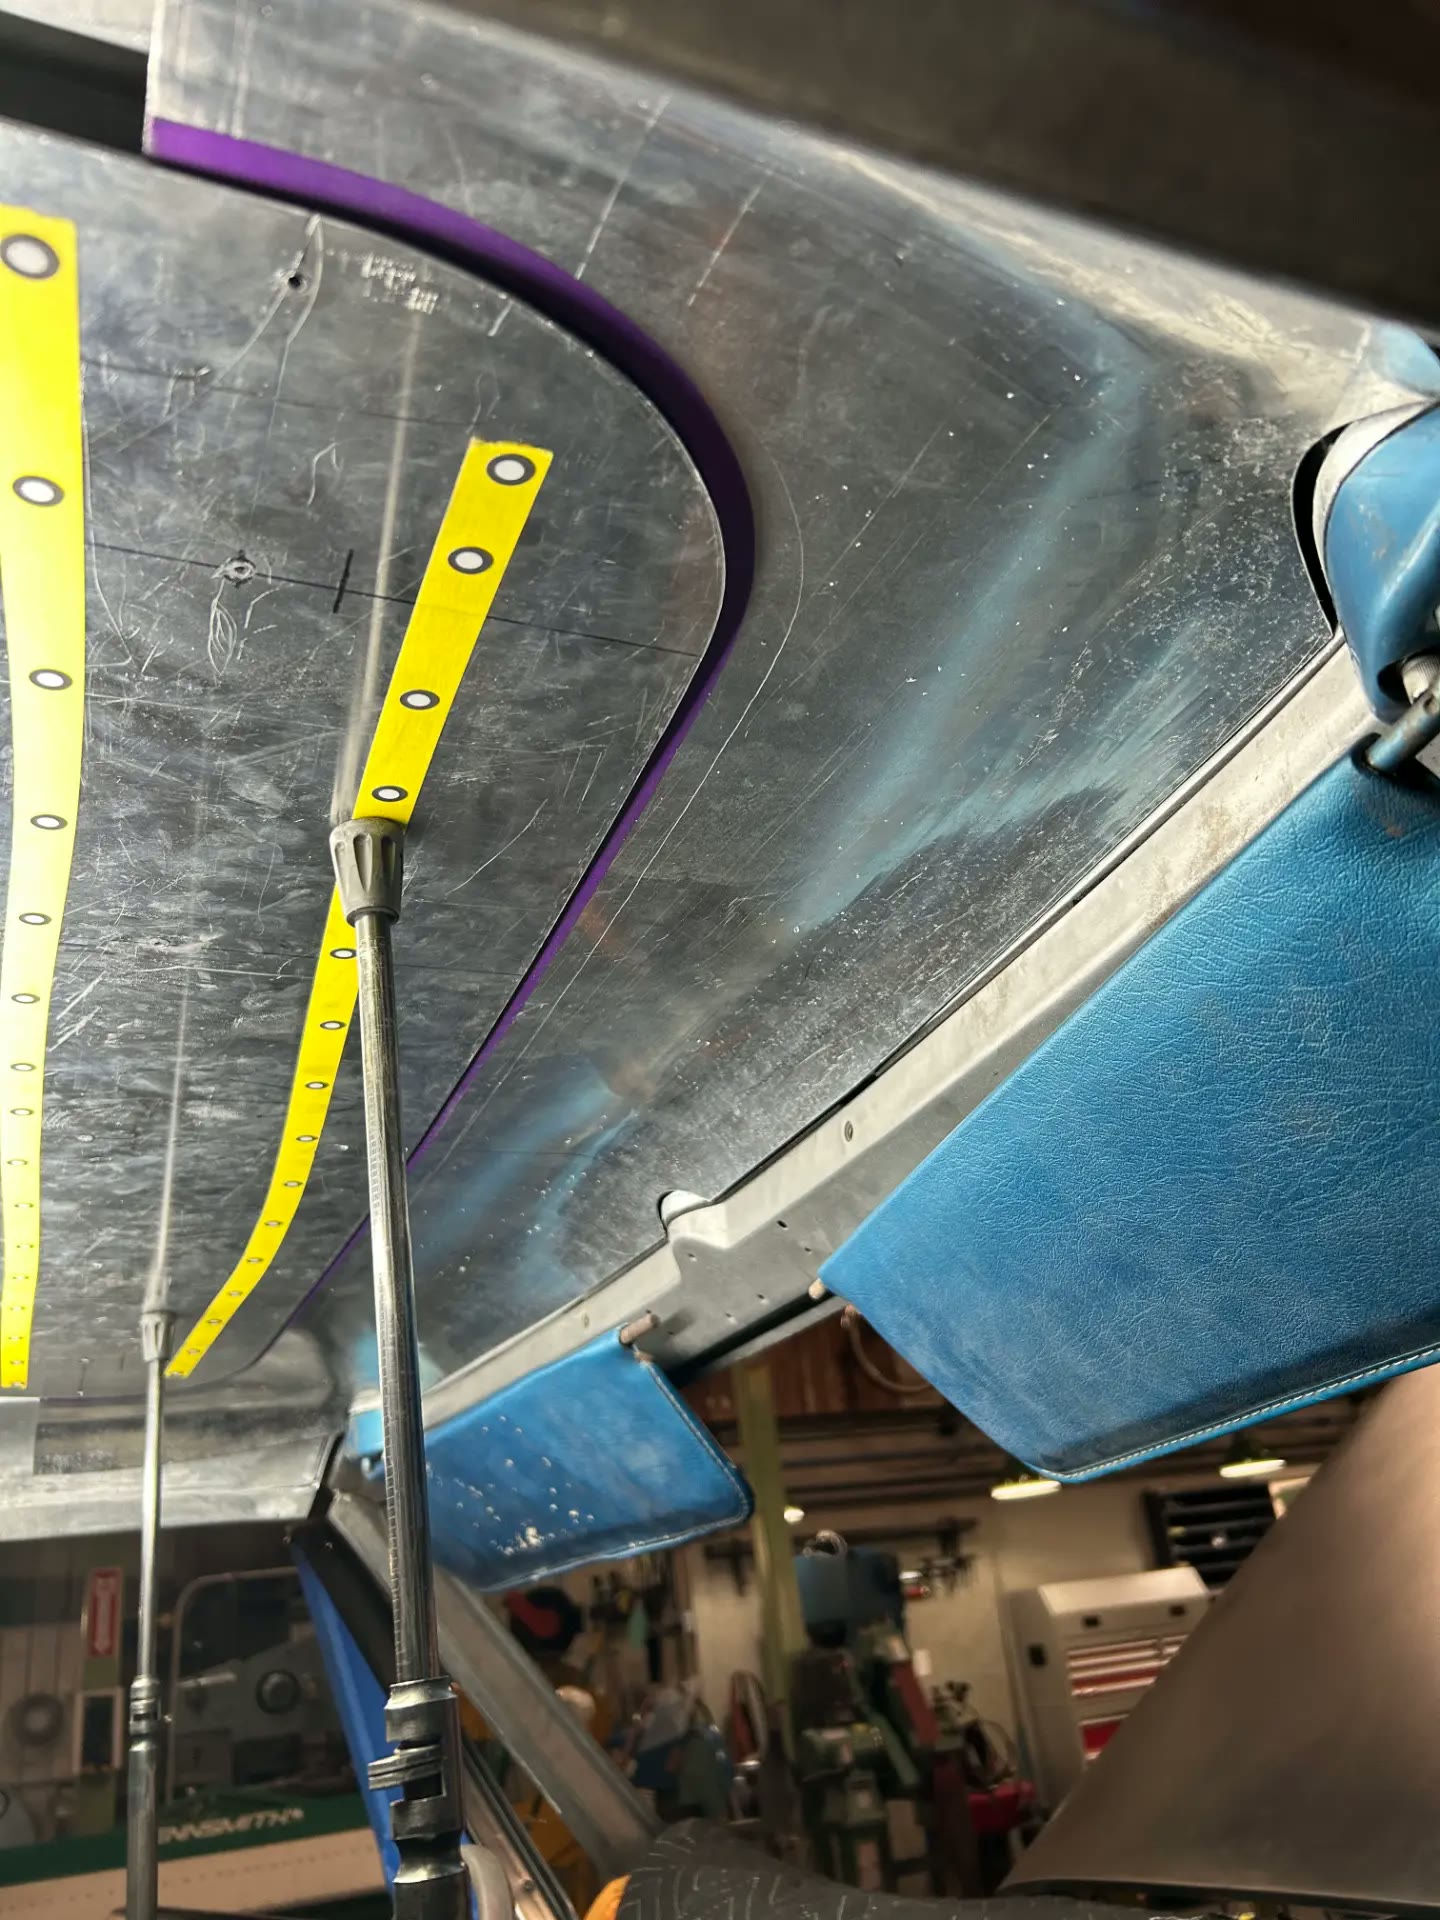 J010
J010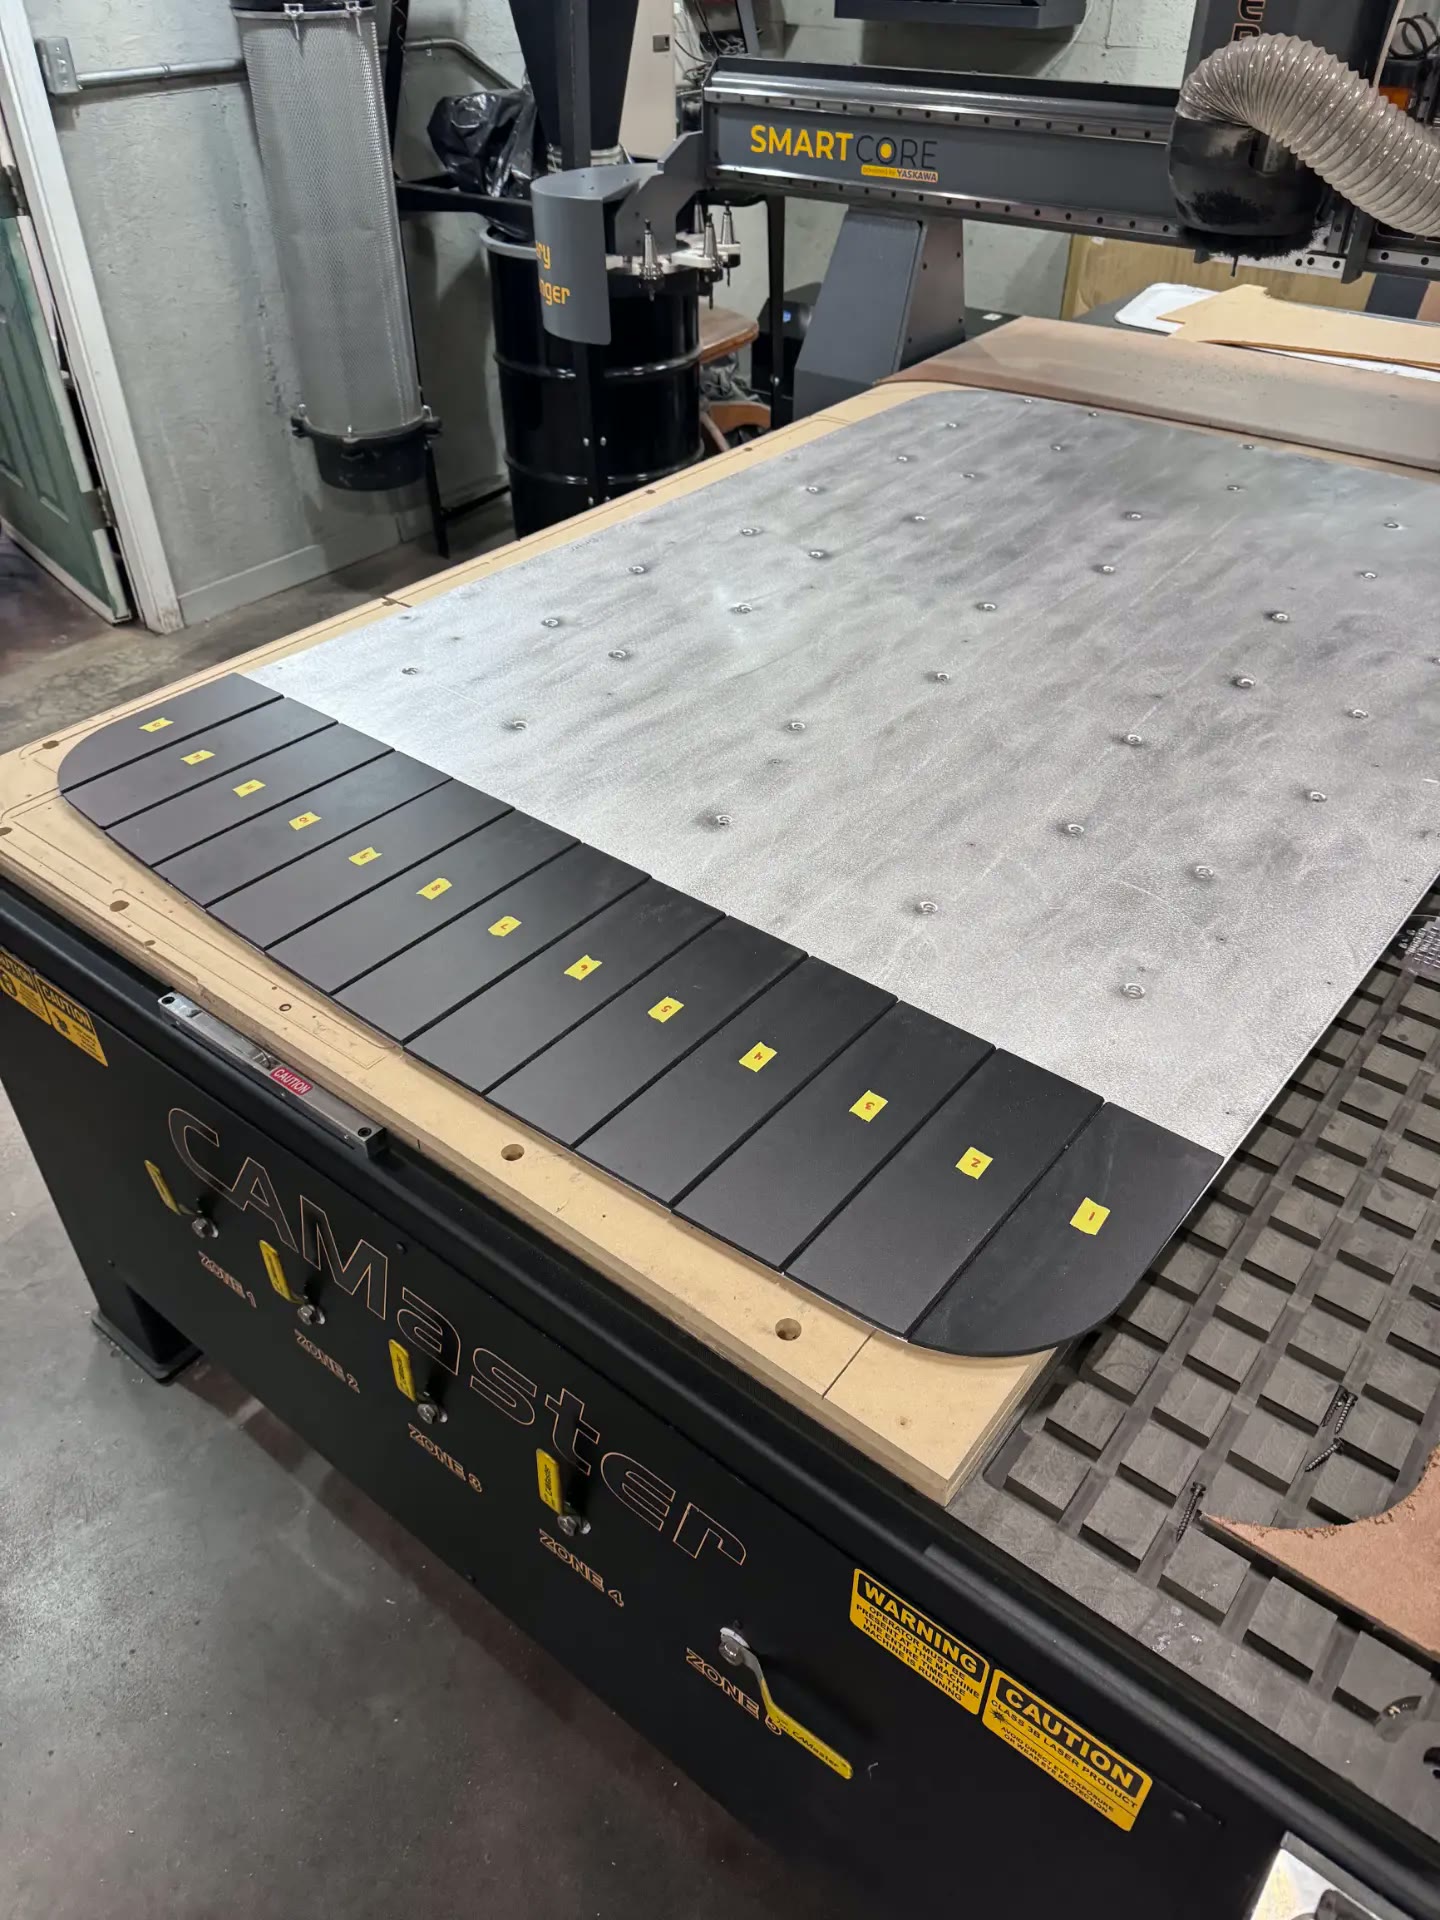 J011
J011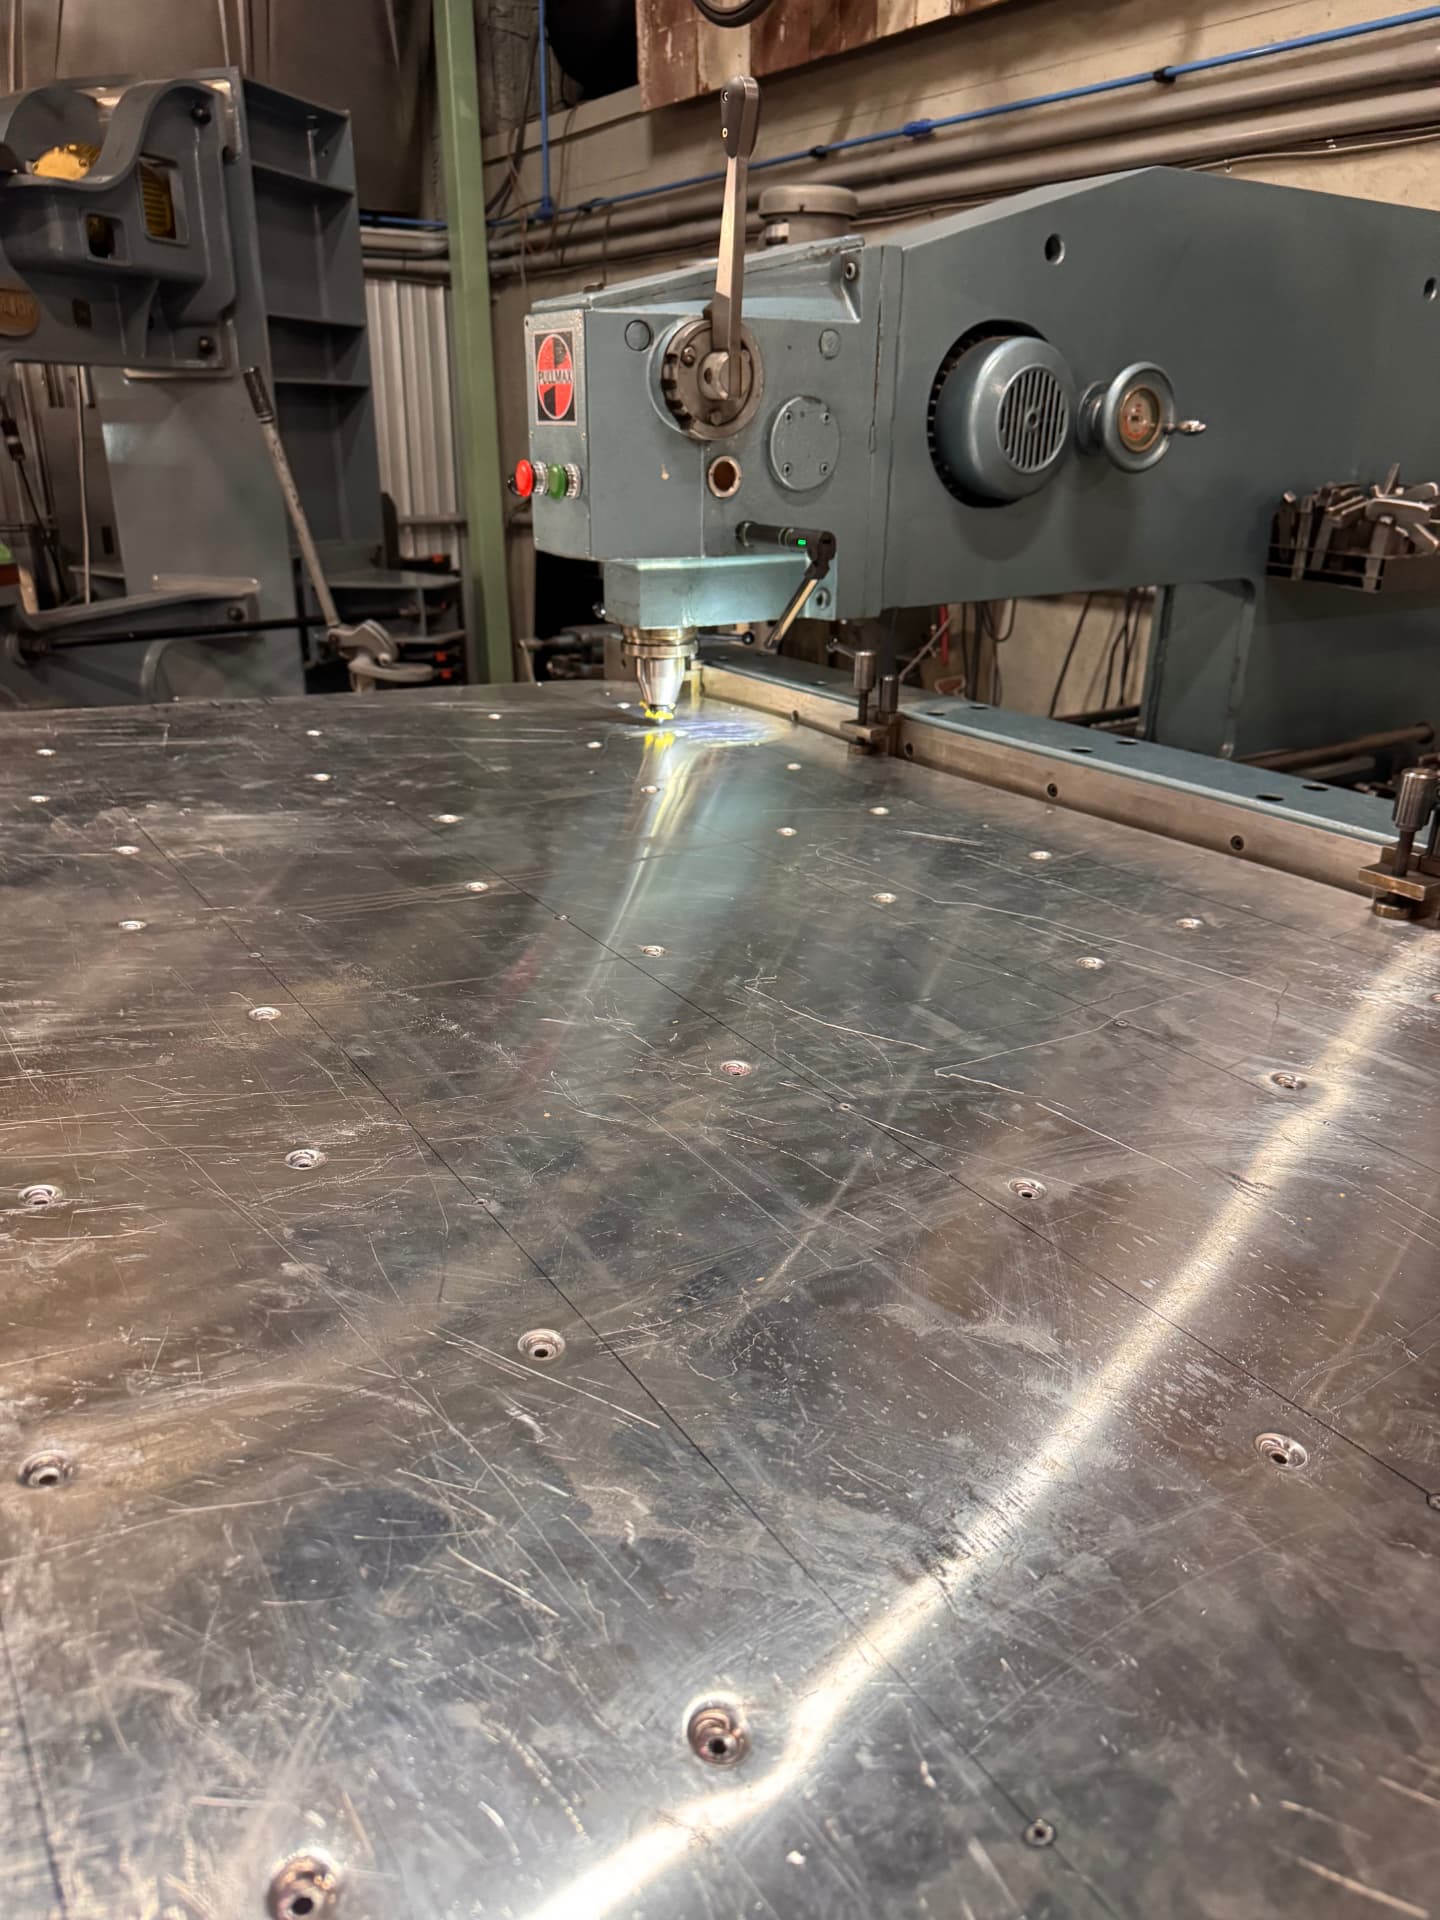 J012
J012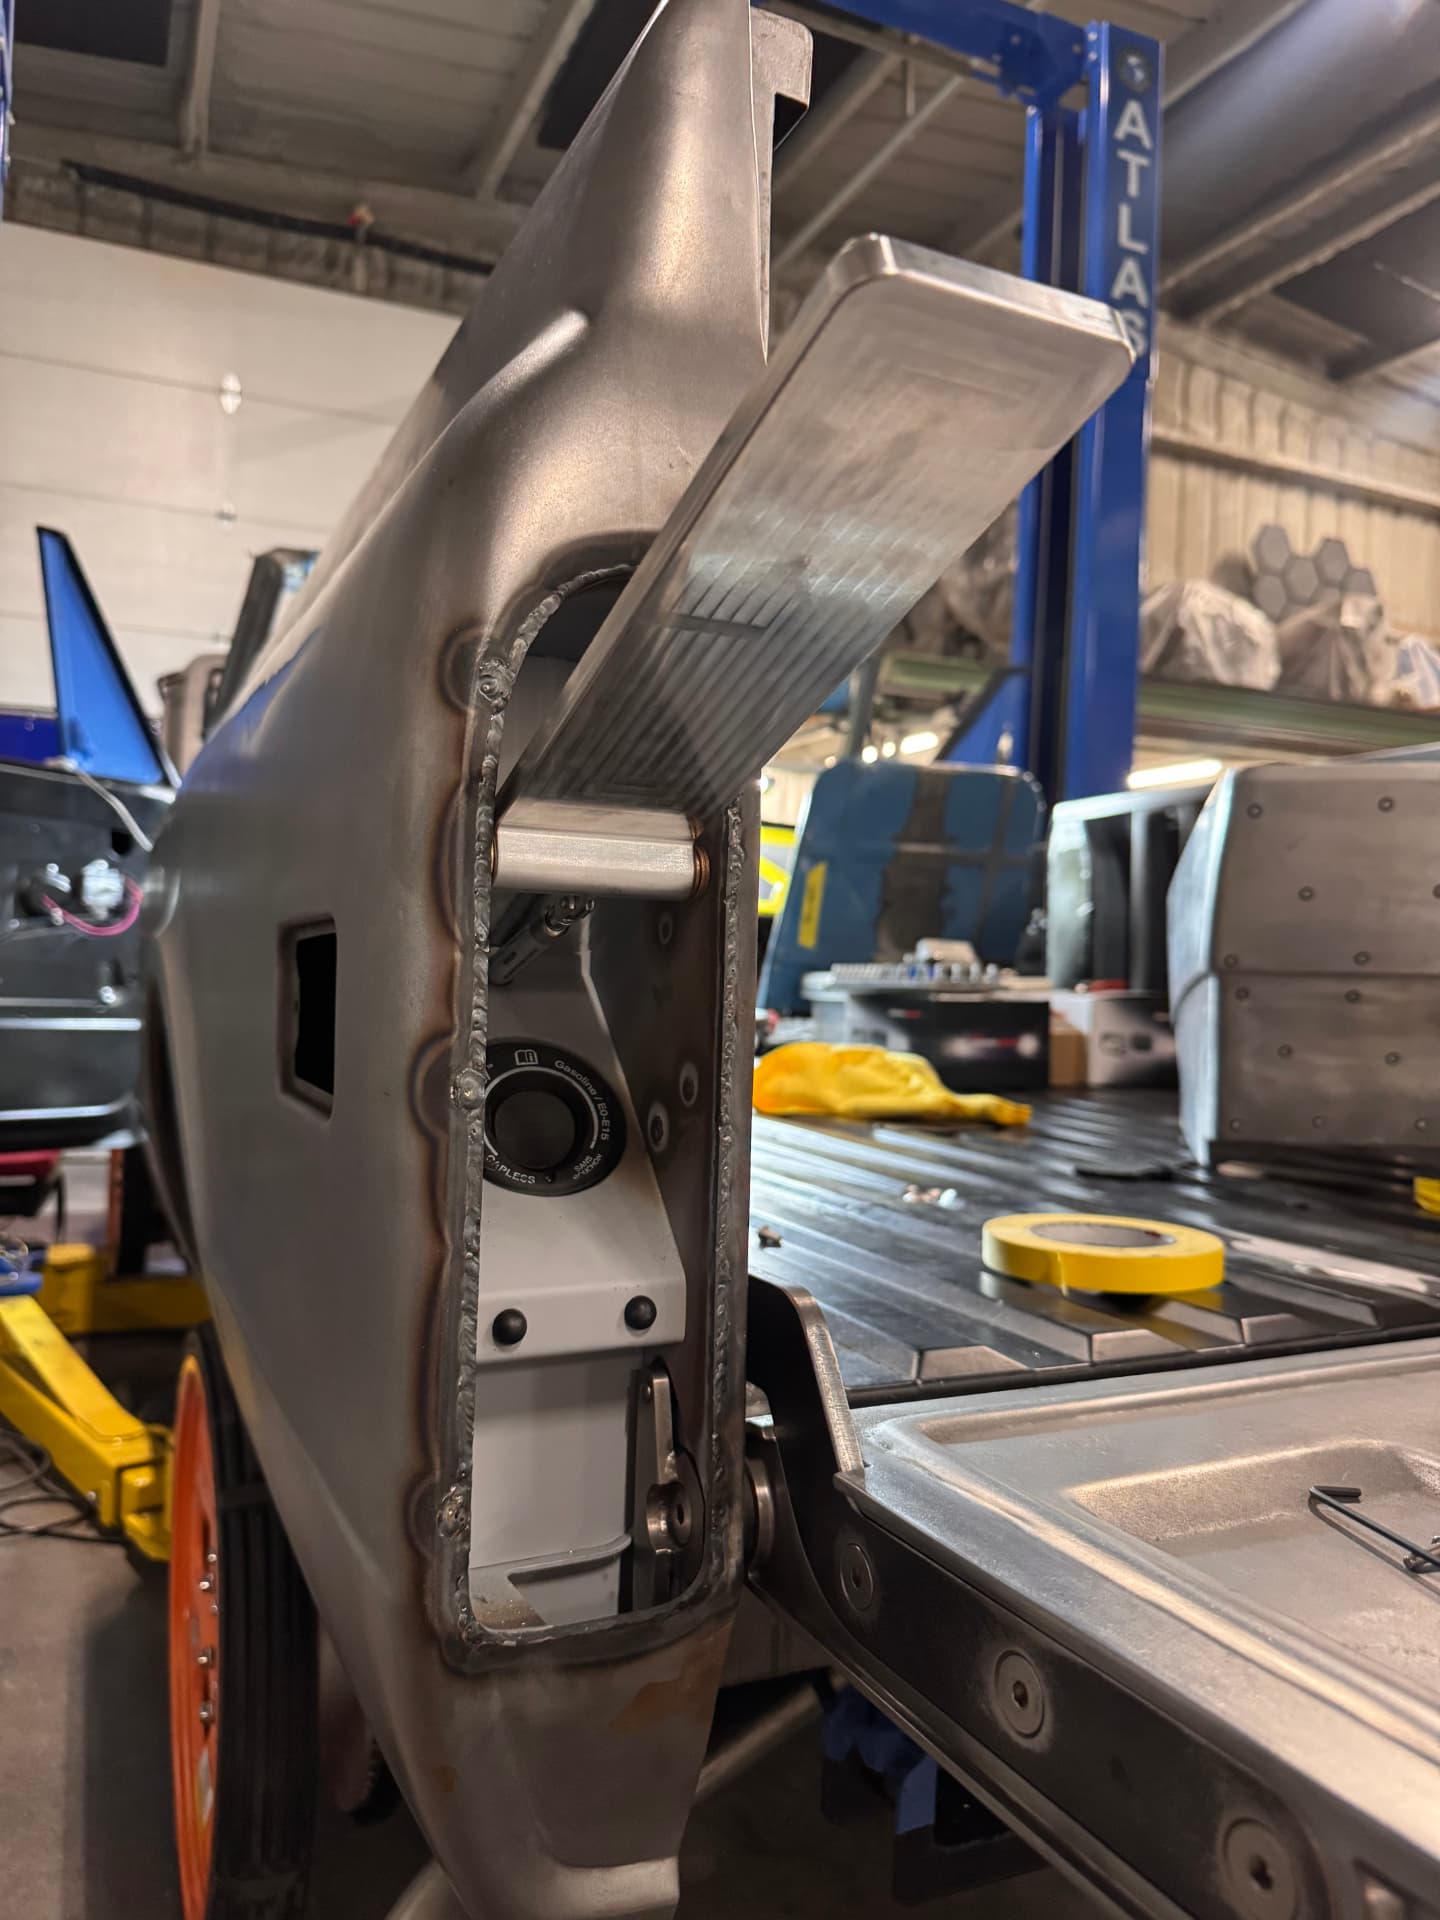 J013
J013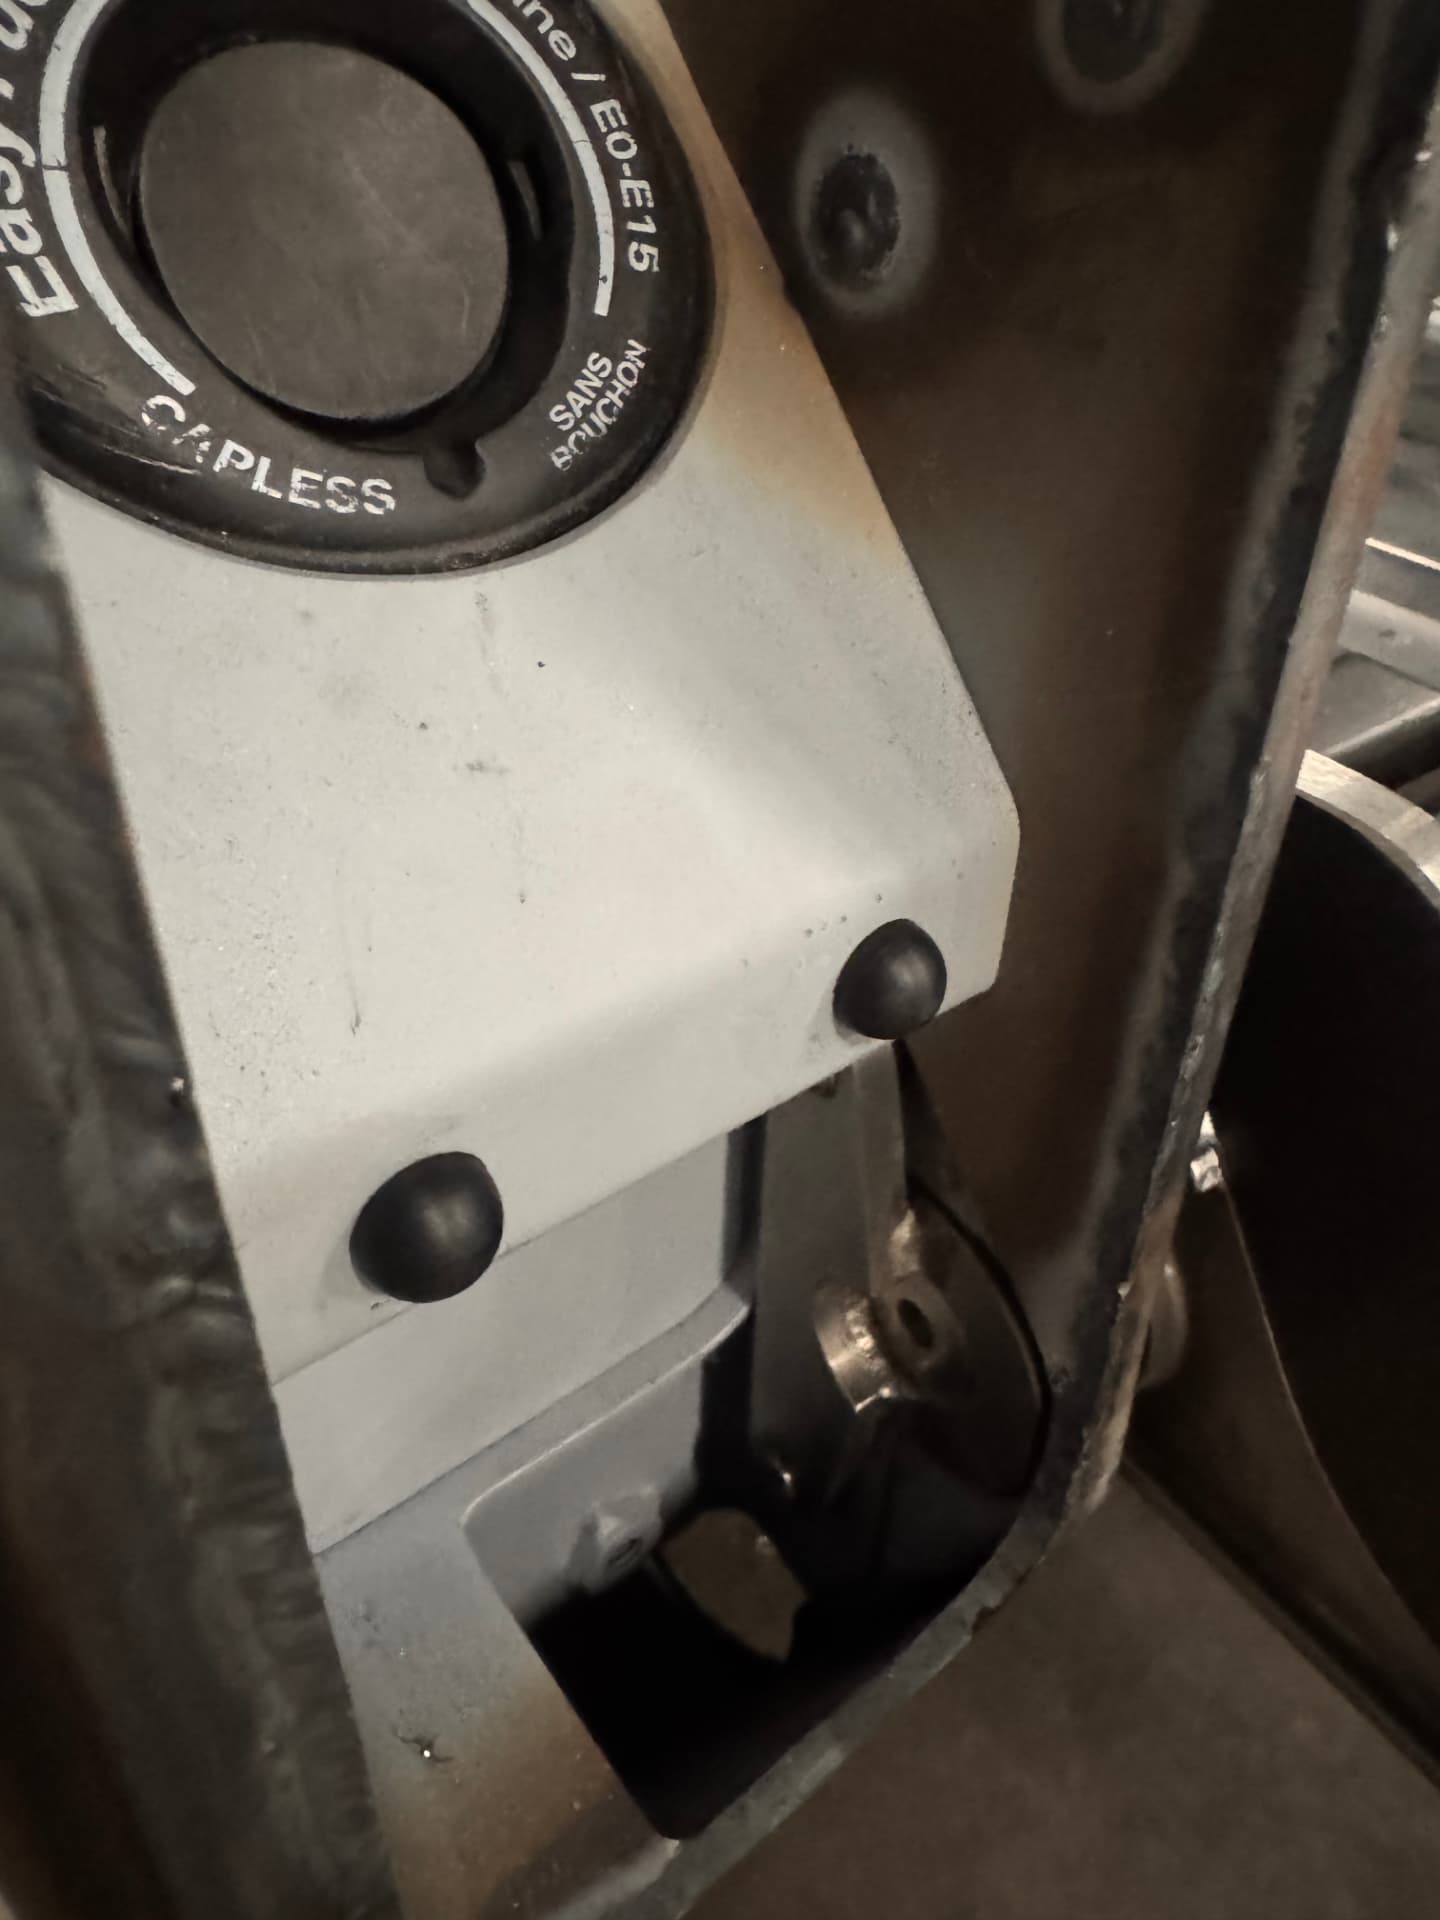 J014
J014UPDATE 03 / 11
Jul 10, 2026
FABRICATION MILESTONEMetal fab, paint, and mockup
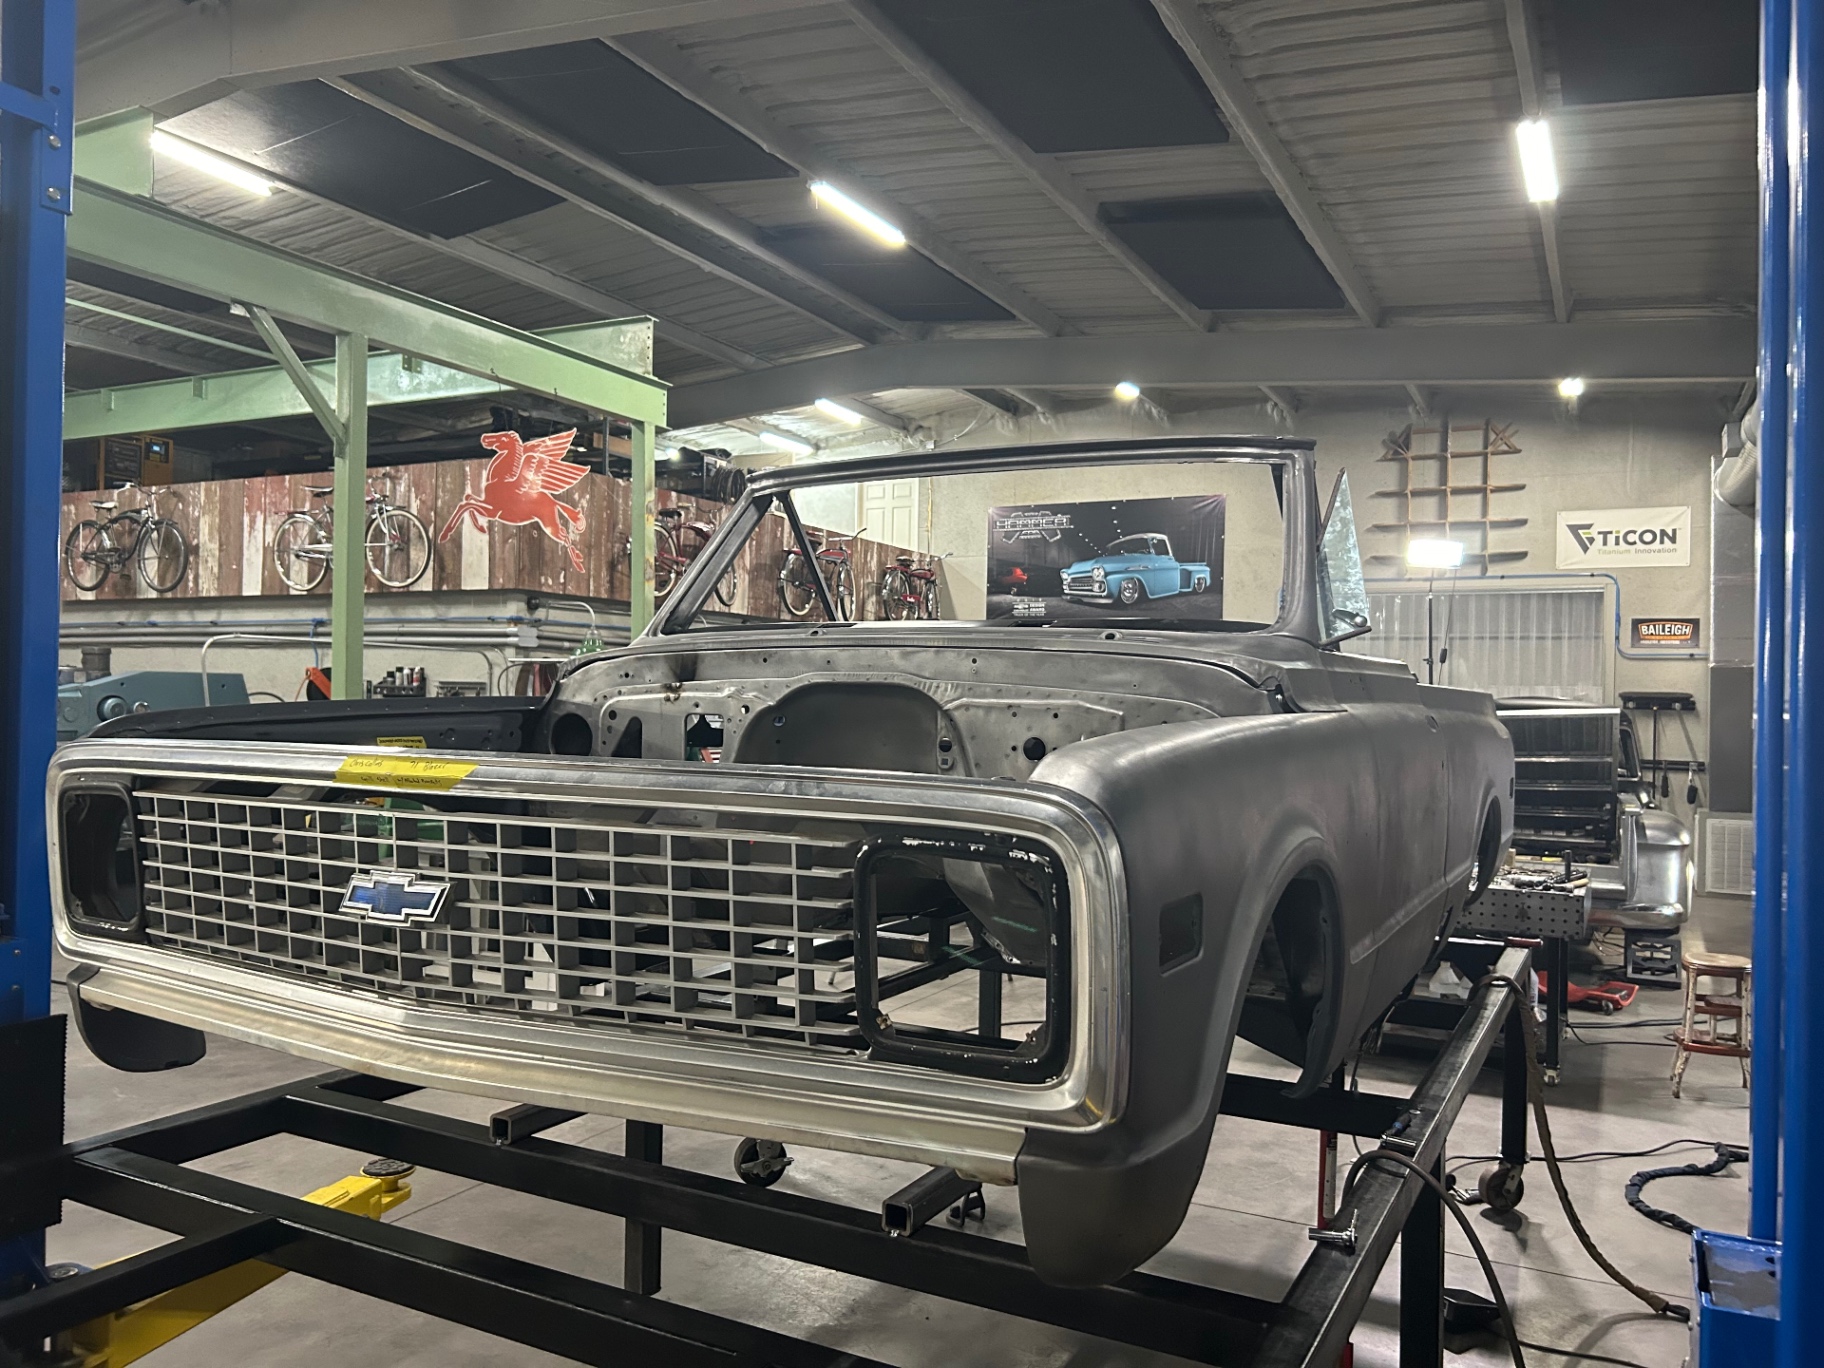
Fresh from the shop: the cab and bed shell mocked up on the Legends chassis with the grille test-fit, raised bed sides going into primer, bed floor and interior panels shot in satin black, and doors coming out of paint. Sub-panels, wheel tubs, and inner structure are moving through prep and coating as the Blazer closes out its metal-fab phase.
 J015
J015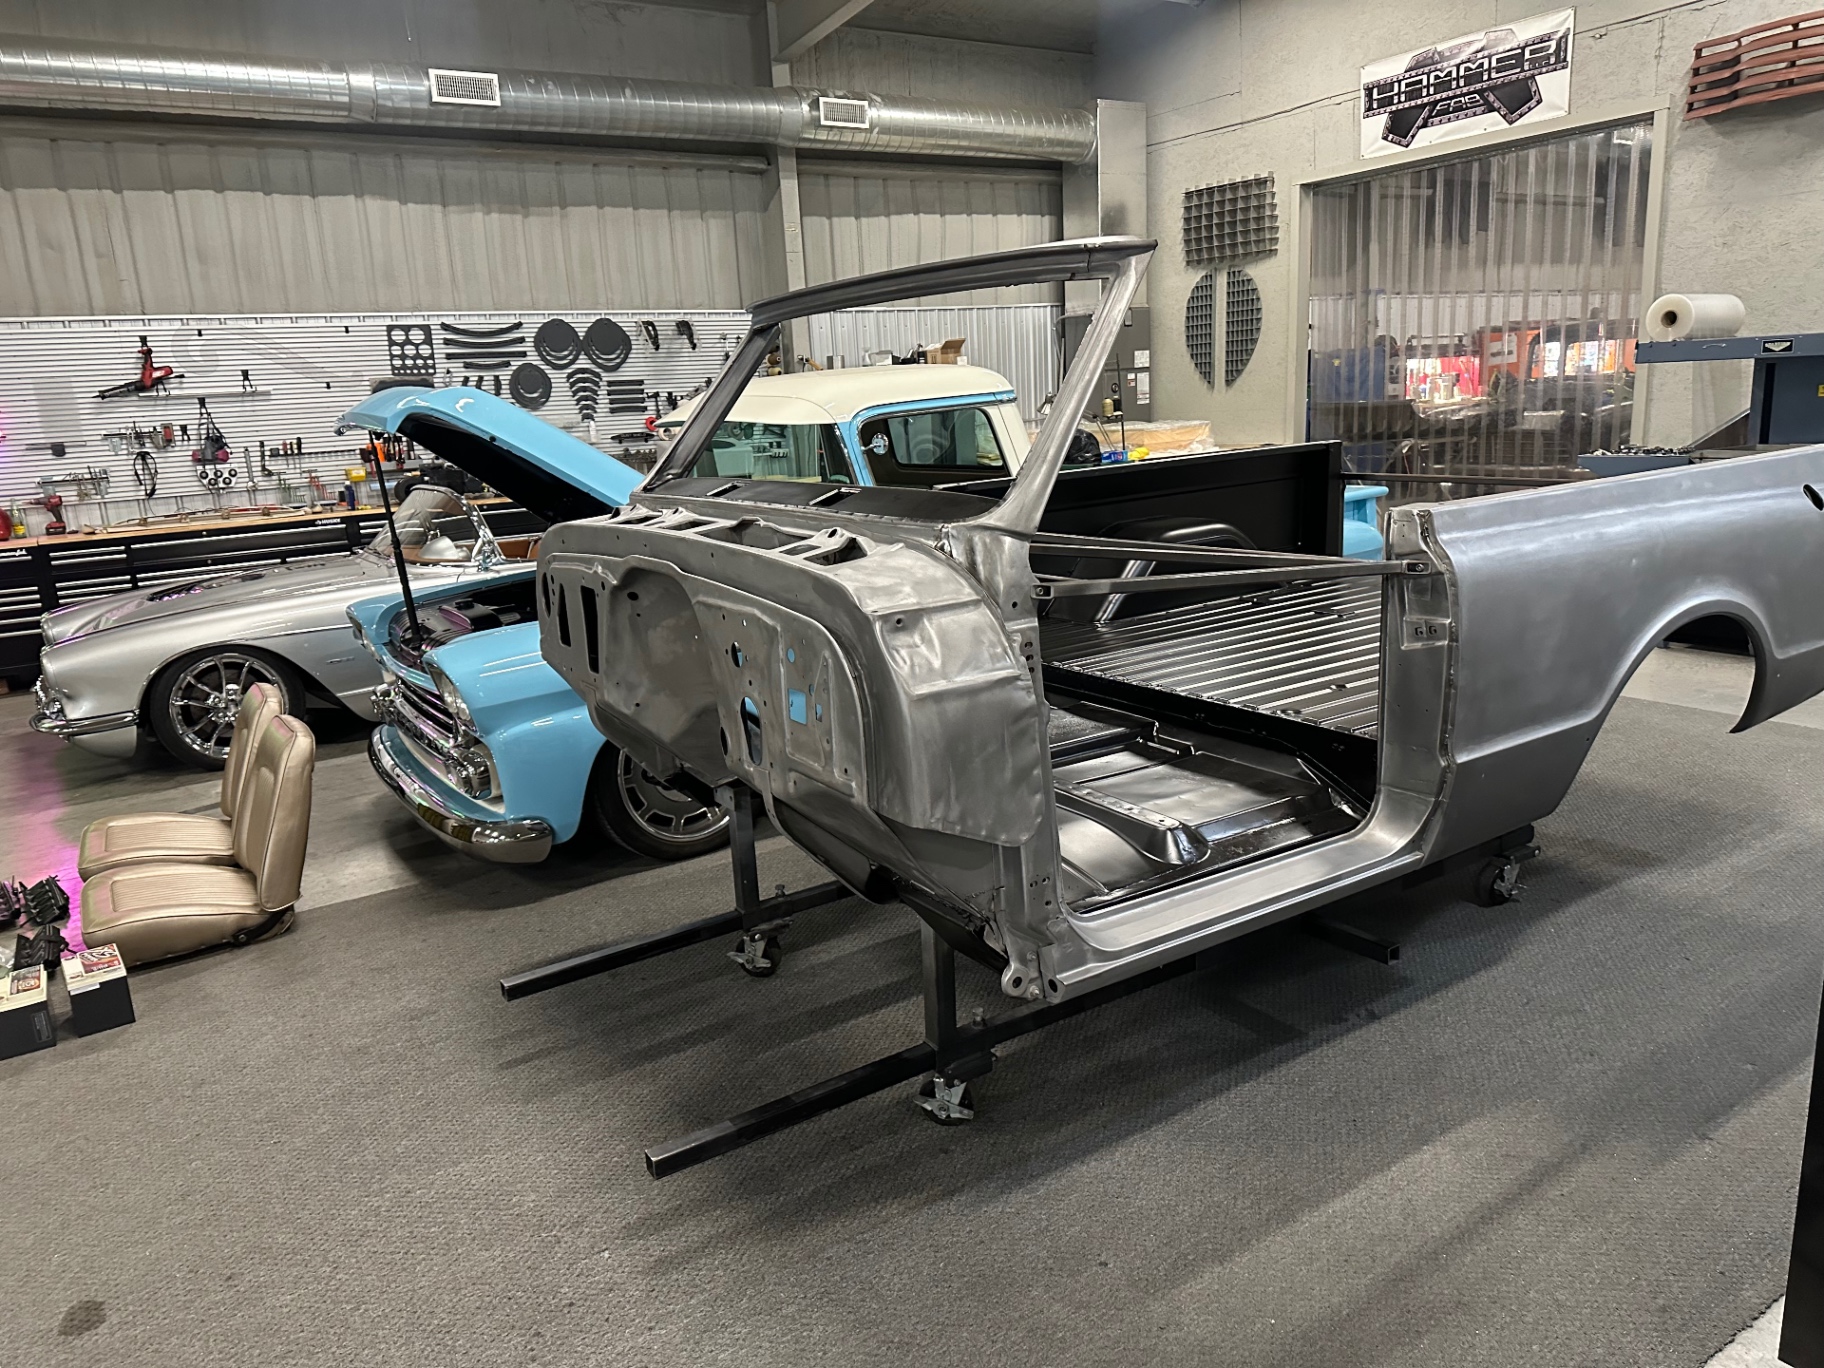 J016
J016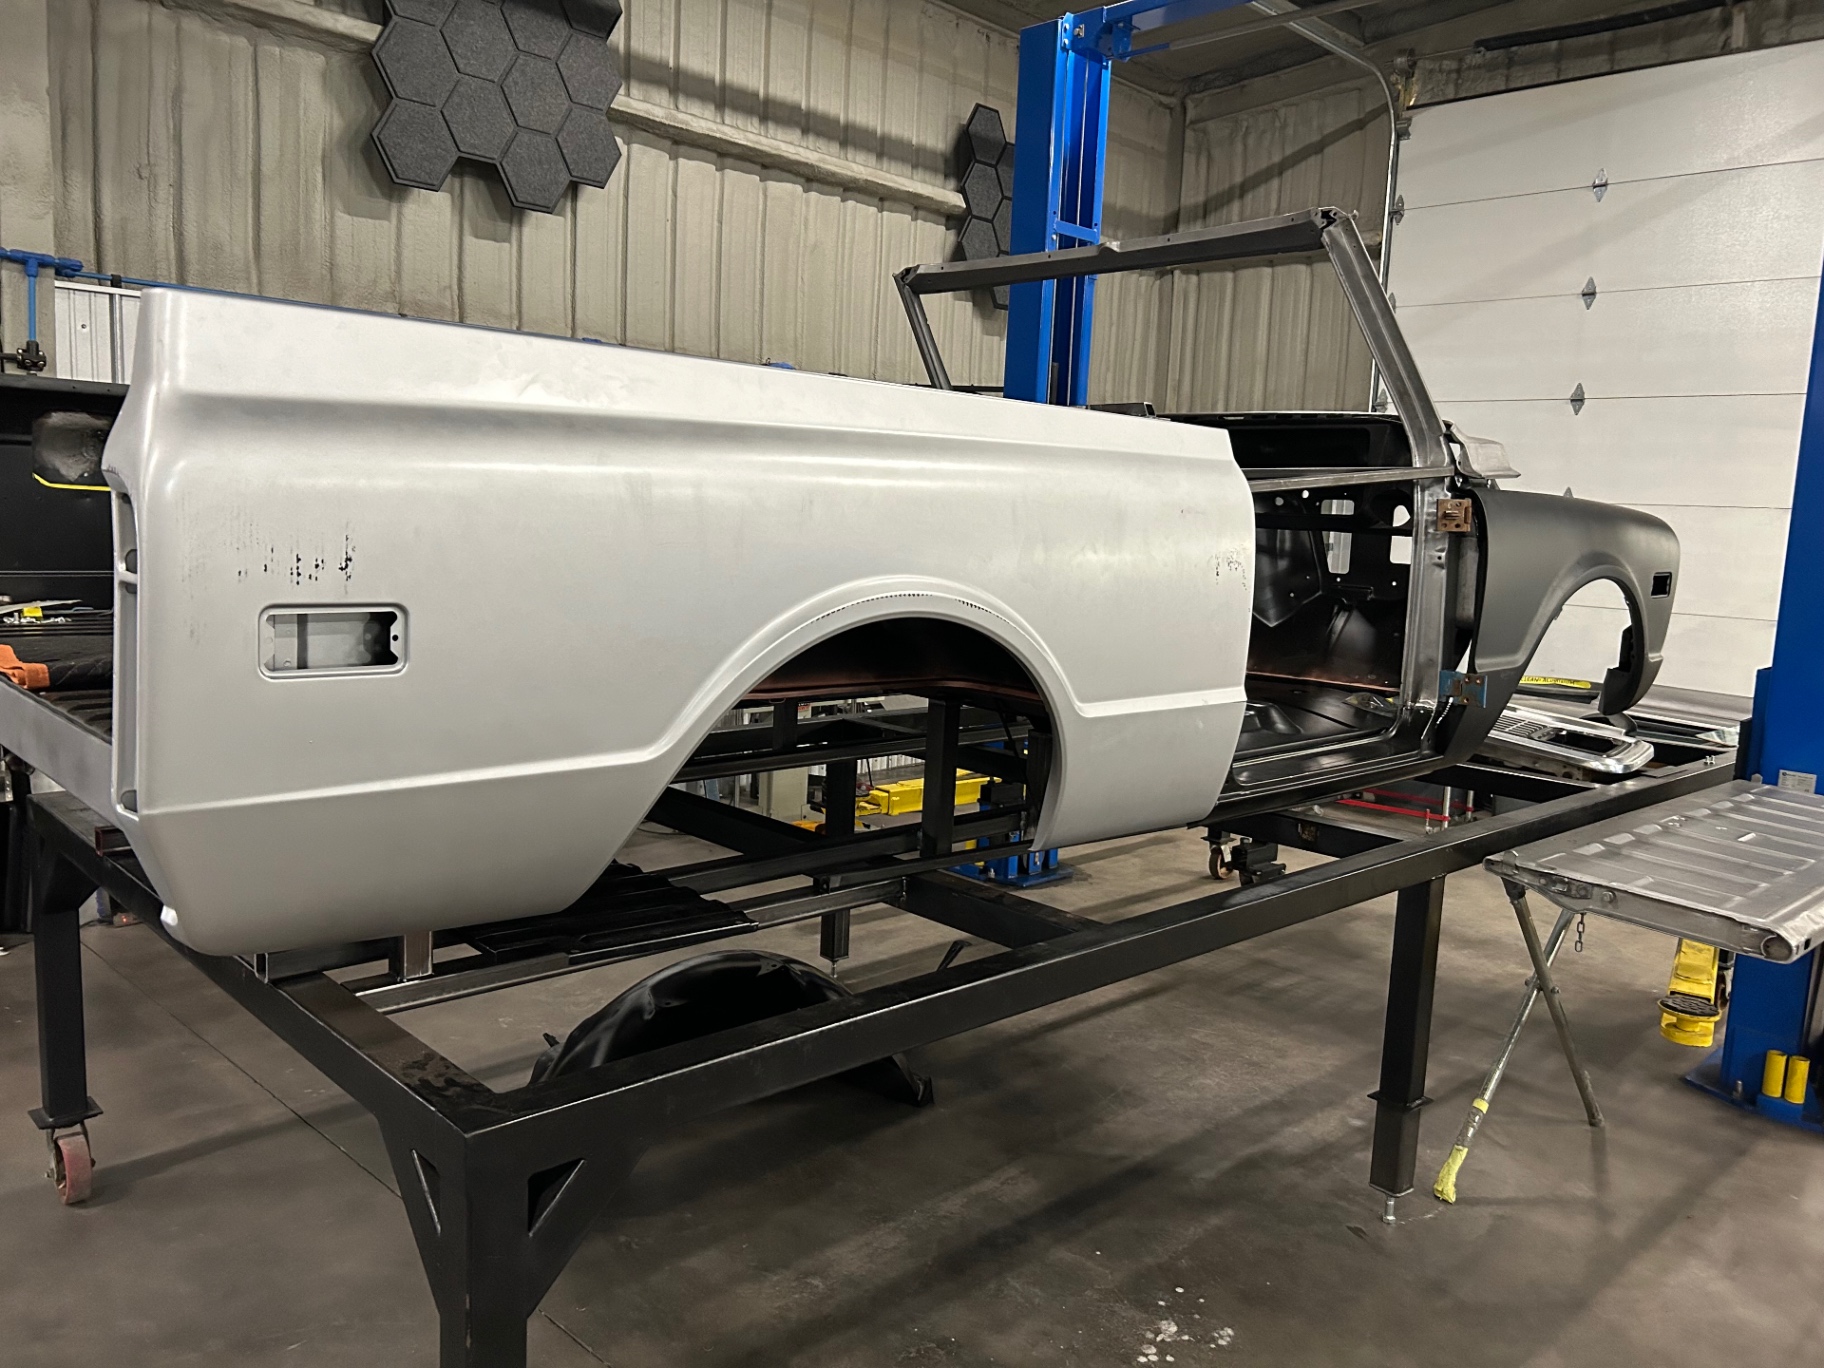 J017
J017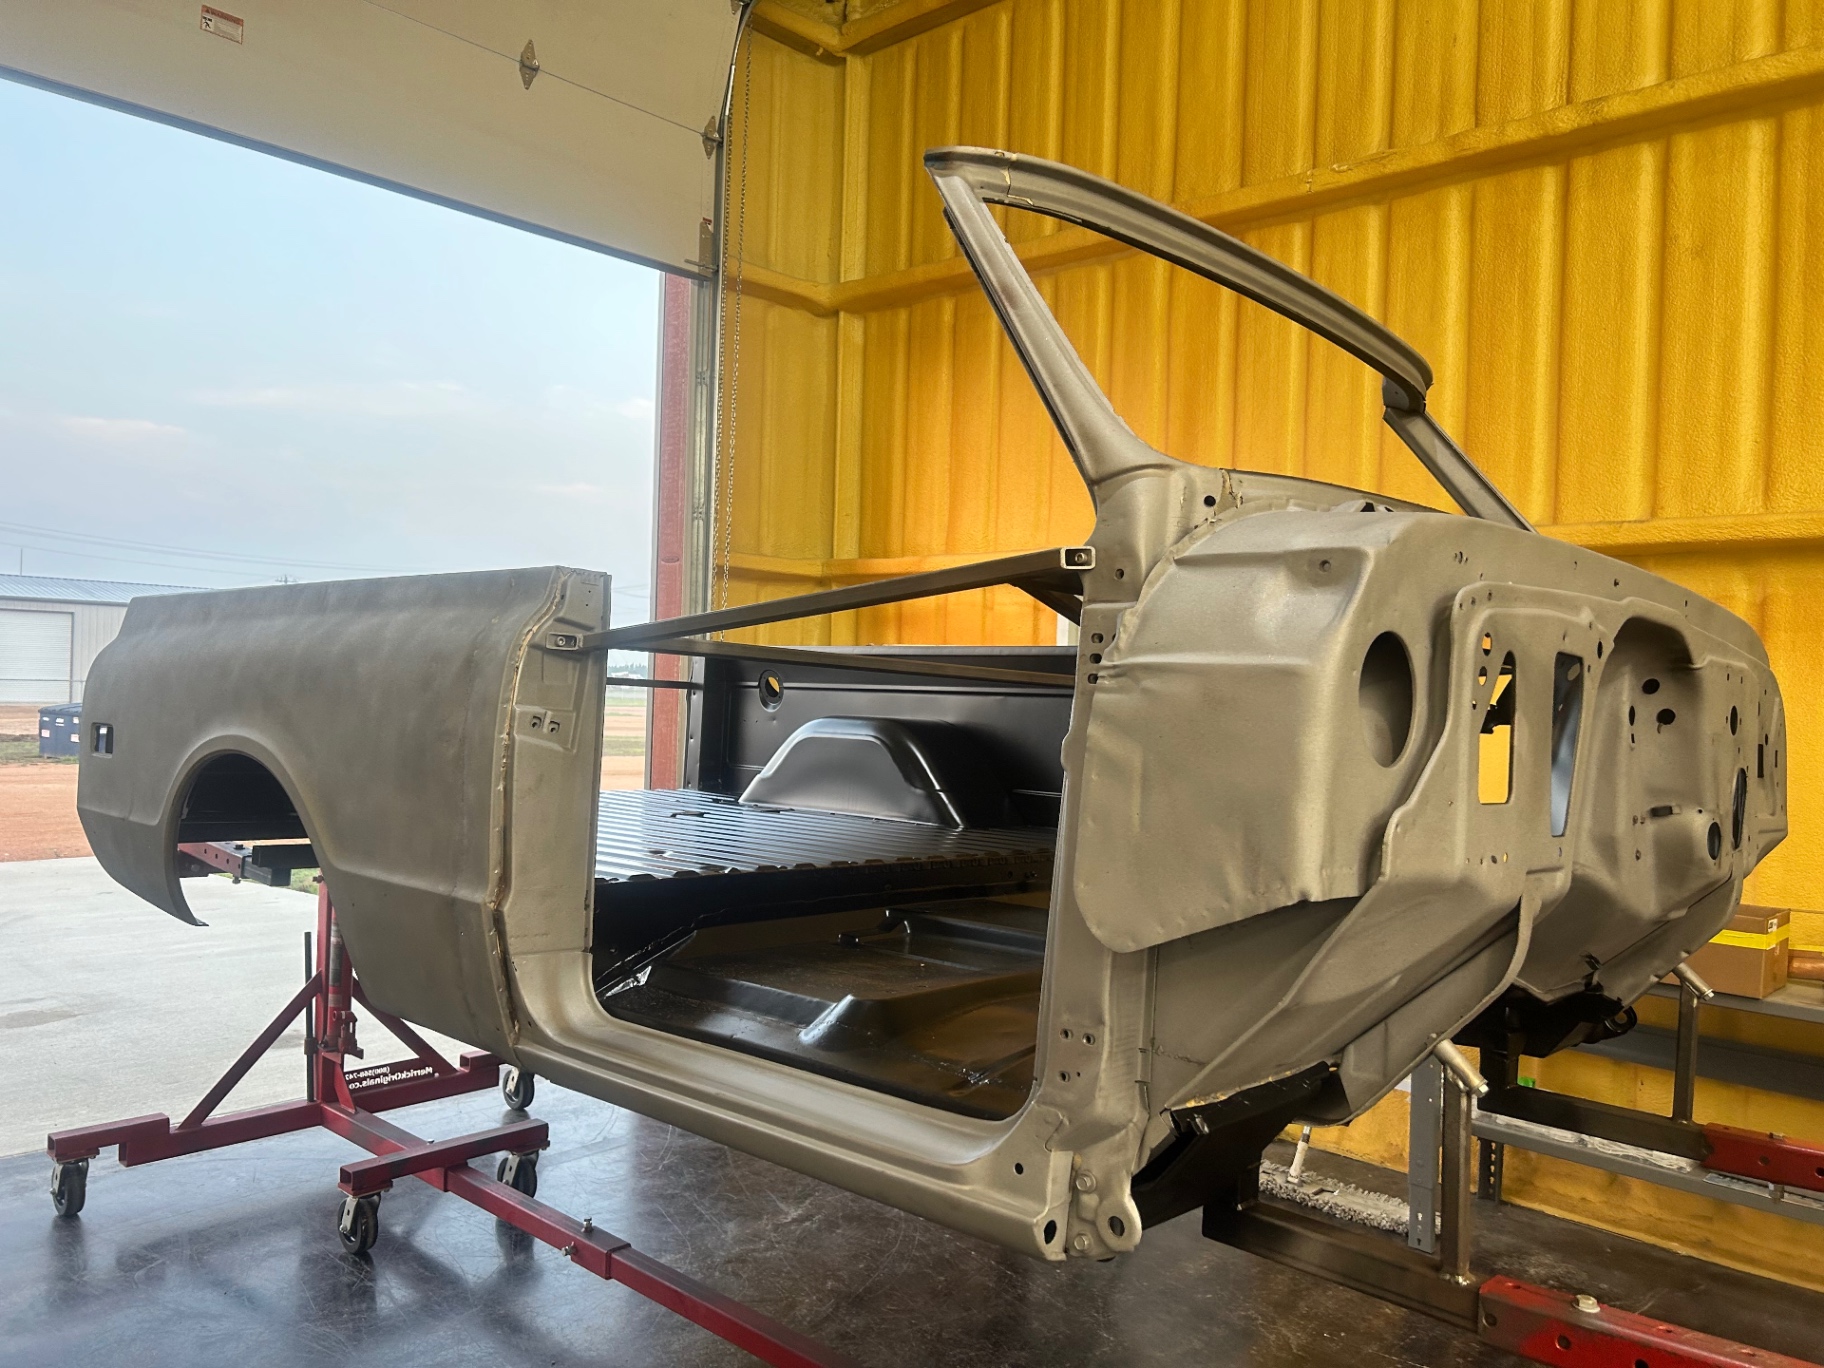 J018
J018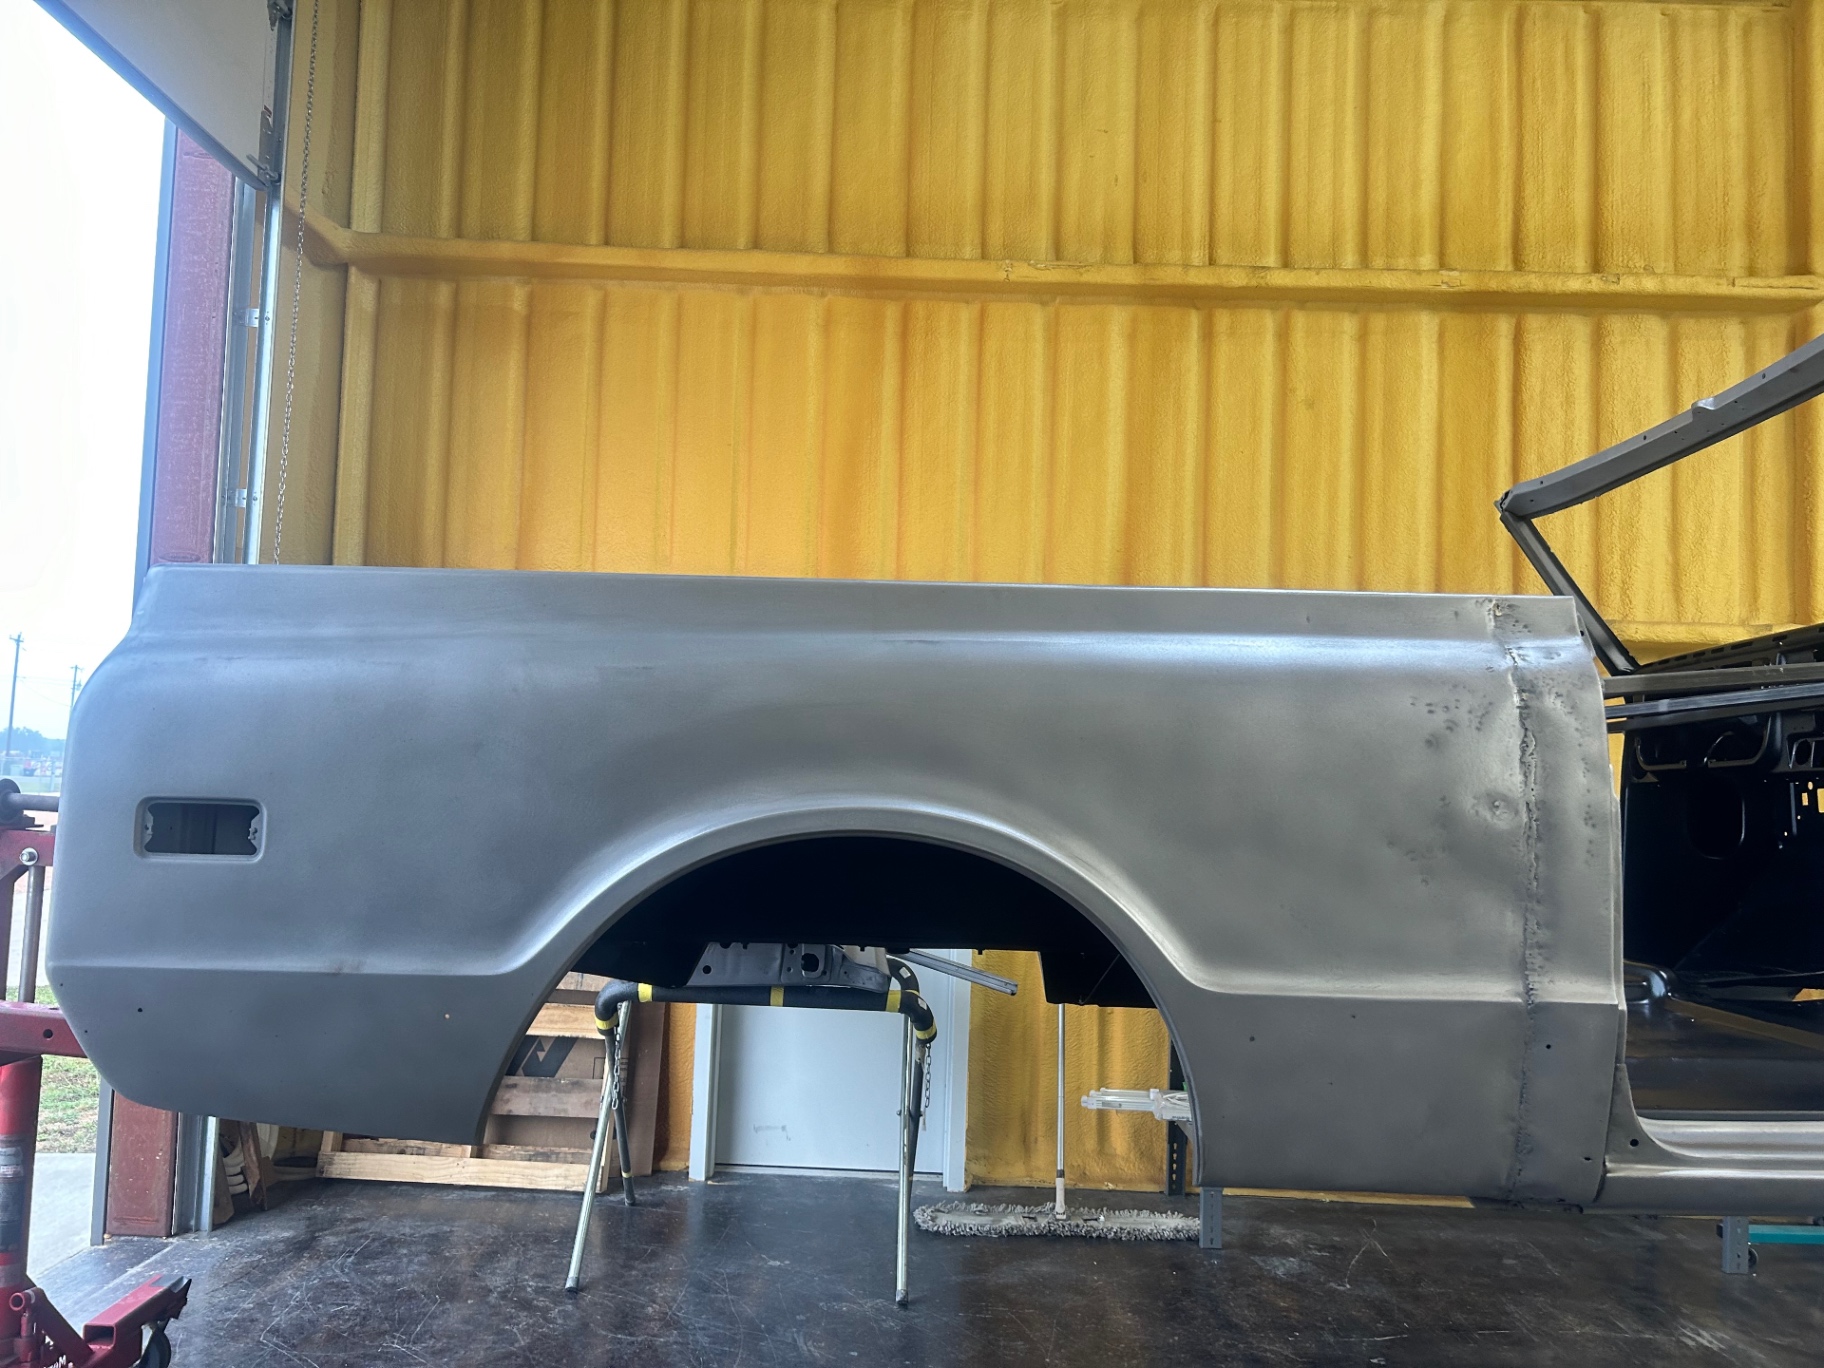 J019
J019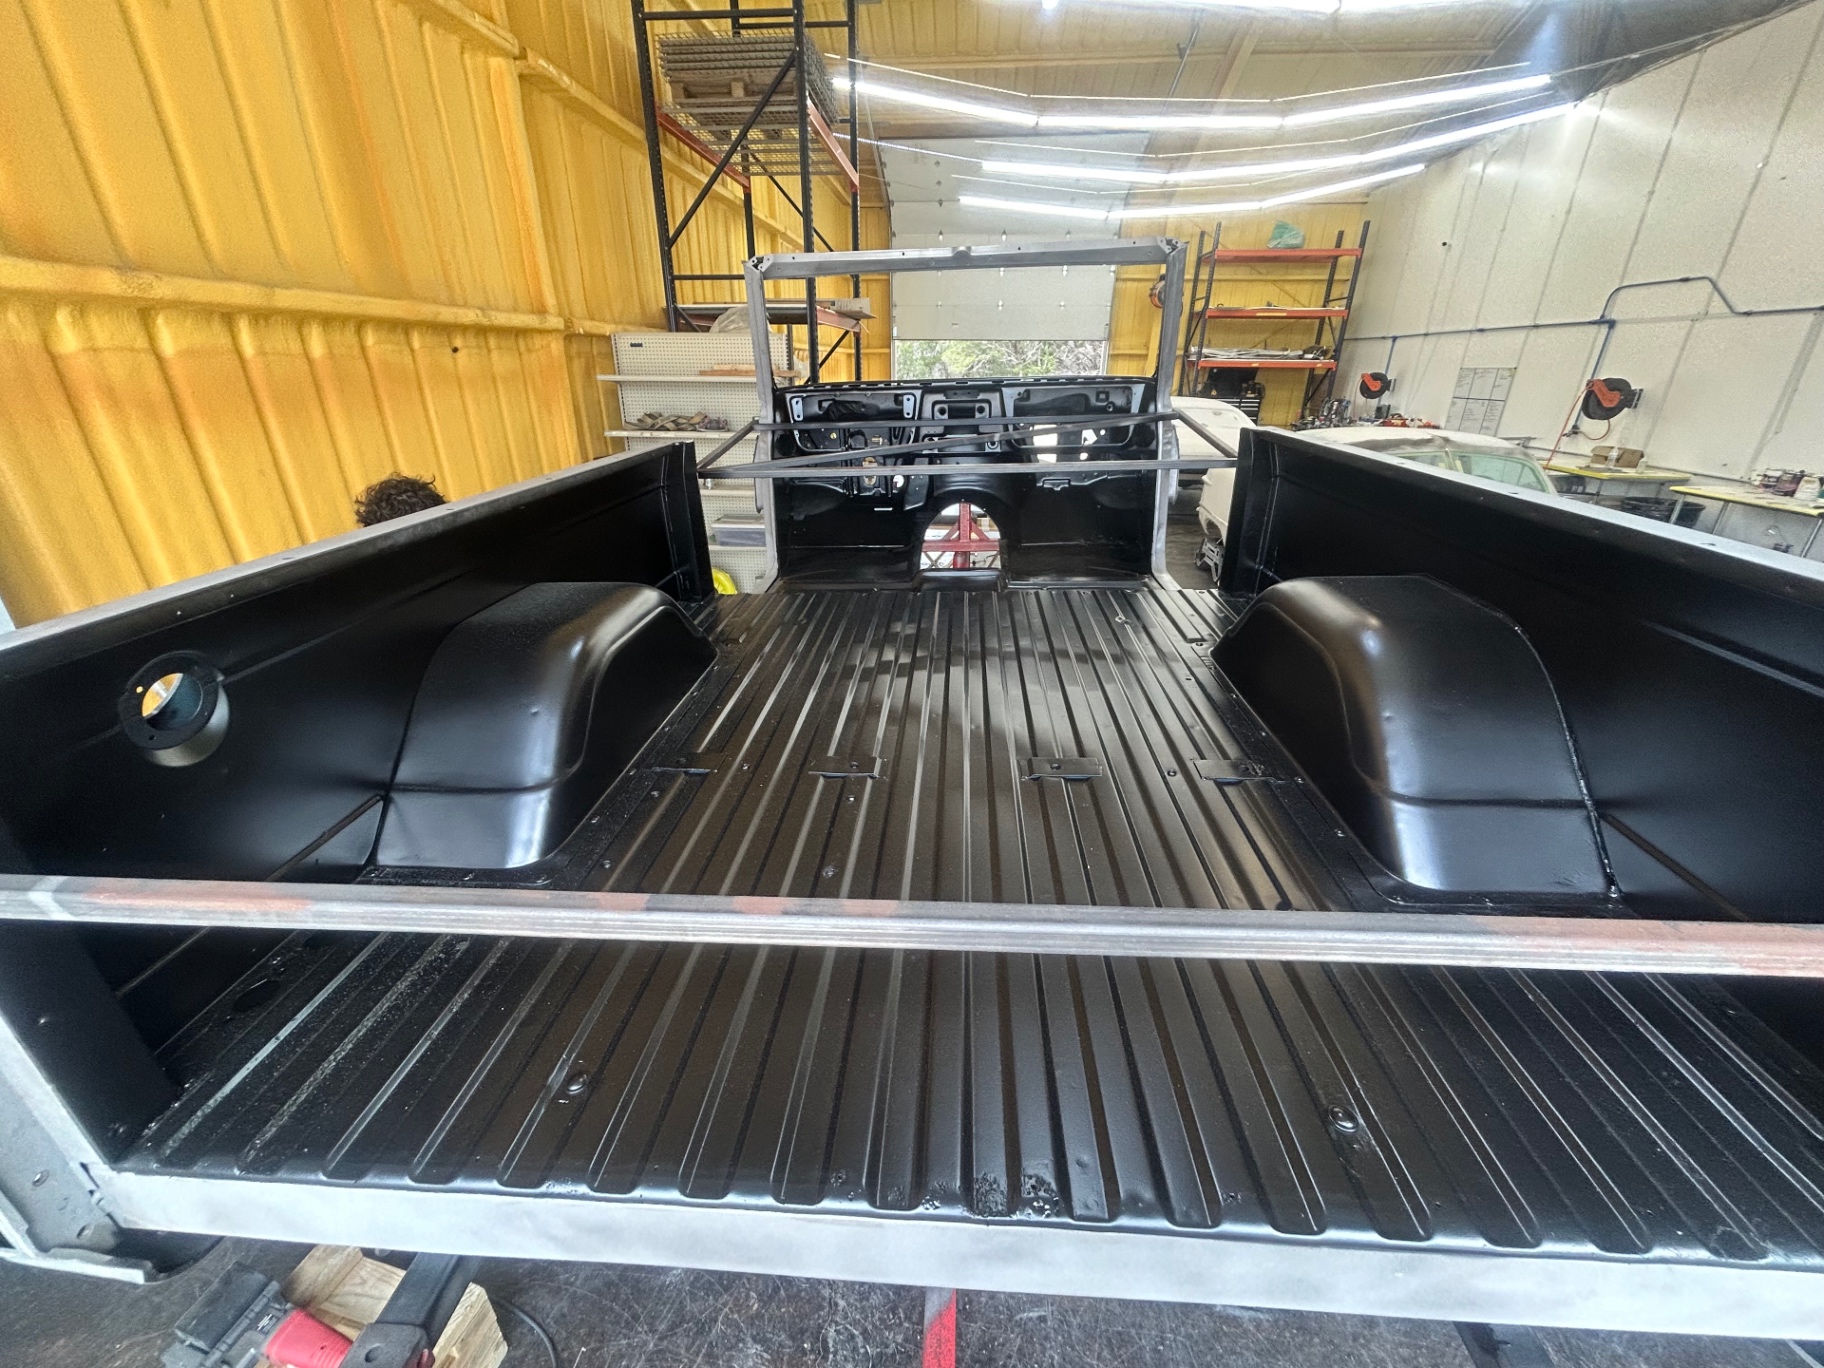 J020
J020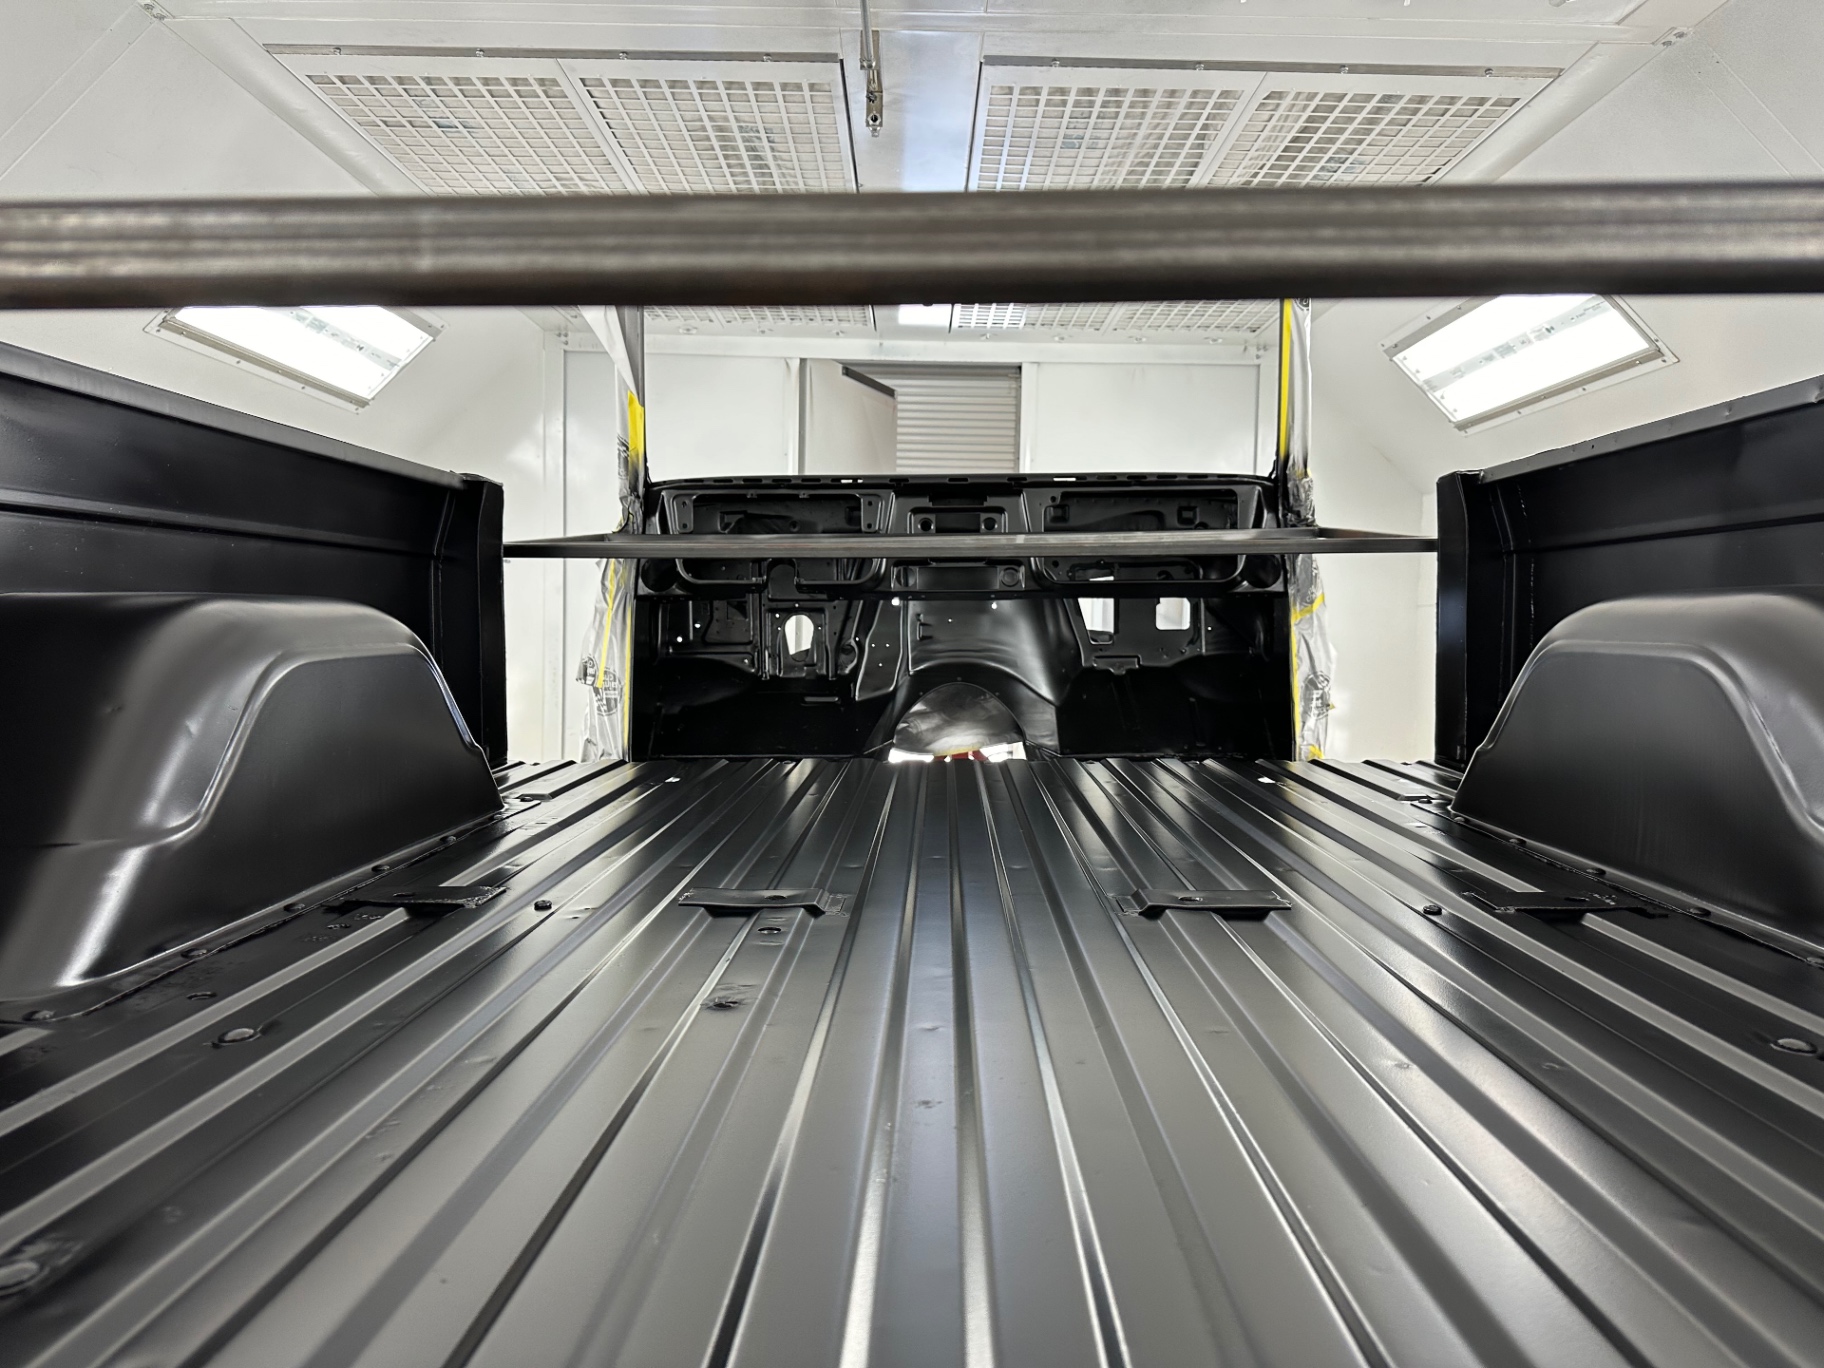 J021
J021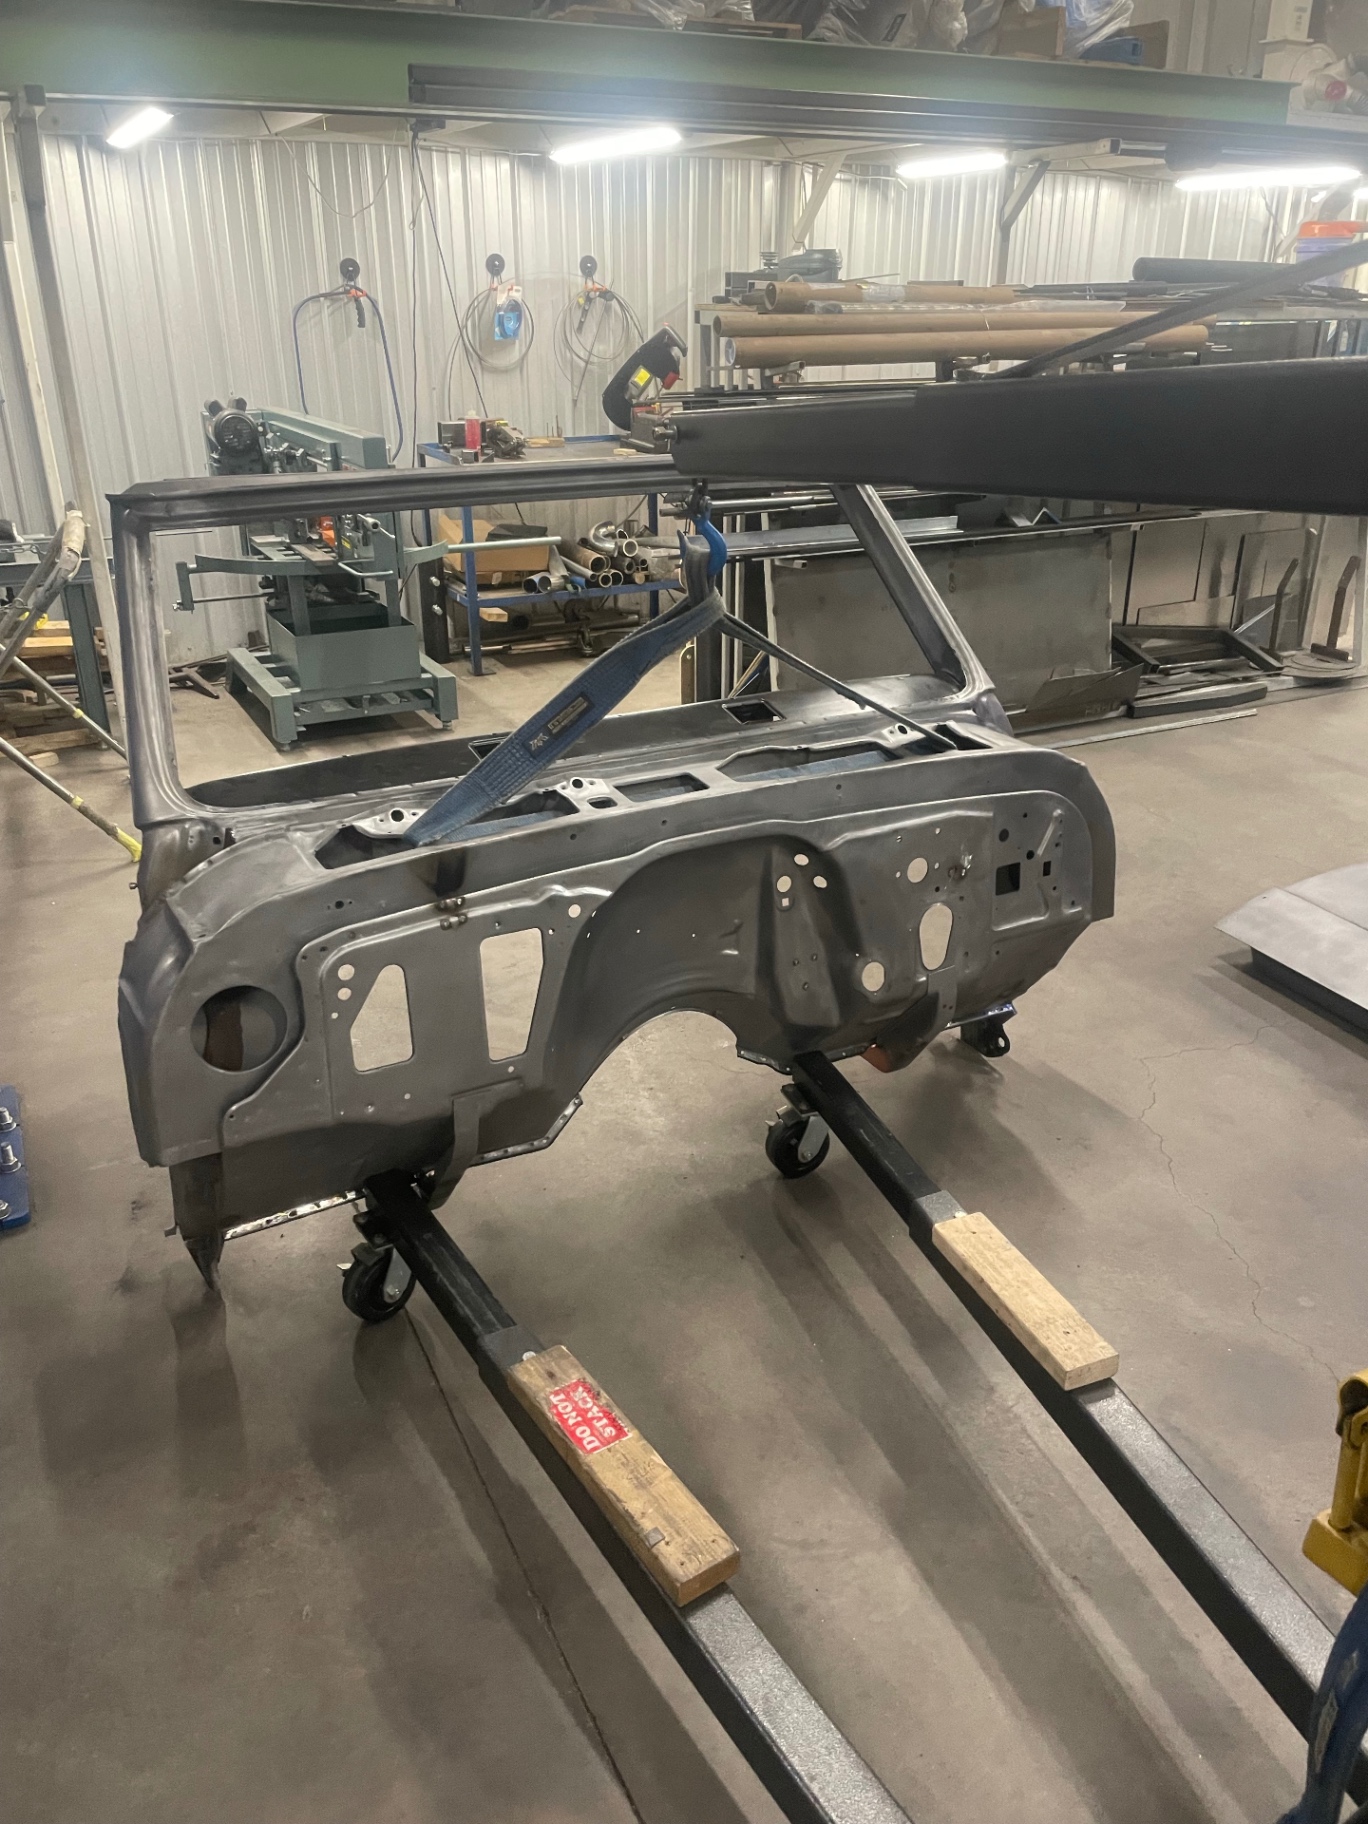 J022
J022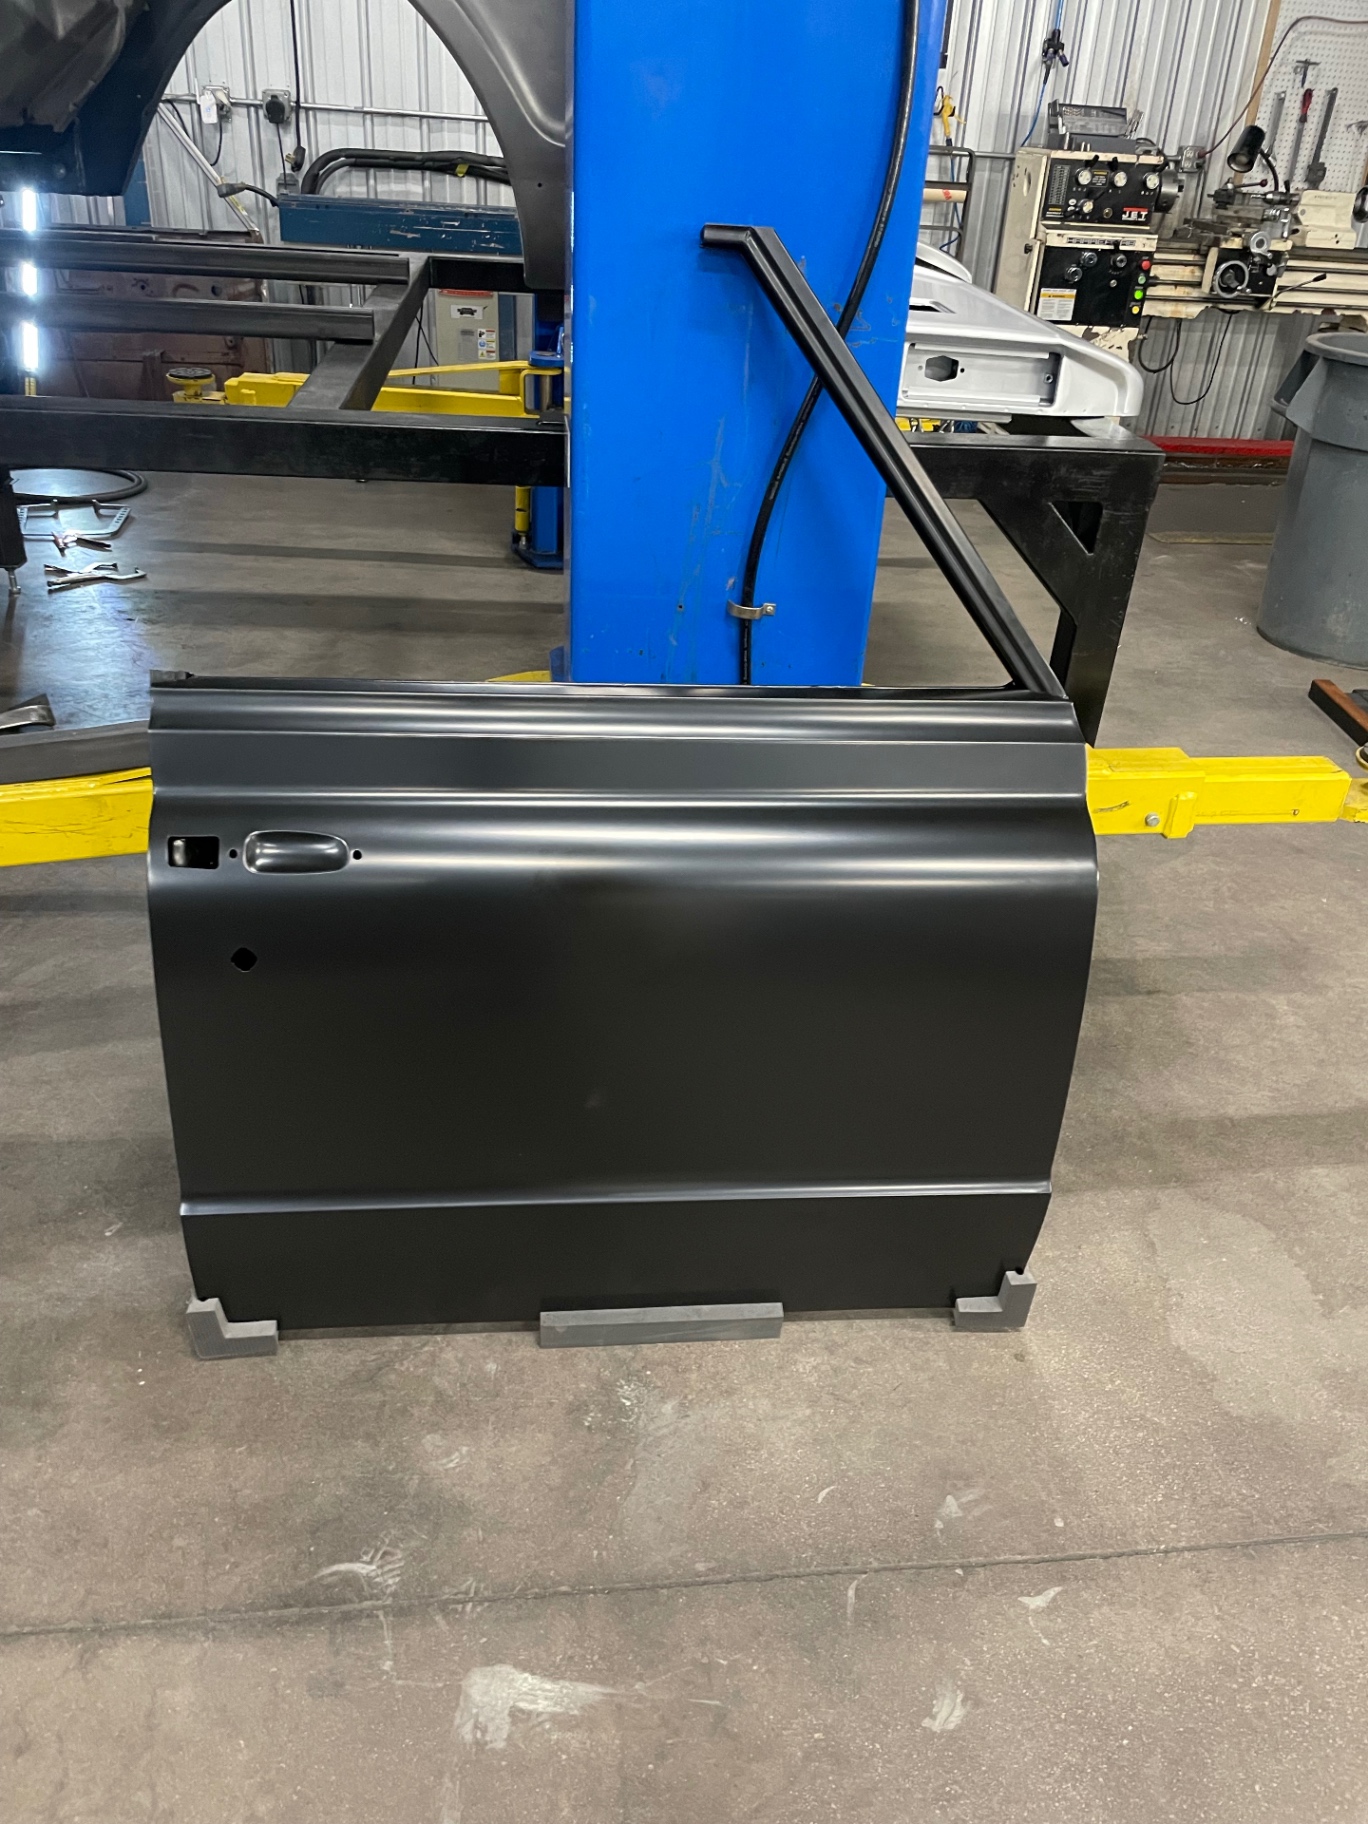 J023
J023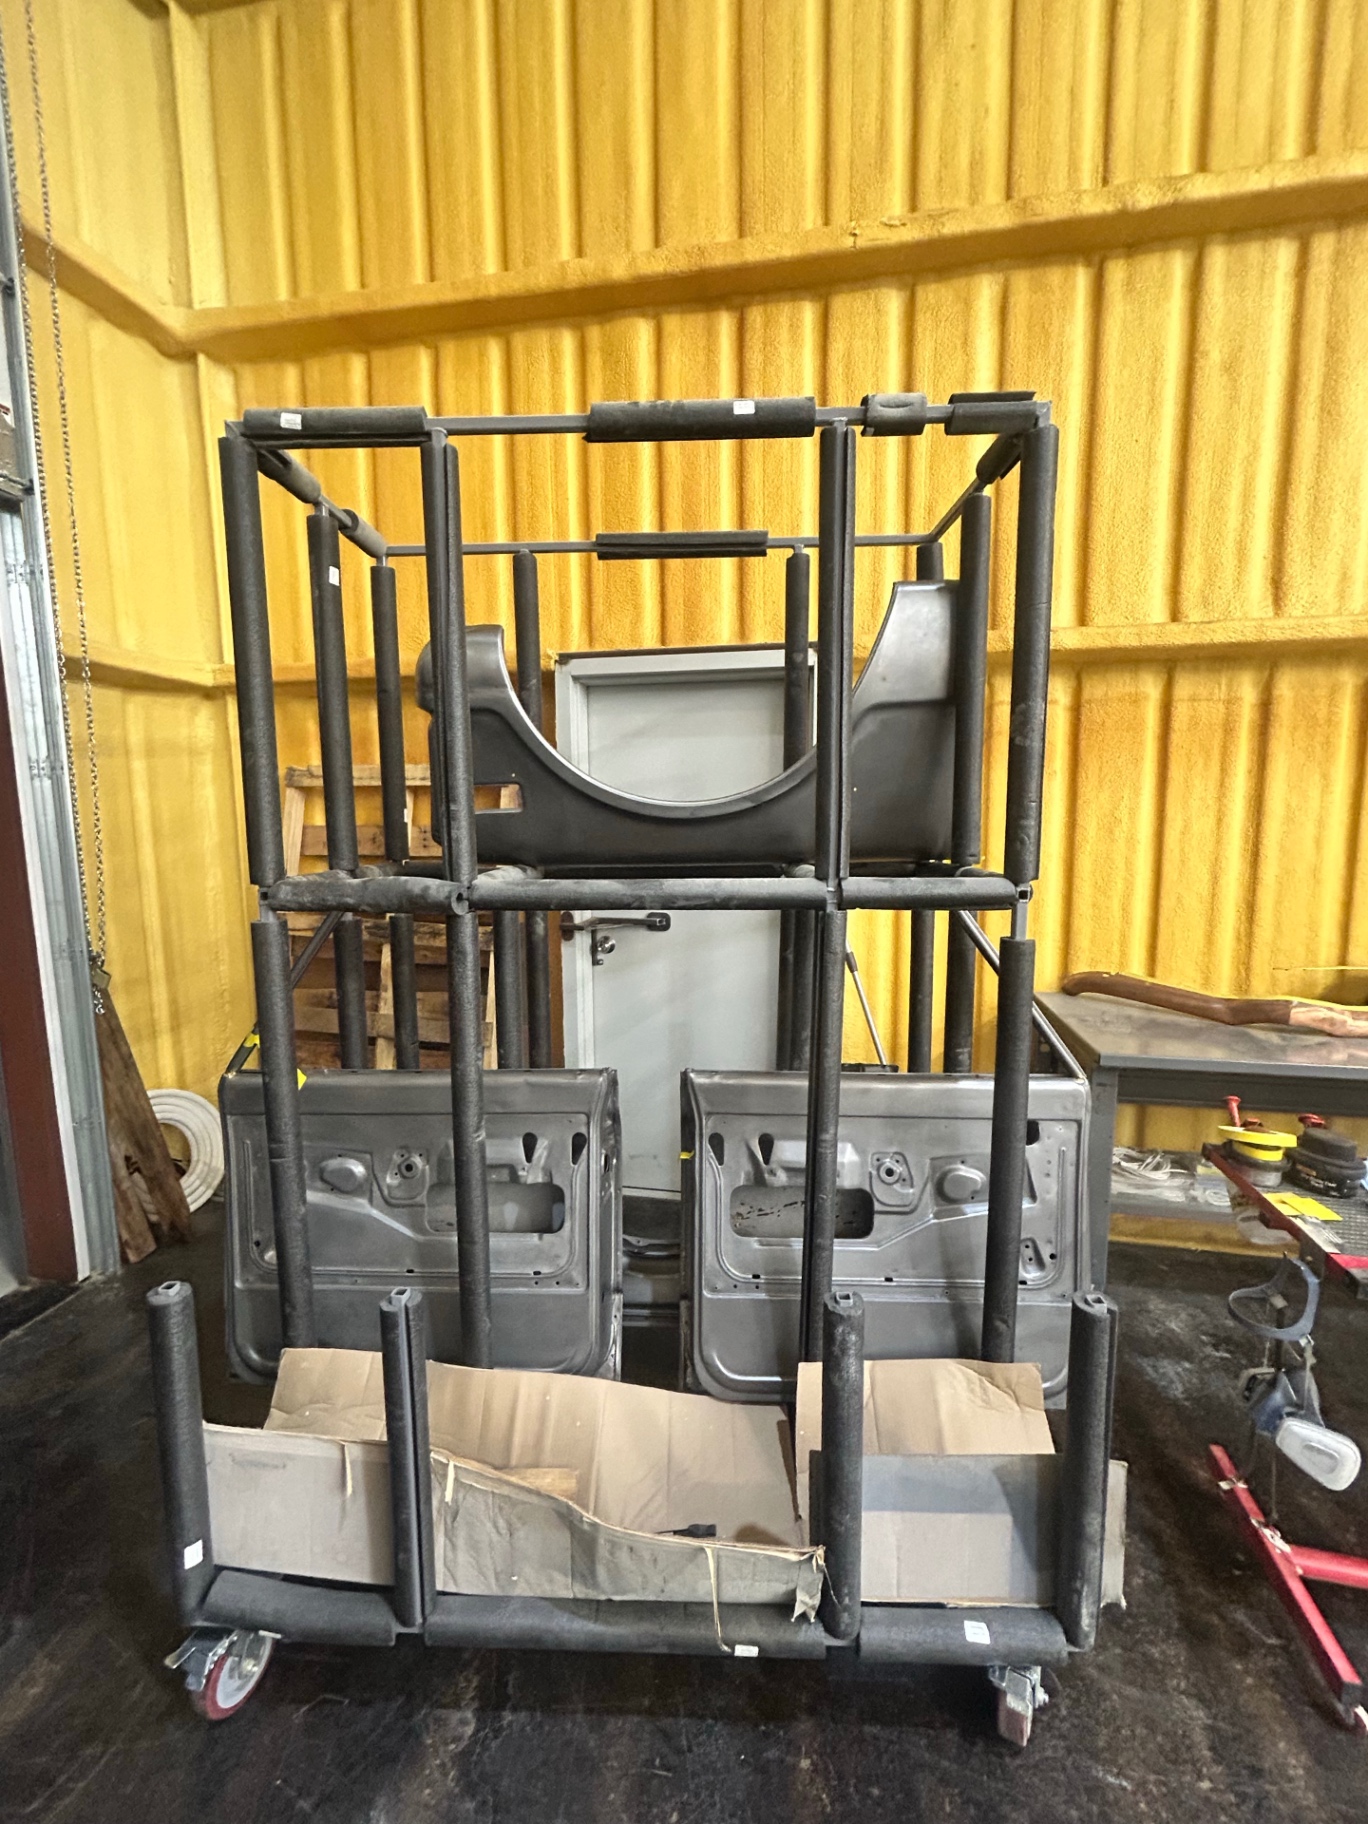 J024
J024UPDATE 04 / 11
Jul 10, 2026
ASSEMBLY MILESTONEFirst fire and electrical test
The LT4 has fired up for the first time and the electrical system has been tested on the Roadster Shop Legends chassis. Metal fabrication is wrapping up and the Blazer will head to the body shop next.
J025UPDATE 05 / 11
Jul 10, 2026
DESIGNRender locked
The '71 Blazer direction is set: keep the classic K5 silhouette with a hand-built aluminum top, raised bed sides, and over-the-top billet details. The rendering is the target for the build.
J026UPDATE 06 / 11
Jul 1, 2026
FABRICATION MILESTONEHand-built coolant expansion tank
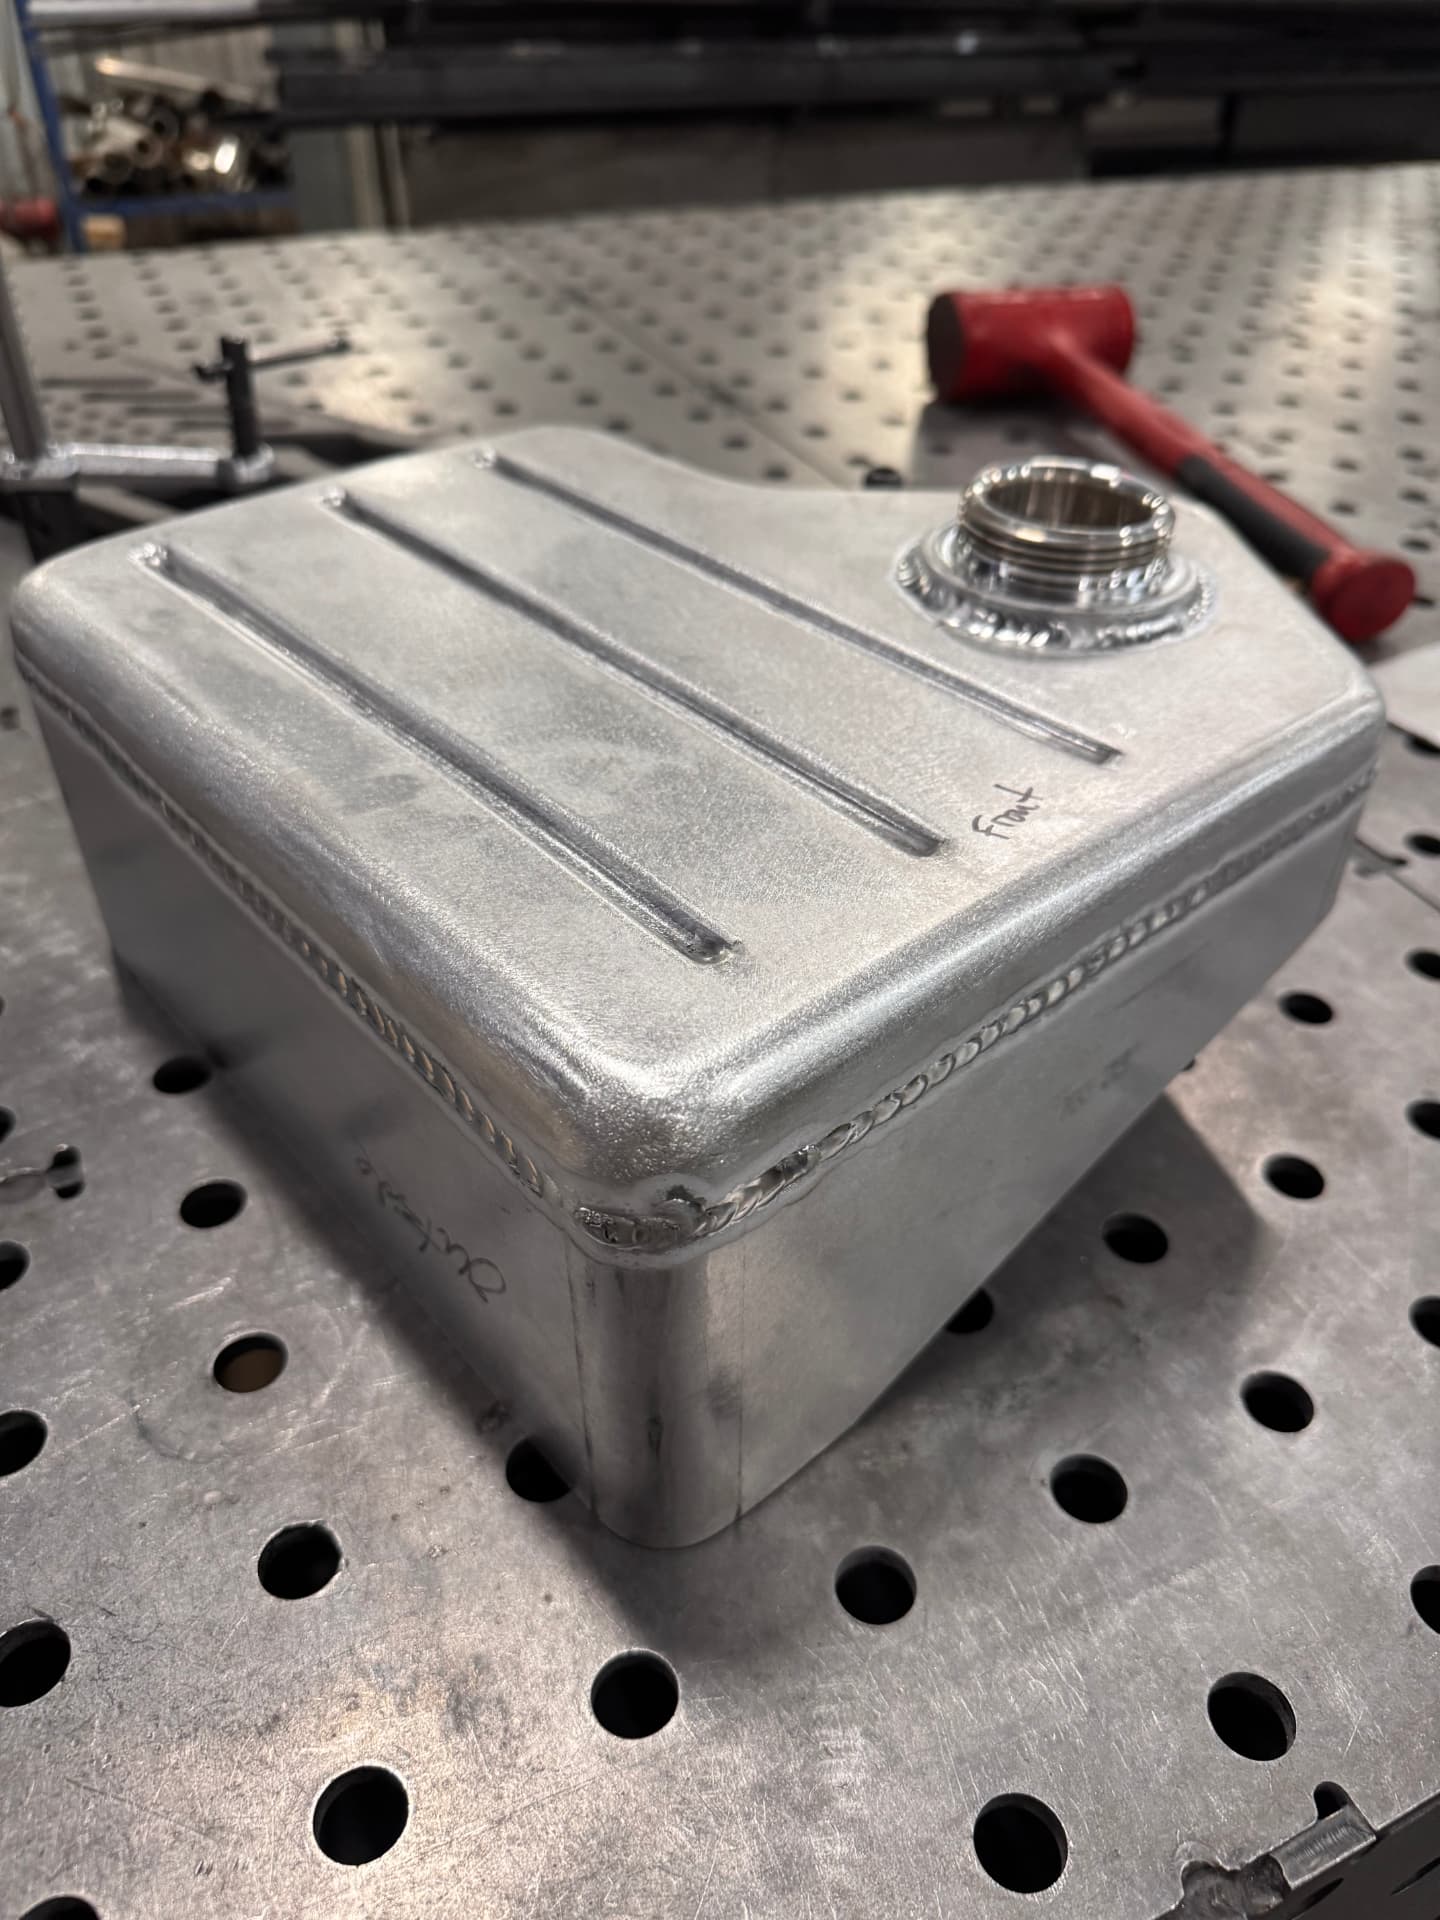
A one-off coolant expansion tank built in house from aluminum sheet. The body is shaped and welded to clear the engine bay packaging, rolled beads add stiffness and a finished look on the top panel, and a machined filler neck is welded in for a clean, serviceable cap.
 J027
J027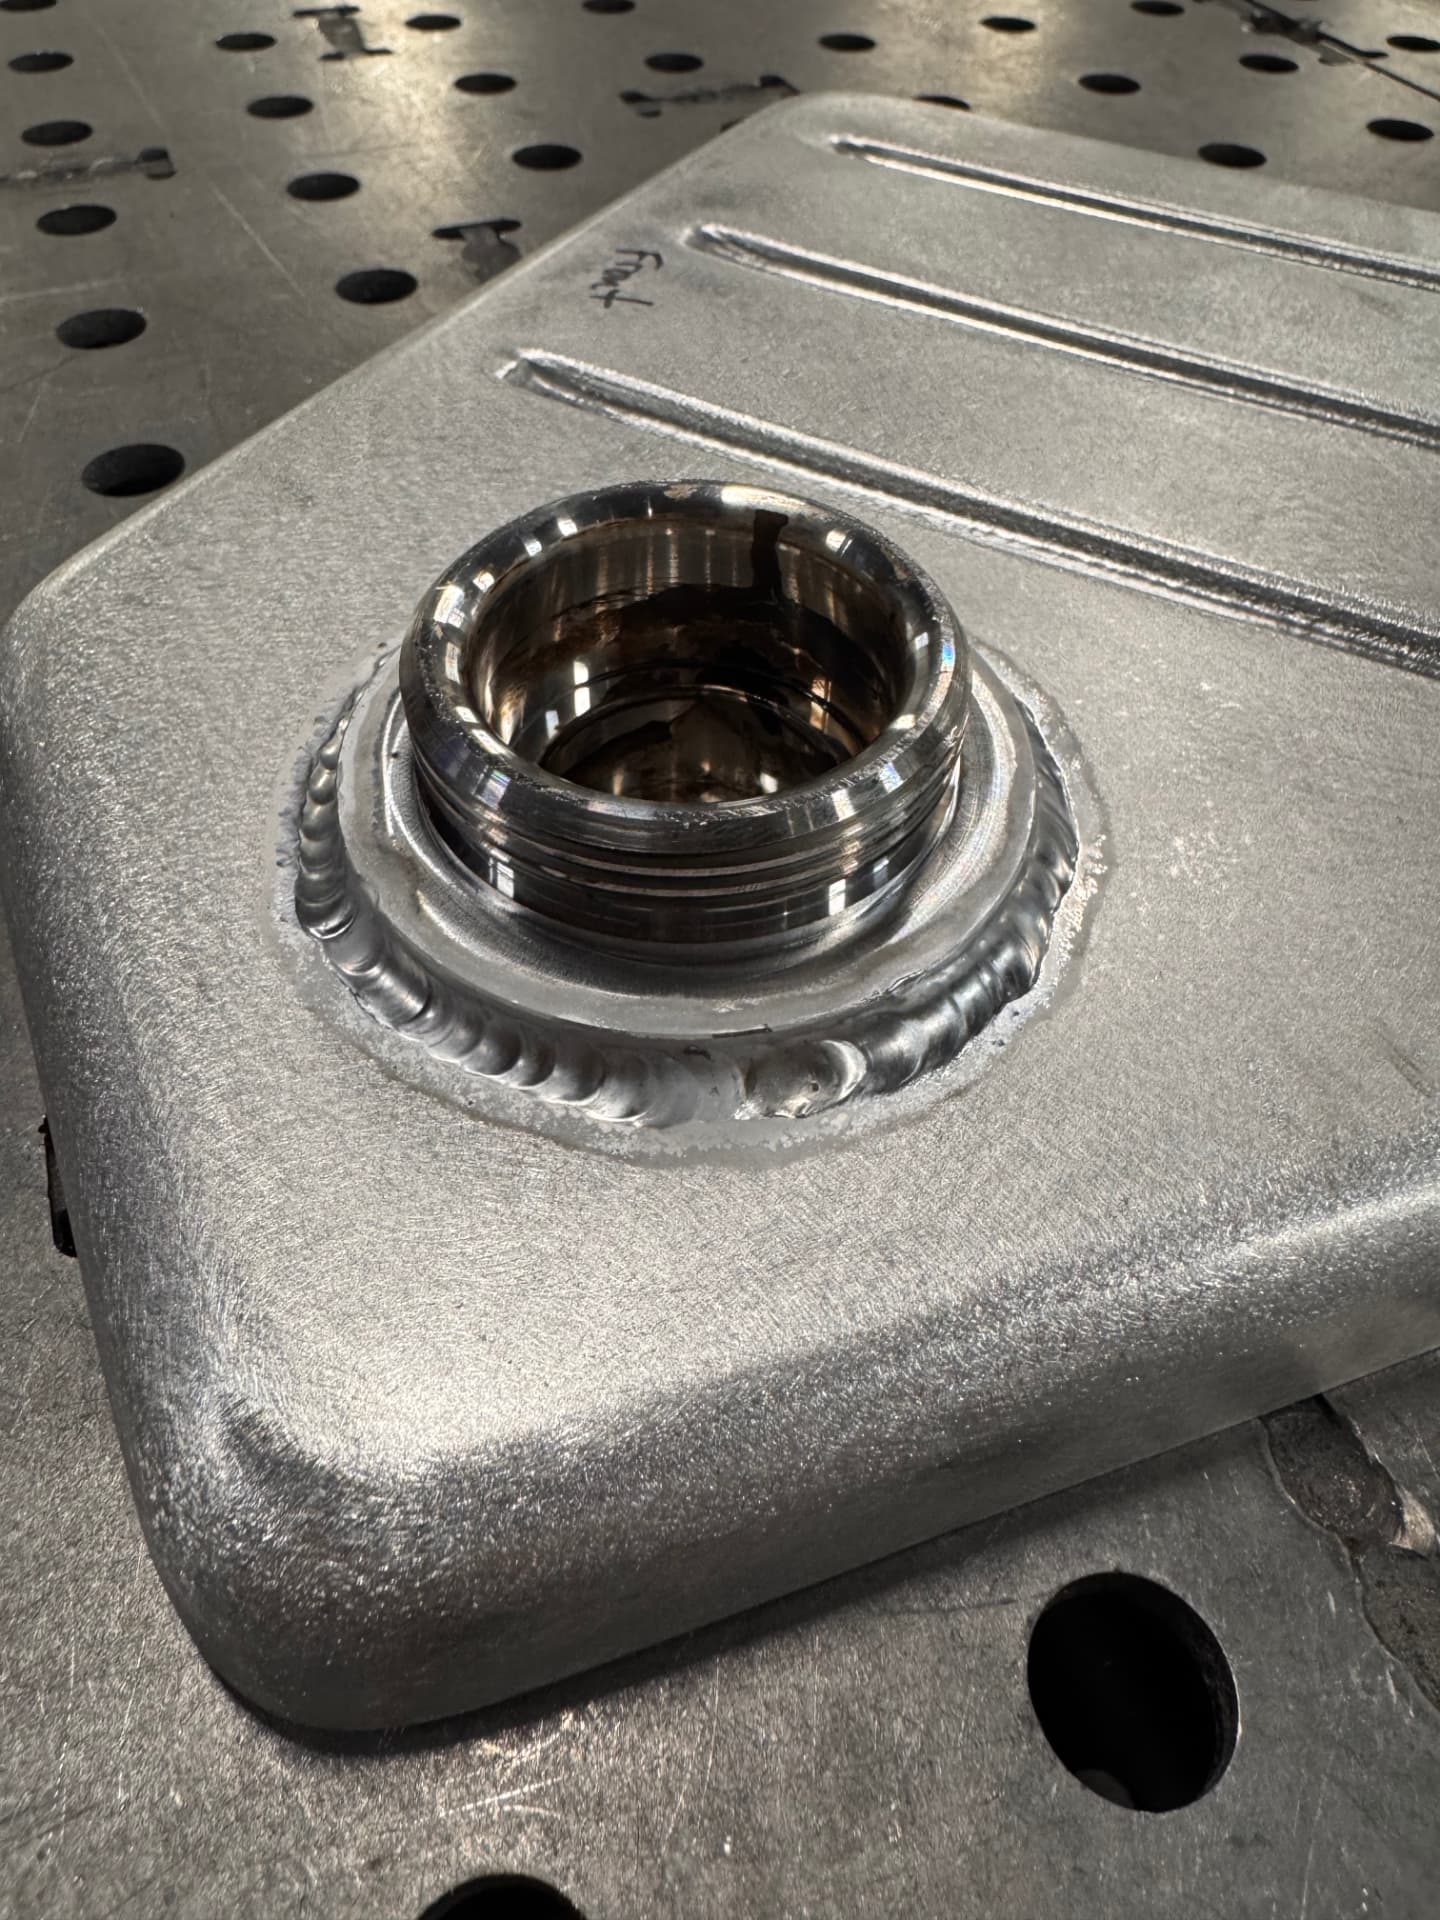 J028
J028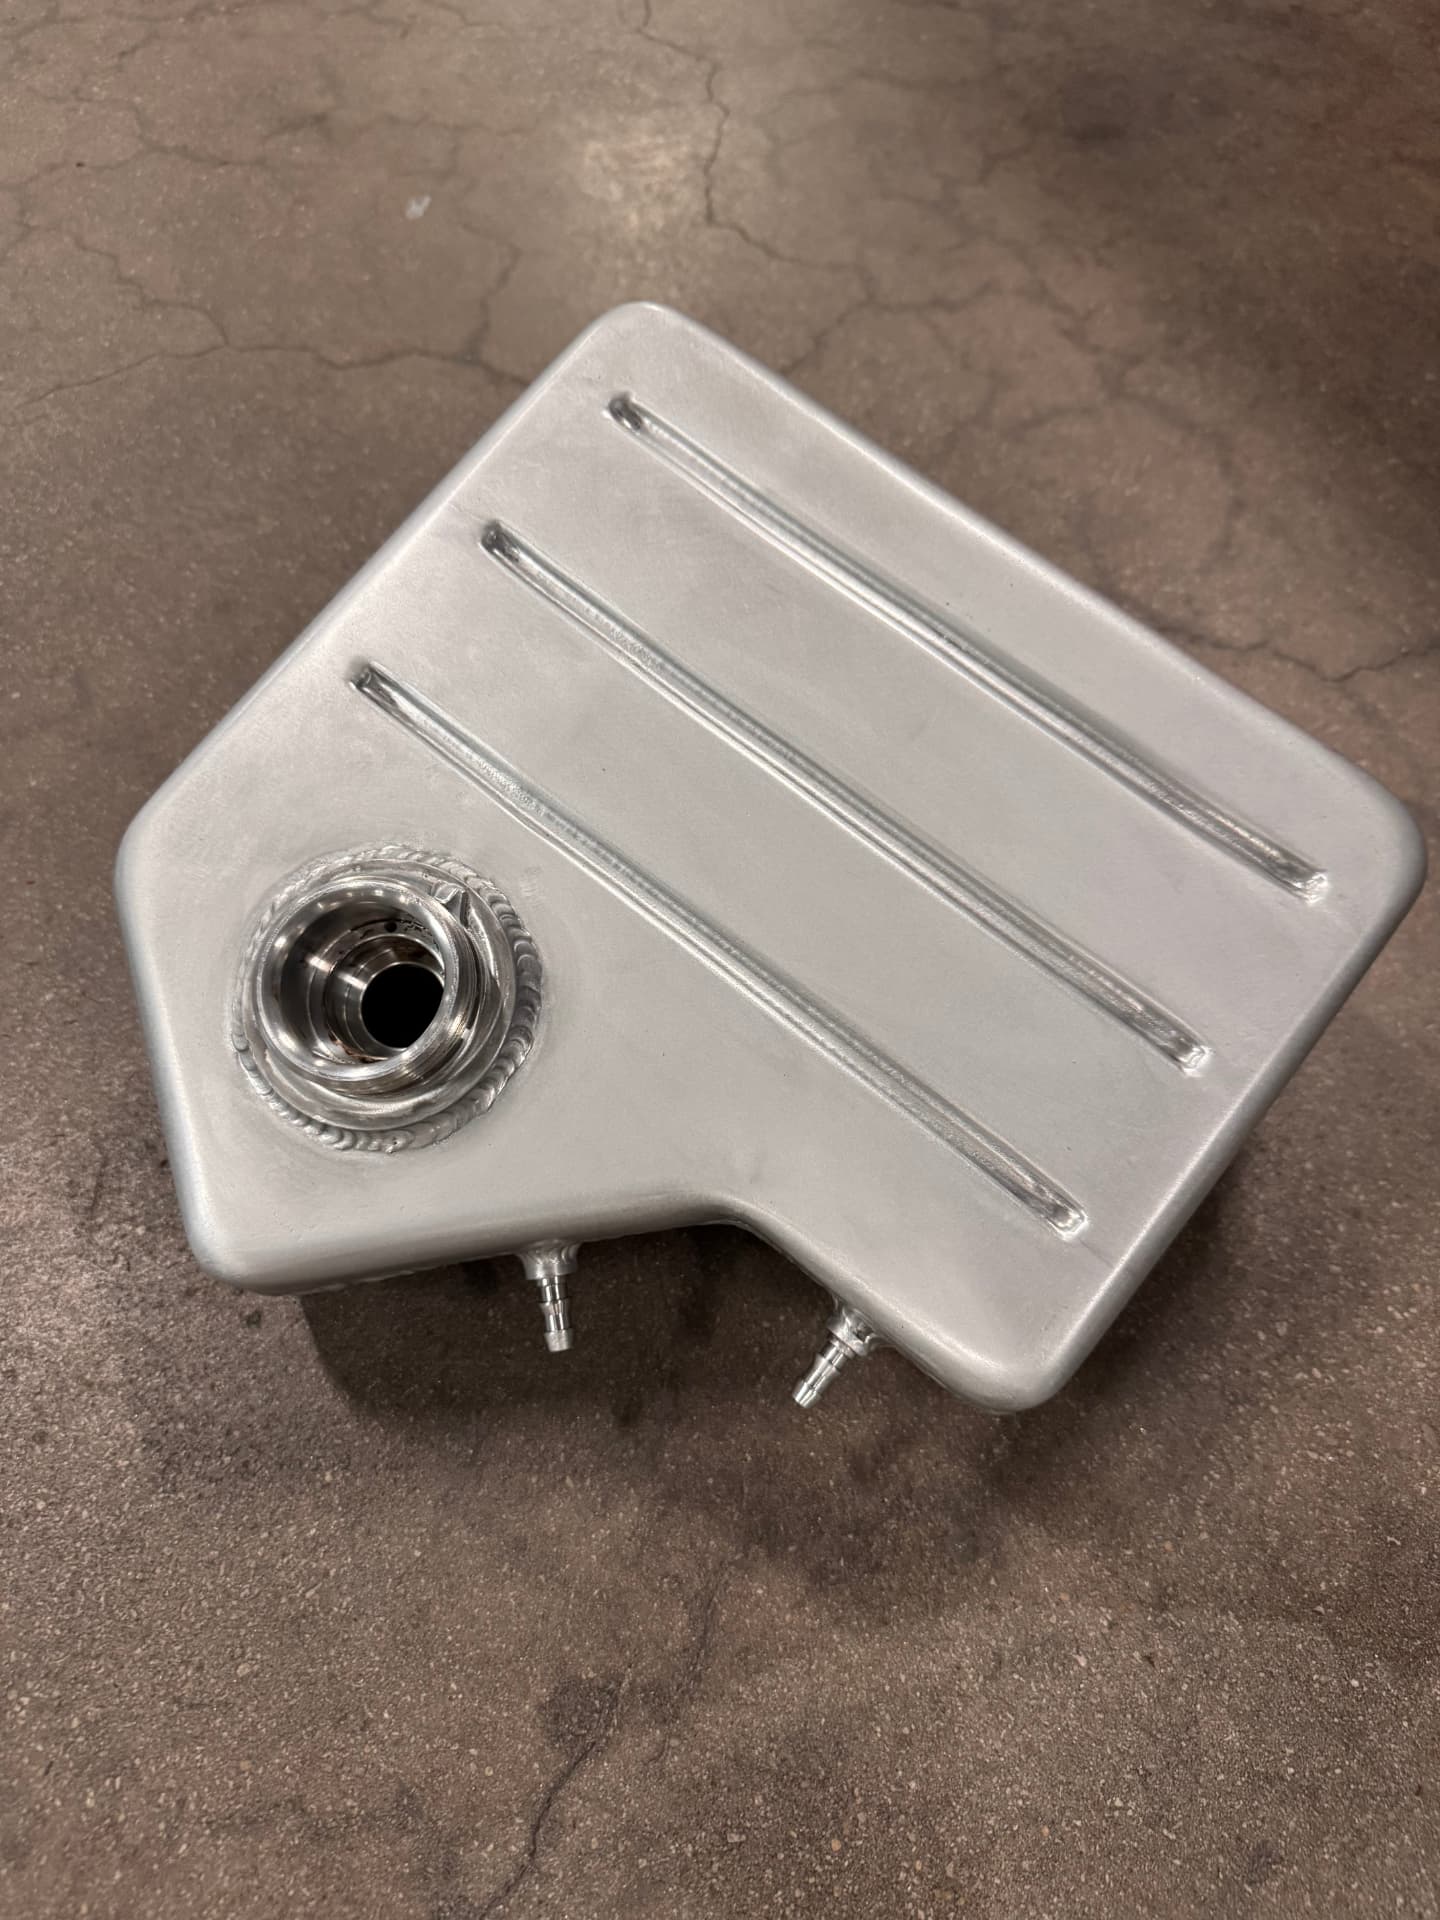 J029
J029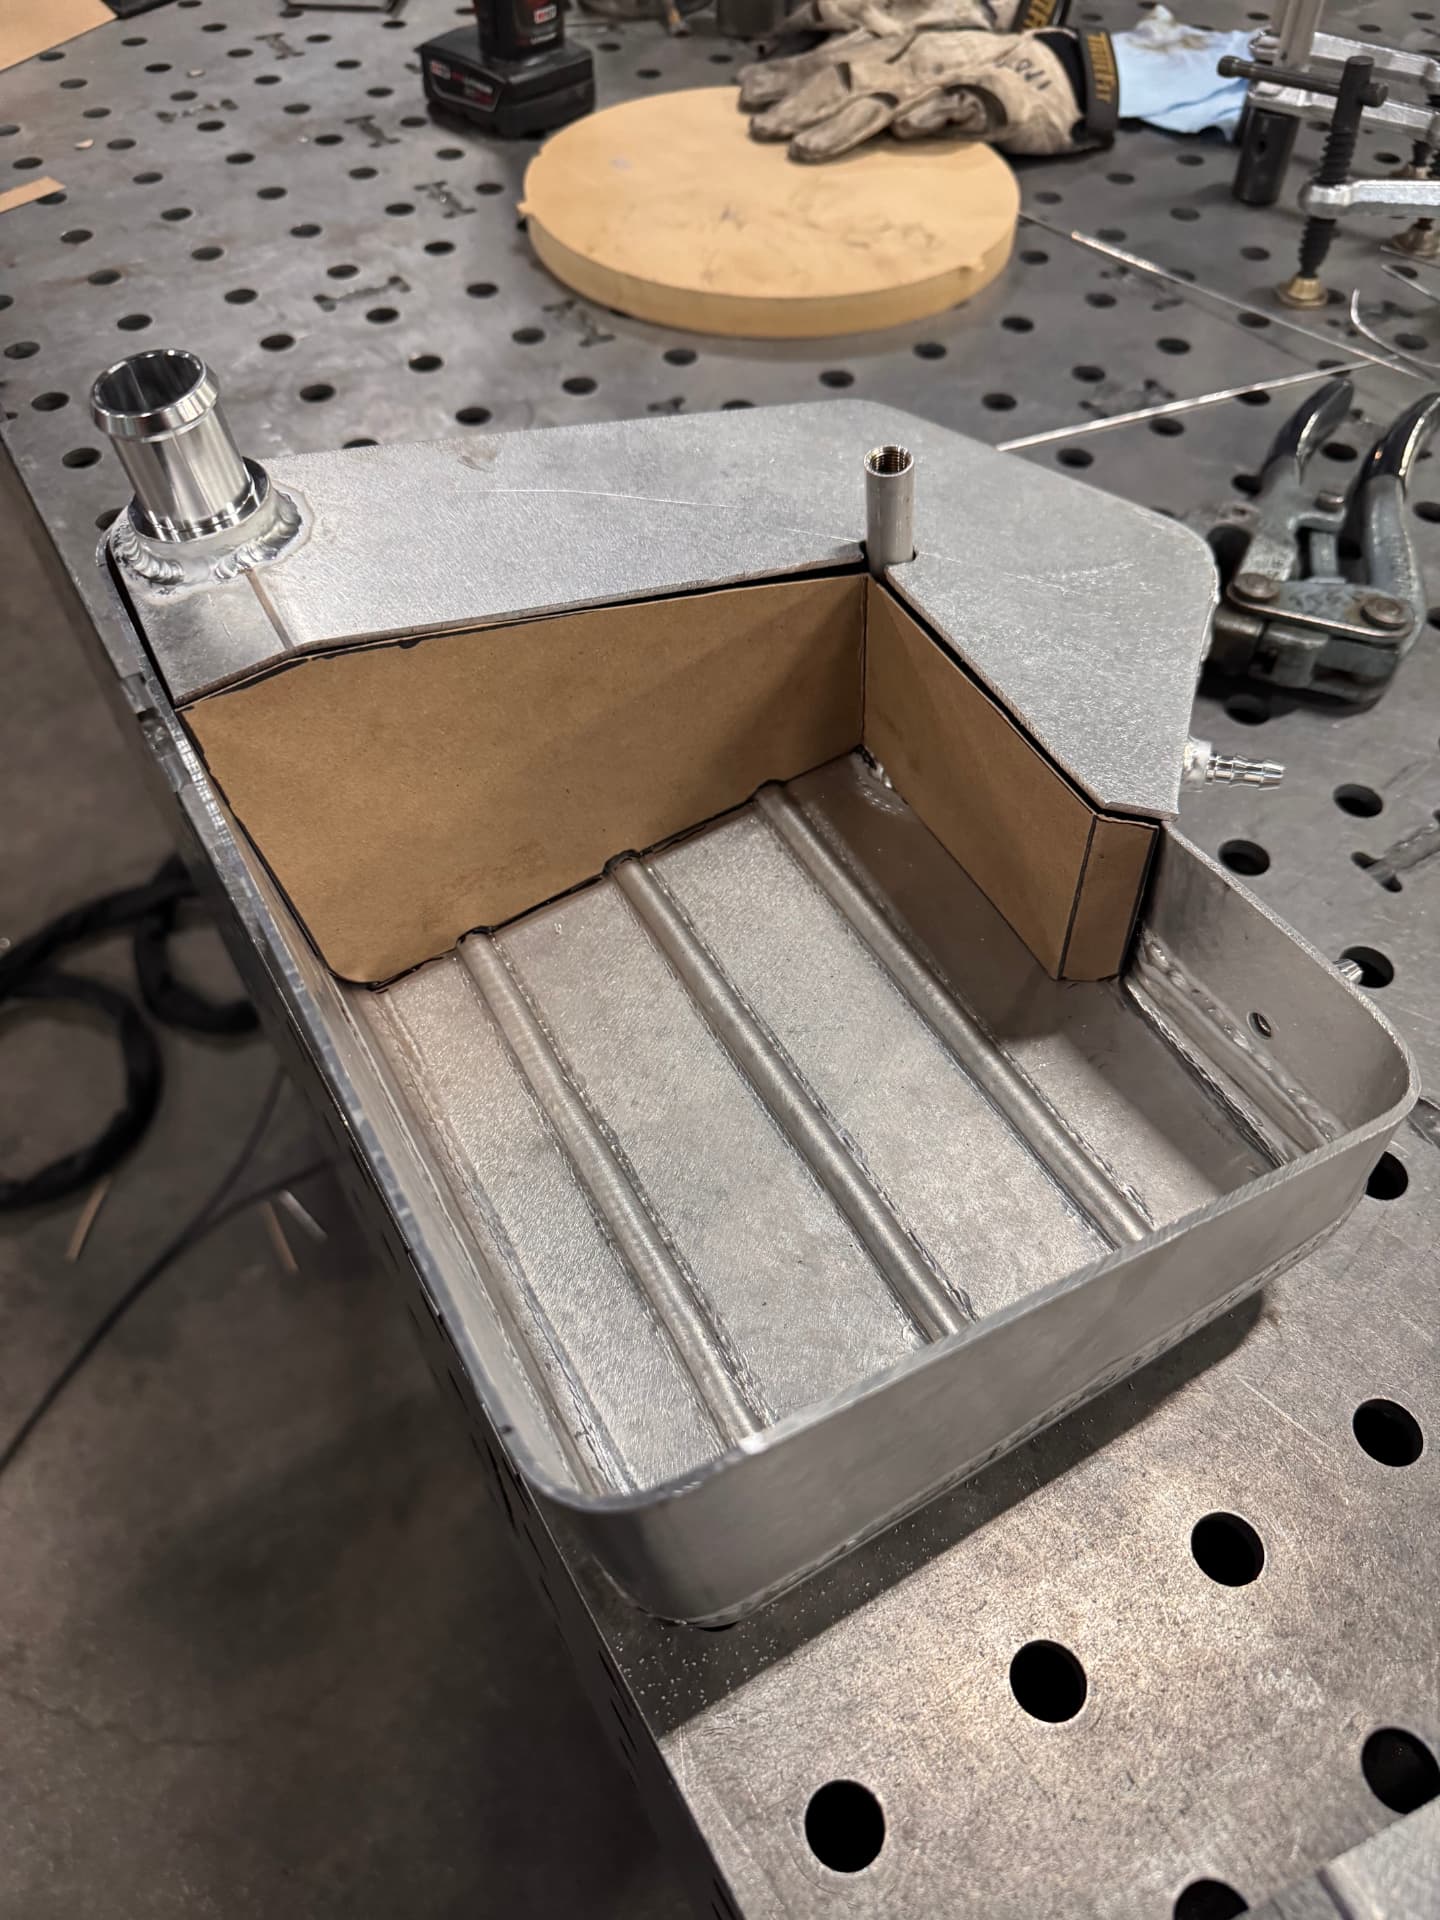 J030
J030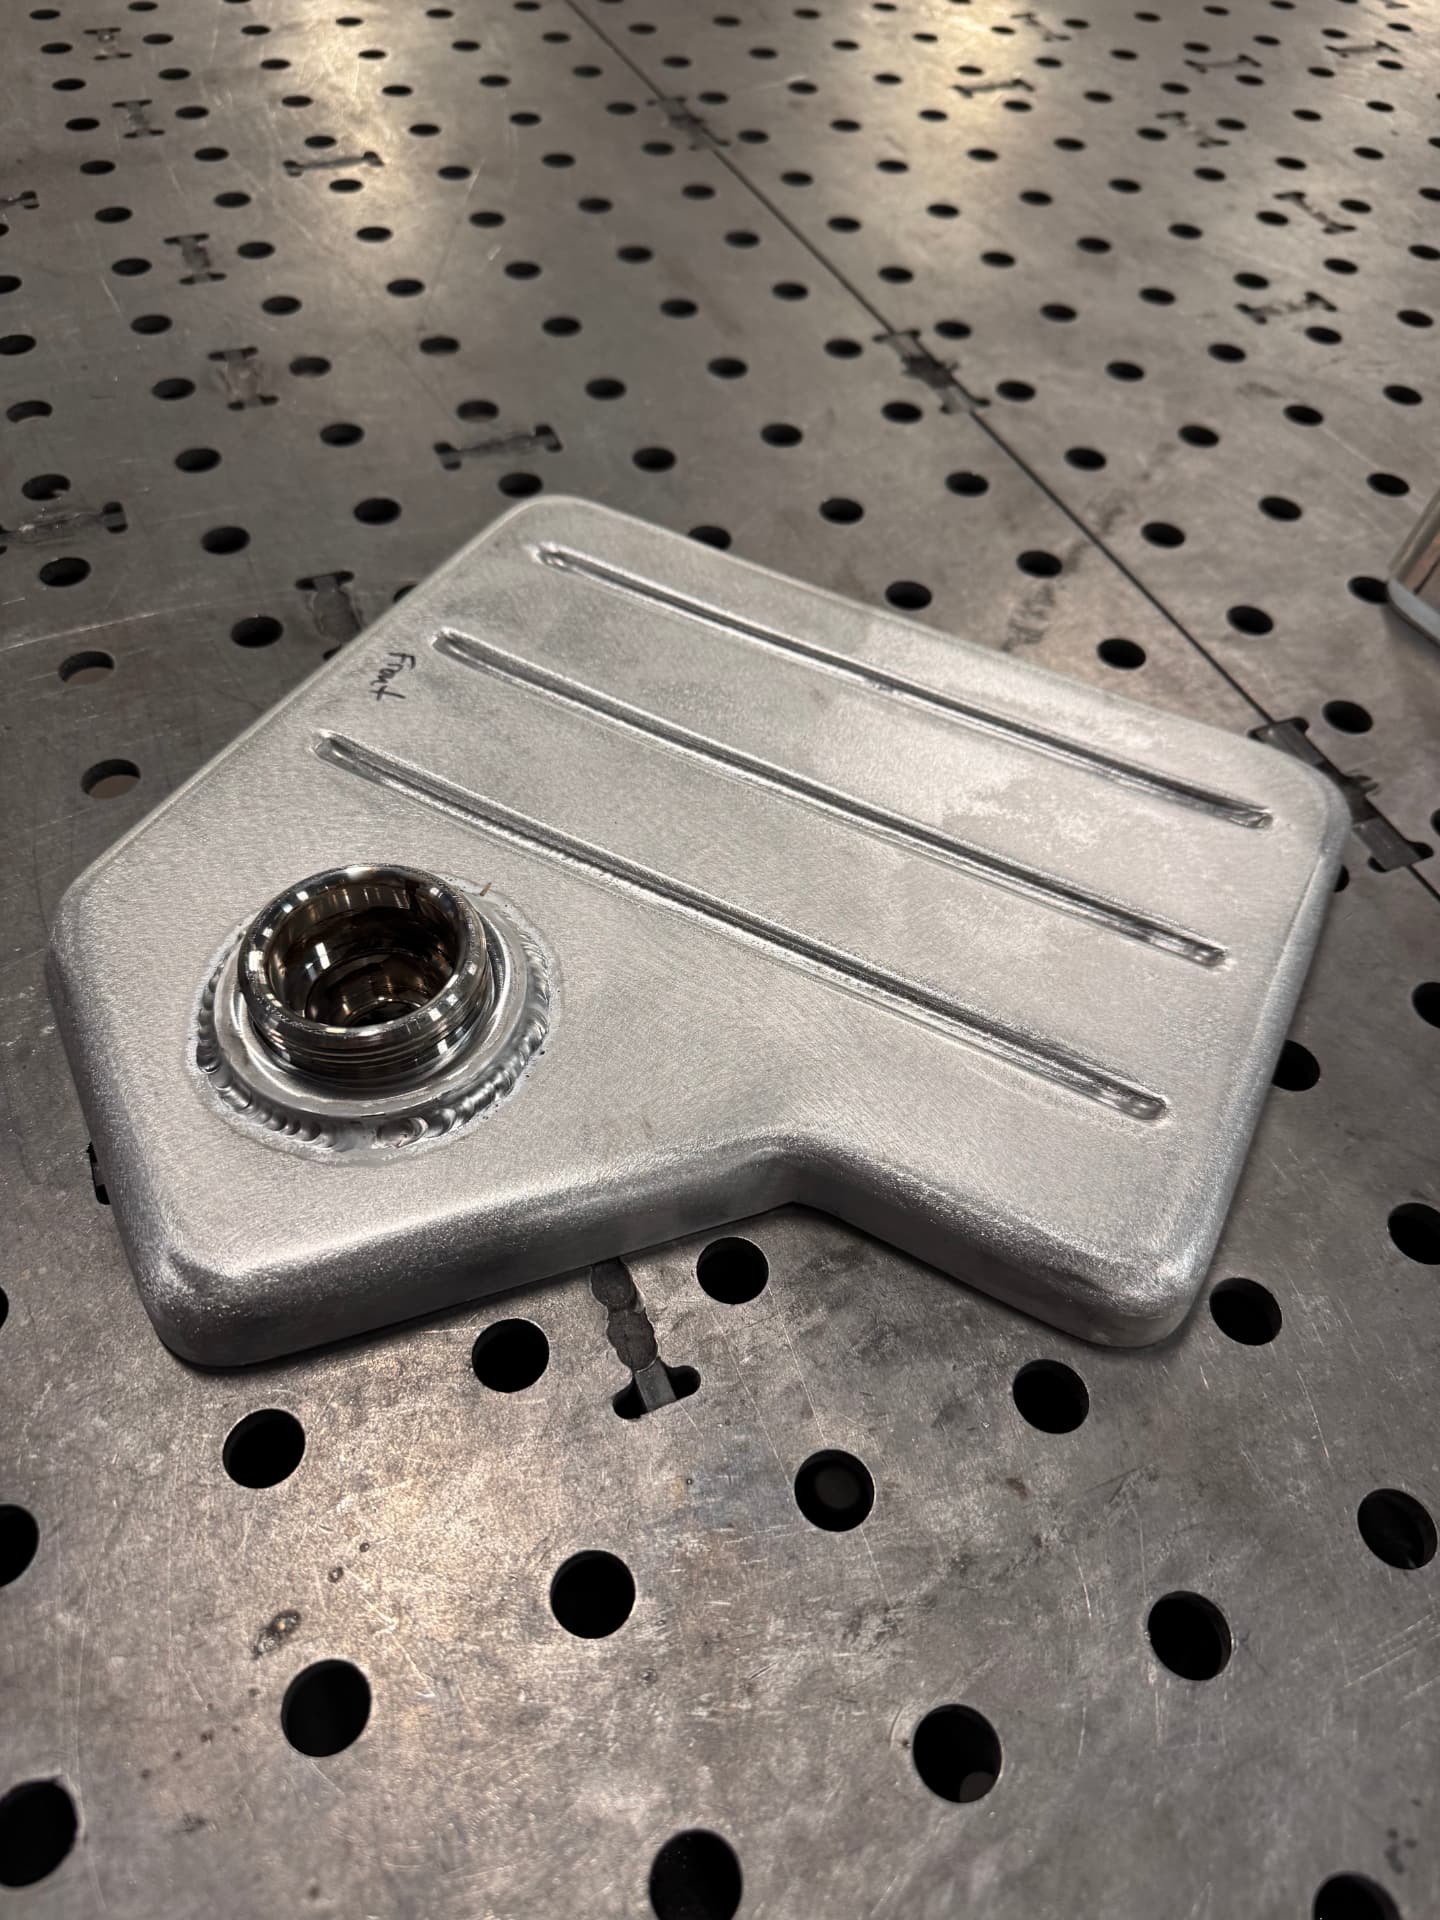 J031
J031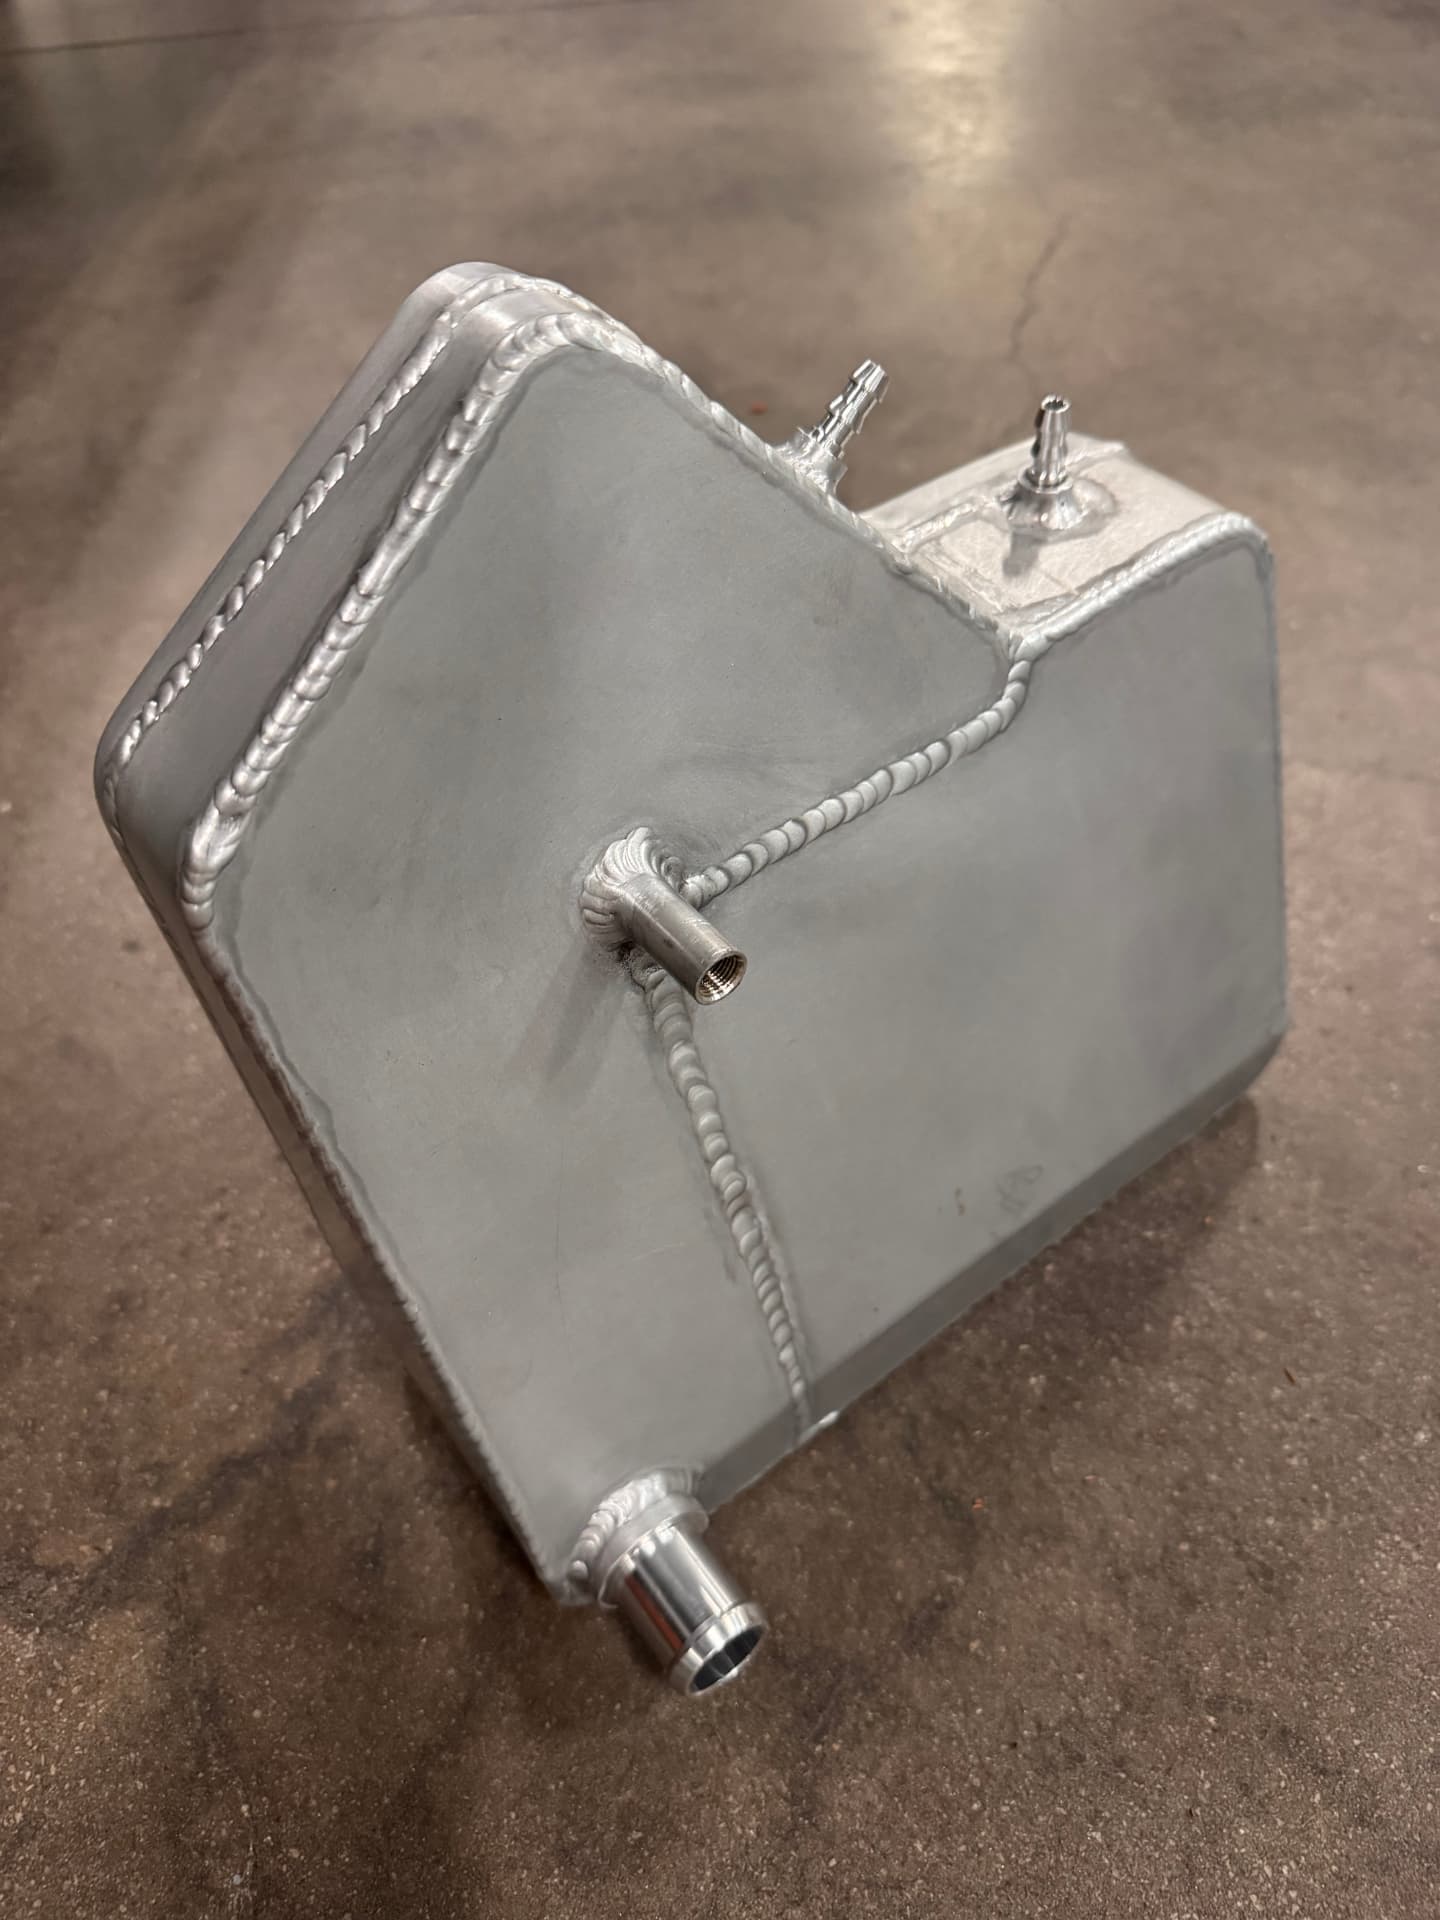 J032
J032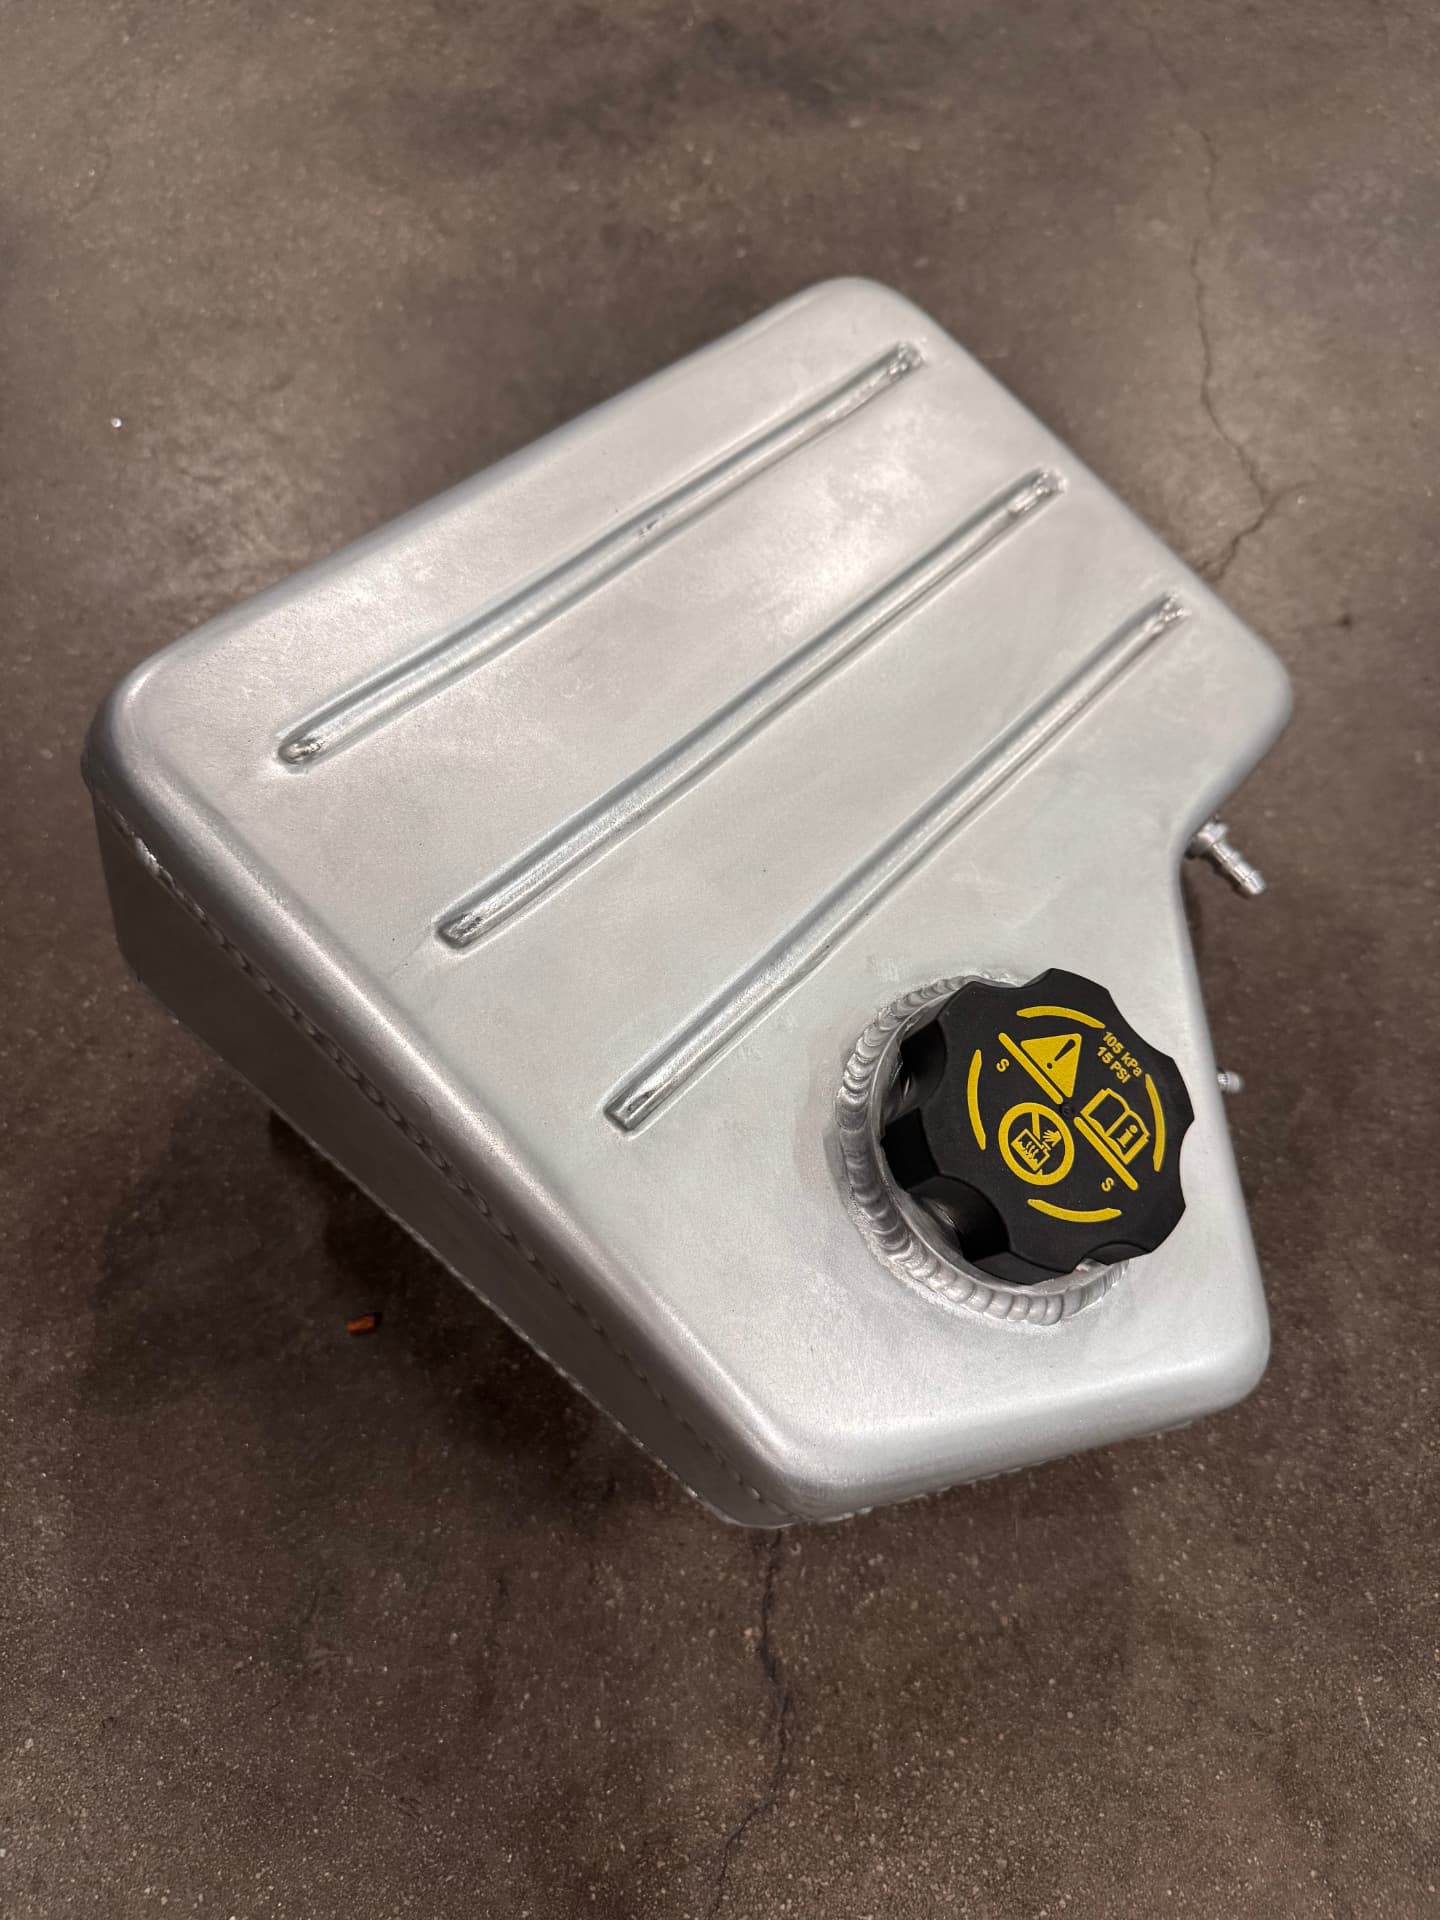 J033
J033UPDATE 07 / 11
Jul 1, 2026
DESIGN MILESTONETri-function front bumper turn signals
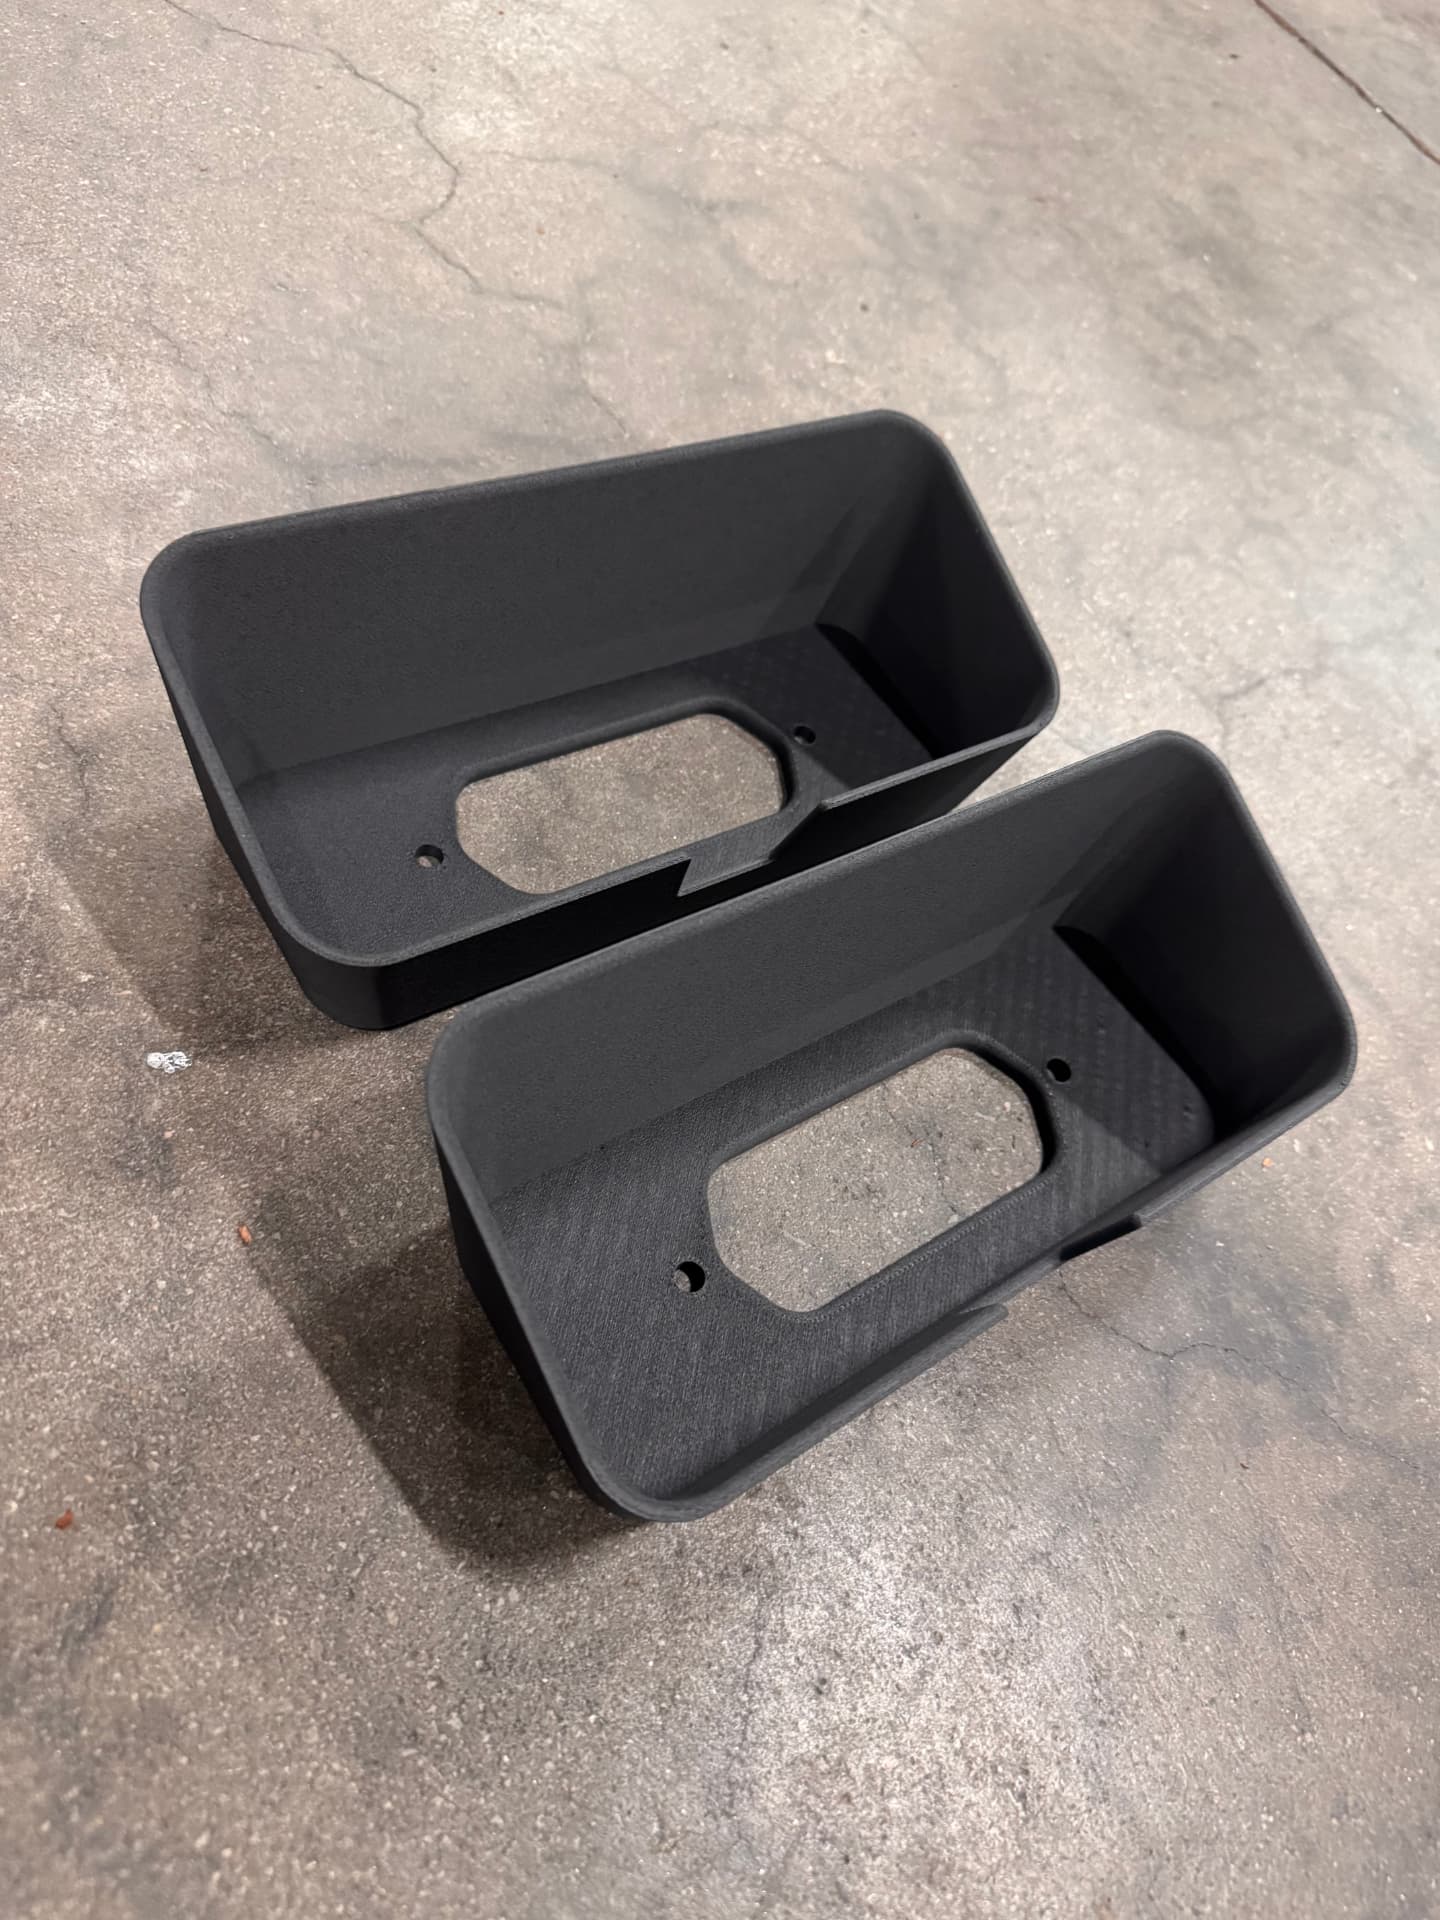
The front bumper turn signals were customized and converted to tri-function — driving light, turn signal, and fog light in one housing. The original bezel was 3D scanned, new lens and bucket geometry modeled in CAD, and housings printed to test fit around the LED modules before final parts are made.
 J034
J034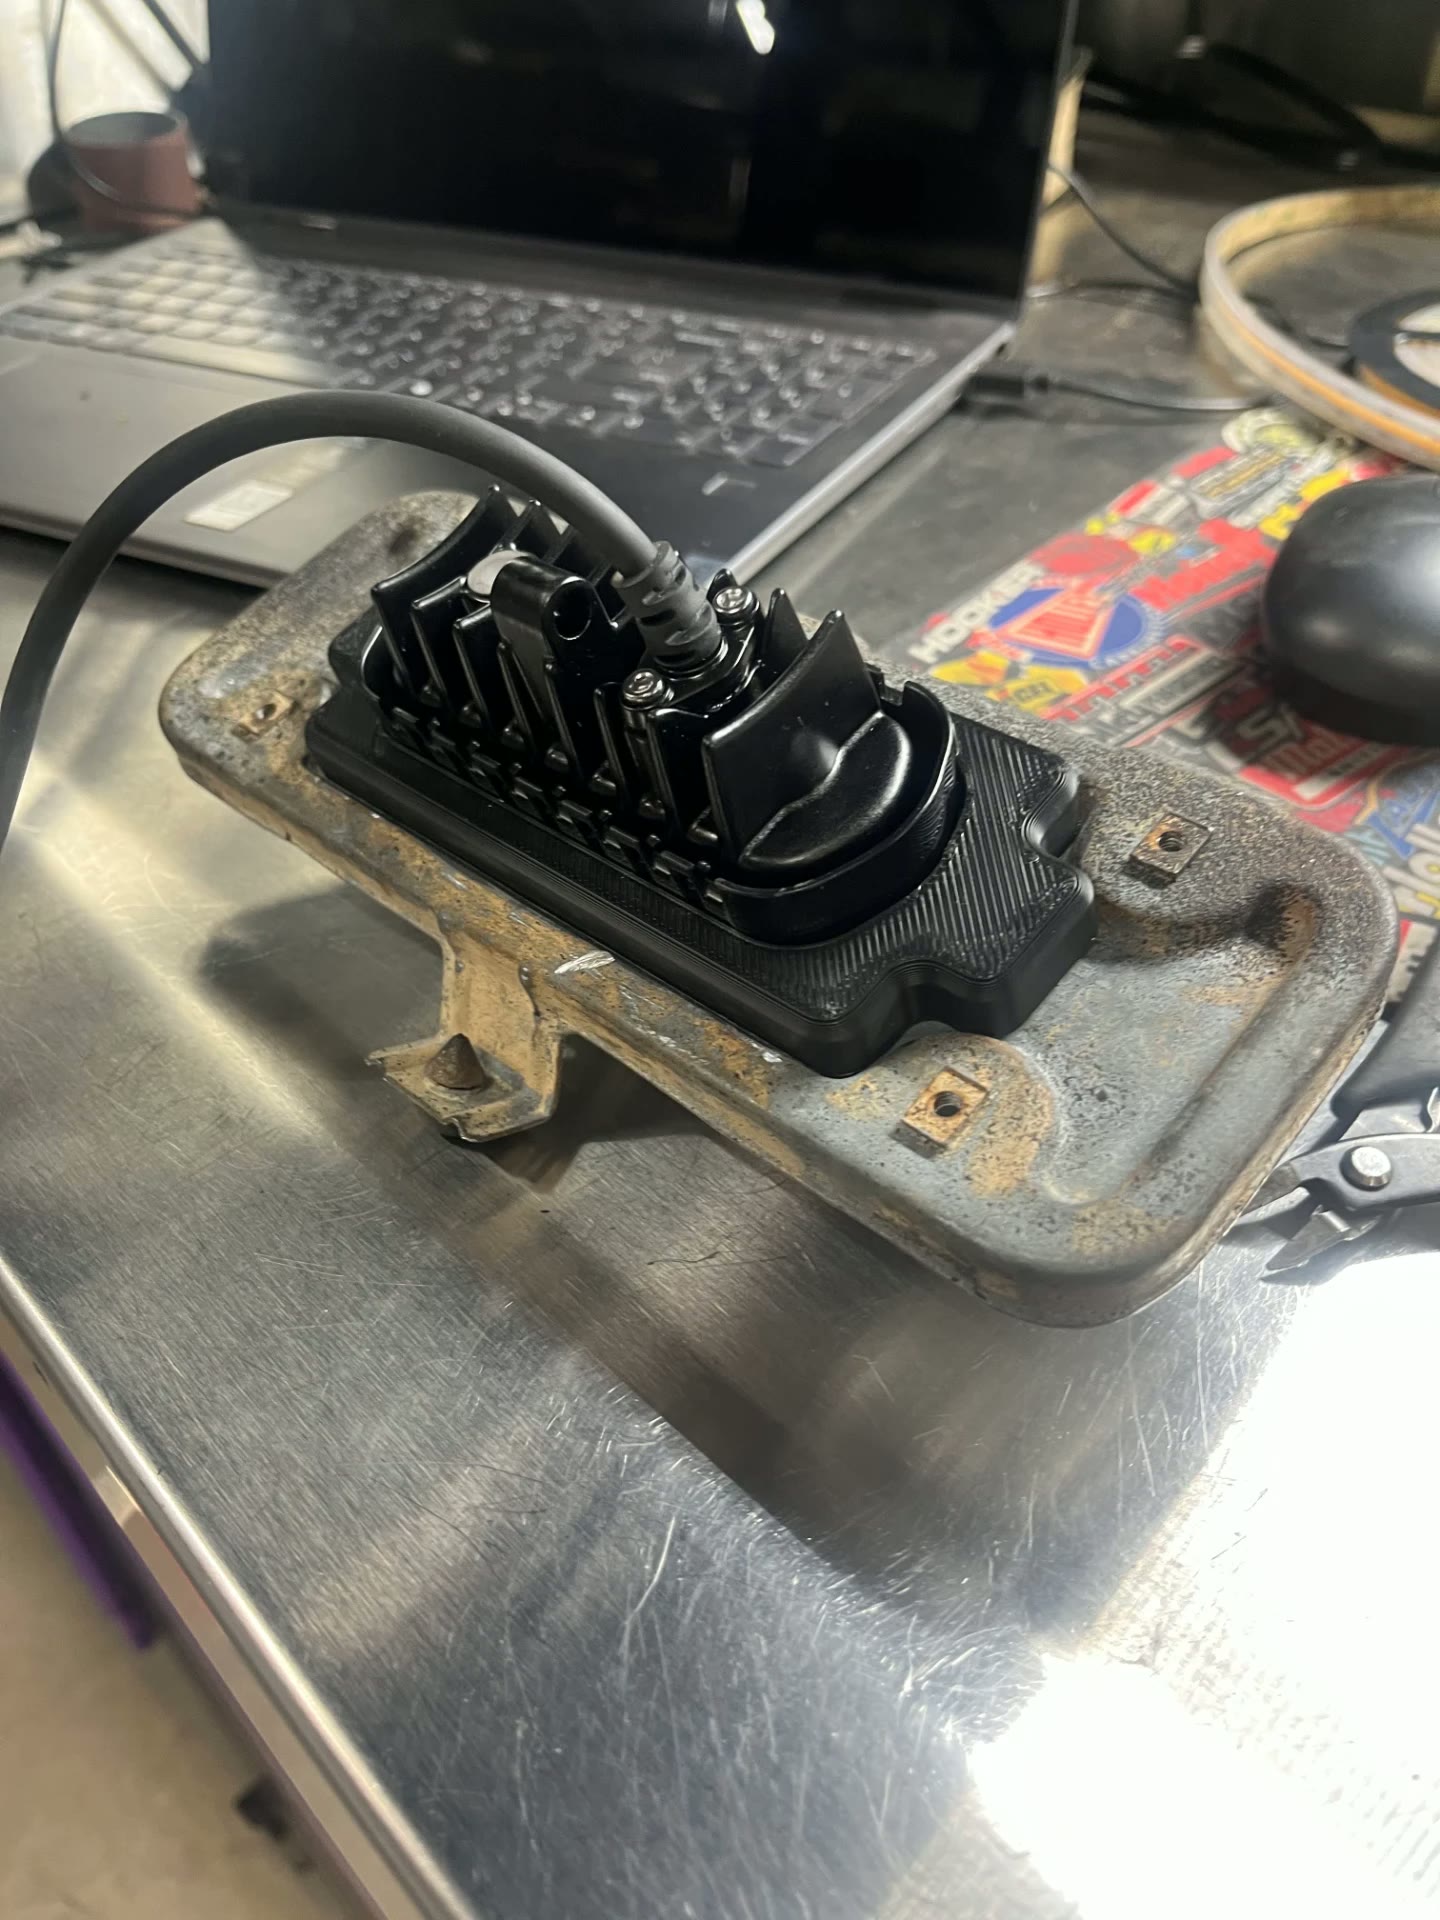 J035
J035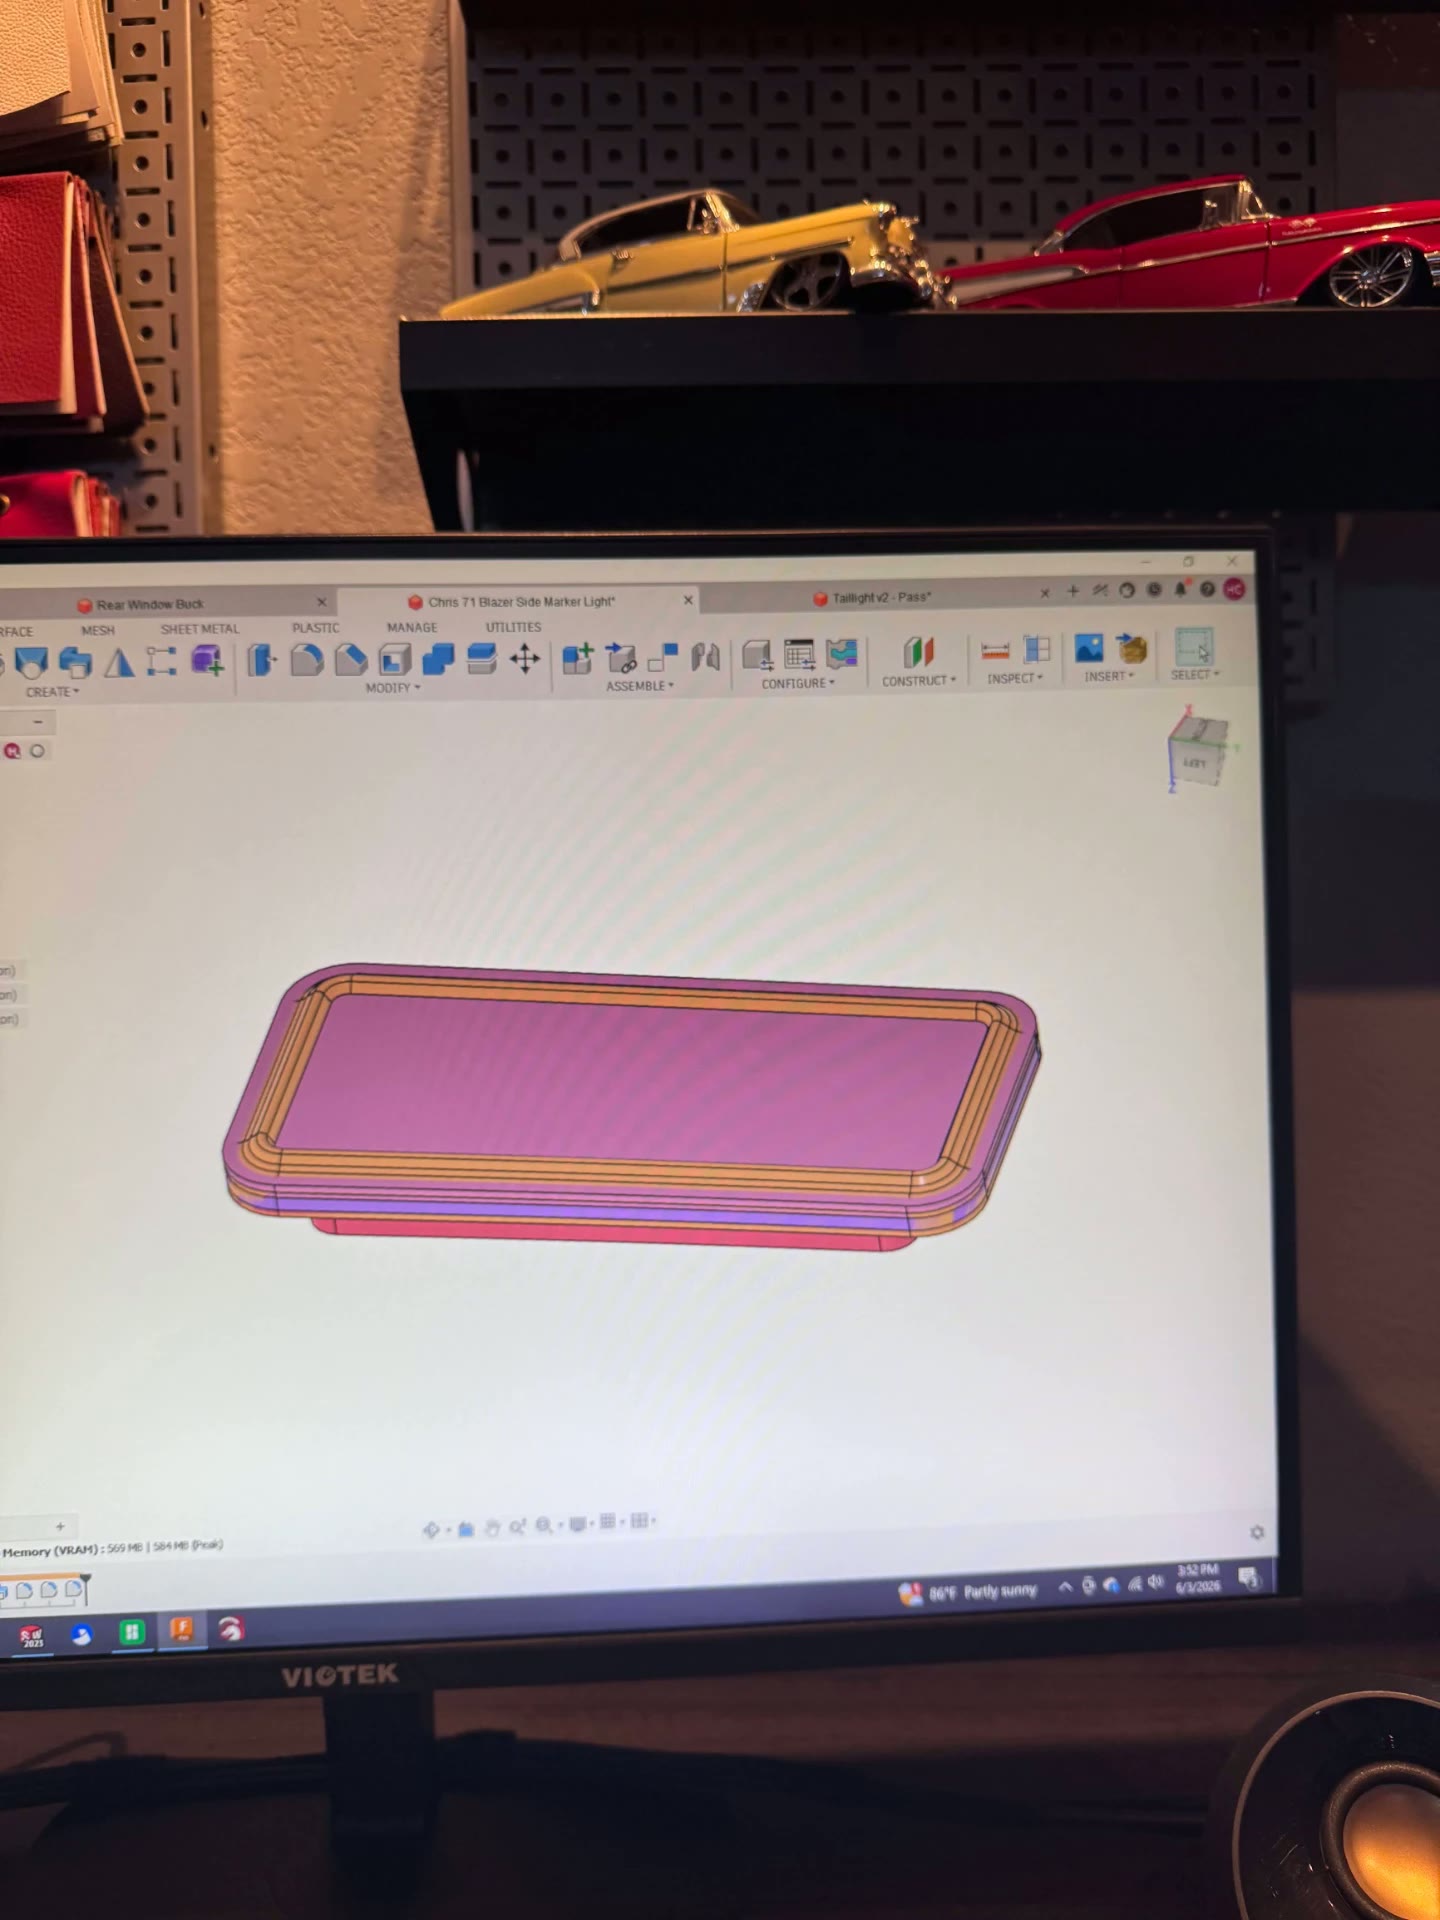 J036
J036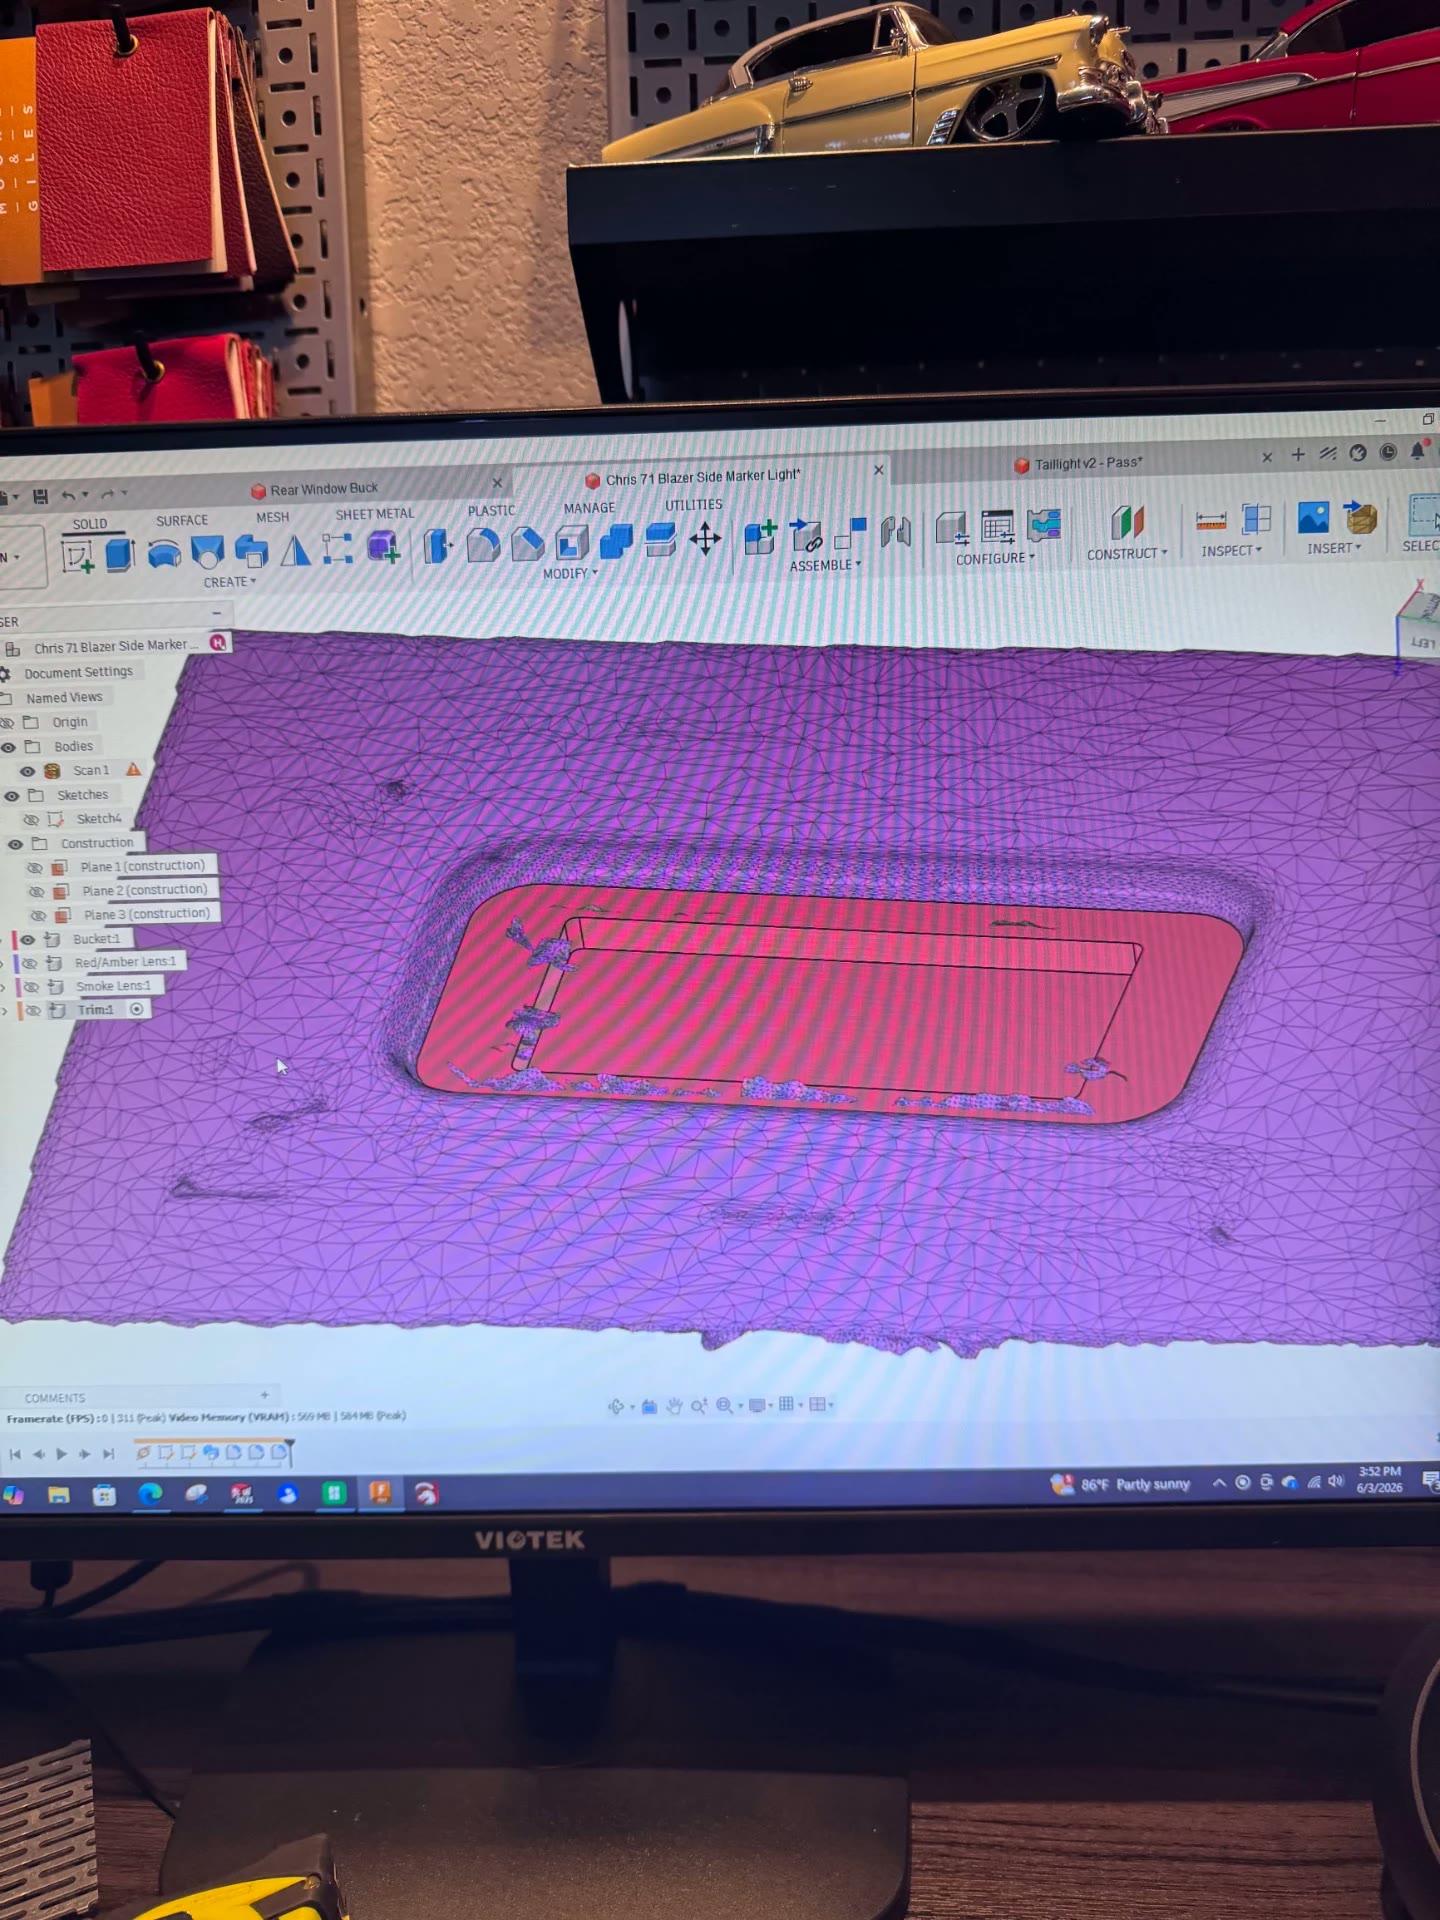 J037
J037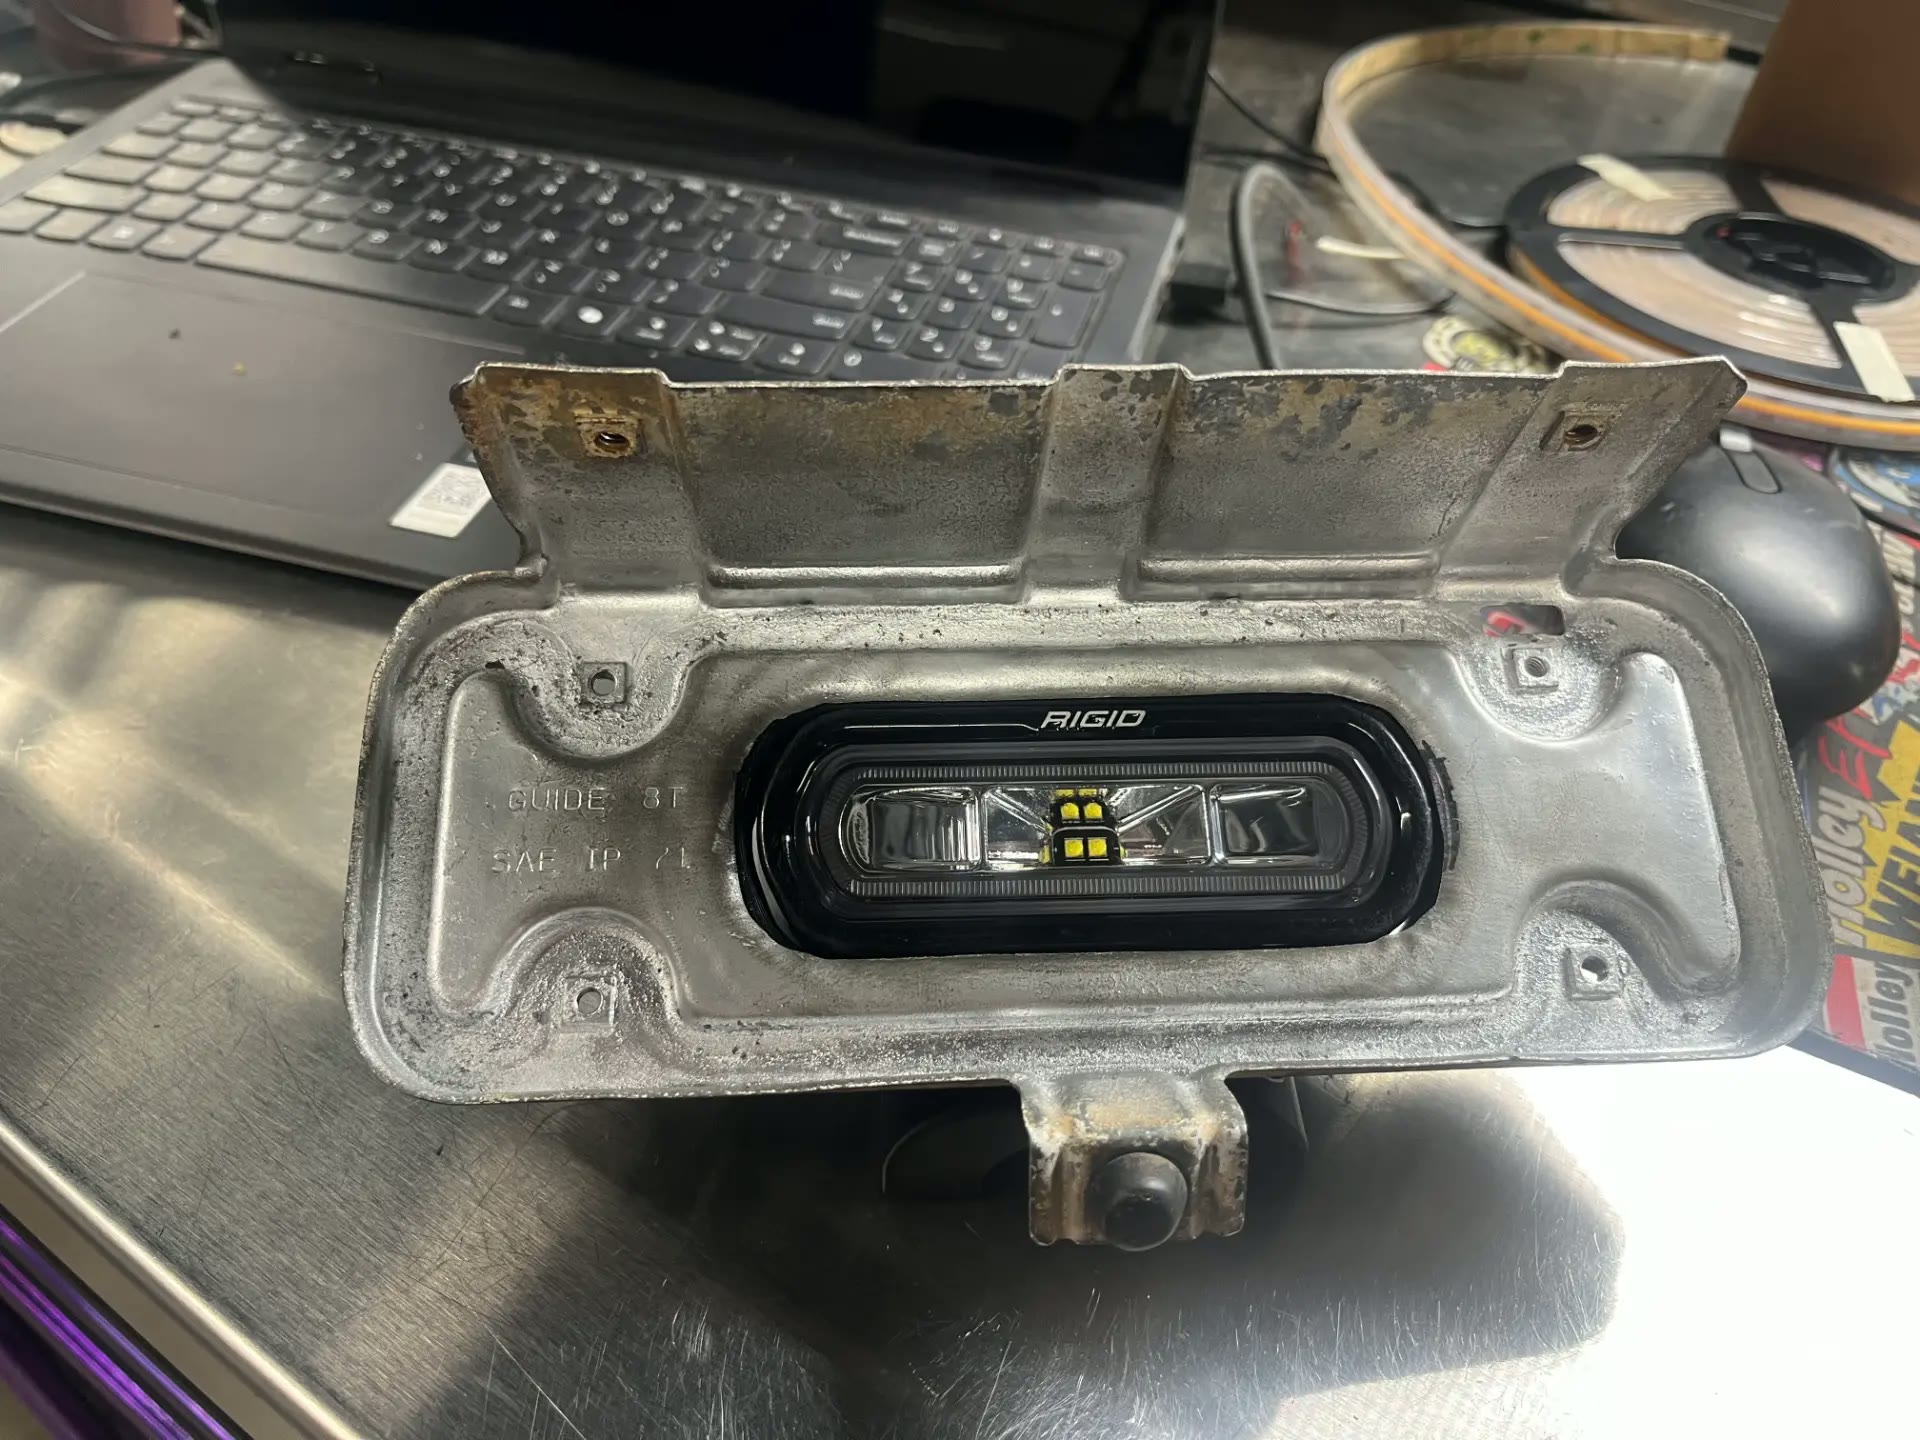 J038
J038UPDATE 08 / 11
Jul 1, 2026
FABRICATIONAudio enclosures and CNC patterns
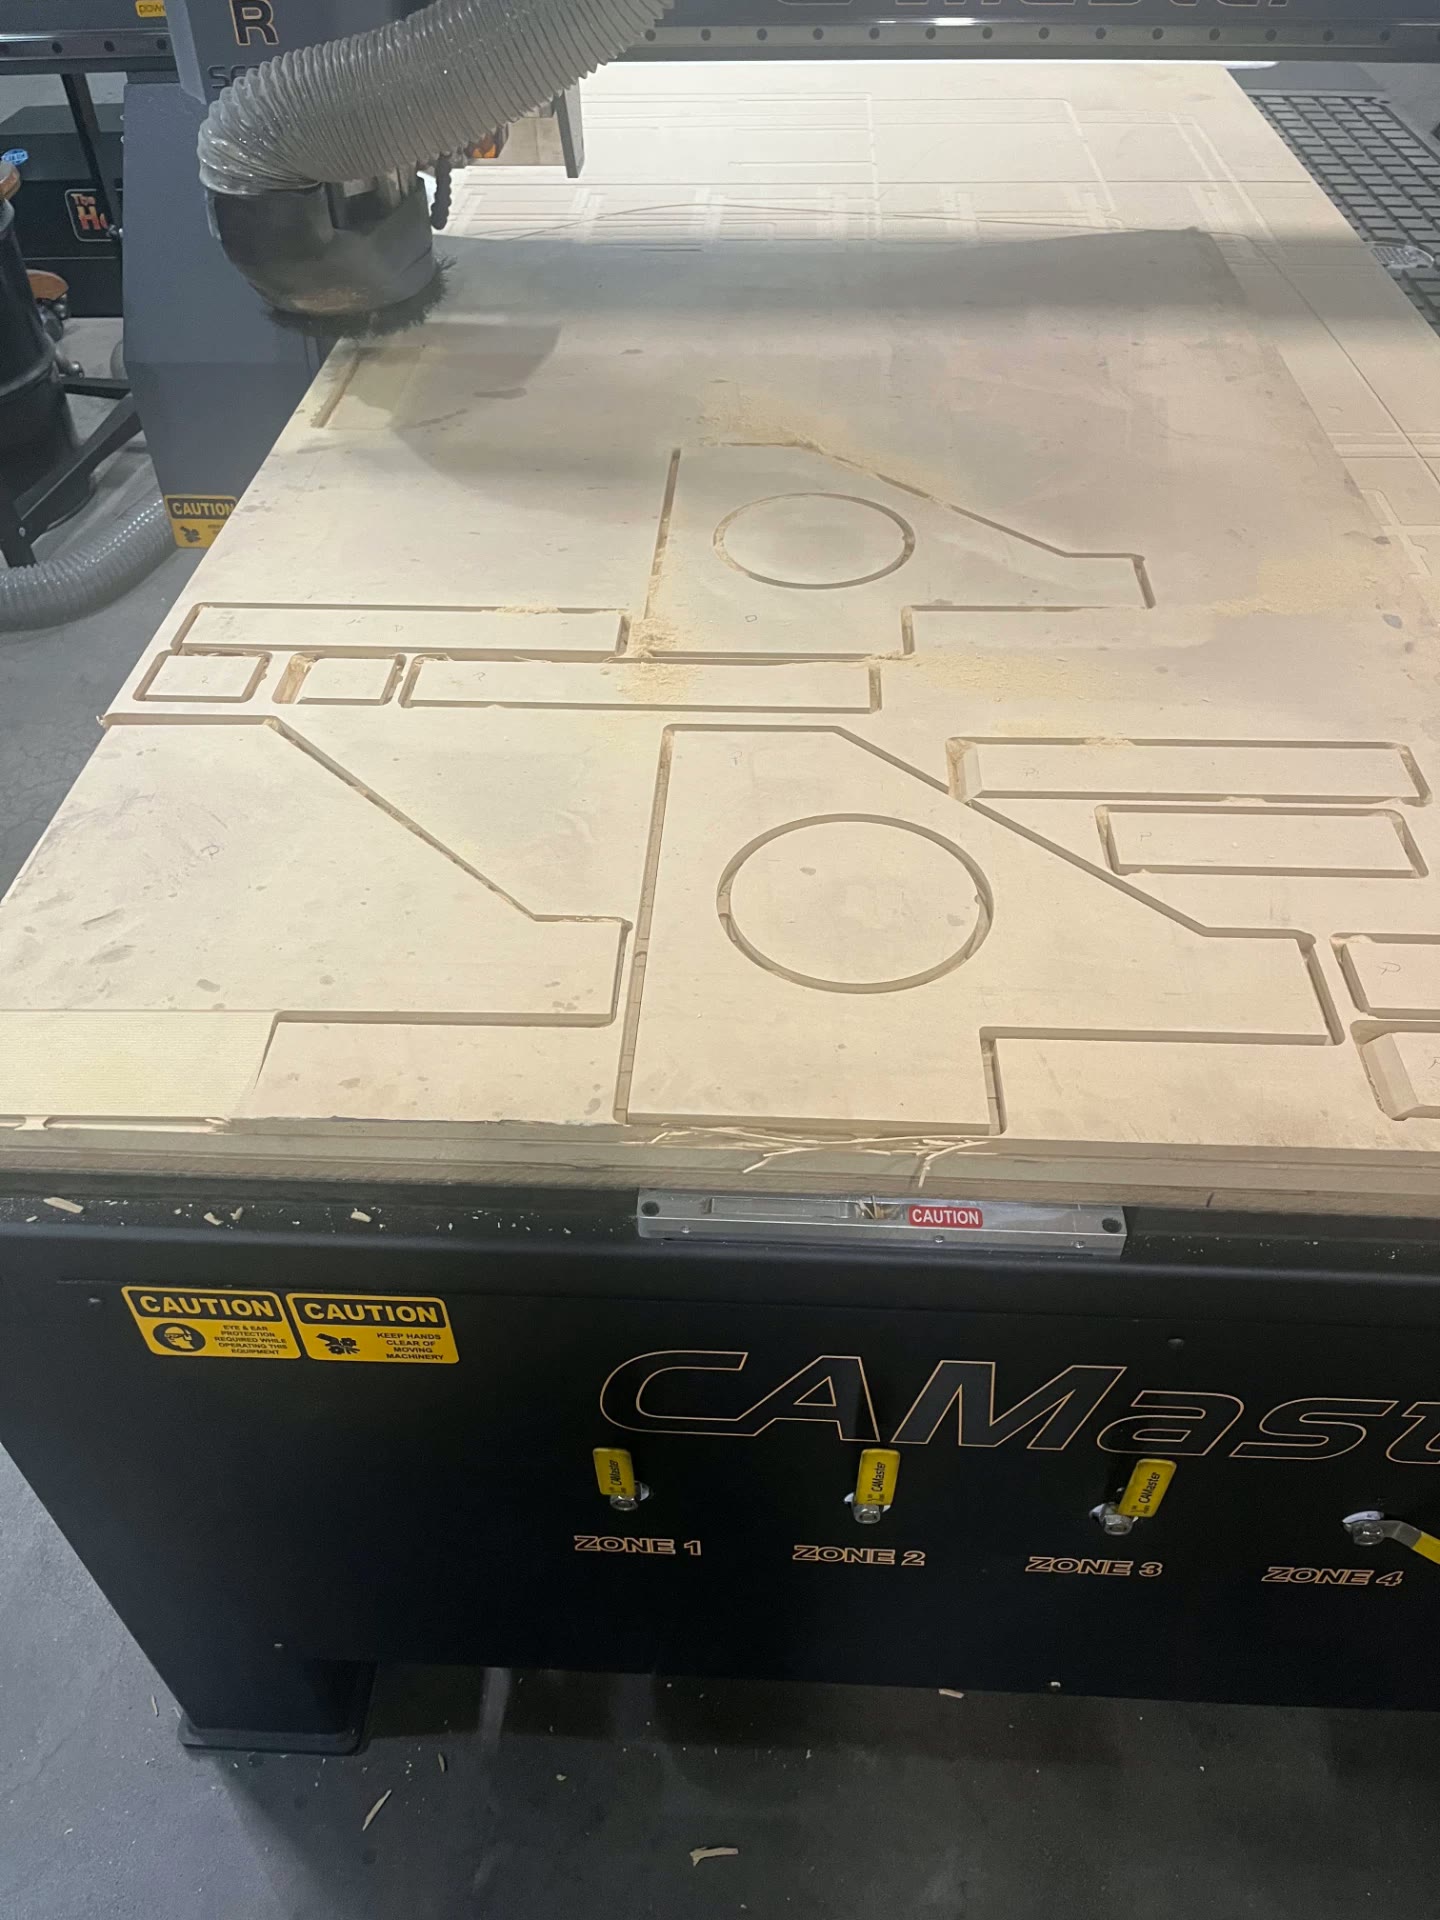
Custom subwoofer enclosures were cut on the CNC router and built to tuck into the rear quarters, keeping the cargo area open while the speakers, amp, and wiring are packaged behind the bed panels.
 J039
J039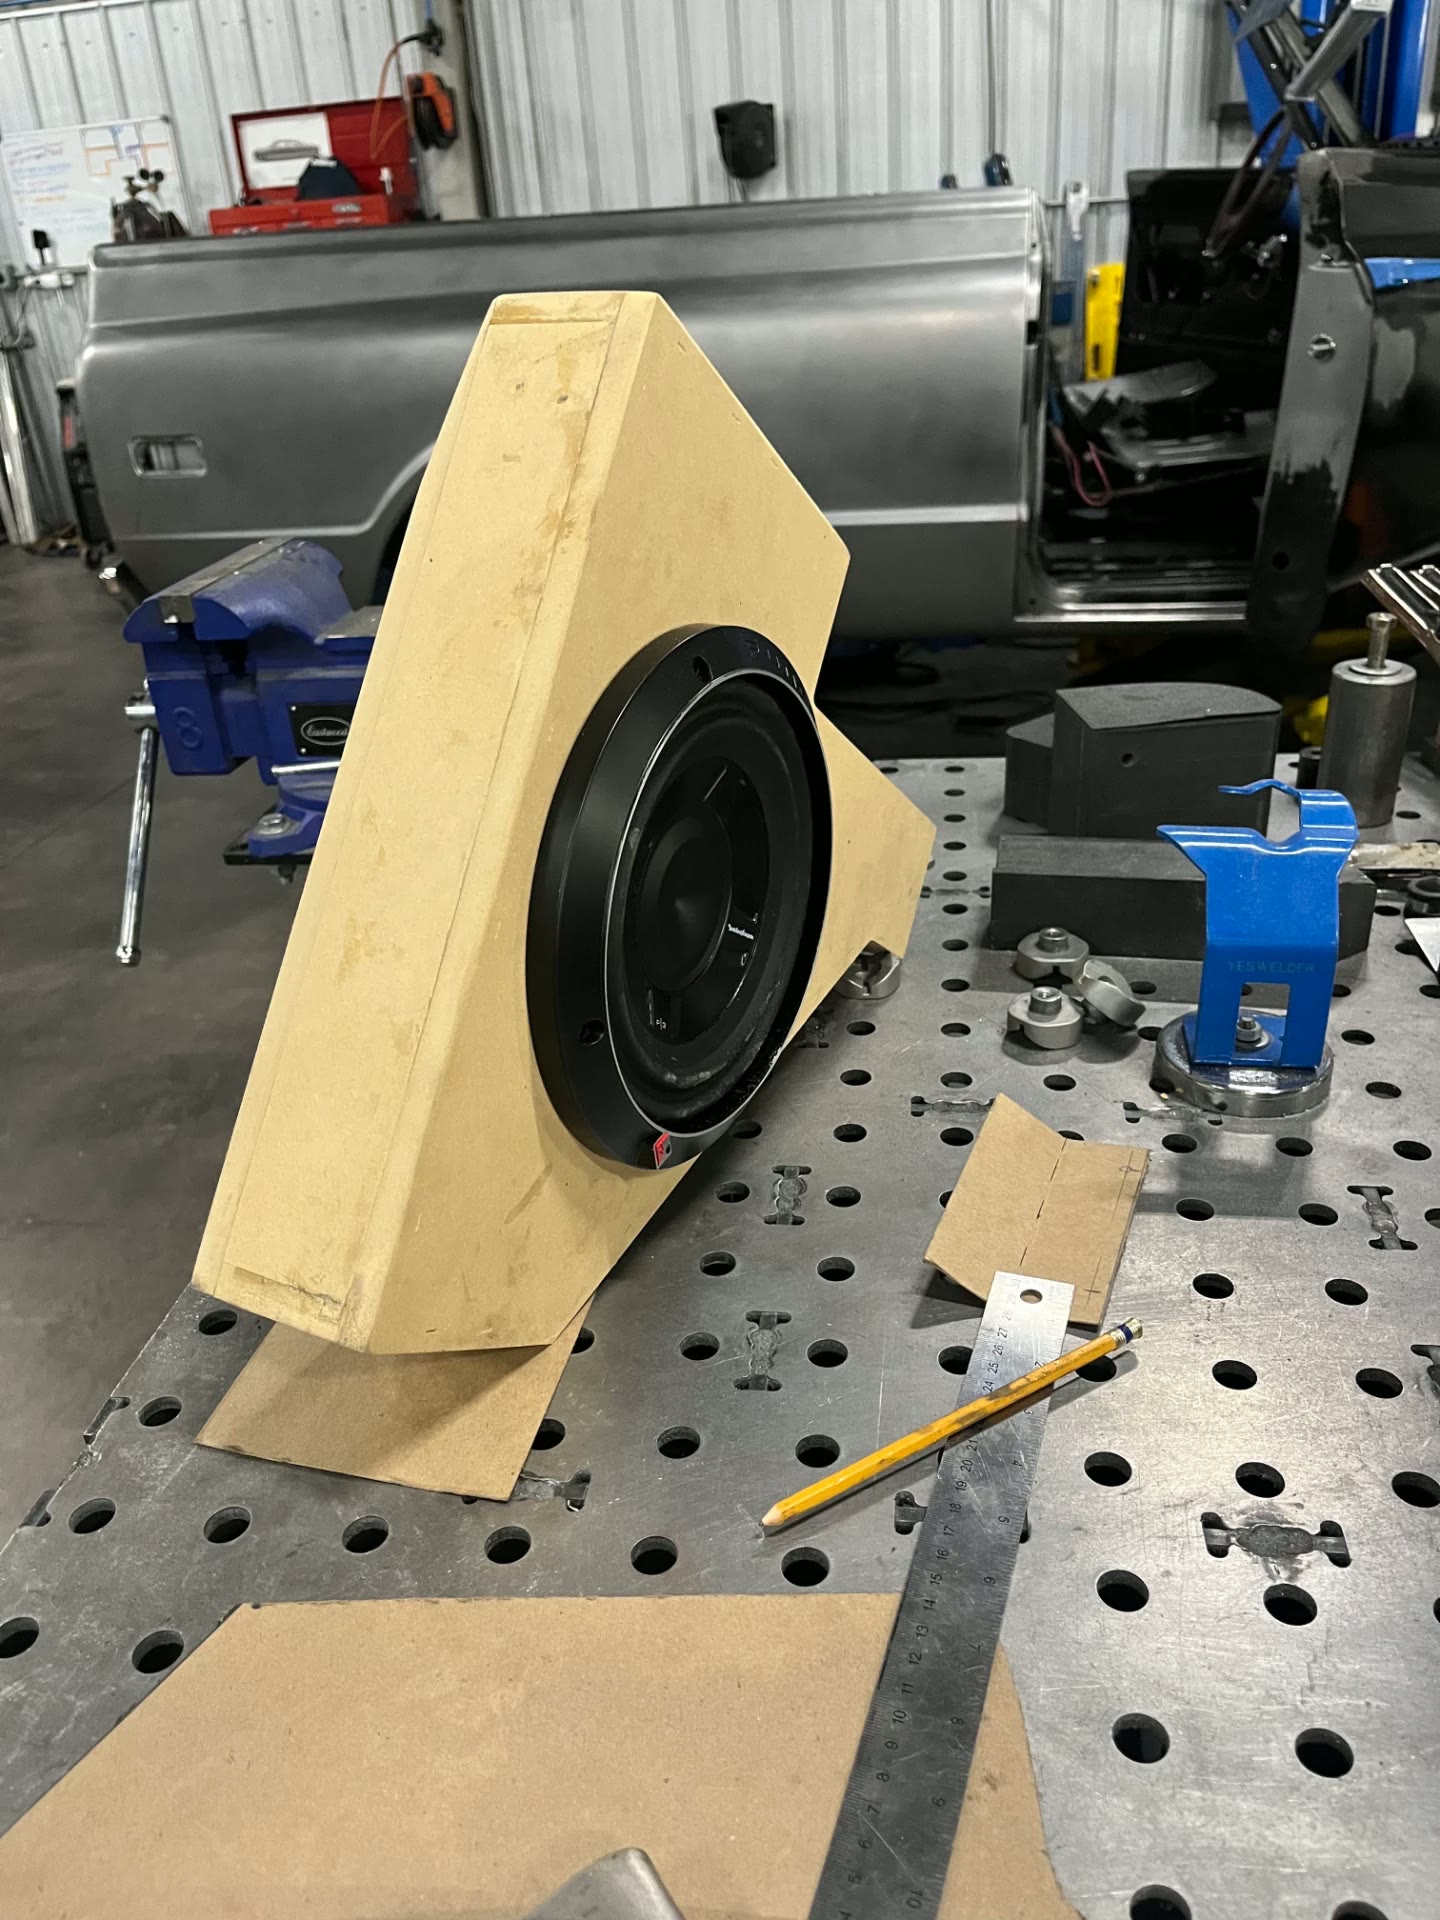 J040
J040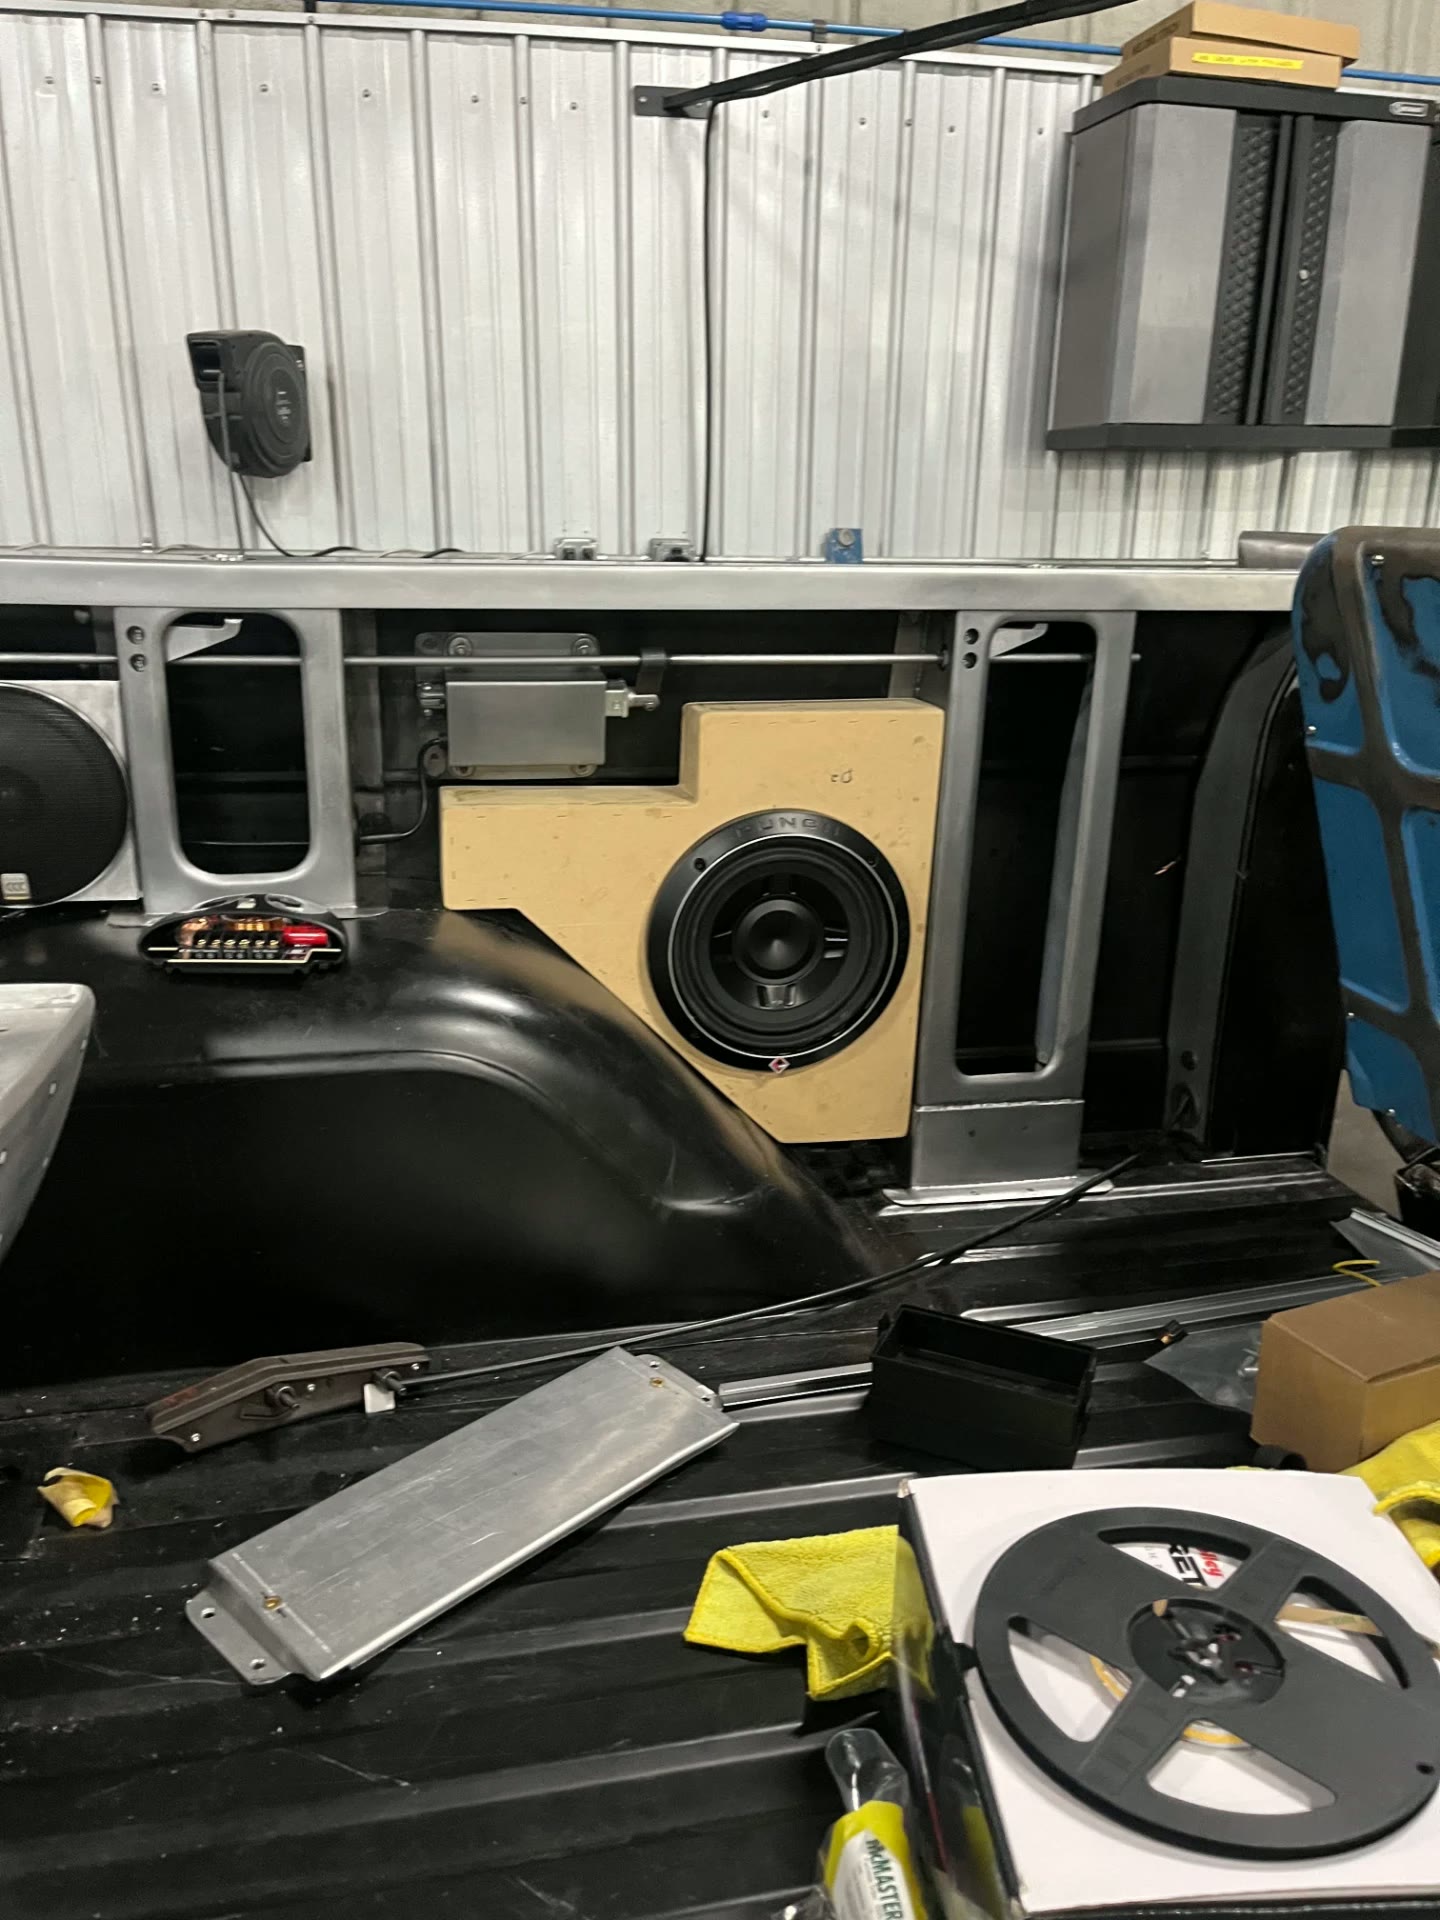 J041
J041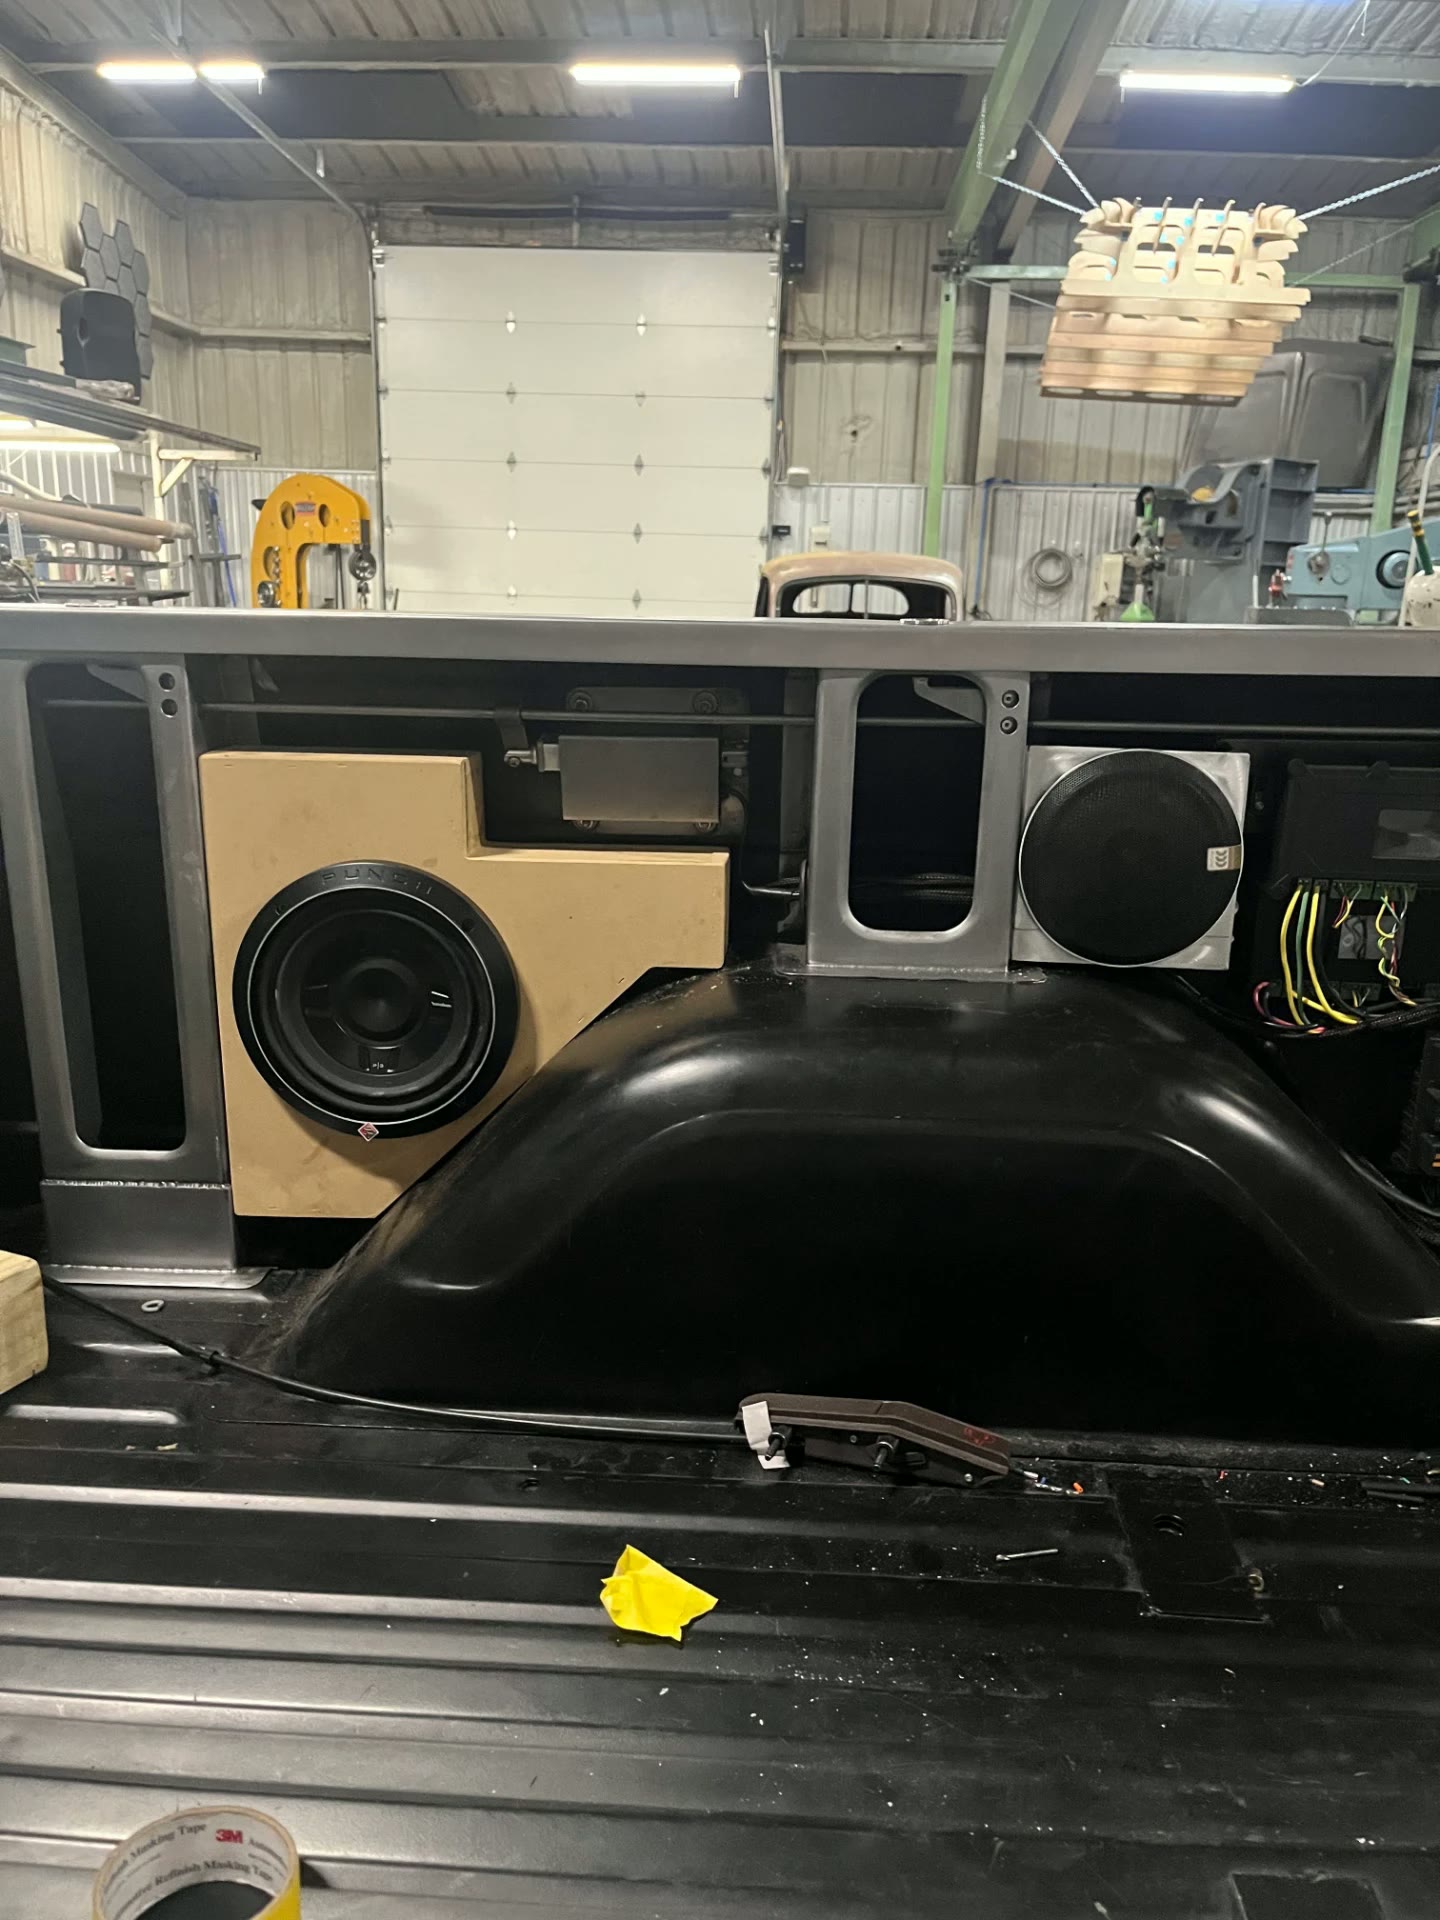 J042
J042UPDATE 09 / 11
Jul 1, 2026
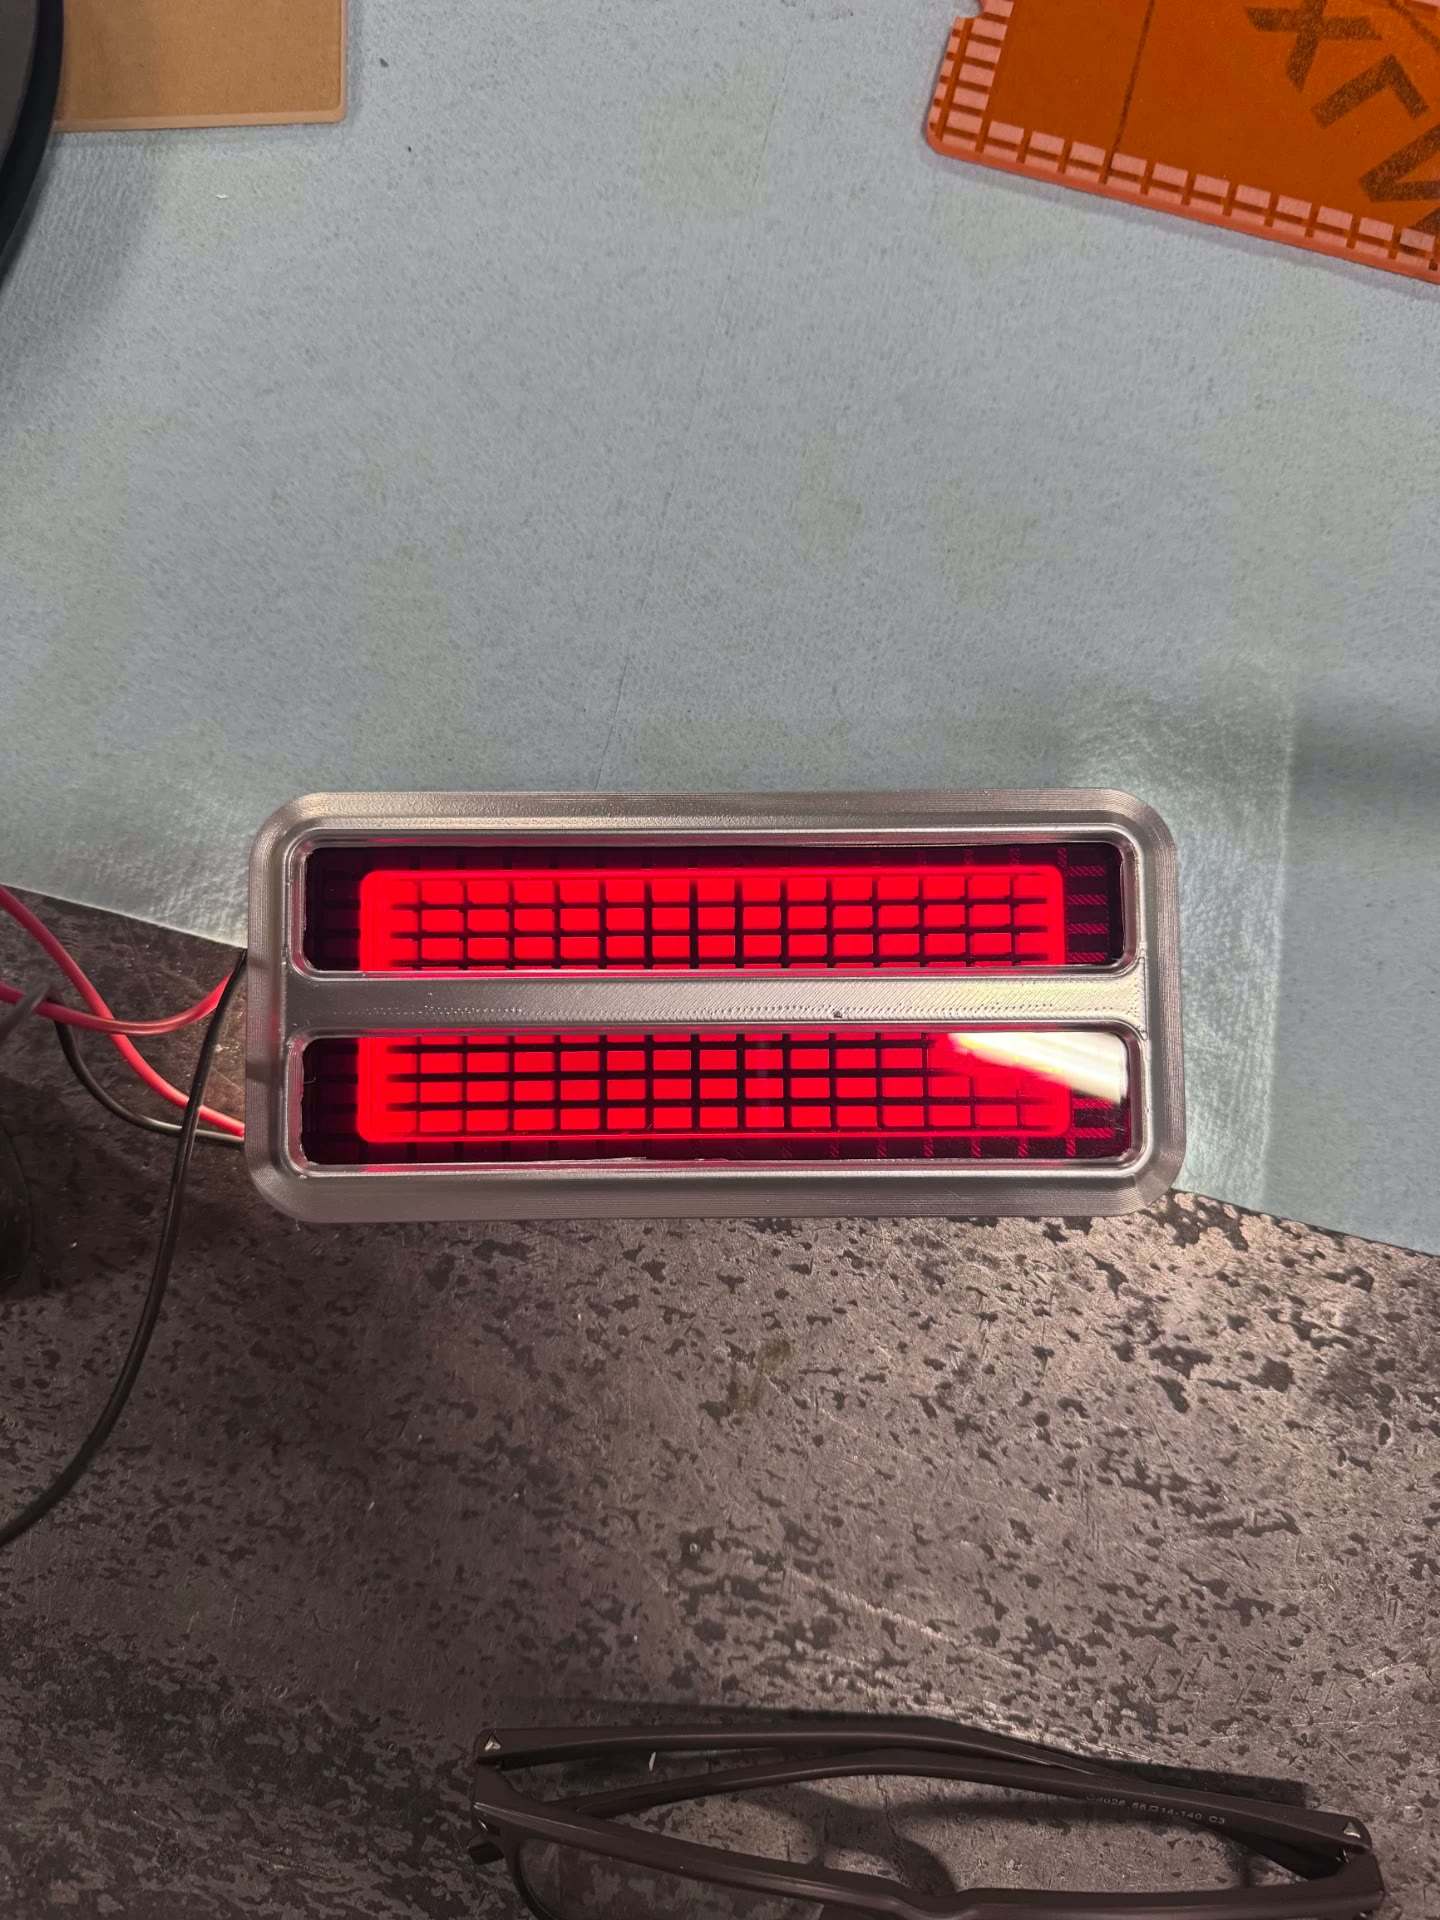
DESIGN MILESTONEFlush-mount edge-lit side marker lights
The Blazer's side marker lights are being built from scratch as flush-mounted units. The housings and bezels were modeled in CAD, and the lenses are laser engraved in house and edge lit from the side rather than using a standard bulb and socket, so the pattern glows evenly across the face. Printed housings and engraved lens samples were used to dial in the light output in red and amber before the bezels are machined out of billet aluminum.
 J043
J043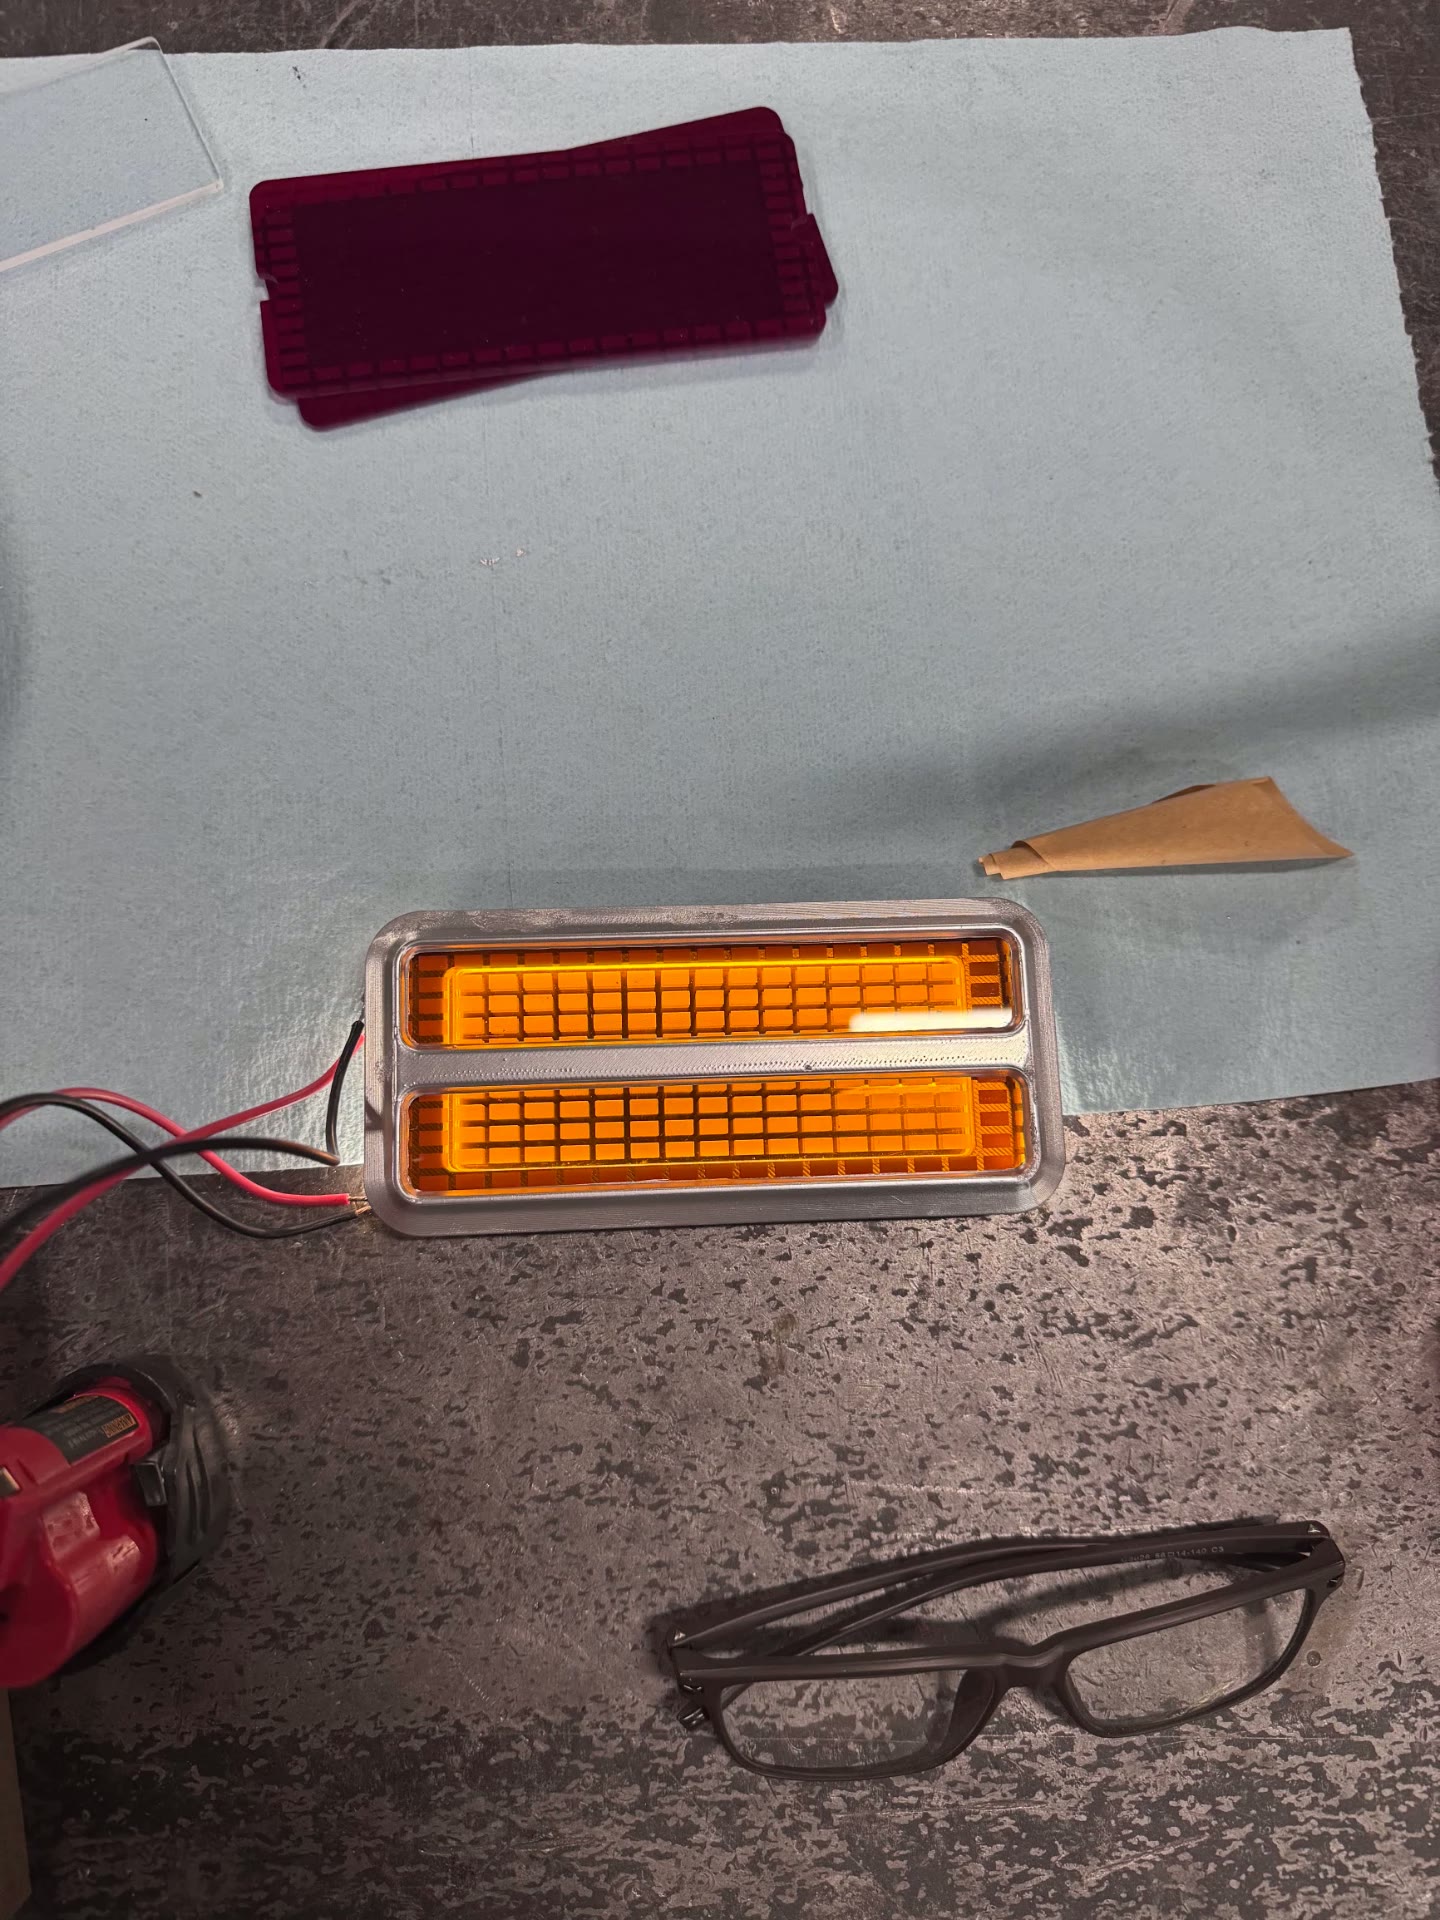 J044
J044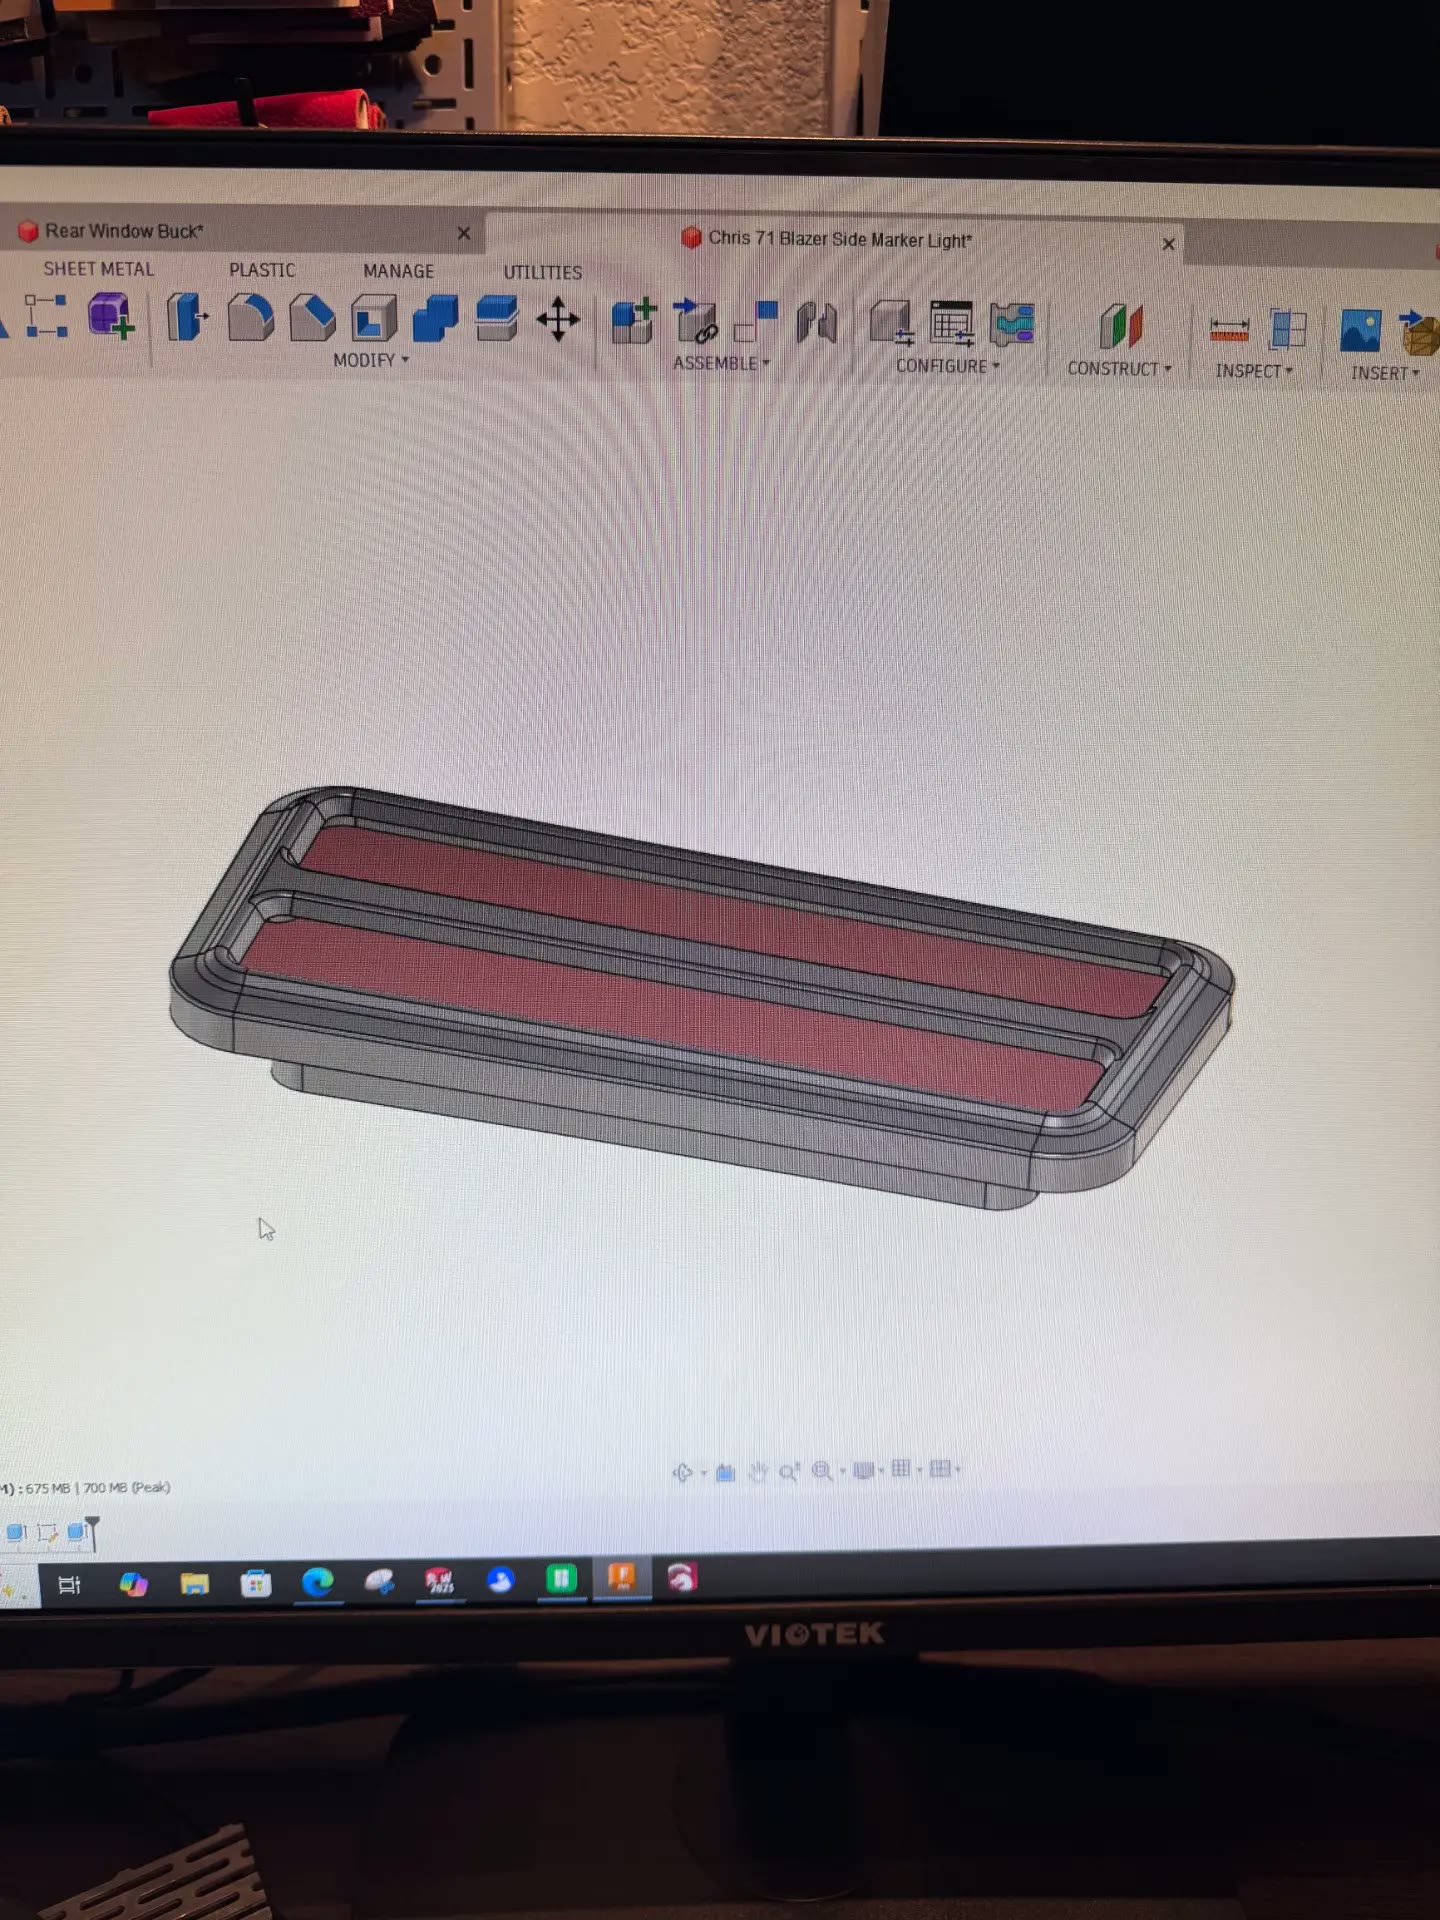 J045
J045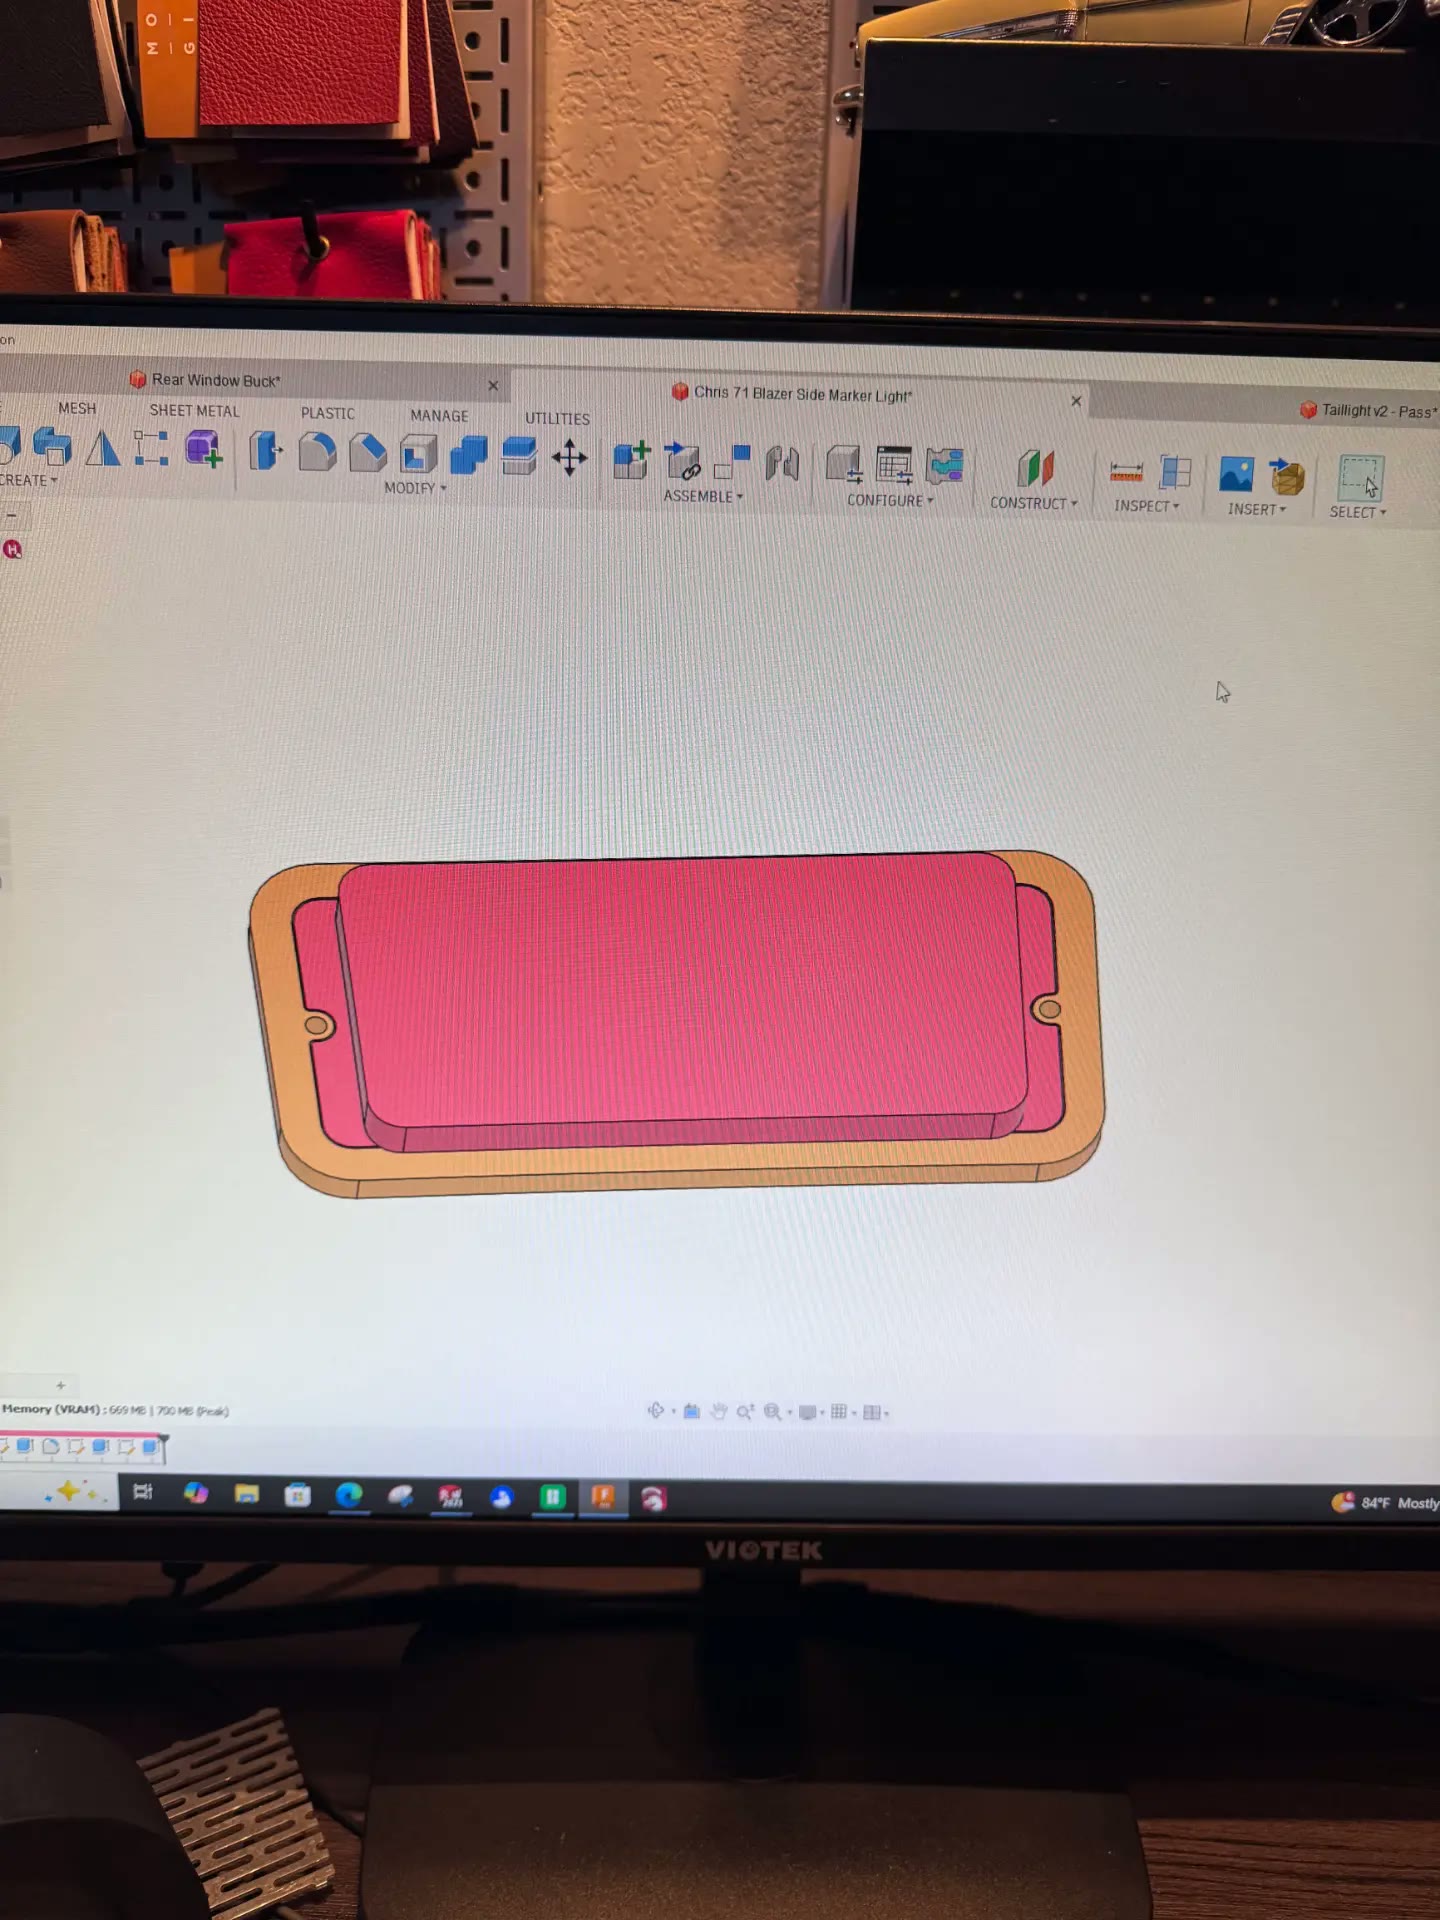 J046
J046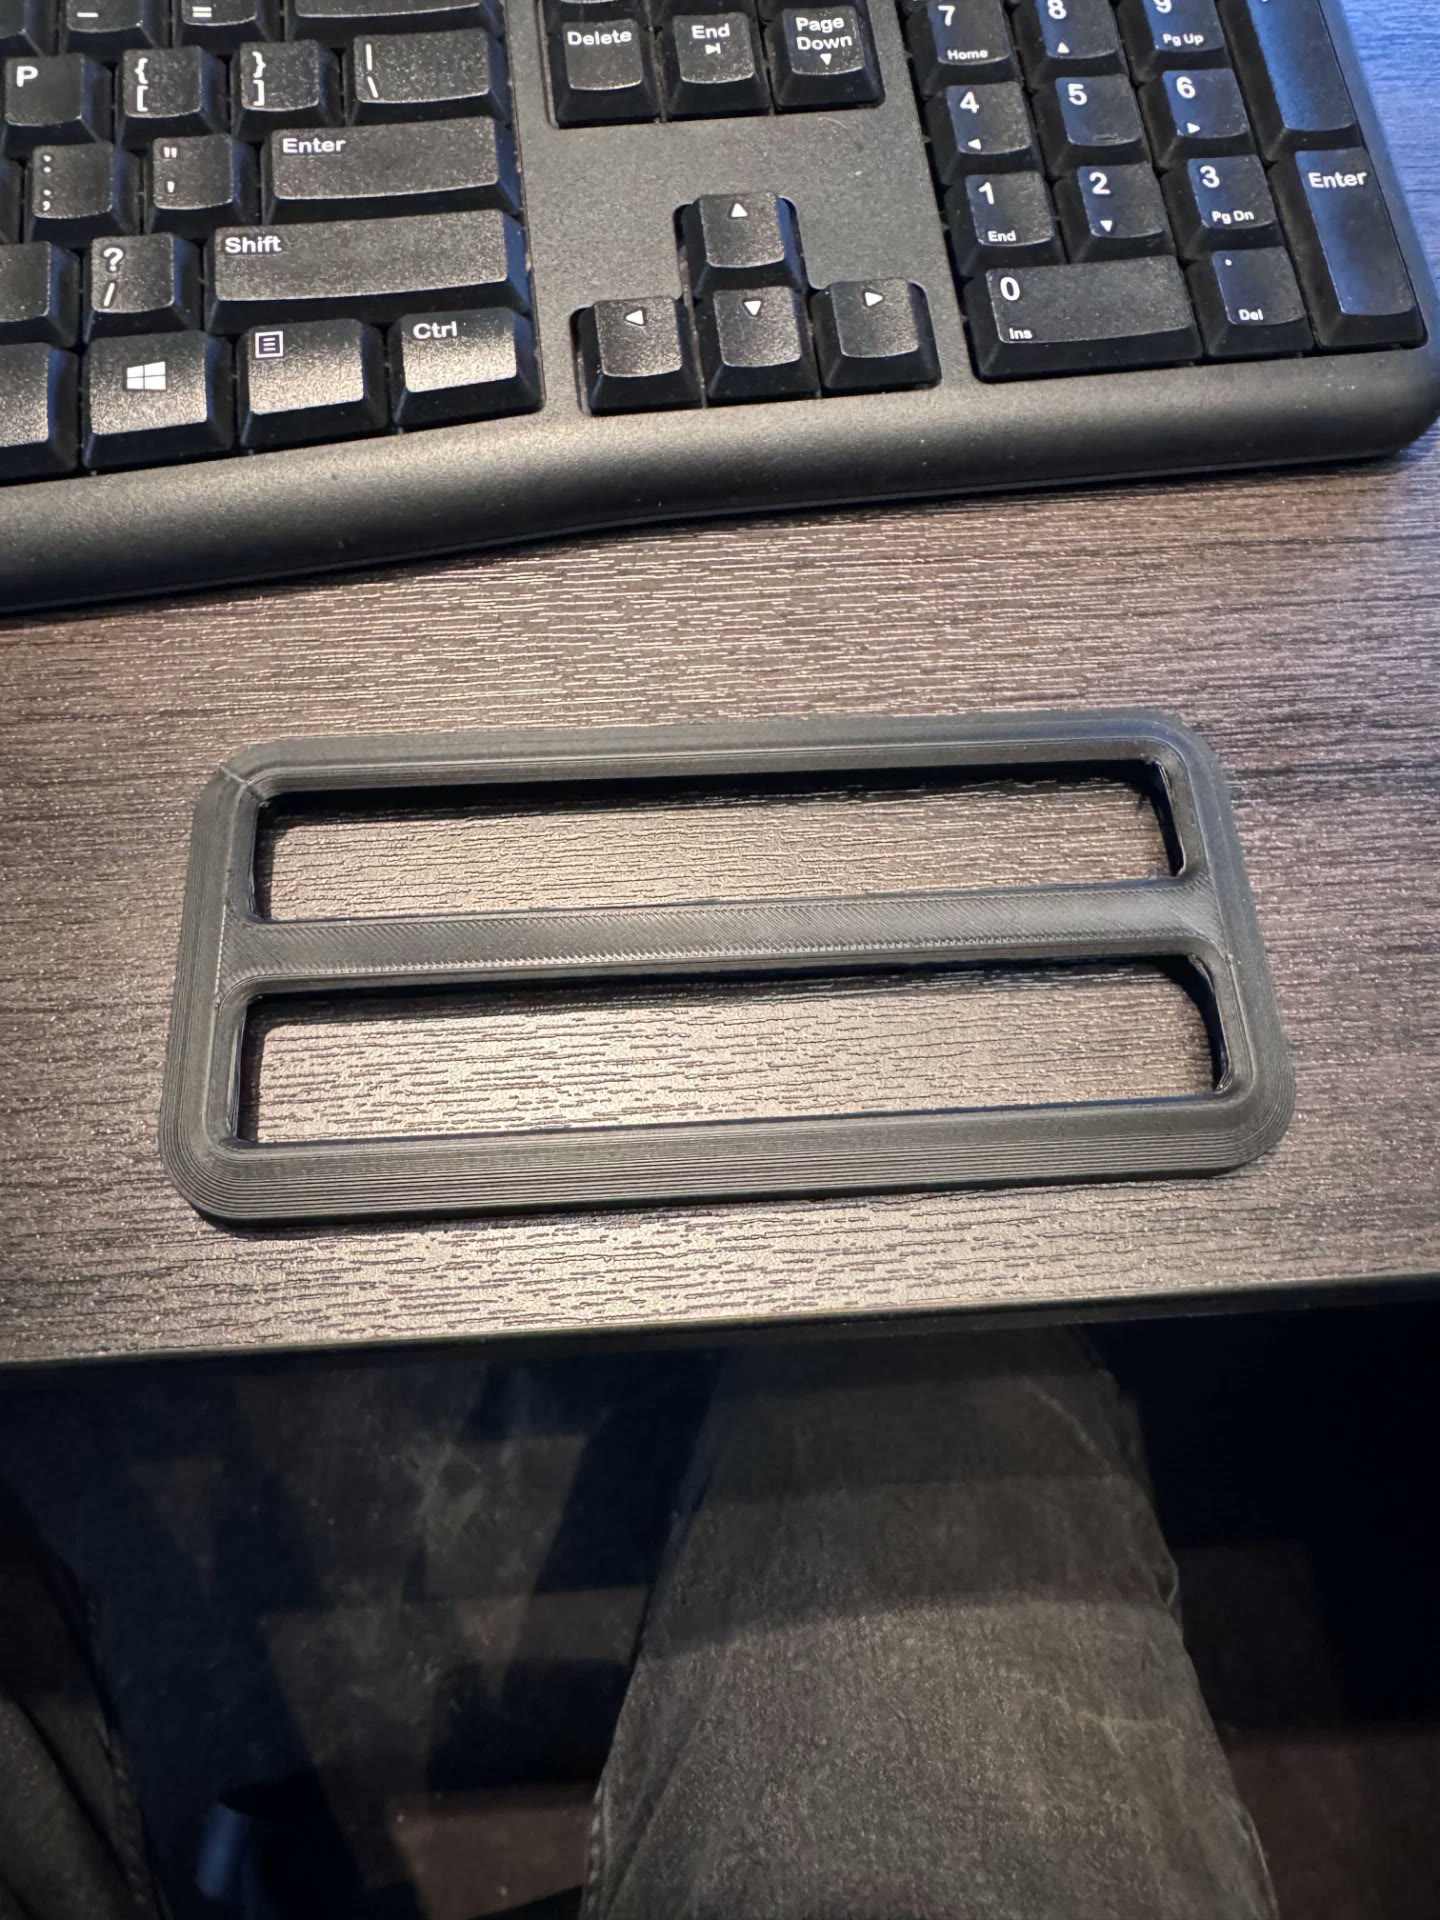 J047
J047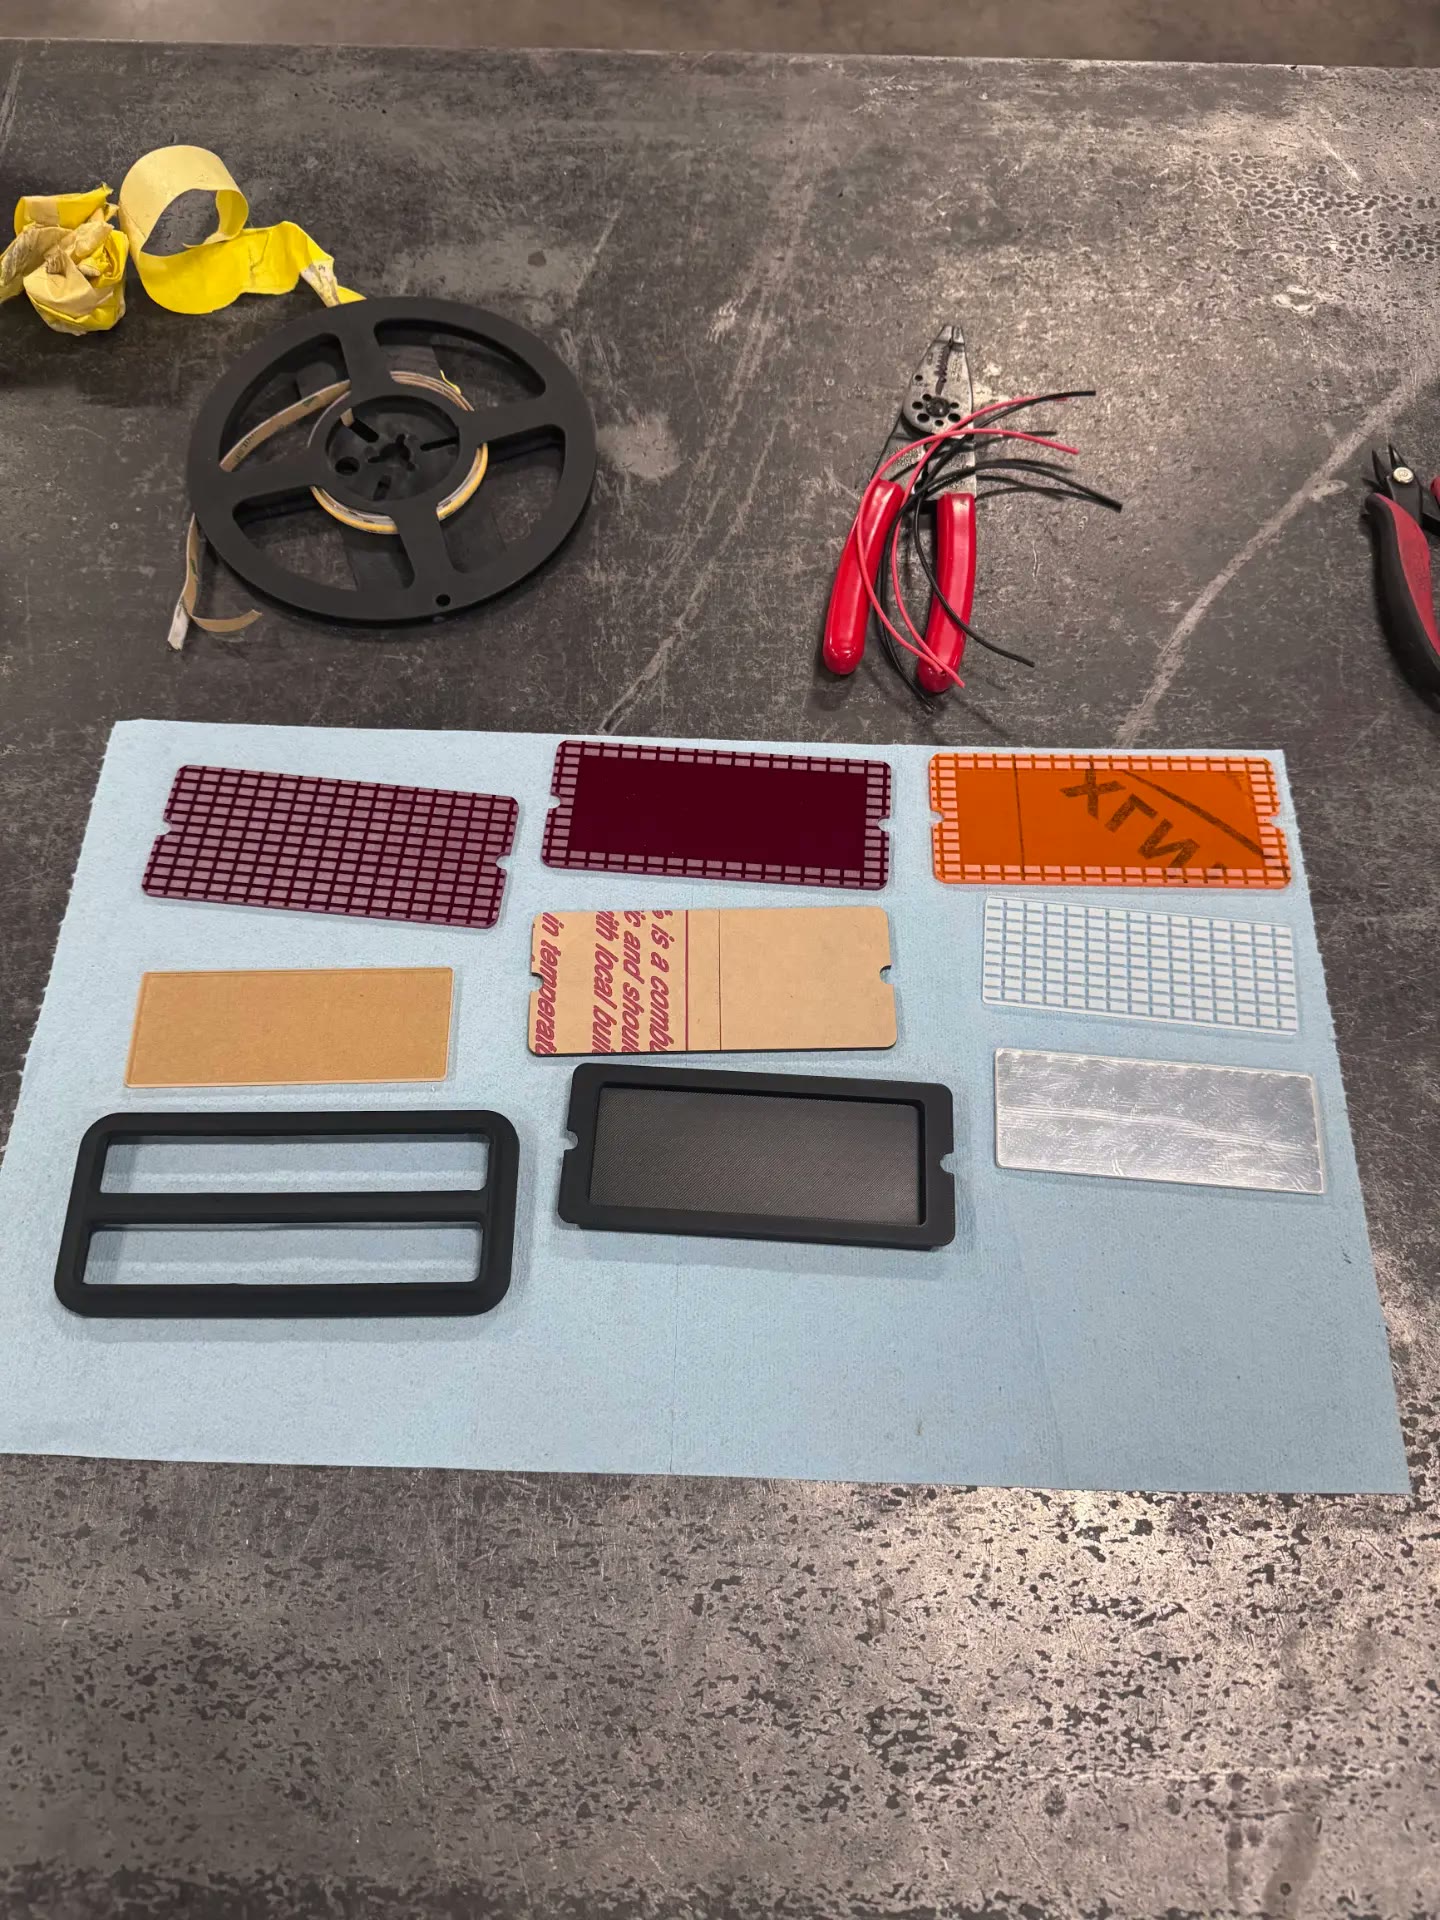 J048
J048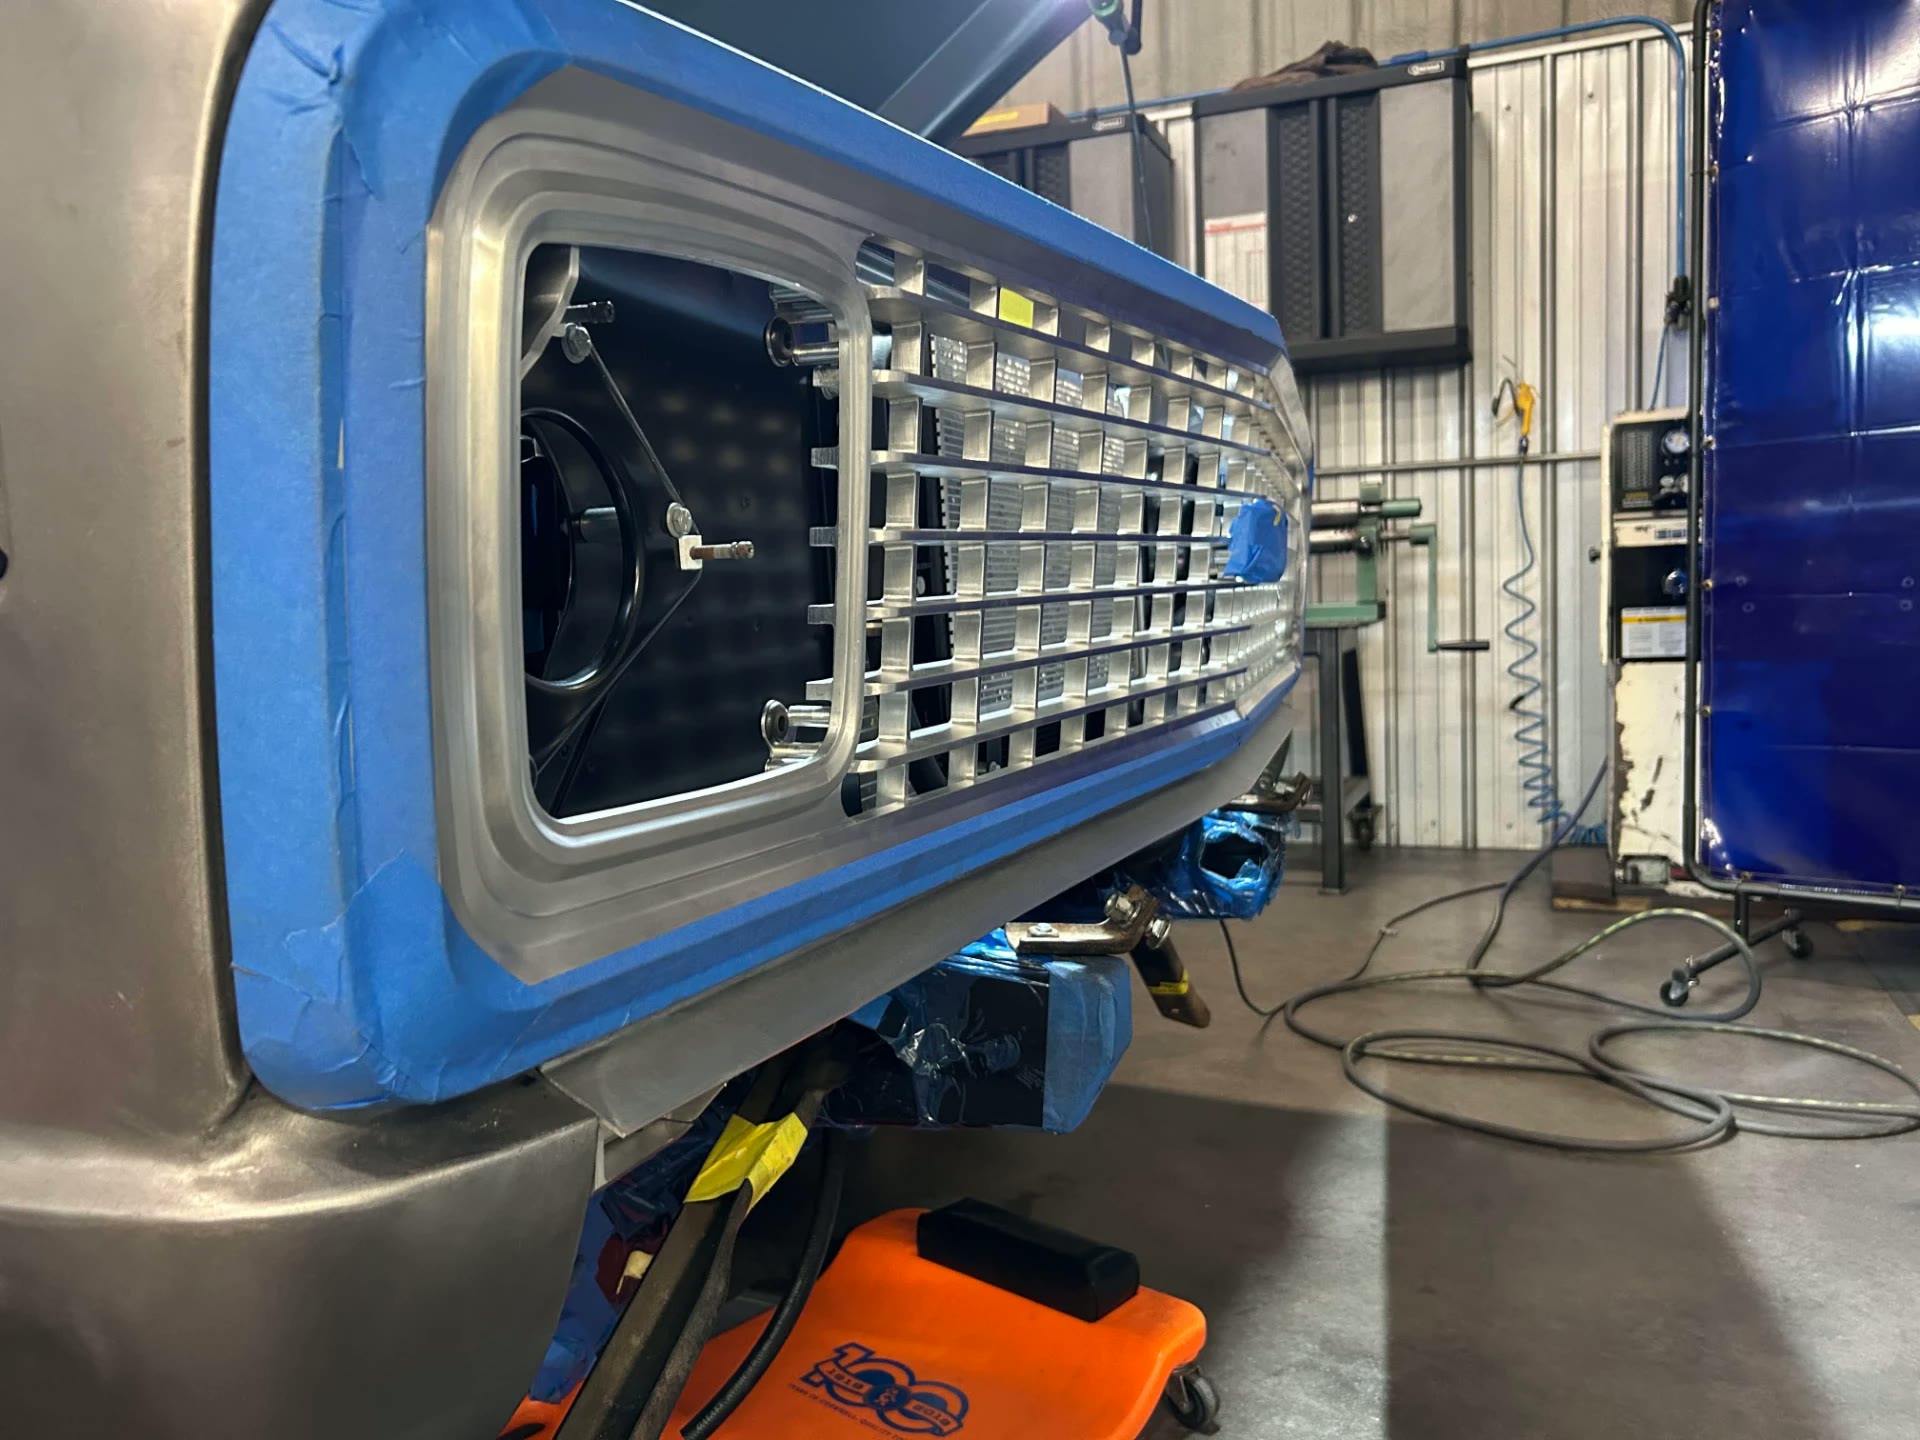 J049
J049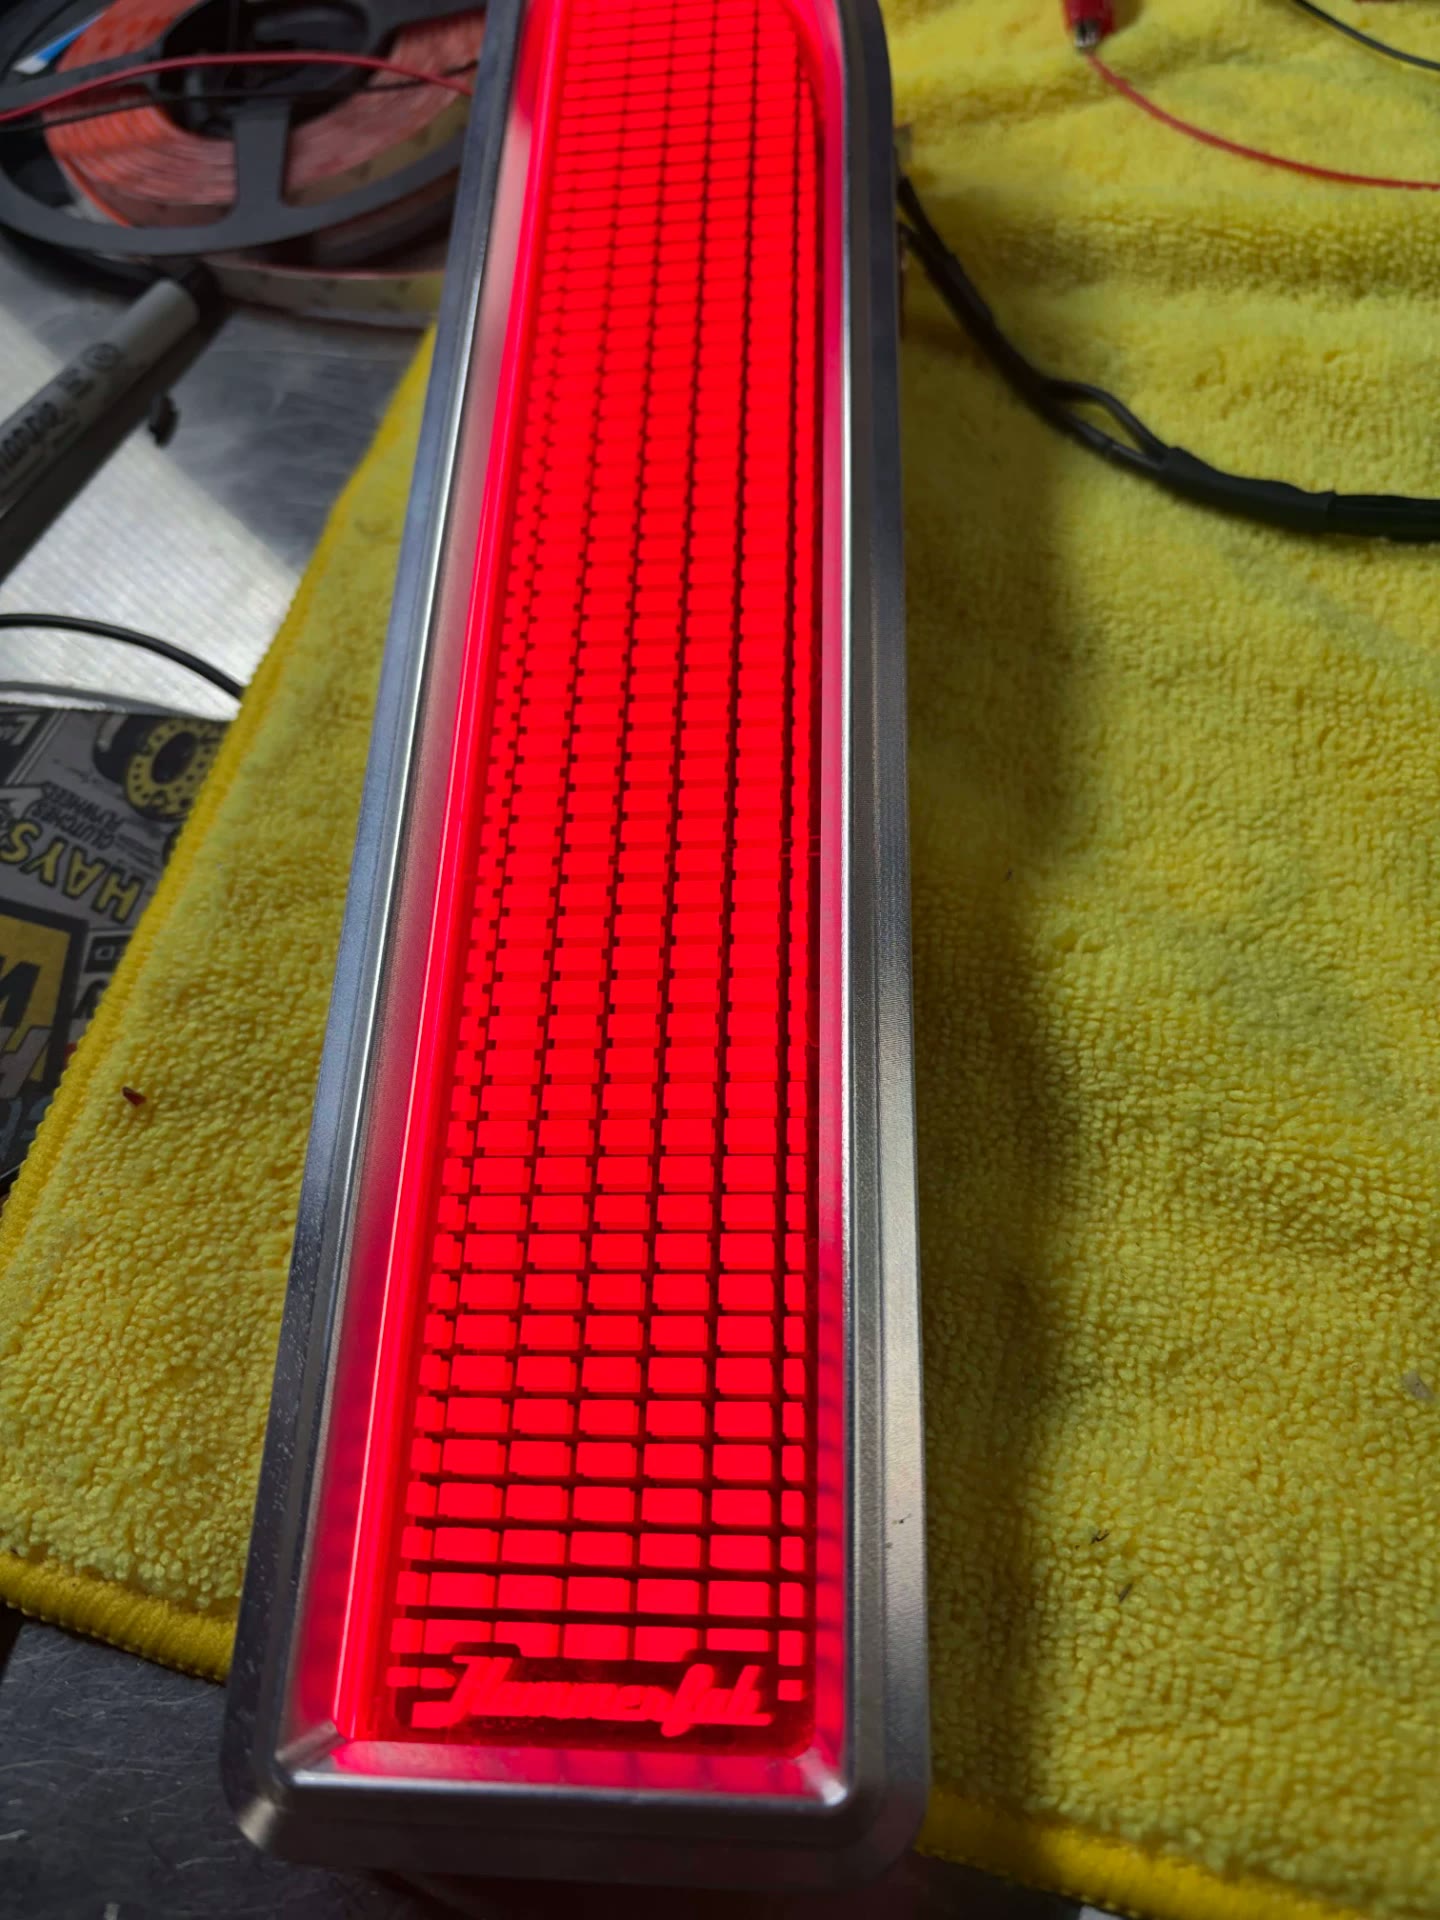 J050
J050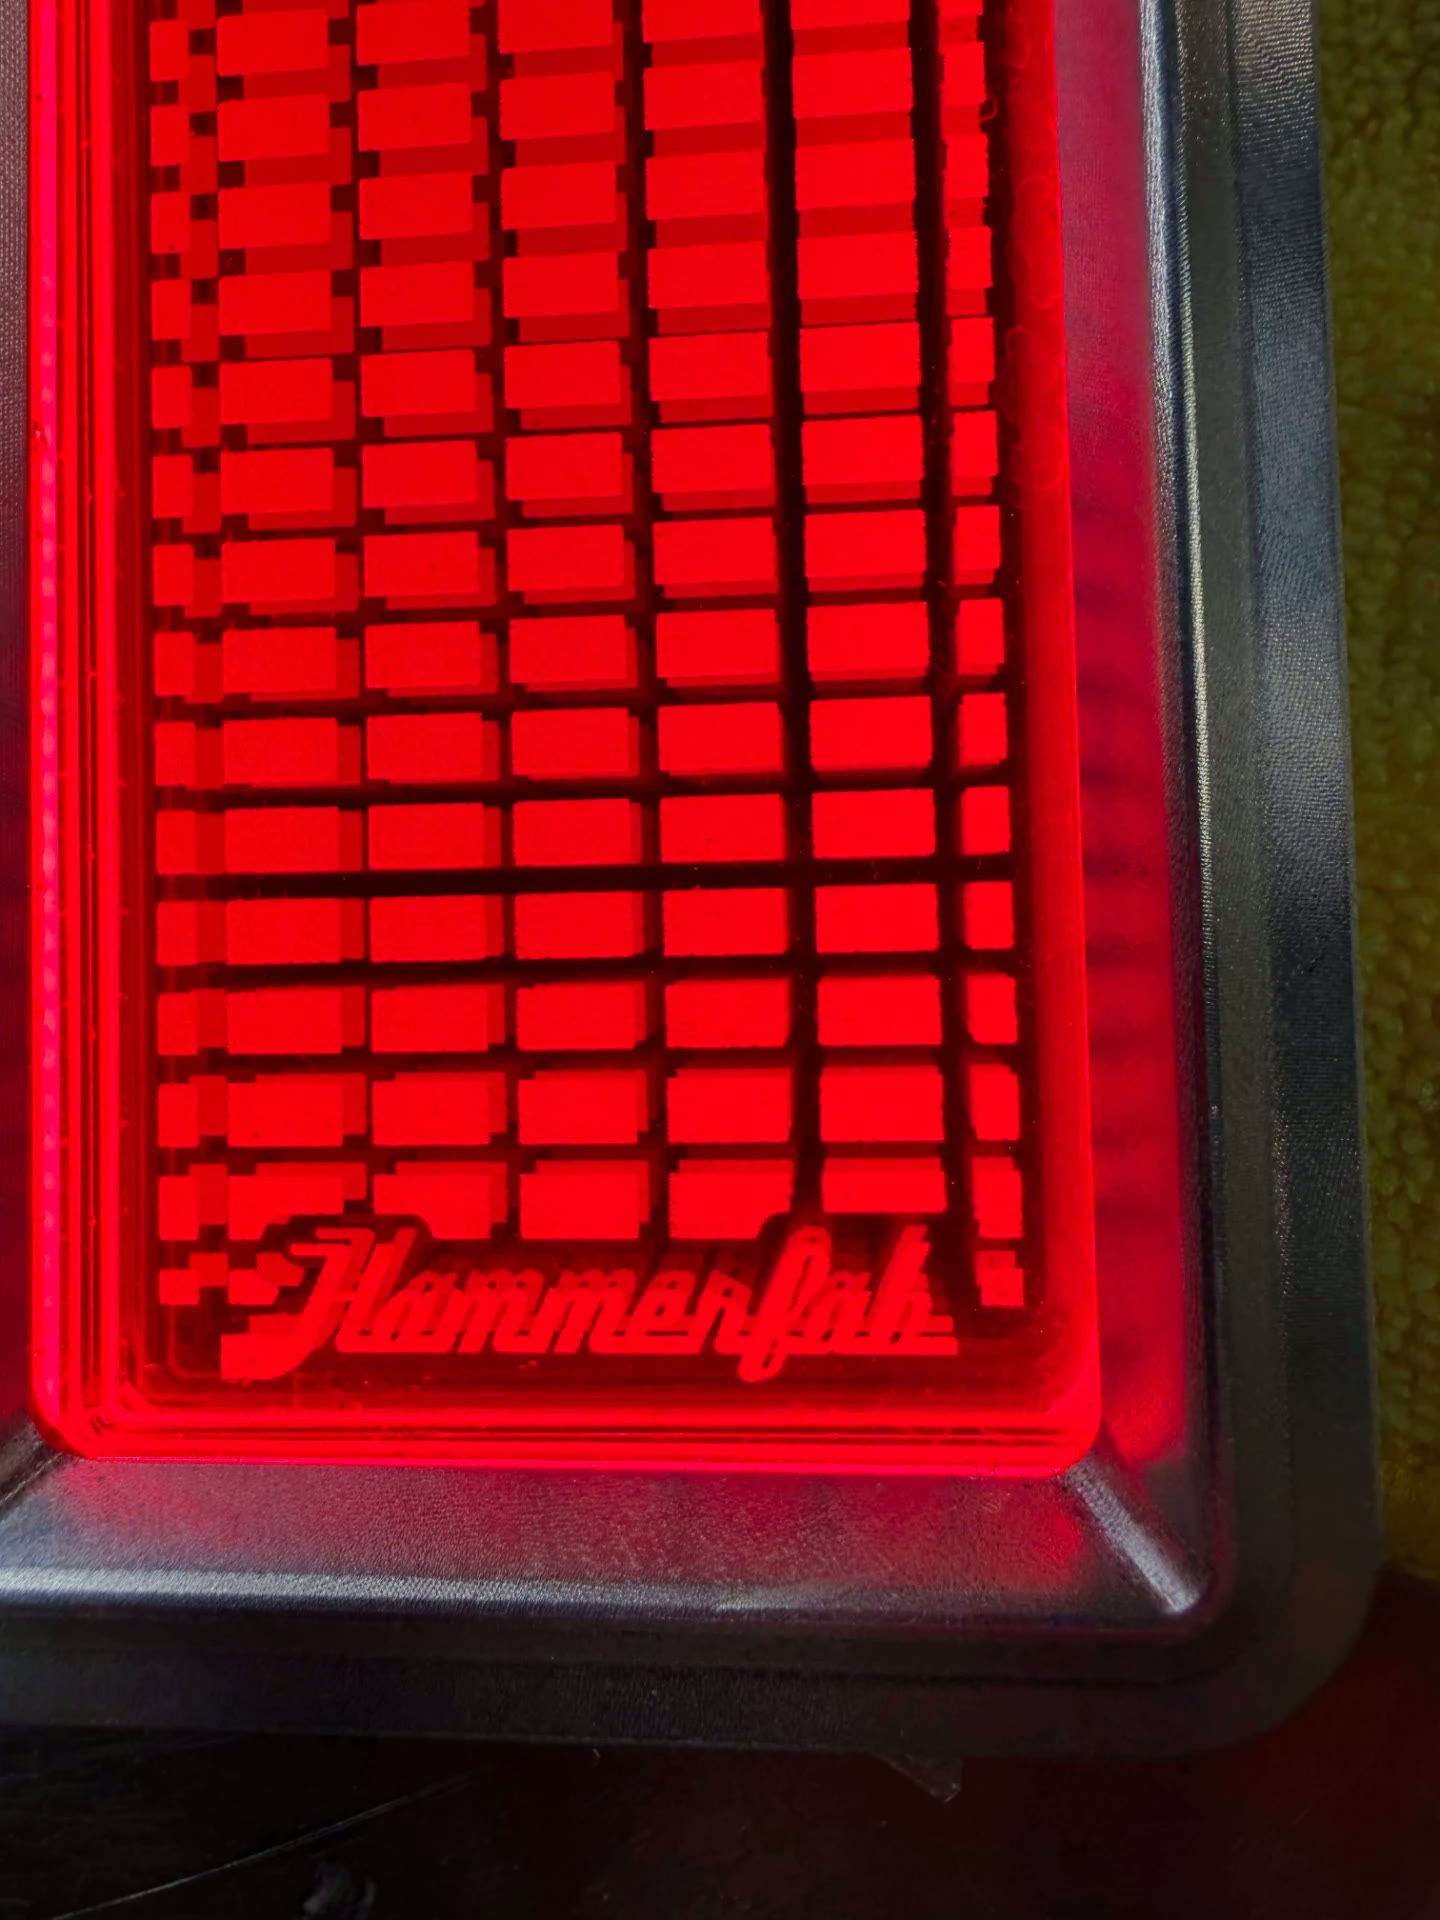 J051
J051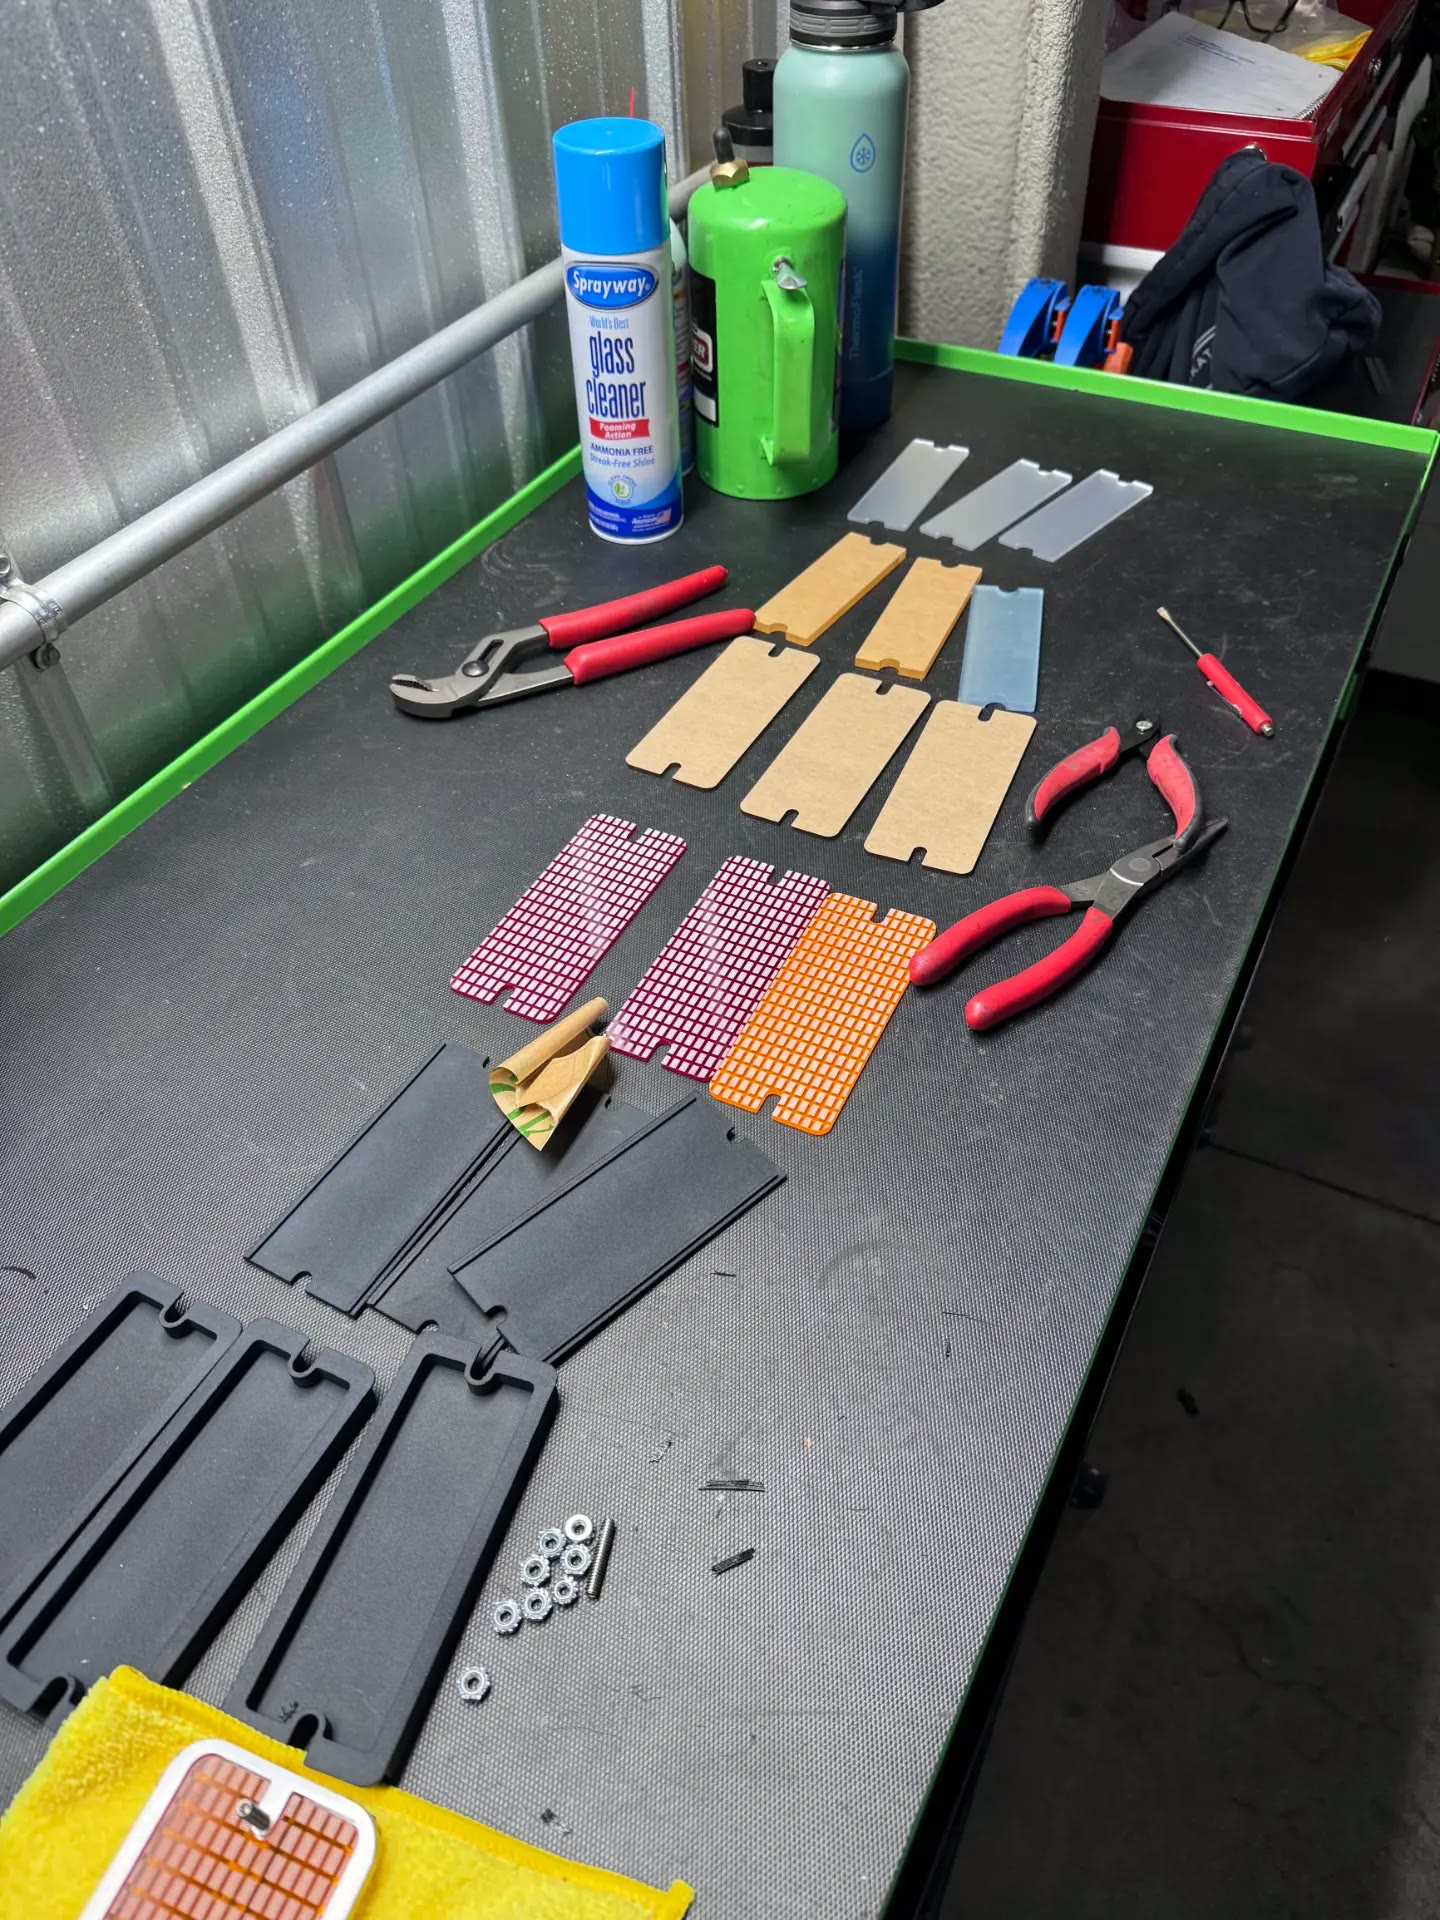 J052
J052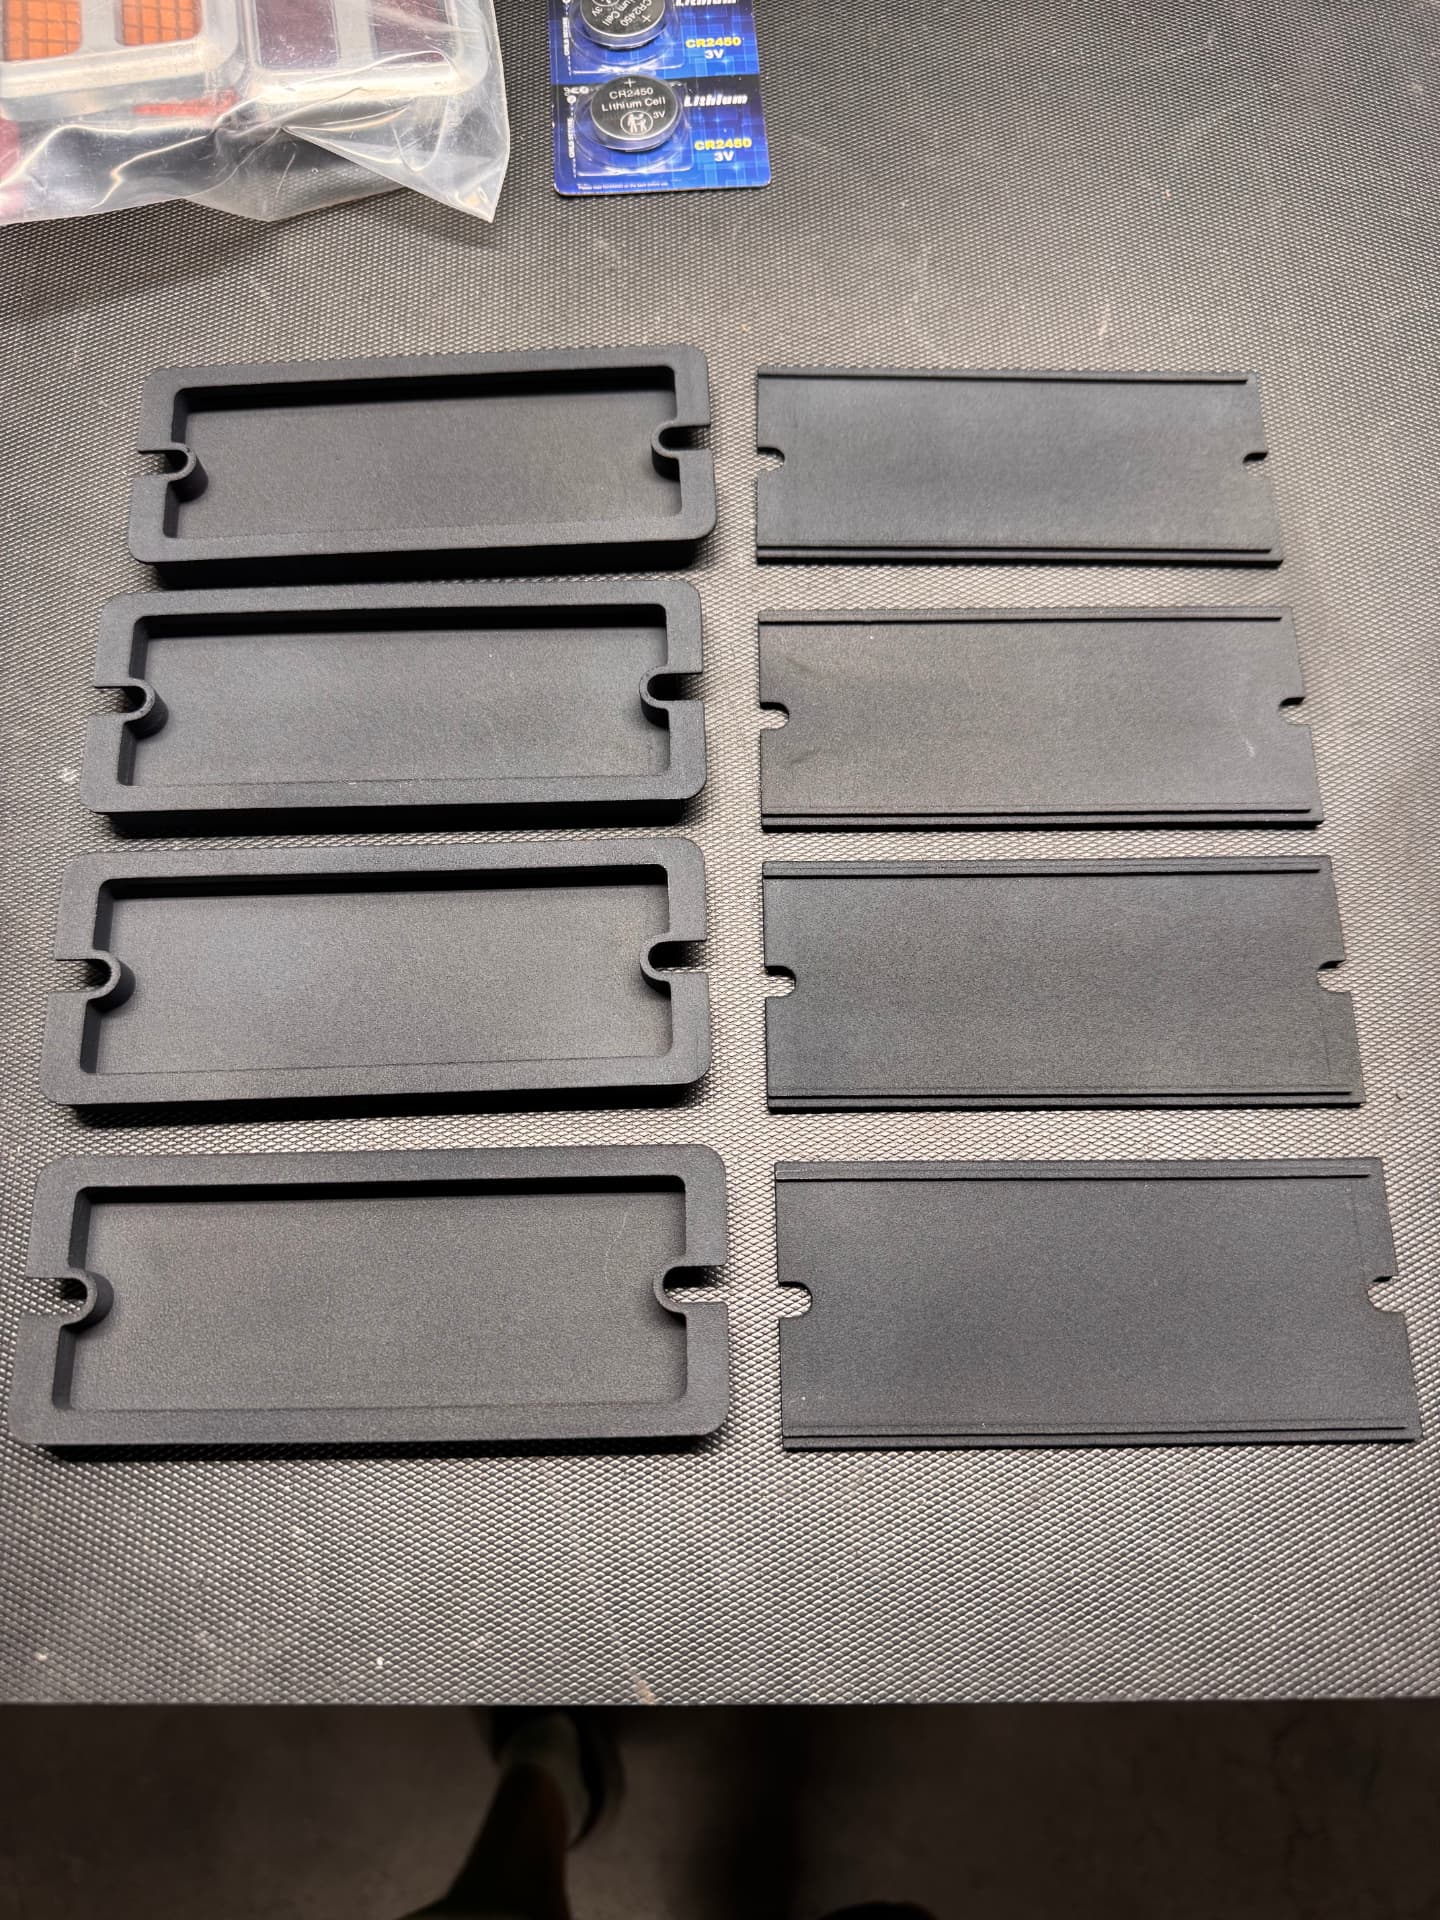 J053
J053UPDATE 10 / 11
Jun 1, 2026
FABRICATION MILESTONECustom aluminum hood latch panel
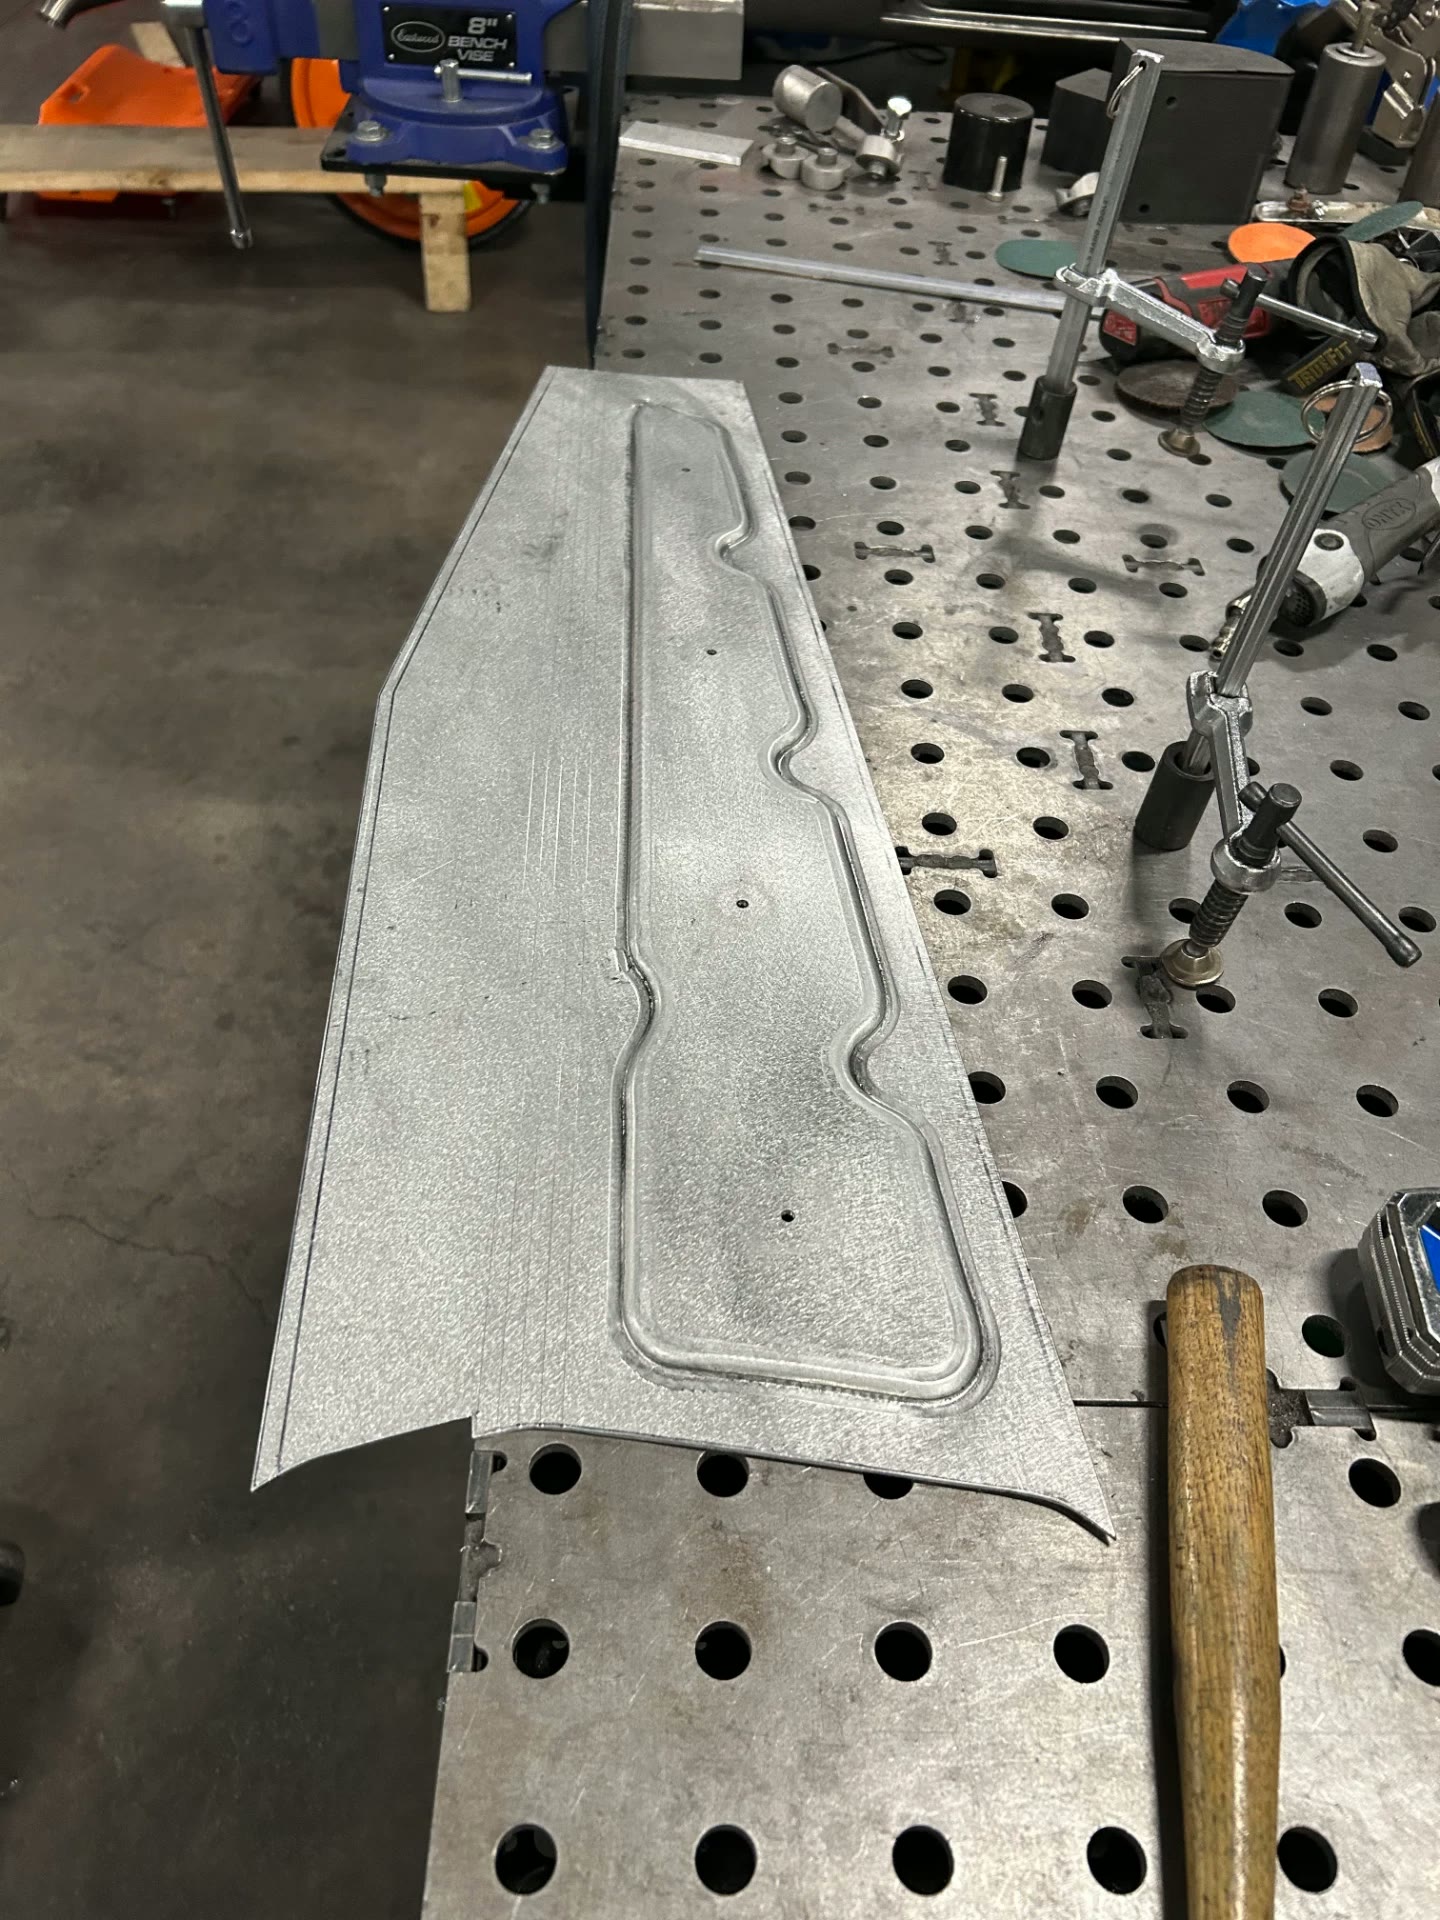
The hood latch panel was scrapped in favor of a one-off aluminum piece built in house. The shape was laid out on the truck with a paper template, then the wood form was CNC cut and used as the tracing form in the Pullmax to roll the bead work into the aluminum panel. The finished panel carries the latch and hinge hardware and closes out the front of the engine bay with a clean, formed look.
 J054
J054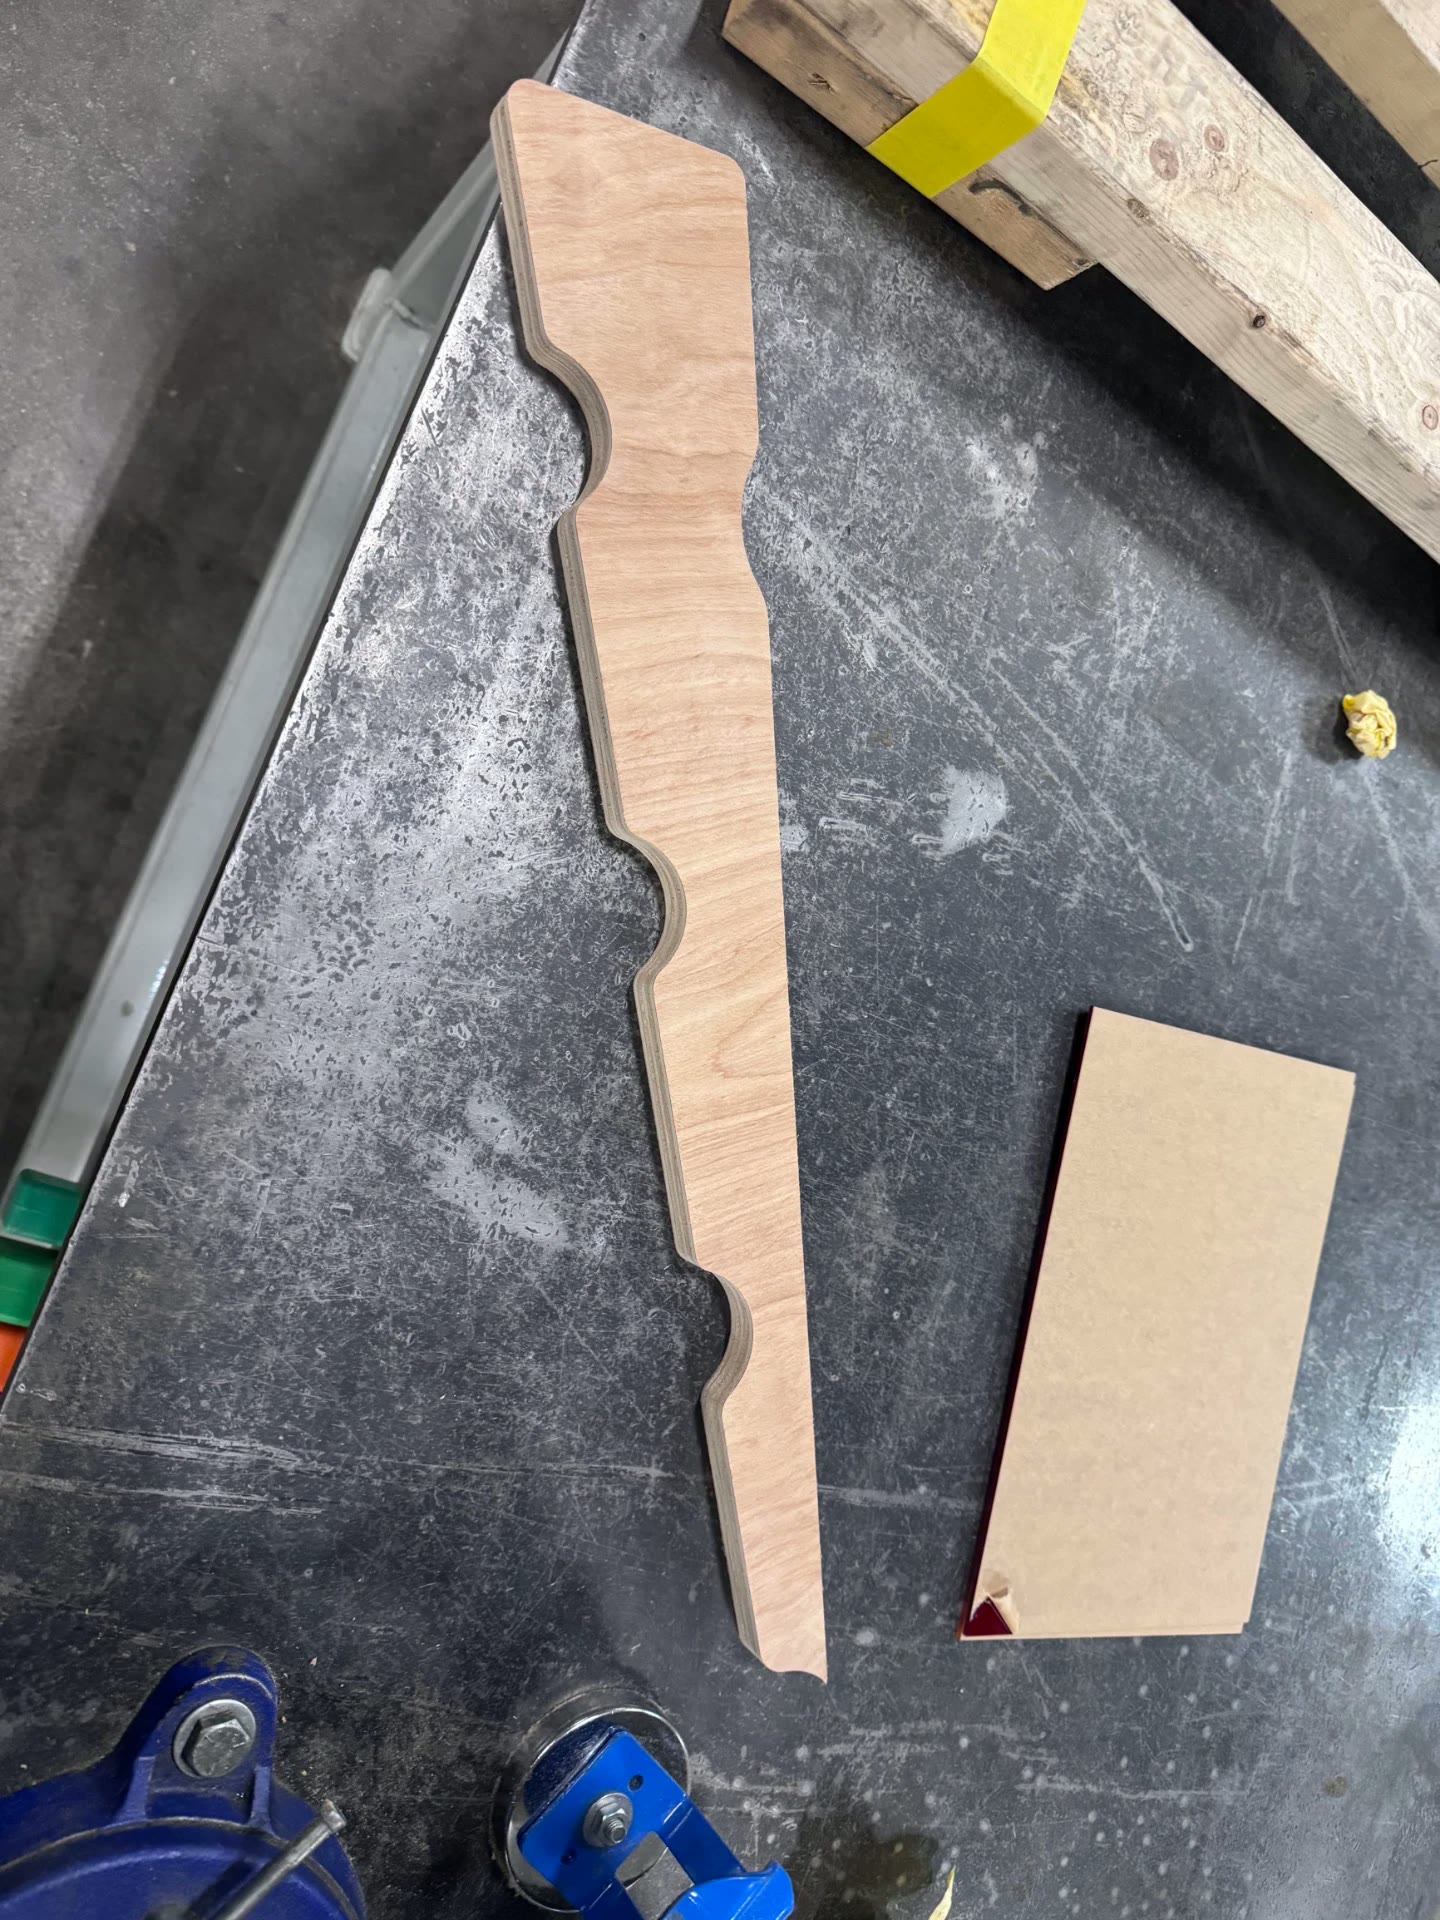 J055
J055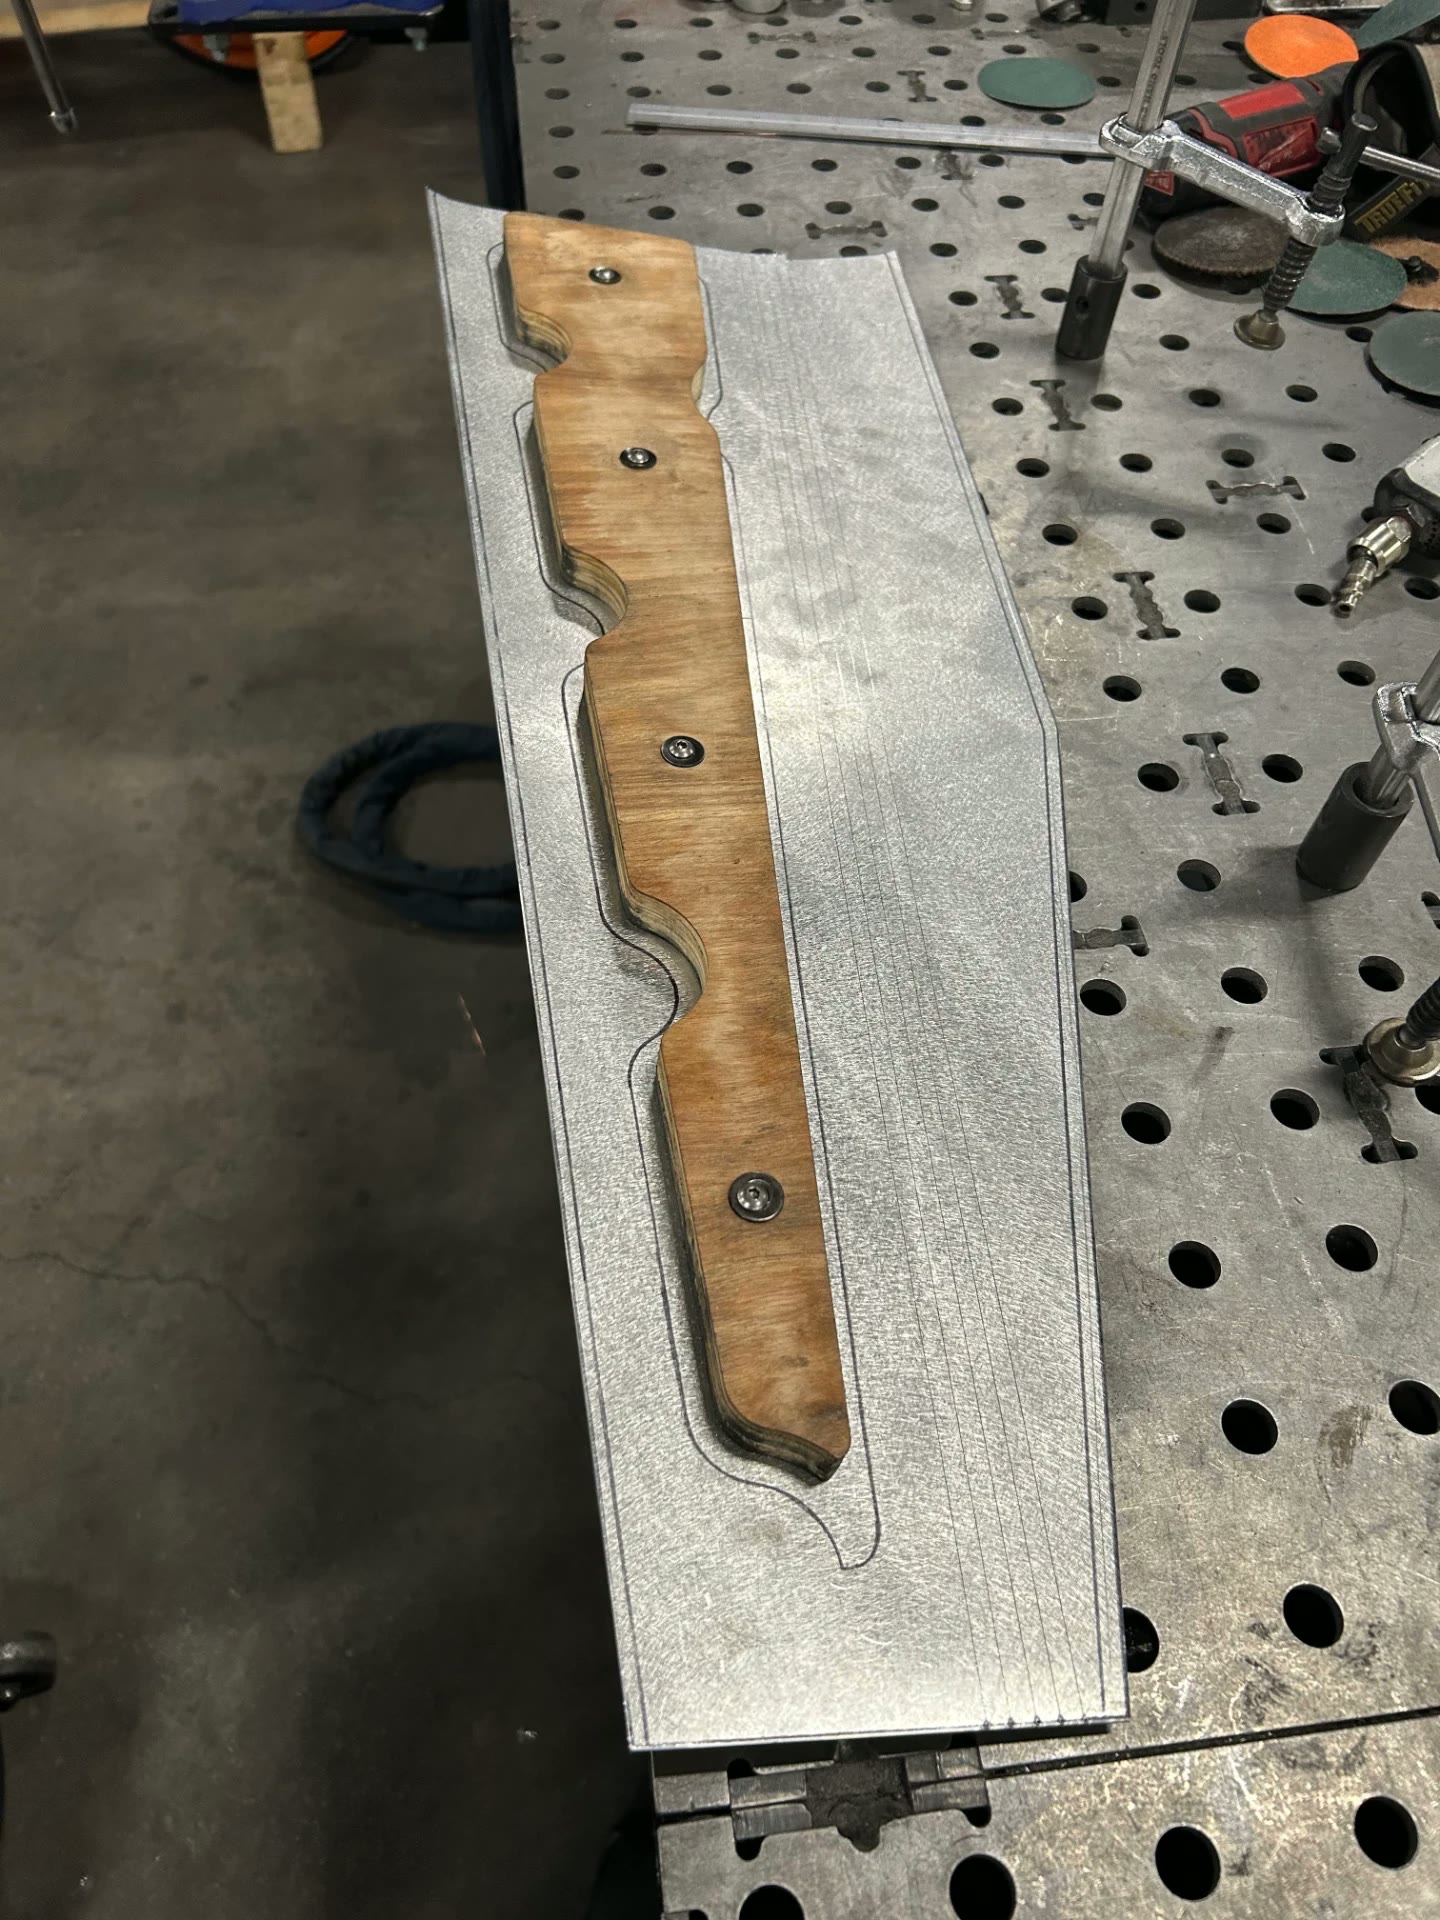 J056
J056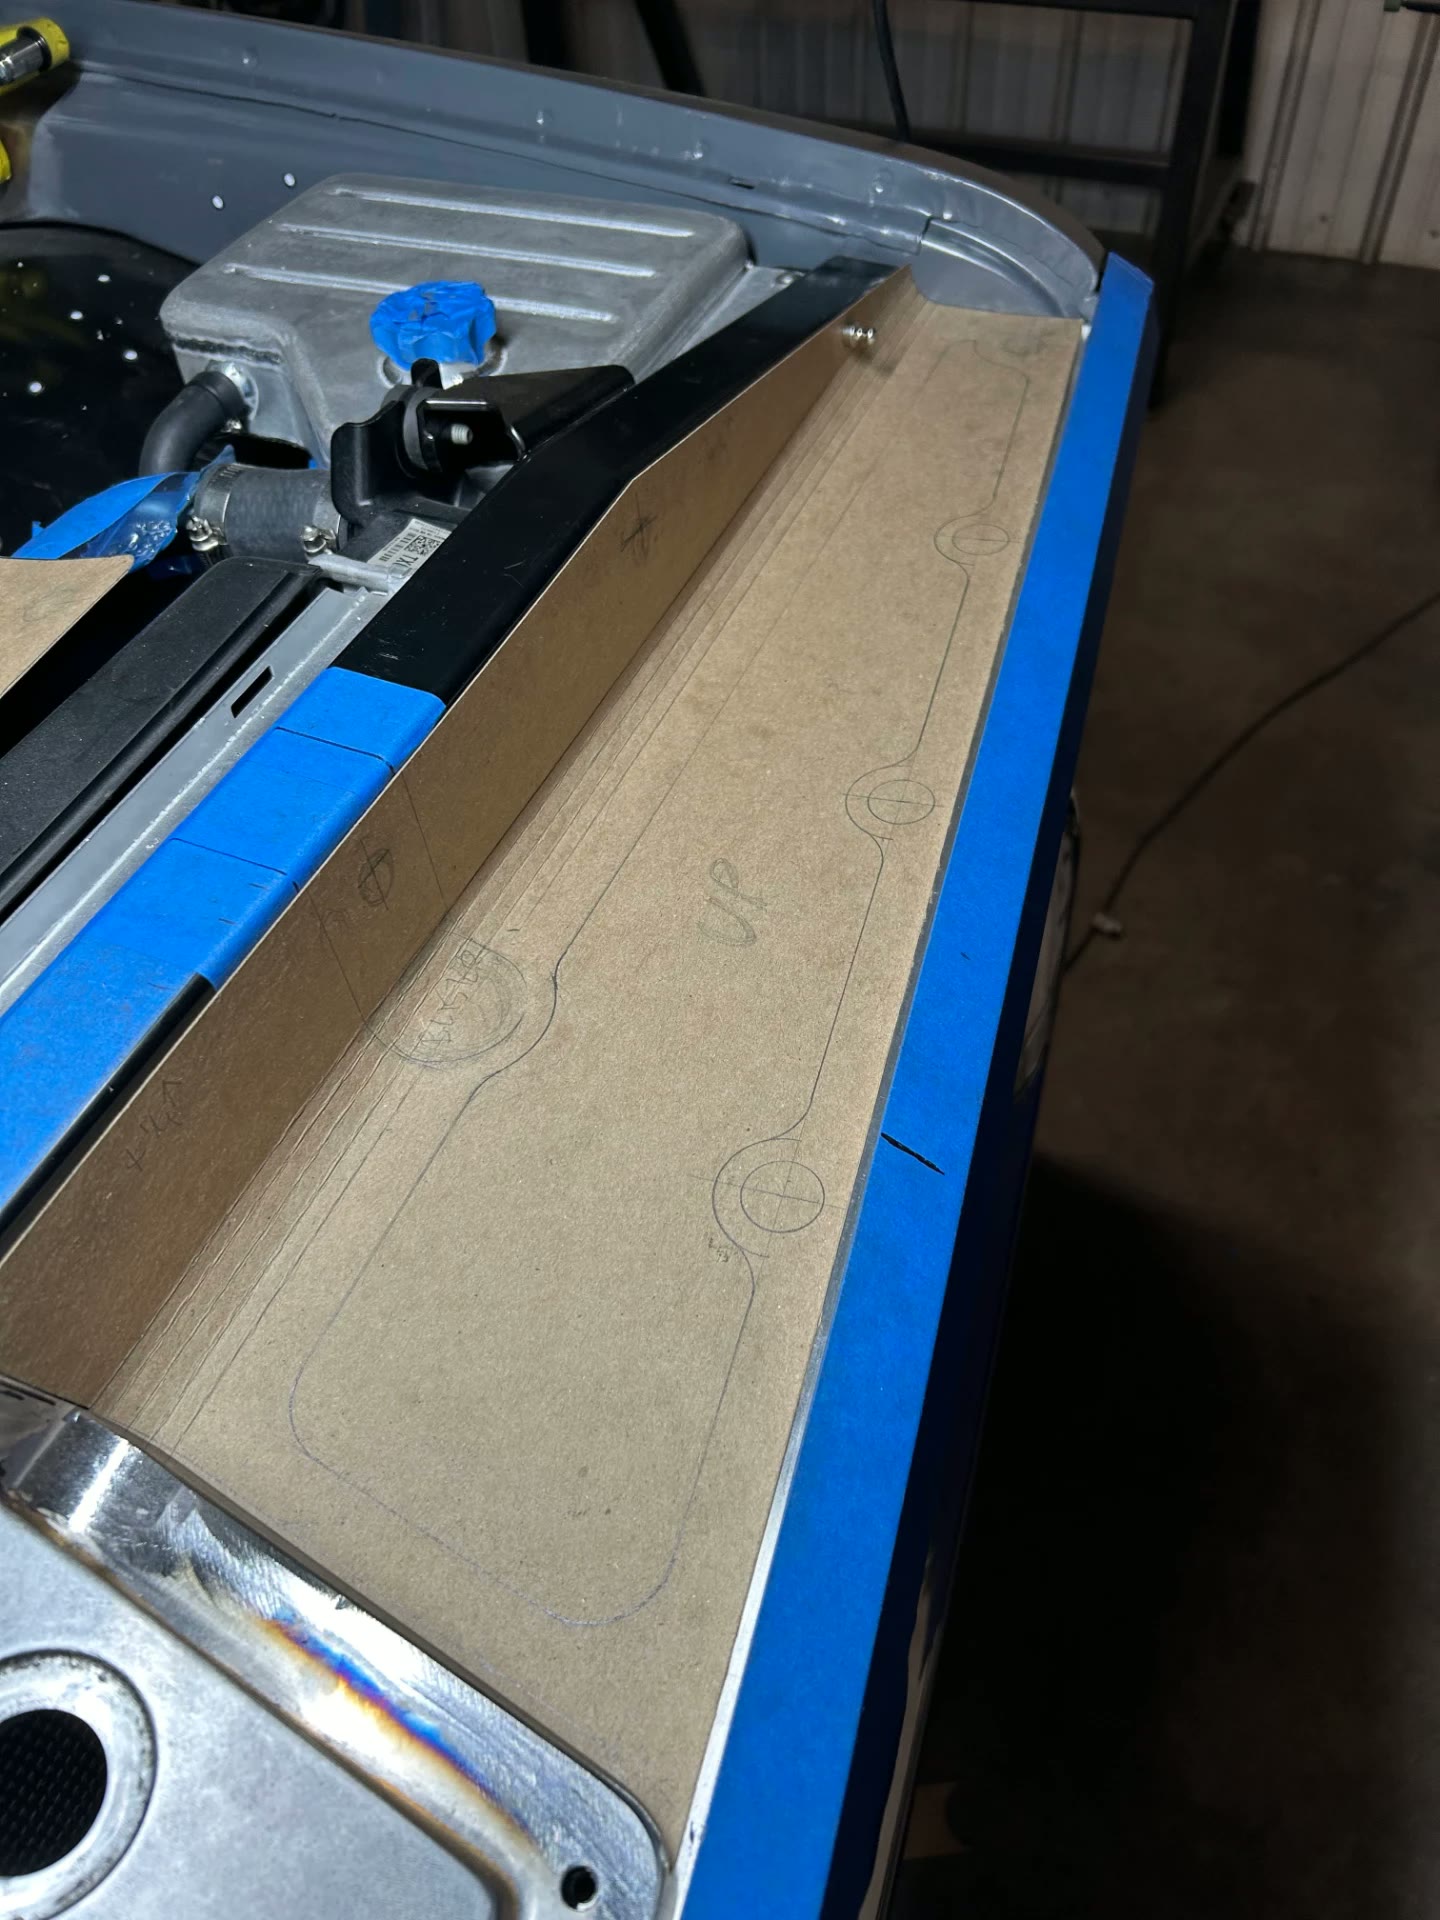 J057
J057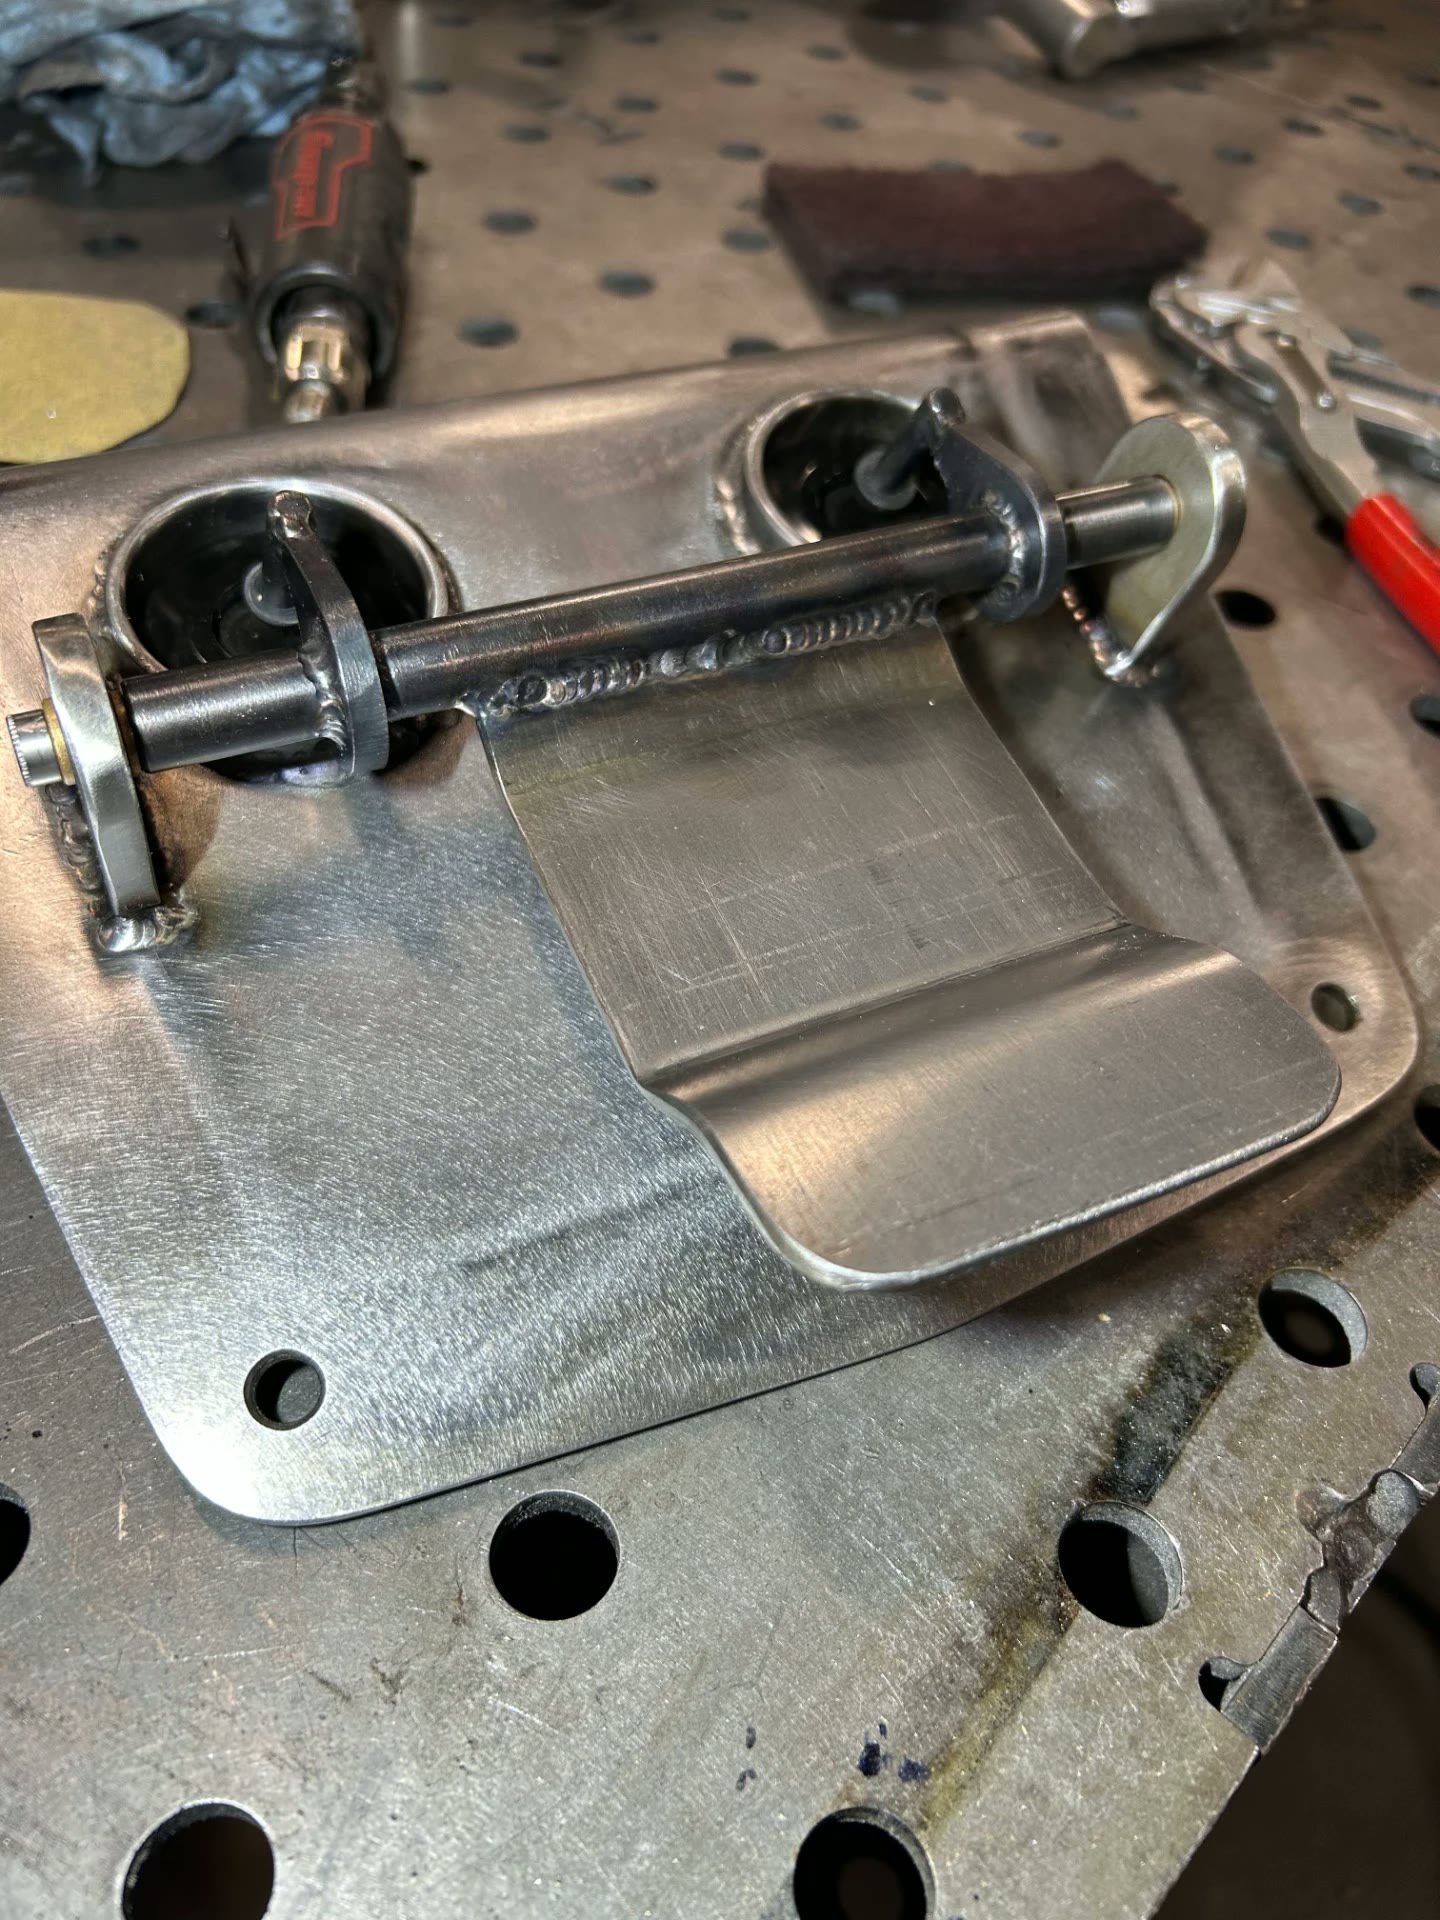 J058
J058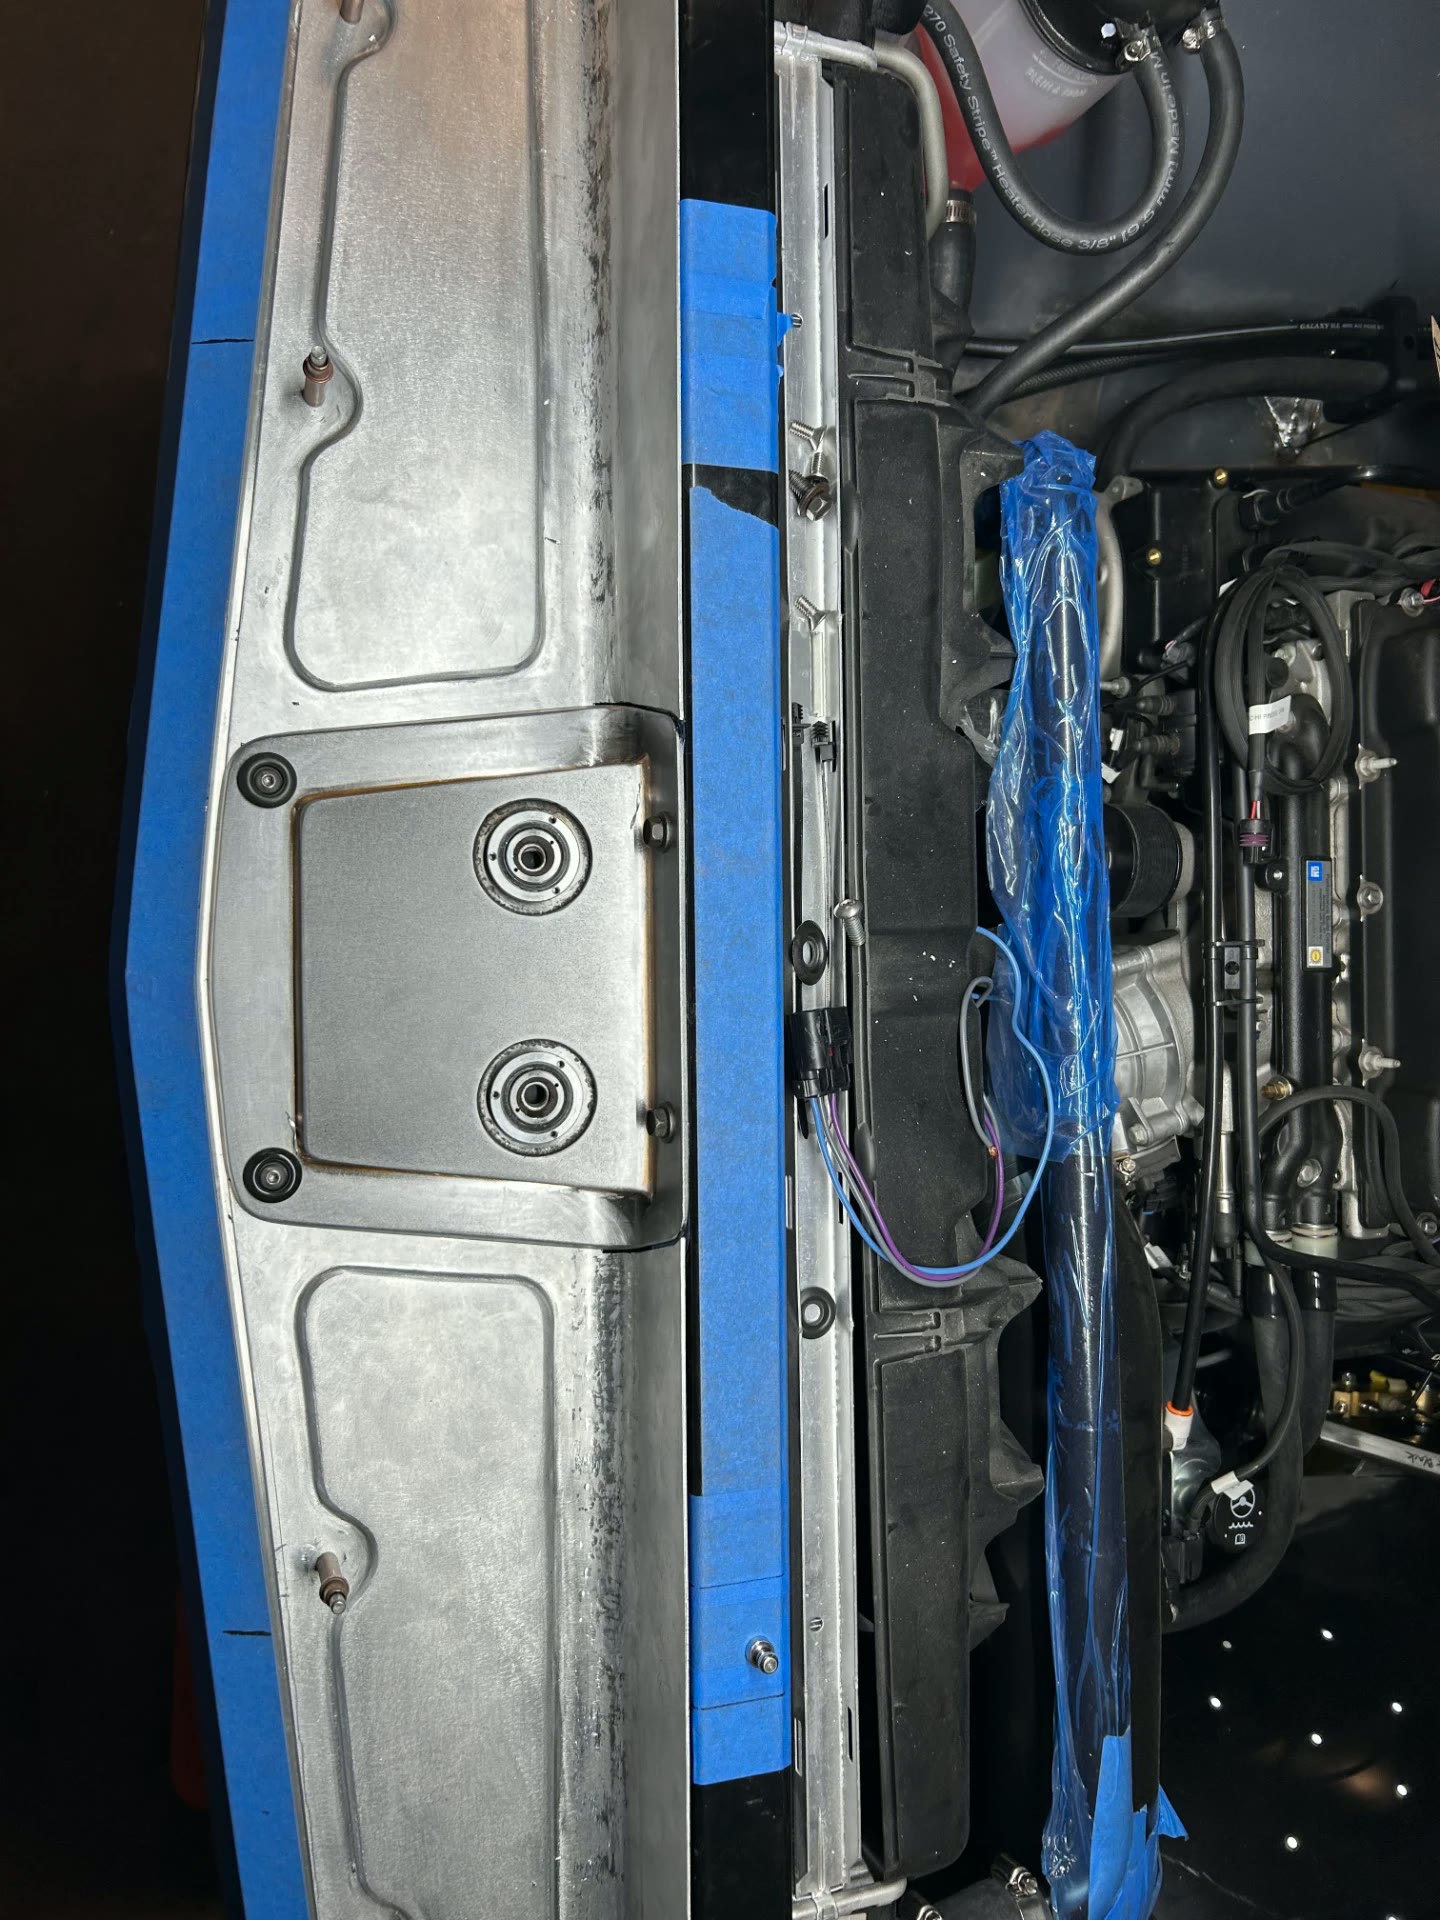 J059
J059UPDATE 11 / 11
May 1, 2026
FABRICATION MILESTONEBillet grille, billet tail lights, and hidden actuator hardware
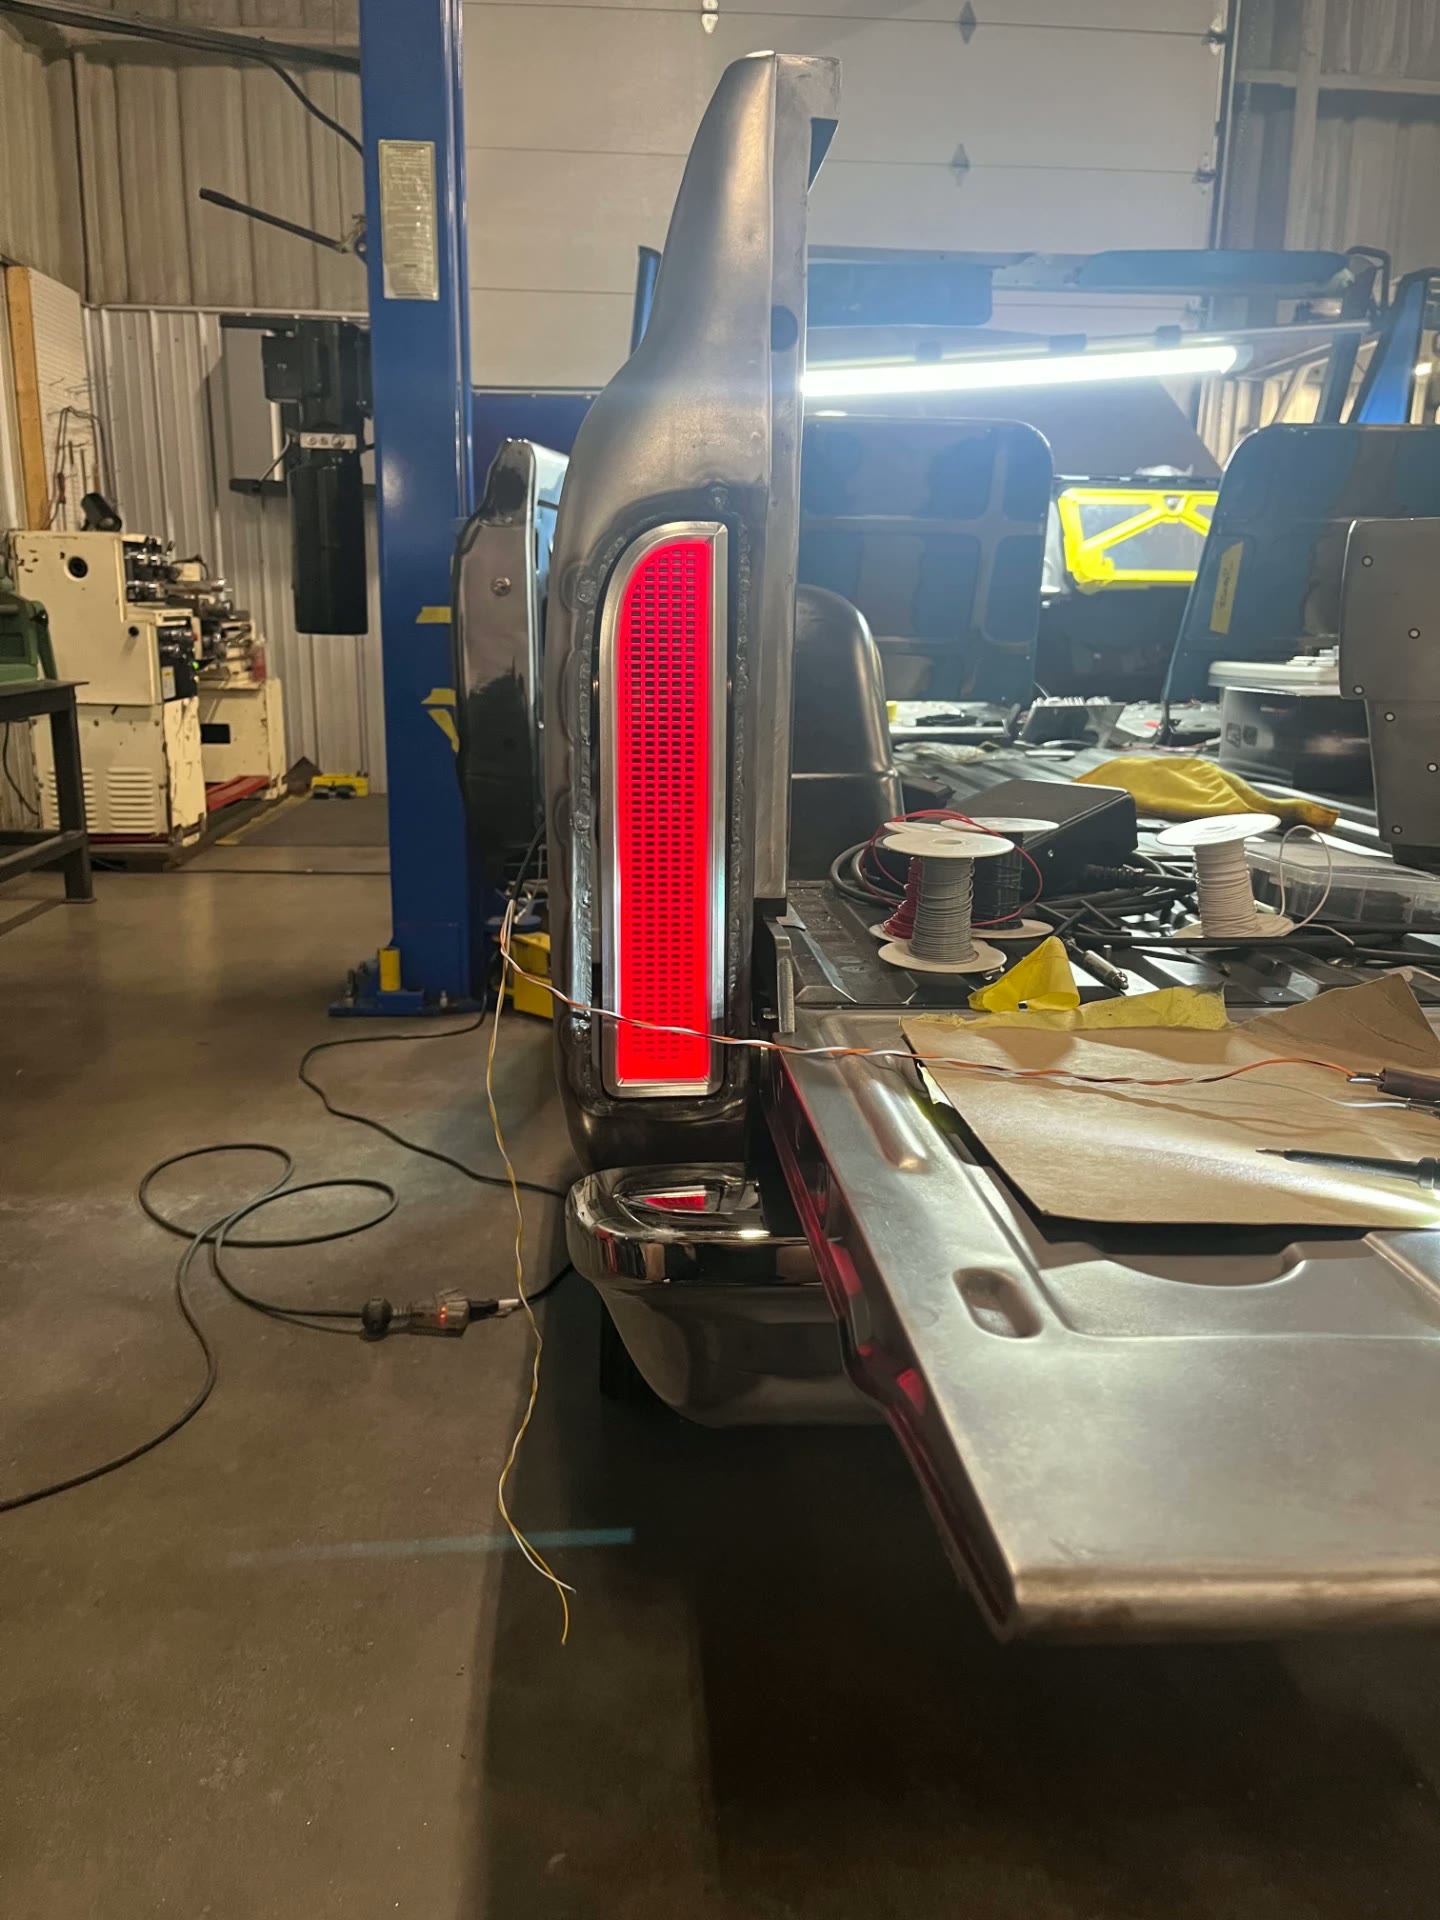
The back half of the truck is getting the same treatment as the front. The billet grille was machined and test fit to the front end, and the tail lights are billet housings built to sit tight in the rear corners. The fuel filler door hides behind the tail light so there is nothing extra on the quarter. Electric actuators run the tailgate and release the roof at the flip of a switch, so the customer can drop the top at the push of a button. There will be no latch or handle on the tailgate or the roof hatch, and the hatch runs hidden hinges. All of those subtle details keep the back side clean and keep prying hands out.
 J060
J060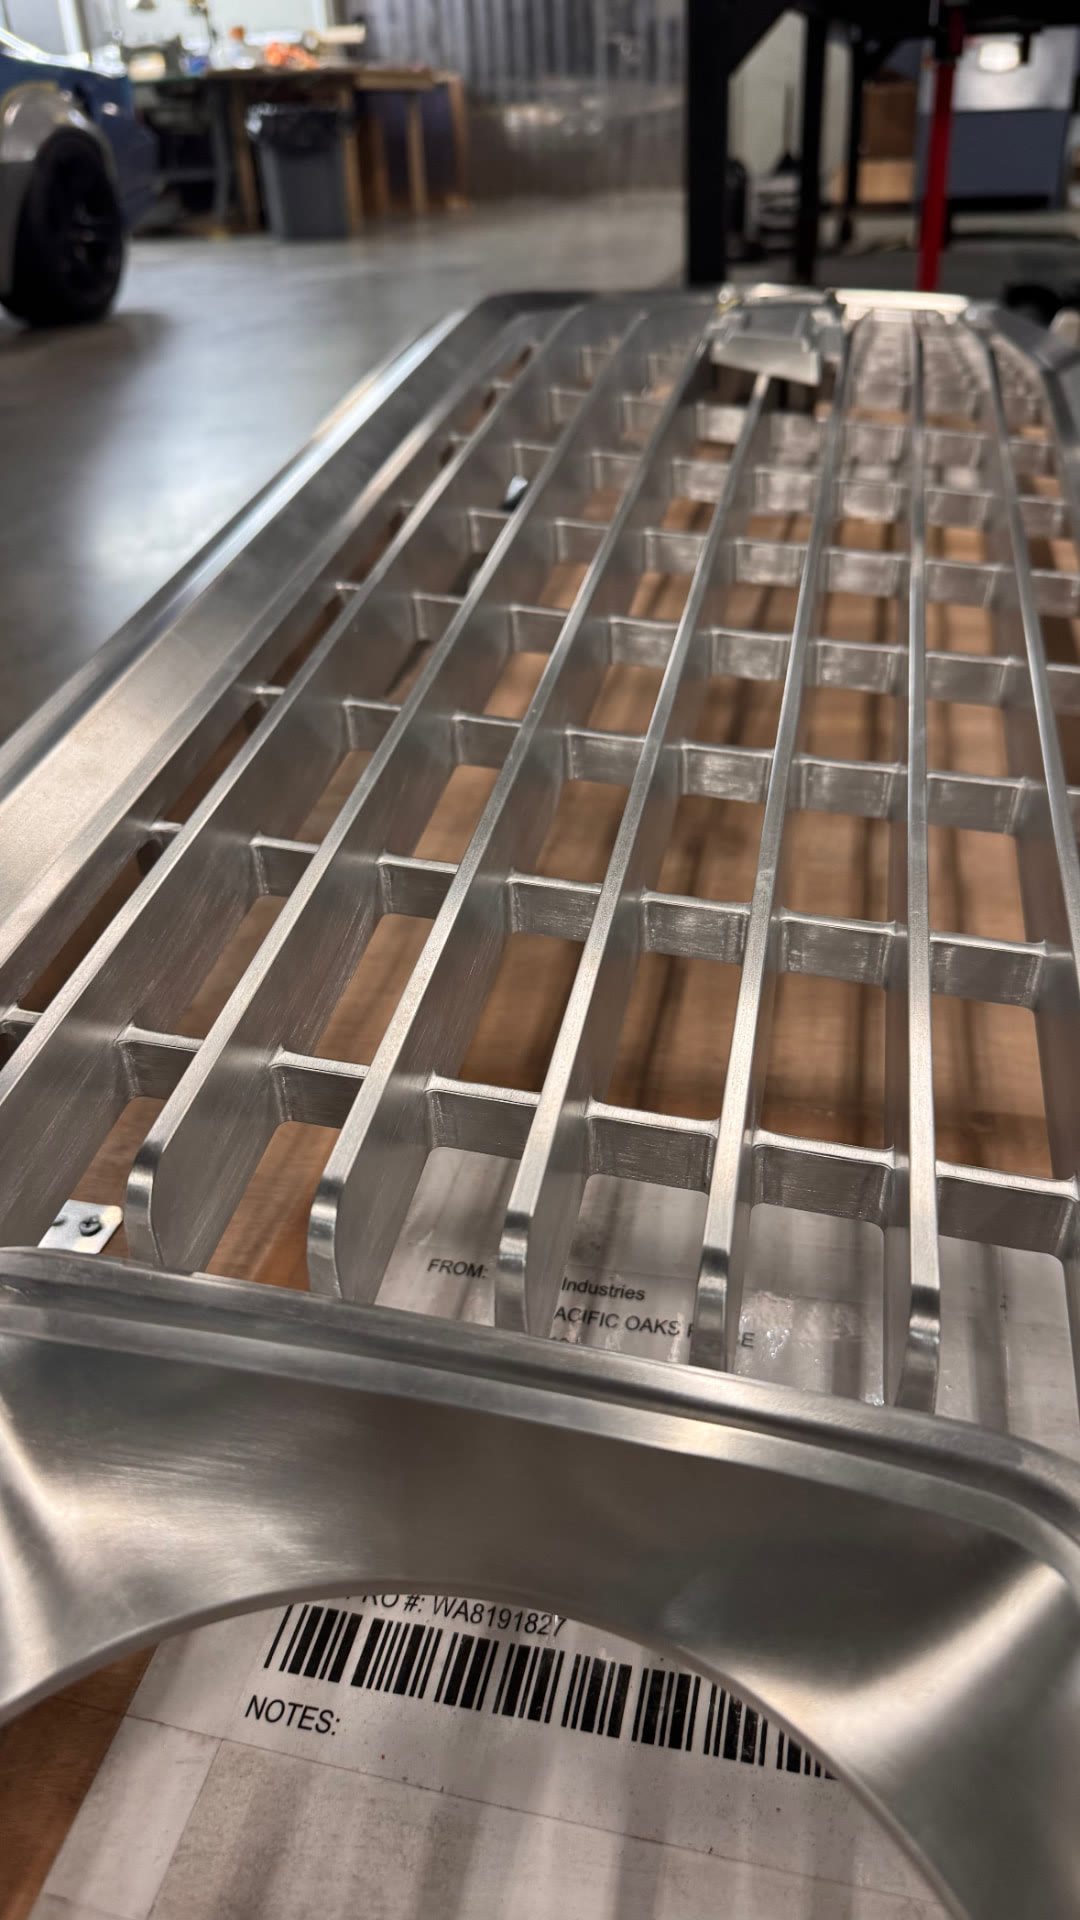 J061
J061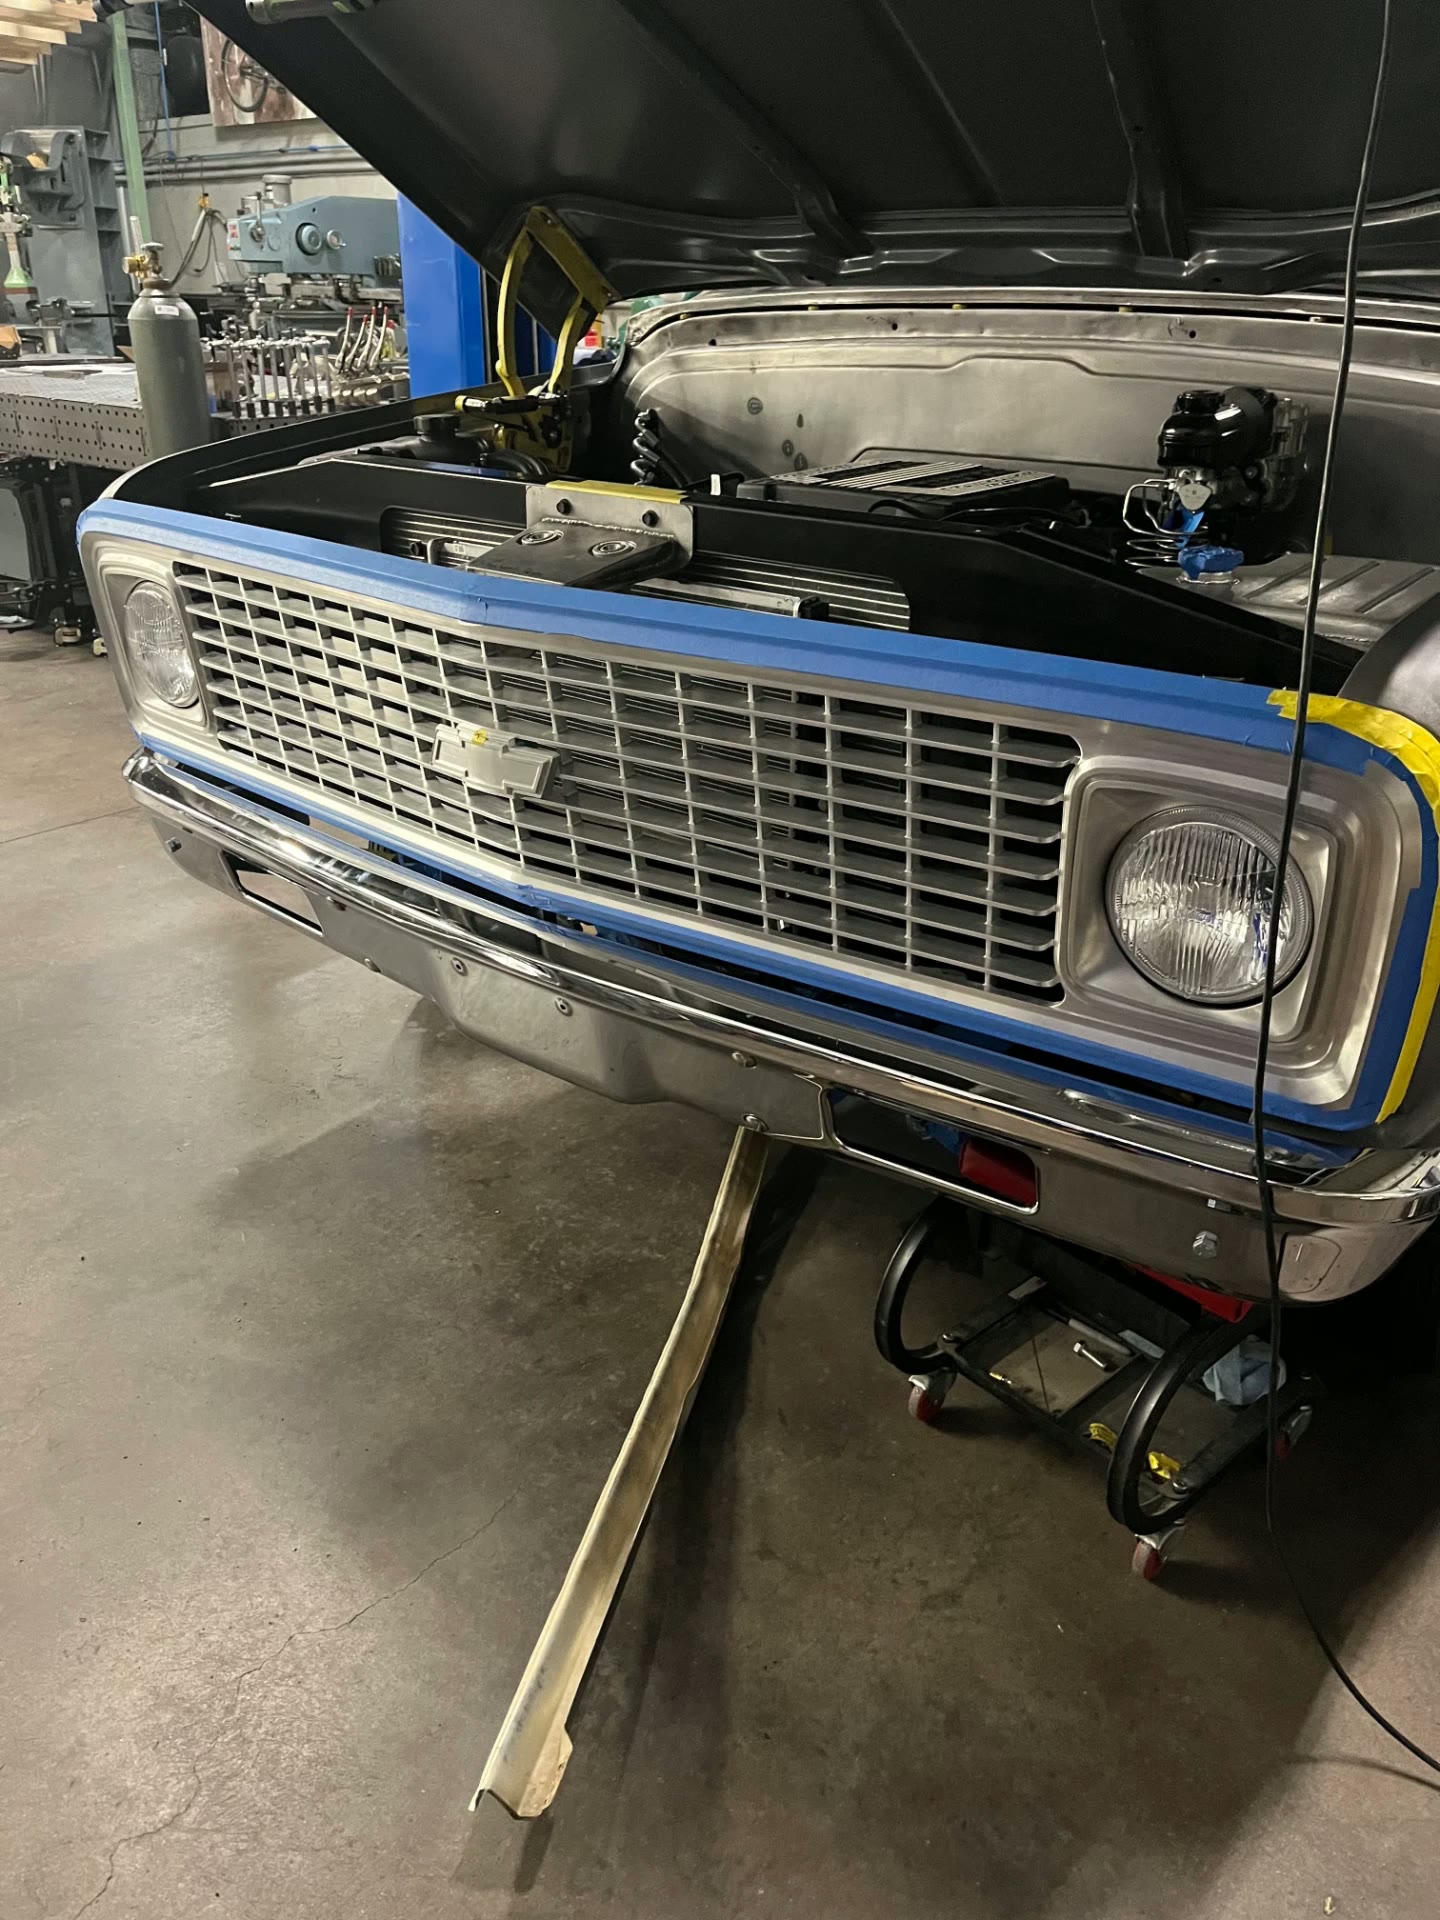 J062
J062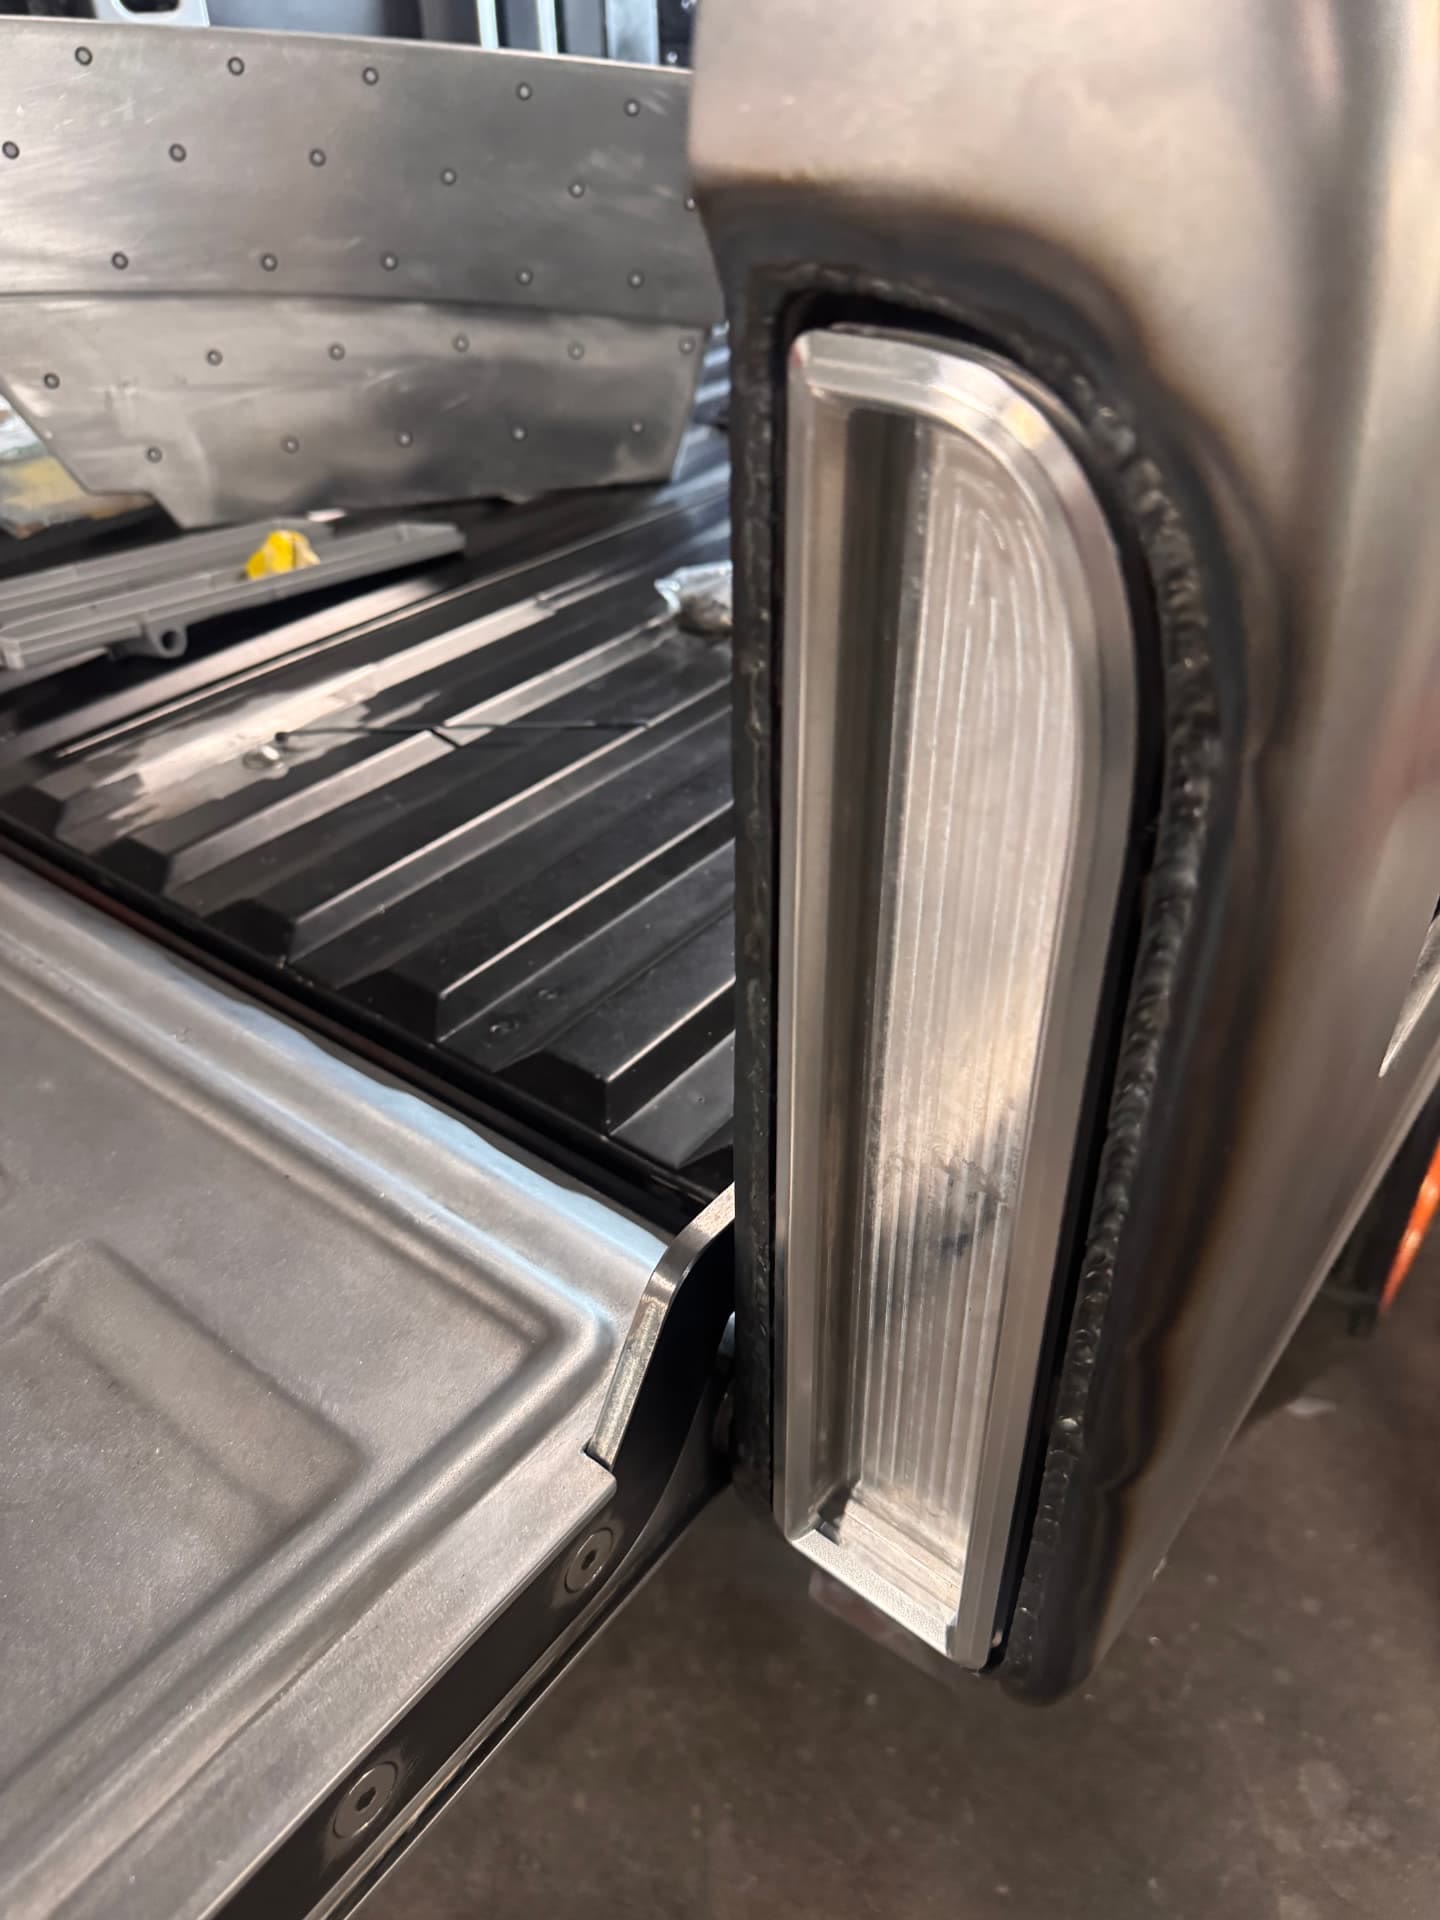 J063
J063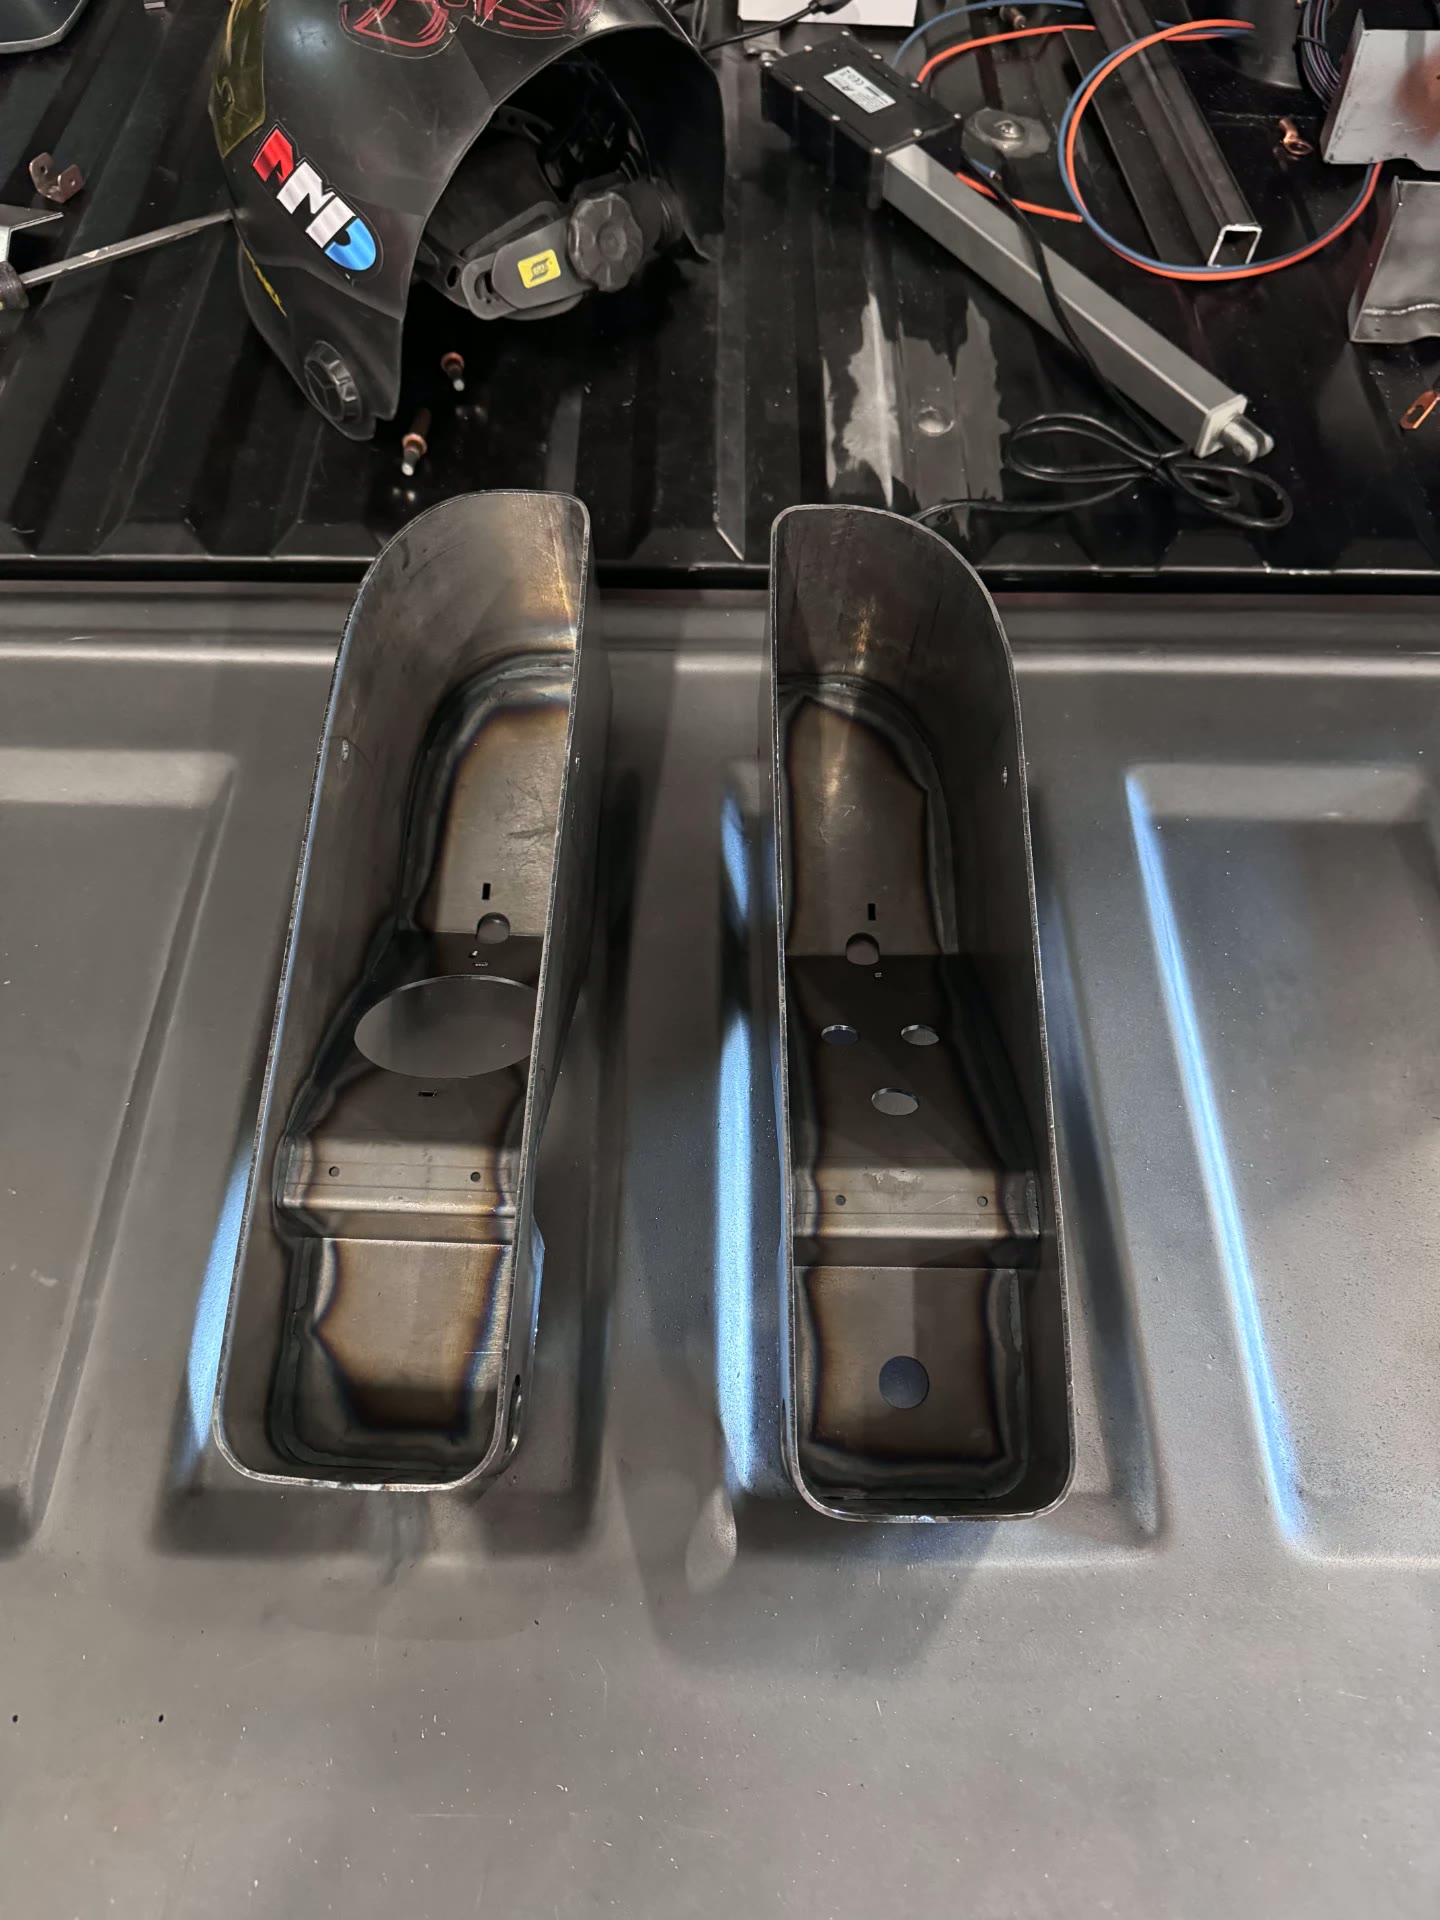 J064
J064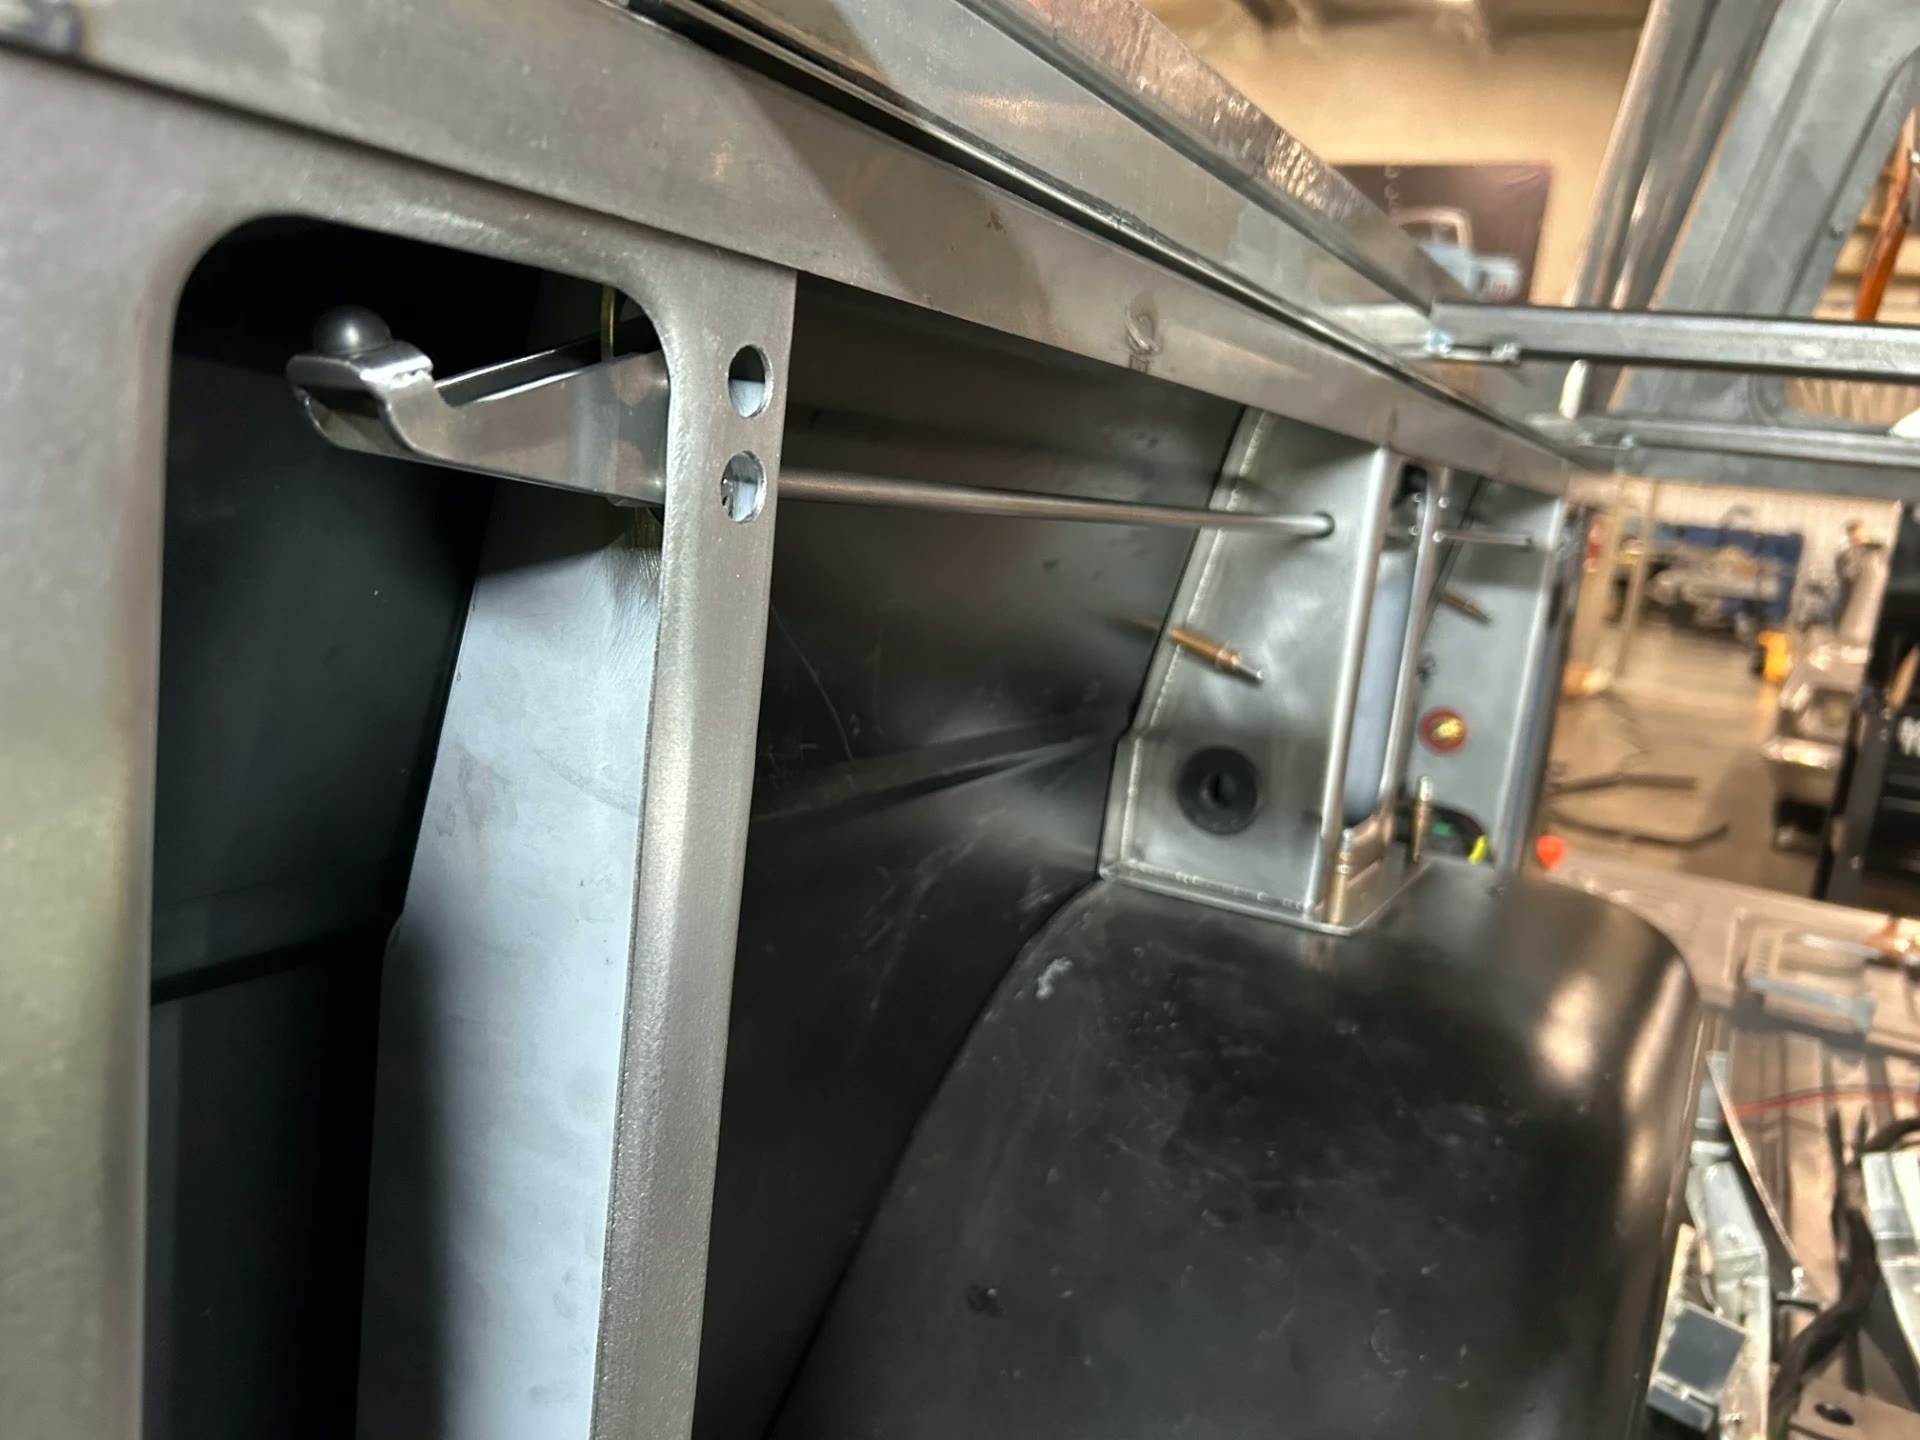 J065
J065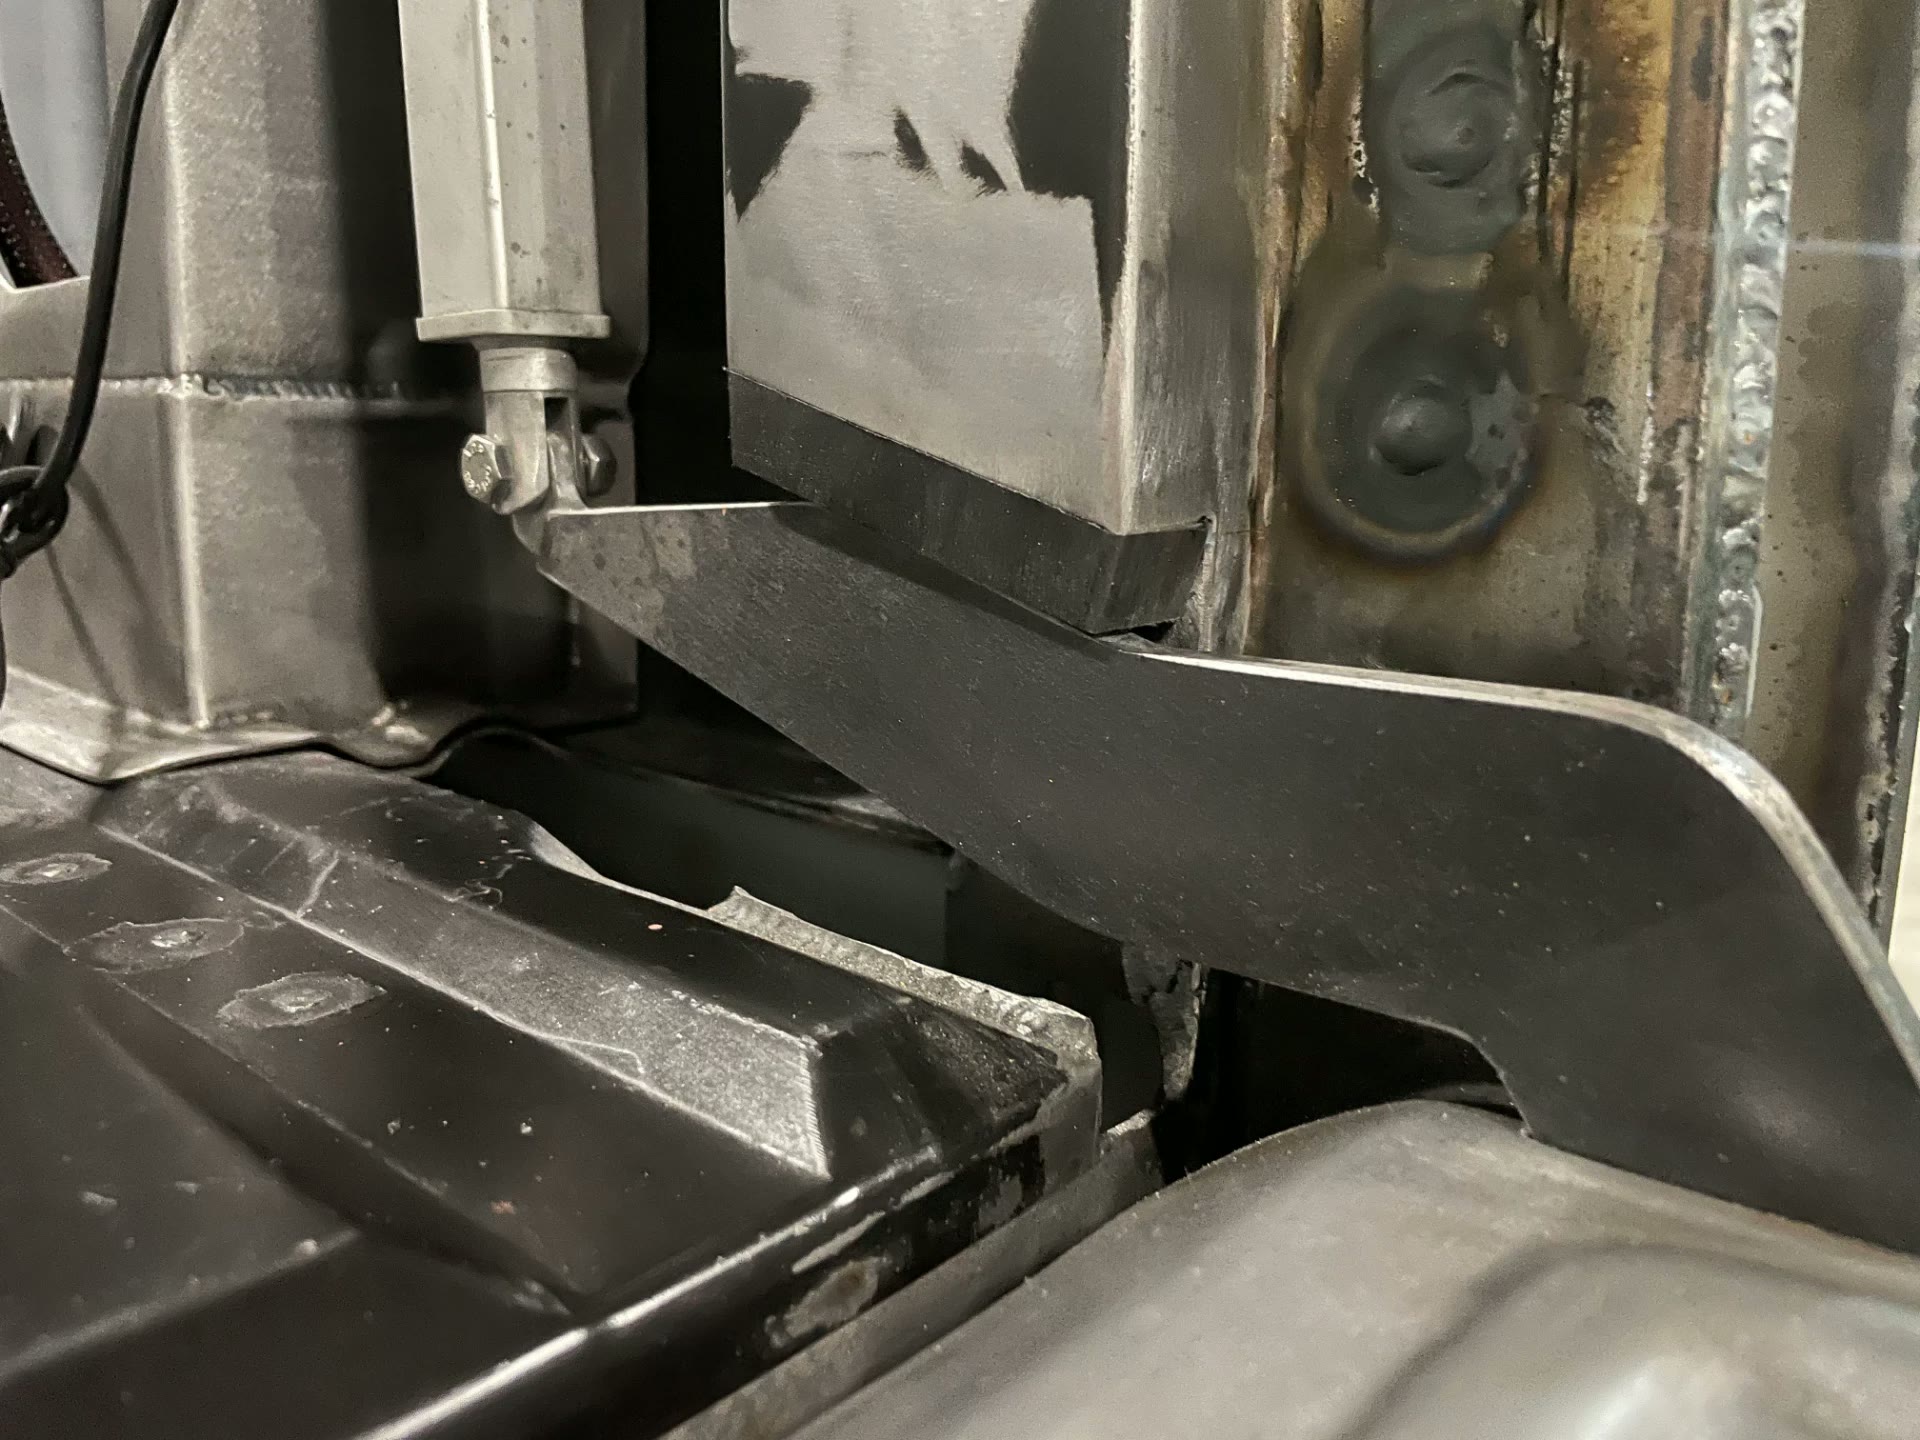 J066
J066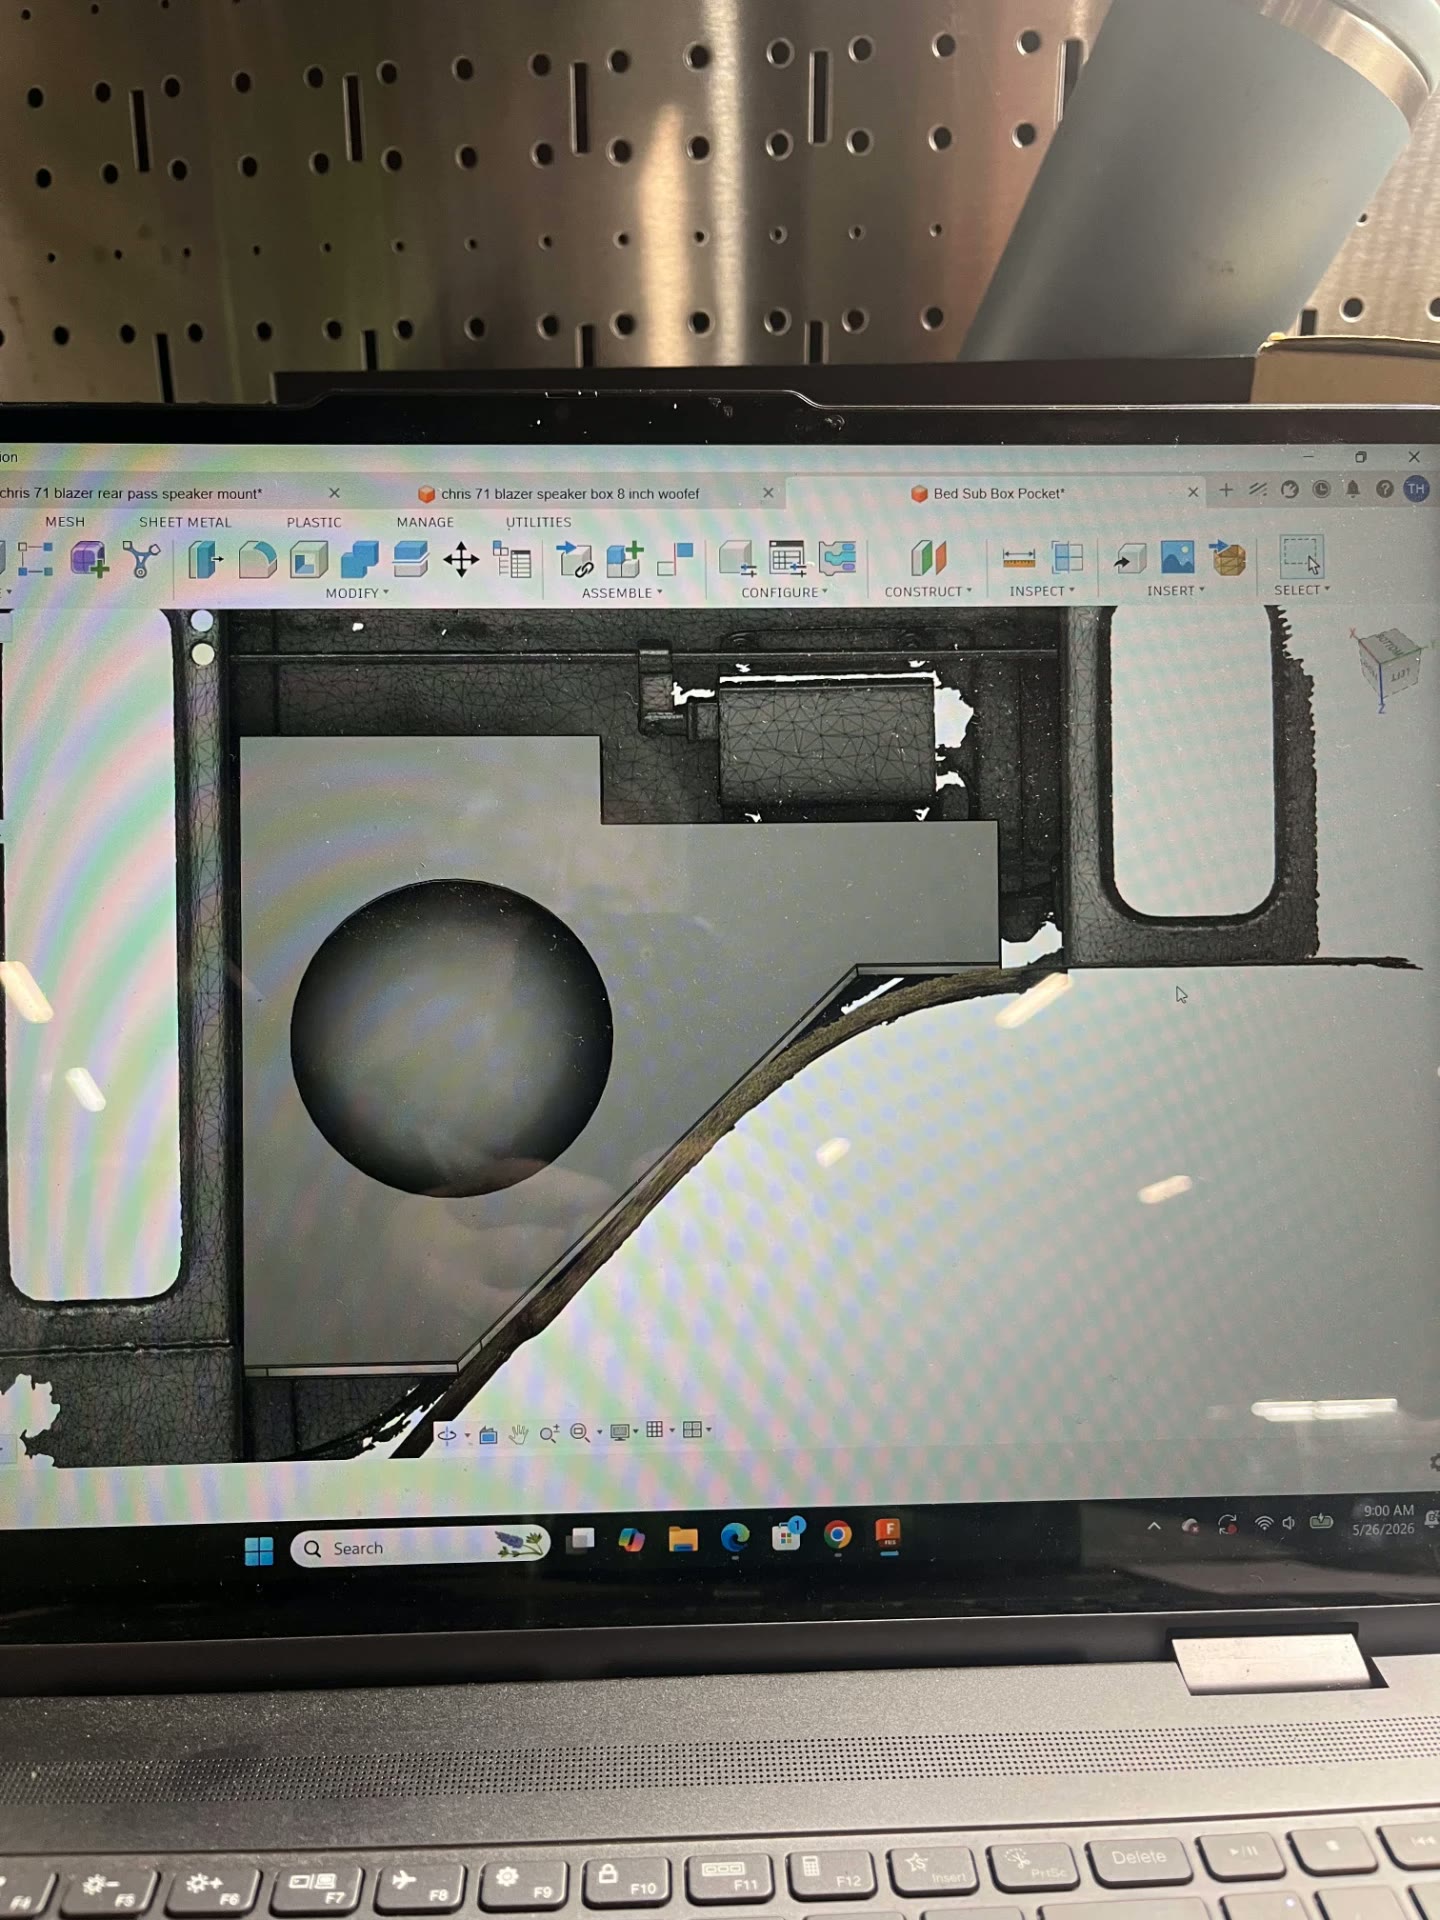 J067
J067§ 04 — Process
Chapter by chapter.
Every build is documented as it moves through the shop. Here's how this one came together.
C068Body & top
The classic K5 shell keeps its retro attitude, but the roof is a custom coach-built aluminum top made in-house. The bed sides were raised to match the door profile, and the proportions stay true to the original while the details get pushed further.
C069Chassis & suspension
A Roadster Shop Legends chassis provides the foundation — engineered geometry, modern suspension, and the strength to handle the supercharged power and big wheel package.
C070Drivetrain
A GM crate LT4 supercharged engine paired with an 8-speed automatic delivers modern horsepower and drivability. The package has already been fired up and the electrical system tested.
C071Billet details
The details are over the top. A complete billet grille carved from a 900lb chunk of aluminum, plus billet side markers, side trim, tail lights, and dash bezels. Custom LED lighting is woven throughout the build.
§ 05 — Gallery
Frame by frame.
11 FRAMES · SHOT IN-HOUSE
G072G073G074G075G076G077G078G079G080G081G082§ 06 — Next steps
Have a project
like this?
Send us the story of the car and what you want it to become. We'll get back with a real assessment and a realistic timeline.
Start an inquiry
NEXT IN THE LOG →
67 Barracuda
HF-67-01